Category Archives: Sweet Tooth

All things sweet and delicious to end (or for some, begin) a meal. Also great for snacks. Or as a comfort in which to wallow.

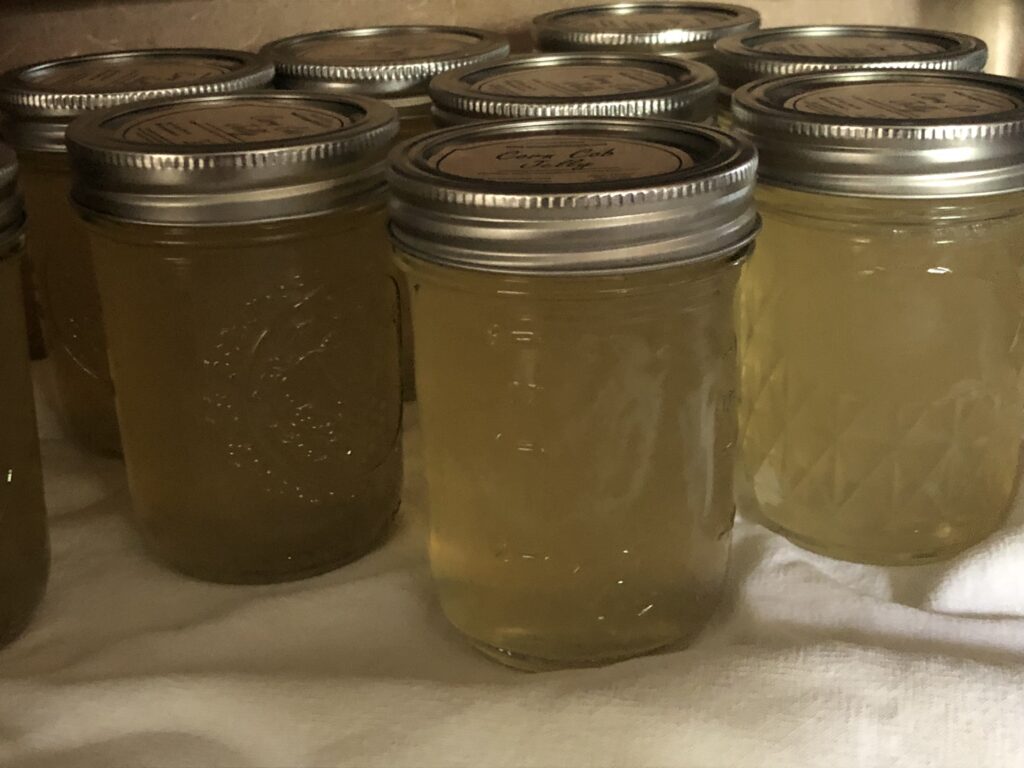
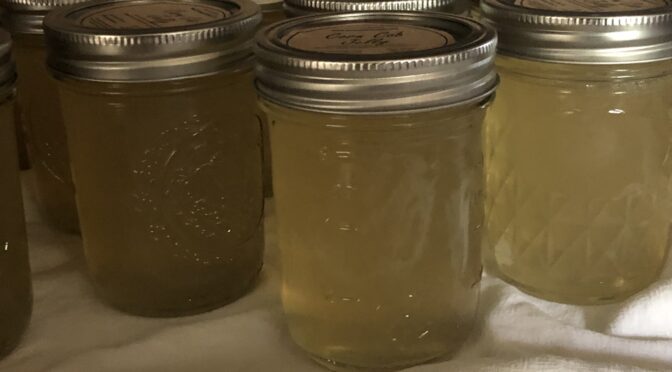
Corn Cob Jelly

Sweet uses for corn cobs
You will need:
12 corn cobs (not ones you’ve eaten off of, but ones you’ve cut the kernels from for cream corn)
2 qt water (enough to cover the corn cobs)

Place corn cobs in large pot of water over medium heat.
Make sure water just covers corn cobs.
Boil for 10-15 min to release whatever milk and sugar is left.
Strain that liquid through fine mesh strainer or cheese cloth.
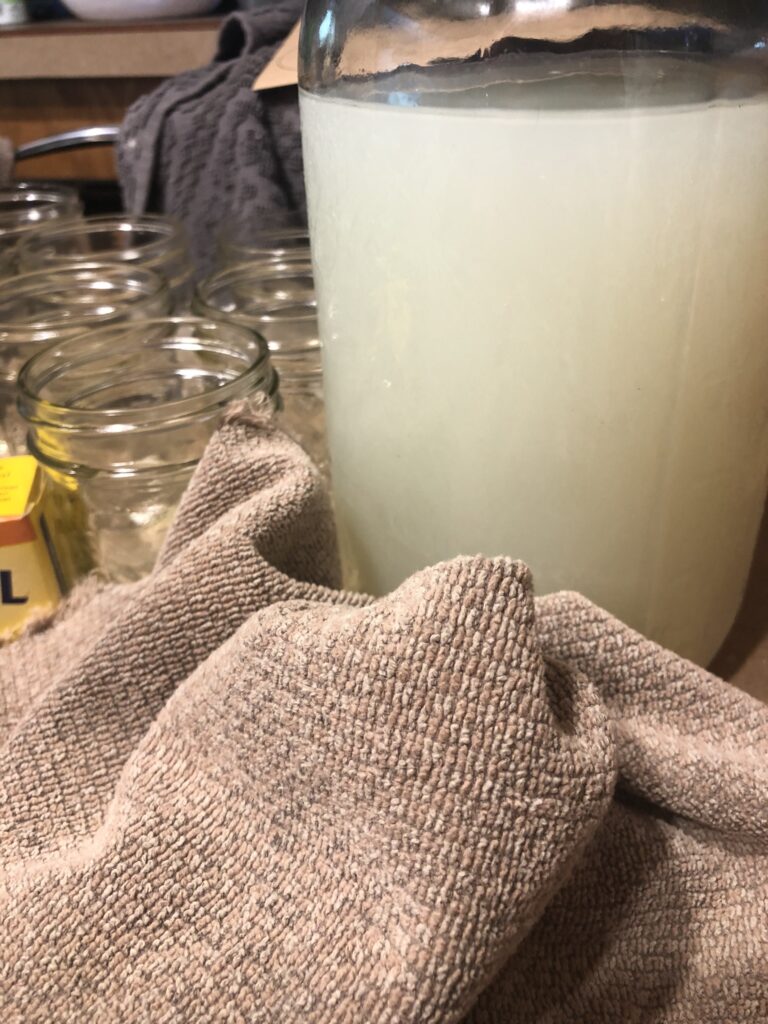
3 cups liquid
(If you have more than 3 cups liquid, freeze in cup portions and add to soups instead of chicken broth. It gives a great flavor. If you don’t have quite 3 cups, add a little water.)
3 cups sugar
1 box pectin (Sure-Jell)

Fill one large heavy bottom pot with water and place on stove over medium high heat.
Put corn liquid in another large heavy bottom pot and place on stove over medium high heat.
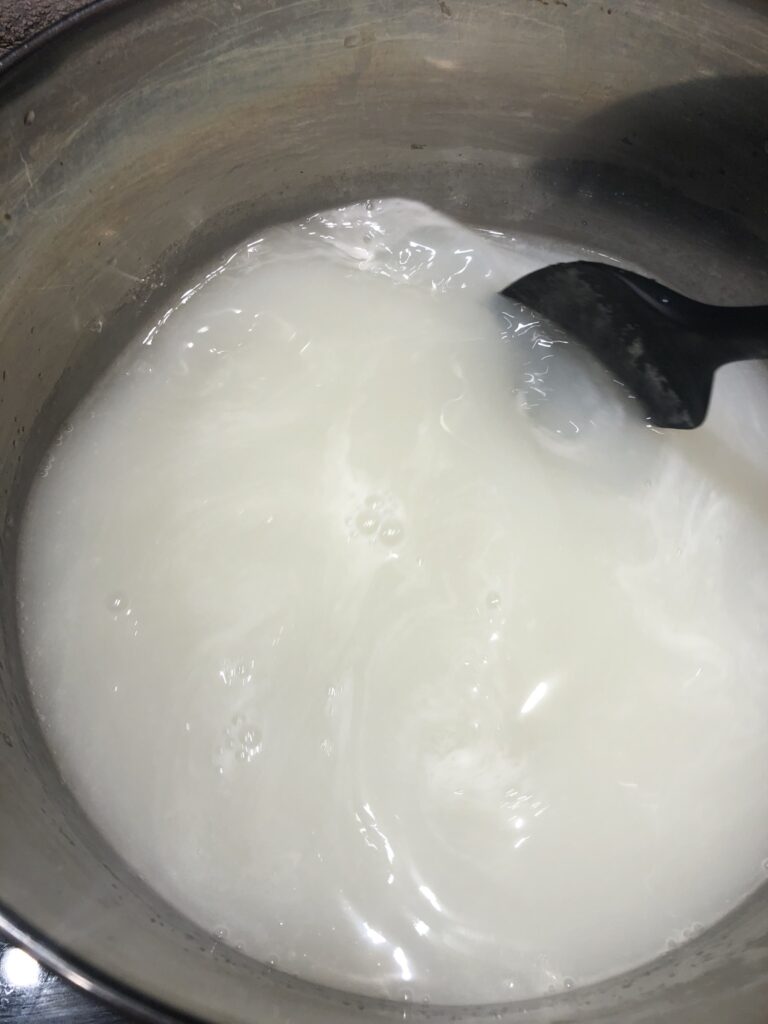

Stir pectin into corn liquid. Allow to heat, stirring occasionally.
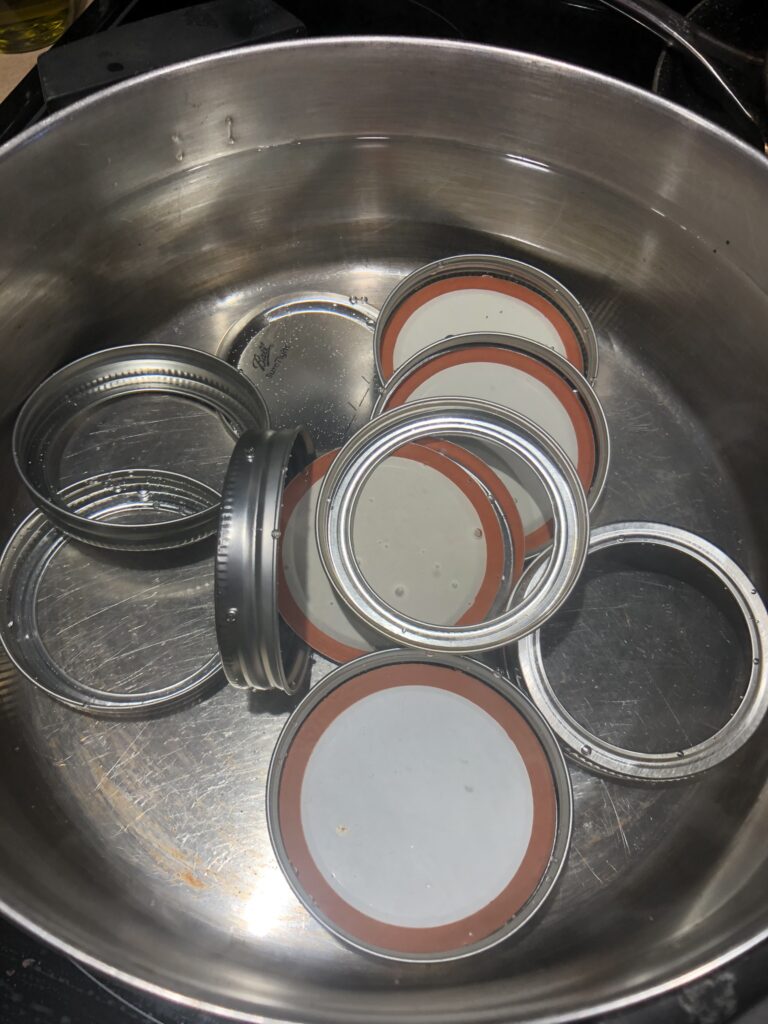

In the water pot, put your jar lids. Boil these so they are sanitized and hot which aids in sealing.
Have jars clean and ready. I don’t have them hot as the jelly heats the jar and the lid is heated.
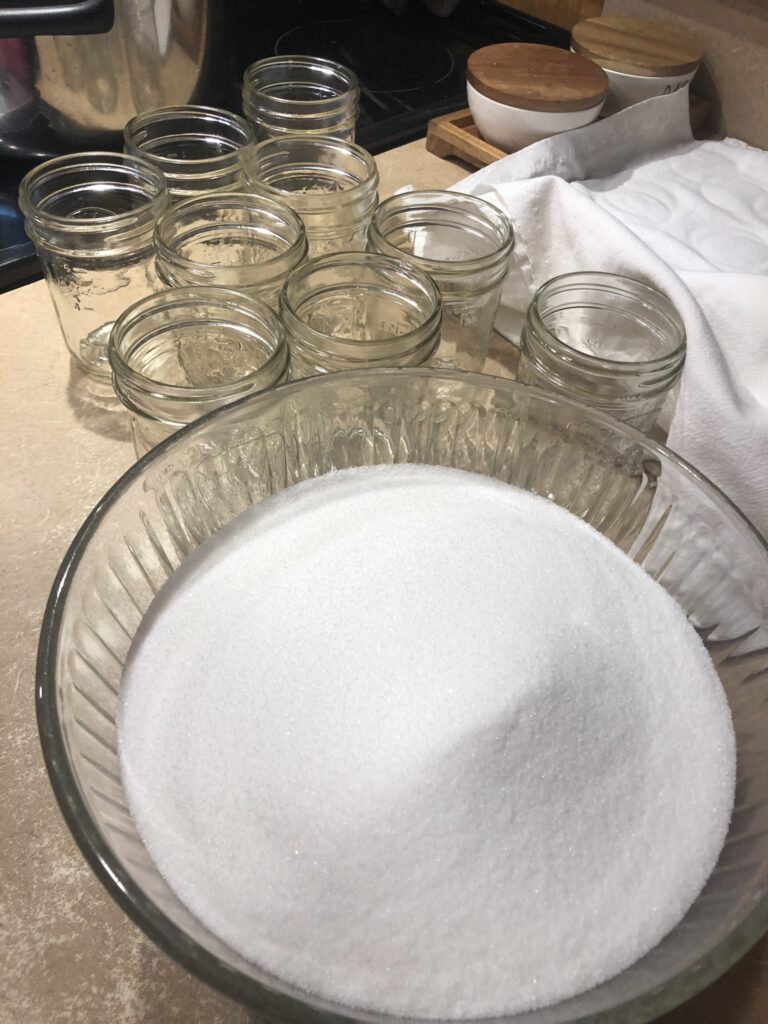

Have a bowl ready with 3 cups sugar measured out.
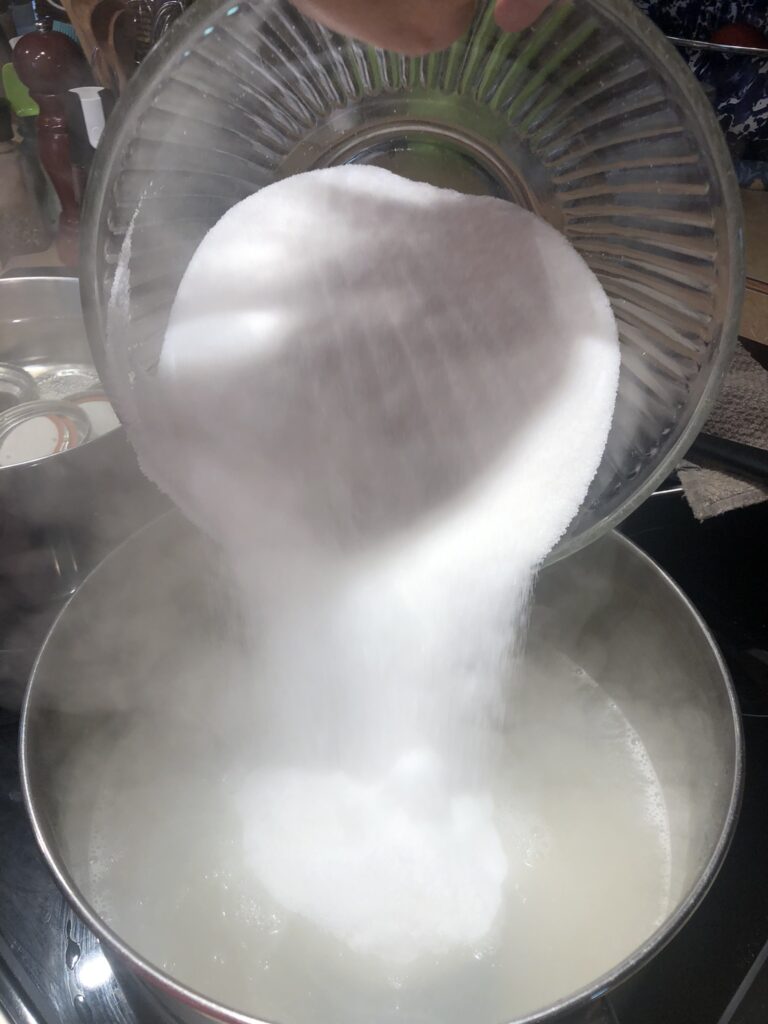
When corn liquid comes to boil, stir in sugar. Stir this frequently as the sugar can cause the mixture to scorch.
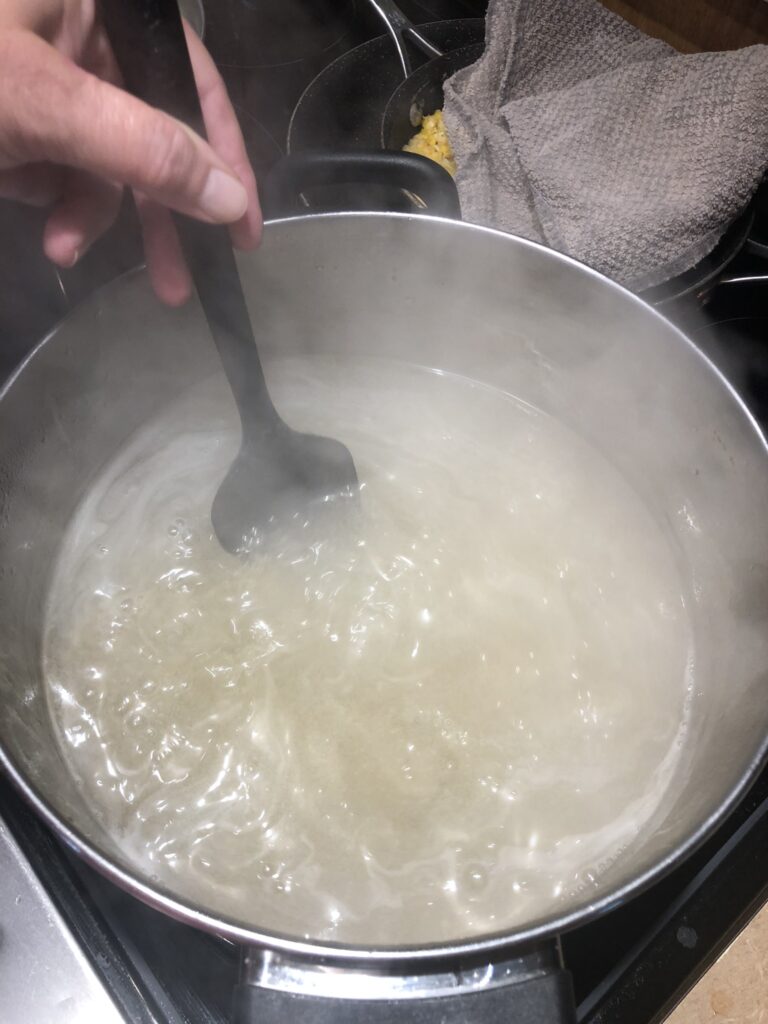

When it comes to rolling boil (a boil that doesn’t stop when you stir), stir constantly for 5 minutes.
Remove from heat and stir to get foam absorbed back into mixture. If it doesn’t all absorb, you can skim it off now or when you put into jars.
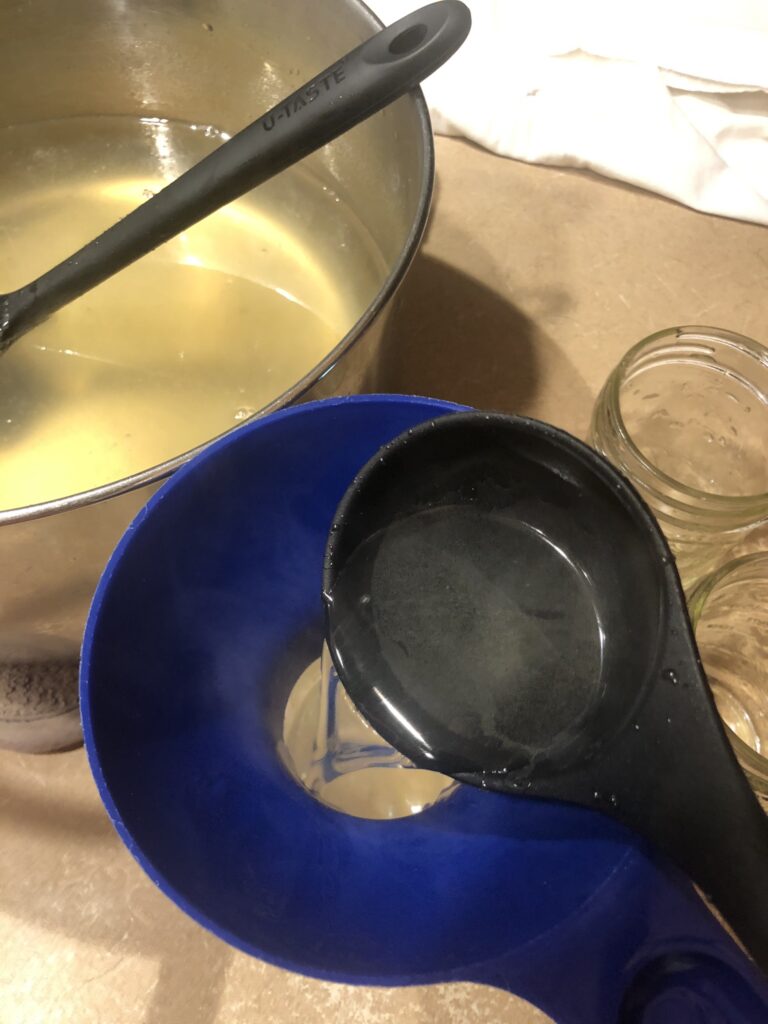

Ladle liquid into jars. If foam is there, skim off.
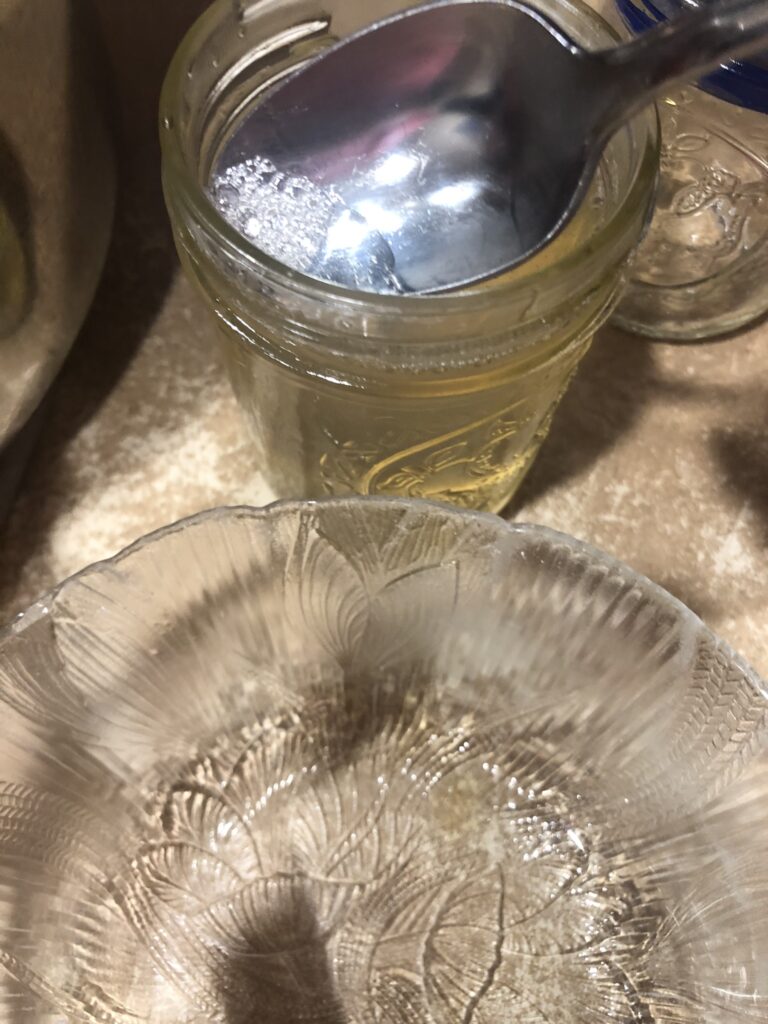

Wipe jar tops with hot towel to remove any liquid as this can affect sealing or not allow the jar to open easily due to jelly cementing the two surfaces together.
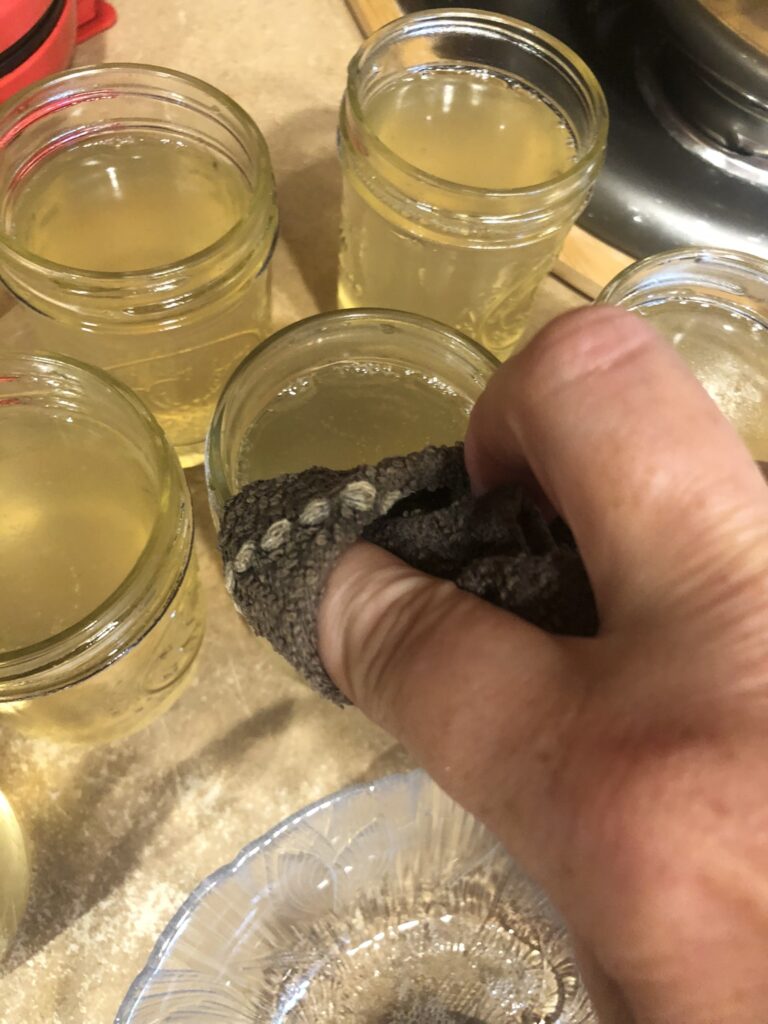
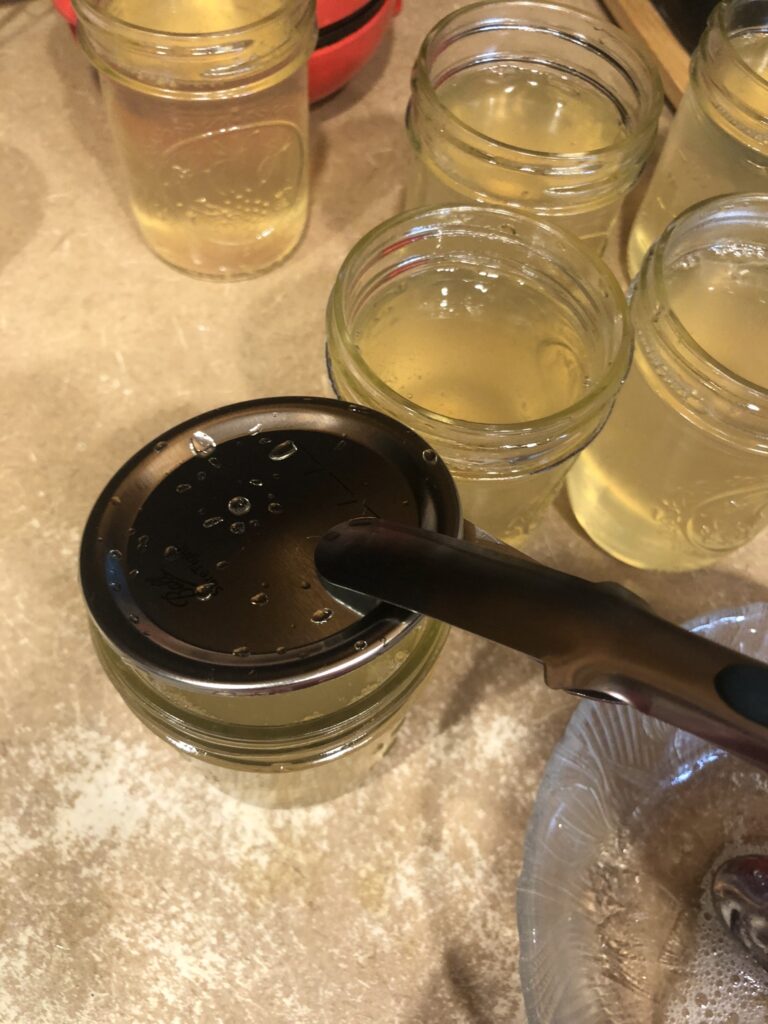
Place hot lids on jars. Screw bands on finger tight (don’t crank down on it).
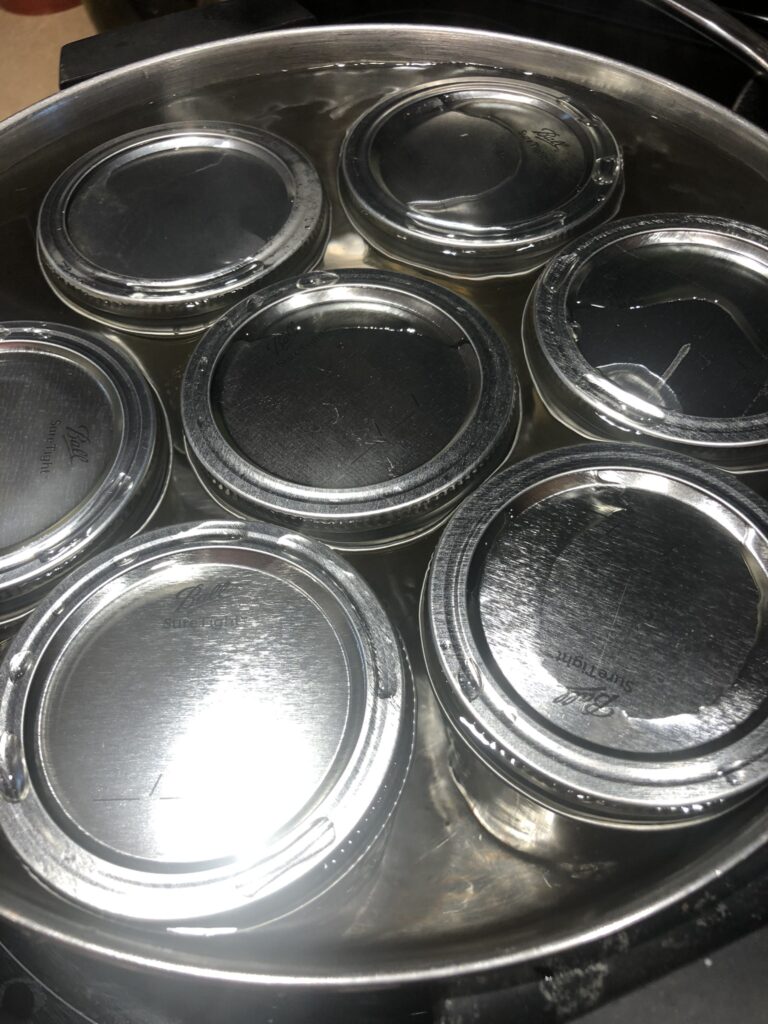

In the large pot the lids were pulled from, place your jars into that water and make sure water is to top of jars or ideally covering them slightly.
Water bath on medium high heat for 15 minutes. (When the water begins a gentle boil, time 15 minutes.)
Remove from water and place on towel on counter top. Top with another towel to keep heat in and this aids in sealing.

The story:

My parents were raised by parents who’d been through the Great Depression. And they were raised like they were in one because for a lot of folks in the South and elsewhere, the Depression did not end in 1939. Hard times were felt much later. So they were taught to never waste anything. In keeping with that mentality, I give you corn cob jelly. Now, my foremothers did not make this, and I am surprised that they didn’t. It could be because the corn cobs they discarded were put to use for better things … like corn cob fights.
Picture a snowball fight, but with rough corn cobs. My Dad Charles has told me about this particular brand of “fun”. The goal was to wallop one another with them around the head and back as this seemed to pack the most punch. You’d seek out corn cobs that had been given to the cows as these were then soaked in rain … and cow urine. This made them particularly hard and gross. If you could find one slathered in cow pie (manure), that was even better.
He remembers vividly a particular battle in a field strewn with cow patties with a neighbor boy when he was about 10. They were walking together home from school and decided they needed to have a little fun. As they hurtled these homegrown missiles at one another, the competition grew. This friend had found the best, stinkiest corn cob and launched it right between my Dad’s shoulder blades as he ran. It knocked him flat on his face right next to a pretty freshly laid cow pie. He looked back to see this friend doubled over laughing. So he grabbed a big handful of that manure and ran towards his friend who was still laughing and so didn’t see Dad coming until he was within reach. He turned to run and as he did, Dad smashed that manure onto the side of his head. Yes, it did go into his ear and all into his hair and down his neck. I asked Dad if they got in a real fight then. He said no, they just walked together up to his house and my grandmother Lorene dug the manure out of his friend’s ear, cleaned him up, and sent him on home.
No grudge was held. No self pity or lashing out at everyone because you got hit with a corn cob or had manure spread onto you. And parents didn’t intervene unless it was extremely serious. Kids learned to handle themselves, be tough, be fair, be beat at something. They learned to run fast, aim well, and dodge better. All valuable life lessons.
Personally, I prefer to use corn cobs for sweeter purposes so I give you my recipe for corn cob jelly.

Easy as Pie

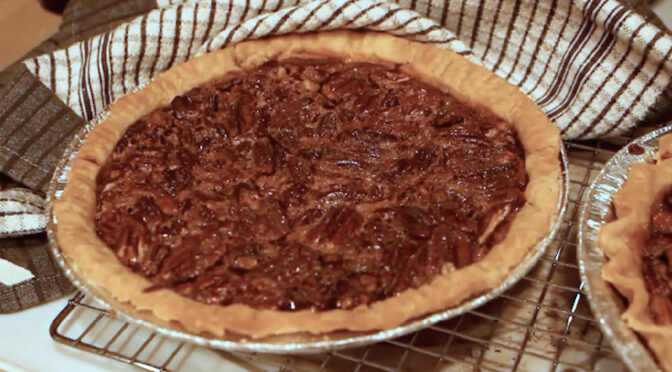
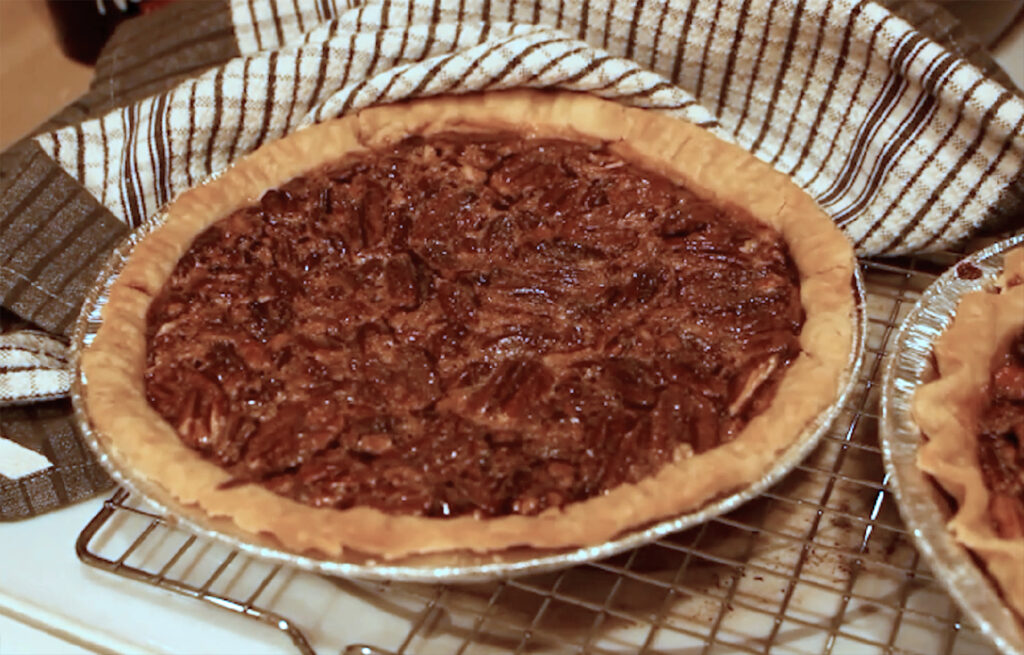
Pecan Pie a classic favorite

Pecan pie is worth the time and effort!

Pie Crust (Classic Crisco Crust)

Single Crust
1 1/2 cups all-purpose flour
1/2 tsp. salt
1/2 cup cold Crisco® All-Vegetable Shortening
1/2 Tbs. white vinegar
3 to 6 Tbs. ice cold water

Double Crust
2 cups all-purpose flour
3/4 tsp. salt
3/4 cups cold Crisco® All-Vegetable Shortening
1 Tbs. white vinegar
4 to 8 Tbs. ice cold water

Deep Dish Double Crust
2 1/2 cups all-purpose flour
1 tsp. salt
1 cup cold Crisco® All-Vegetable Shortening
1 Tbs. white vinegar
6 to 10 Tbs. ice cold water

  1. Add salt to flour and cut in Crisco using pastry cutter or hands.
  2. Add vinegar and cold water and mix just until it all comes together. Do not overmix or you’ll have a tough pie crust.
  3. Form dough into disc/discs and allow to rest for about 5 min.
  4. Flour surface and rolling pin and roll dough out to diameter of pie pan.
  5. Place in pie pan and score bottom of dough with fork to prevent bubbling.
  6. Flute edges however you like.
  7. Bake at 350 degrees for 5 min. just to parbake for cooked pies or at 425 degrees for 15 minutes for premade pie fillings.

Pecan Pie Filling

1 cup Karo Corn Syrup, light or dark
3 eggs, lightly whipped
1 cup sugar
2 tablespoons butter, melted
1 teaspoon pure vanilla extract
1-1/2 cups (6 ounces) pecans
1 (9-inch) unbaked pie crust

  1. Mix all ingredients except pecans using whisk. Make sure the eggs are incorporated.
  2. Place pecans in bottom of pie crust.
  3. Pour filling over the pecans.
  4. Bake in 350 degree oven for an hour (45 min. if on convection setting).
    Center should spring back when touched.
  5. Cool on wire rack until you can’t stand it anymore and must eat it.

The story

Why is there a freezer case in every store with frozen, ready-to-bake pies? Because pie making can be hard. Scratch-made is time consuming and doesn’t always turn out well. Shrunken crusts, gummy crusts, runny pies – anyone else had these things happen? Because I have – and sometimes all at once.
My Granny Ward (mom’s mom) was great at pie making even though she didn’t make them much. They were for special occasions as she really didn’t have time to spend a whole afternoon in the kitchen making crust and fillings. She had cotton to pick, a garden to tend, vegetables to can, clothes to wash, a house to clean, and kids to raise. But, she would make them from time to time and pecan pie was one her children loved. Well, 6 of the 8 liked pecan and 2 liked her “karo pie” (pecan pie without the pecans). Sometimes she made karo pie just because pecans were hard to come by.
She had a talent for what is now called multi-tasking. Then it was just getting things done. And somehow she would get it all done. I can’t imagine the workload she and women like her had. Hard manual labor and housework and gardening and cooking three meals a day on a wood-fired cook stove. And she did it all without griping. I wonder sometimes what she’d think of how much easier her grandchildren have it. I think she’d just be proud that her daughters and granddaughters married good men who do not expect their wives to move heaven and earth to please them. I think she’d be relieved we have an “easier row to hoe” in life. And I think she’d really love ready-made pie crust.

Texas Sheet Cake

Simple joys of chocolate cake

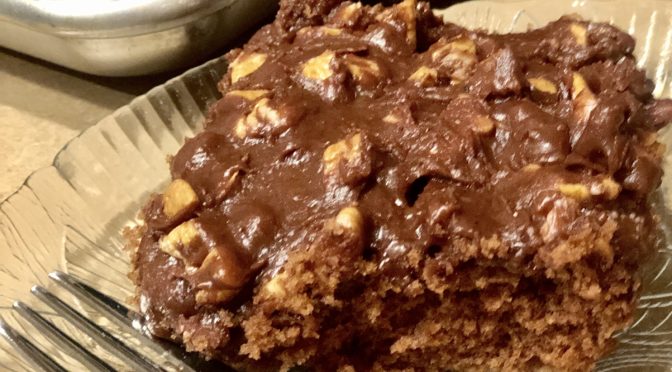
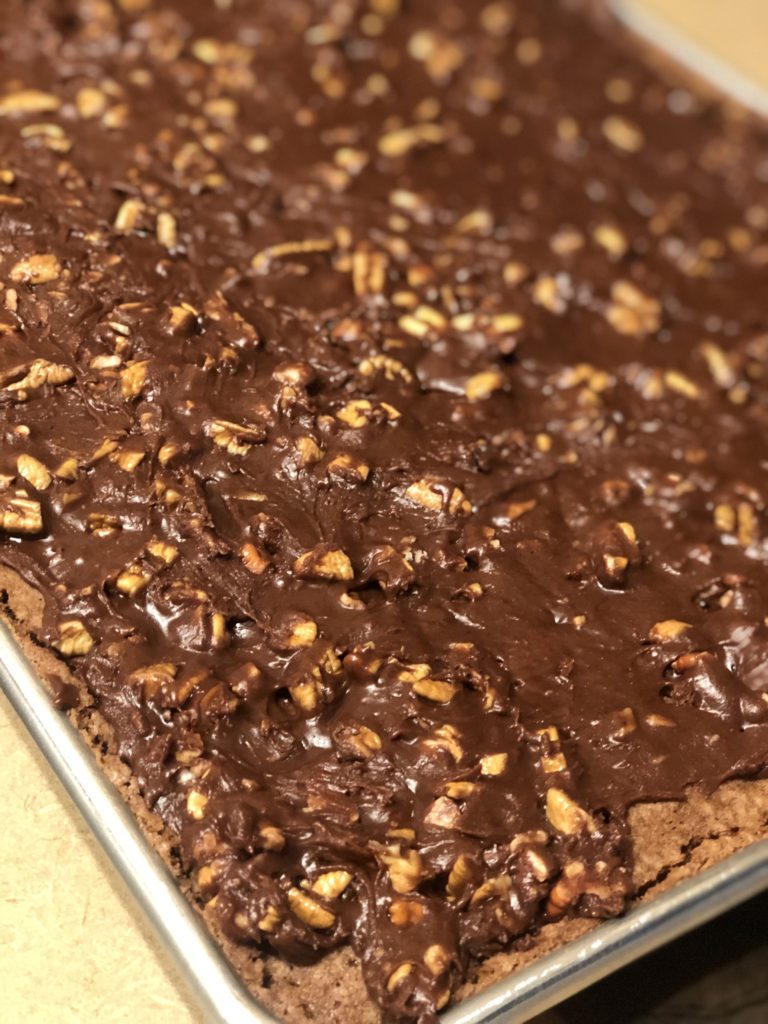
Fudgy icing on chocolate cake – just yum

Texas Sheet Cakesee video below to see how to make it, even you mess up a few times!

2 cups sugar
4 Tbs cocoa powder
2 sticks butter, softened
2 eggs
1 tsp vanilla
2 cups AP flour
1 tsp baking soda
1/2 tsp salt
1/2 cup buttermilk (make it with a 1/2 Tbs lemon juice and fill to 1/2 cup mark with regular milk)
1 cups water
Jelly roll pan, or pizza pan or cookie sheet or regular cake pan, or cupcake pan – if ya wanna get fancy

Preheat oven to 350 degrees.
Mix sugar and cocoa powder together. This will keep the cocoa powder from flying all over your kitchen.
Add your butter and cream those ingredients together.
Add your eggs and vanilla and mix.
Add in flour, baking soda and salt and mix well.
Add buttermilk and water and mix until it looks like chocolate ice cream.
(NOTE: You can add the ingredients in any order, as we did in our video. And you will make a mess, as we did in our video.)

Spray pan with cooking spray and spread cake into pan.
Bake for 30 minutes at 350 degrees. (If using a 9×13 pan, adjust the time to 40 minutes. If using cupcakes, adjust to 20 minutes)

Icing:
1 1/2 sticks butter (3/4 cup)
6 Tbs. milk (whole preferred)
1 tsp vanilla
4 Tbs cocoa powder
4 1/2 cups powdered sugar
1 cup pecans, chopped (toast them for extra flavor, if you like)

Over medium-high heat in heavy bottom sauce pan, melt your butter.
Add in milk, vanilla, and cocoa and whisk smooth.
Bring to boil and cook for 1 minute after it begins to boil.
Remove from heat.
Add in powdered sugar and stir well to incorporate.
Add in pecans.

Spread on cake that you’ve removed from the oven and let cool for 5-10 minutes.

The story

My dad appreciates simple things, souped up ‘57 Chevys; and his 56” TV with Dish, Hulu, Amazon Prime, and Netflix. But mostly … simple things.
His parents, MC and Lorene, taught him to work for the things he had and would have. Pa Maxwell, as we called him, worked in the log woods. And my dad, Charles, did too. From the time he was 10, he was expected to help with pretty heavy manual labor. His main job was to use a draw knife to peel poles. This was a pretty dangerous undertaking for anybody as the method was to grab the “knife” which was a very sharp blade in between two handles, stand on one side of the pole or at the end of one and forcefully pull the potentially lethal instrument toward your body skinning the bark off in ribbons. It was sharp enough to cut into wood. Let that sink in. So If your blade slipped, you could create a gaping hole where there should not be one in your chest, arm, stomach, or hips.
This is something I can’t imagine my 10-year-old son doing. We’ve been to the ER 3 times and a burn unit once and he was standing still with no hazardous implements in use.
Anyway, dad’s grandparents (MC’s mom and dad) did have a farm; and he loved going to visit them just about every week. They lived in Jones Creek, what would be called a suburb in today’s fancy lingo. The better term would be the outskirts of Waldron, where he lived with his parents and younger brother Jack. The trip to go see his grandparents, Eb and Florence was special, not because he was given gifts each time he went. And not because he was given constant attention or constant stimuli in the form of games or toys, but because he was raised to appreciate his grandparents and the time he got to spend with them. It was an event to go visit anyone and not be working in the woods, in the cotton fields, or at home. That visit was special because he viewed them as special and they him. Florence was a good cook. This was unlike his mom’s mom who was best known for cornbread so flat and tasteless, it could be used as a Frisbee; and not lost as even the animals didn’t try to run off with it. A story for another time.
Florence would make my dad a chocolate cake because she knew it was his favorite. She would make it without icing most of the time, partly because icing ingredients could get expensive and such frivolity was unneeded; and partly because my dad liked it that way. He’d get a huge piece of that chocolate goodness with a big glass of milk fresh from the dairy cow that resided on their farm. And if she made ice cream, he would take that cake and ice cream and mash it all up together – sort of like a super thick milkshake with cake bits in it. It was delicious that way. It is delicious that way as this is how he still prefers it. In an age full of crazy thick heaping mounds of icing, candy toppings, and herb or flower infused flavors, he prefers a simple piece of chocolate cake. No glaze, no icing, no crystallized sugar standing in spires on top – because it’s delicious without all that mess. It is simplicity and happiness and good memories. And there’s something to be said for that. Appreciate the delicious simple things. Appreciate the people we love and who love us. Be happy with less. We’d all be better off with just the cake and making a memory with, and for, those we love. Appreciate that and realize anything else we’re given is just icing on the cake.

When I figure out her simple recipe, I will post it. In the meantime, I gave you my mother-in-law’s Texas sheet cake recipe, complete with fudgy icing. This is because sometimes a cake IS just a vessel for the icing. 🙂

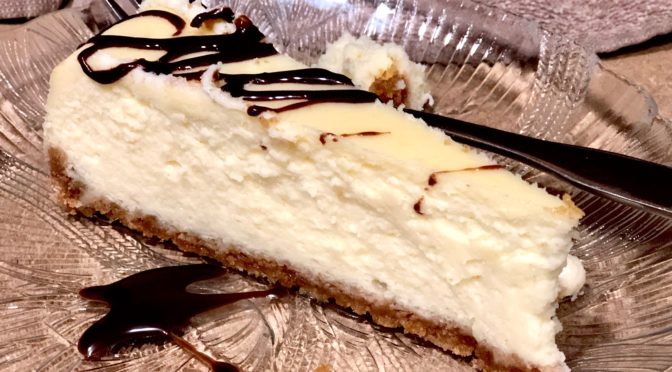
Cheesecake – A Treat Like No Other

Easy Delicious Cheesecake

Preheat oven to 325 degrees.

Spray 8 or 9 inch springform pan with cooking spray
Crust: 1 1/4 cups graham cracker crumbs (9 whole crackers/1 sleeve)

1/4 cup granulated sugar

8 Tbs (1 stick unsalted butter)

Pinch salt

Mix together and spread in bottom and slightly up sides of springform pan.

Bake 10 minutes at 325 degrees.

Let cool 5-10 minutes before adding filling.

Cheesecake Filling:

4 (8 oz.) pkg. cream cheese, softened

1 cup granulated sugar

3 eggs1/4 cup sour cream

2 Tbs cornstarch

1 tsp vanilla

2 tsp lemon juice

Whip softened cream cheese and sugar together, scraping sides of bowl to incorporate all the cream cheese.

Add in eggs one at a time and mix well.

Add sour cream, cornstarch, vanilla and lemon juice and mix well, scraping sides as needed.

Pour into crust and bake 1 1/2 hours at 325 degrees.

Cool for 30 minutes on baker’s rack before transferring to refrigerator to chill (Most recipes say 2-4 hours. I say chill it as long as you have time to before you need to dig in.)

If using the water bath method: (The reason for this method is to keep the top from cracking and so less browning will occur as the water helps the cheesecake to bake evenly and deeply without the top getting overly done before the center sets.)

Pour filling into crust.

Wrap bottom of ban with aluminum foil tightly to the top of the pan.

Set springform pan in larger pan with deep sides.

Fill larger pan with boiling water until it is halfway up sides of springform pan.

Place in oven and bake 1 1/2 hours at 325 degrees.

Cool as above.

Eat it!

Or top it with freezer jam you’ve warmed up a bit, or fruit you’ve cut up, or chocolate ganache you’ve made or salted caramel syrup you’ve bought. Or don’t top it. Enjoy by itself.

Just enjoy.

The story behind the recipe

I imagine a decadent treat like cheesecake was pretty much unheard of by my parents. It’s not that they were unlearned. They and their parents were smart people. They read newspapers and listened to the radio when they could get it to tune in. But they lived in a small town in Arkansas circa 1940s and 50s, and days were spent by both families just trying to make a living. So new desserts that took and hour or more to make just weren’t on the radar.

They enjoyed sweet things and both my grandmothers could whip up a mean pie. But things like soufflé and cherries jubilee and such that were on the realm in other worlds like New York and Chicago and LIttle Rock had not made the journey to dessert plates in small town Arkansas. 

When my dad was in the Army, he had culinary adventures with foods he’d never seen – and most of which he did not like – such as spaghetti and meatballs. And when my mom had moved to California, she saw all kinds of foods she’d never seen before, like pecans and walnuts that were shelled and ready to purchase for pies or what have you.  This made her a bit adventurous and so when my sisters and I were little, she shared this flare for extravagance and bestowed upon us a cheesecake. Now mind you, it was the boxed Jell-O no bake variety. But delicious it was, nonetheless. And it was a special treat to see that boxed mix come home in a brown paper Piggly Wiggly bag. It meant a break from the old ordinary things she made like chocolate meringue pie, or fresh apple cake with sugar sauce, or homemade shortcake with strawberries my dad had picked or peaches he’d gotten from the local produce man. Plain old ordinary things, that I had no idea at the time were anything but. Things that I and anyone with any sense would love to sink their teeth into now.

That Jell-O no bake cheesecake was quick and simple and delicious and we loved it. So when I got old enough, I decided I wanted to make a real cheesecake. And she bought me the ingredients to do so. She had to do this quite a few times as the first few were not good – not good at all.

But now I have this trusty cheesecake recipe. It is decadent and delicious. And it is a good stand-in for when your local grocery may be out of the Jell-O no bake variety.

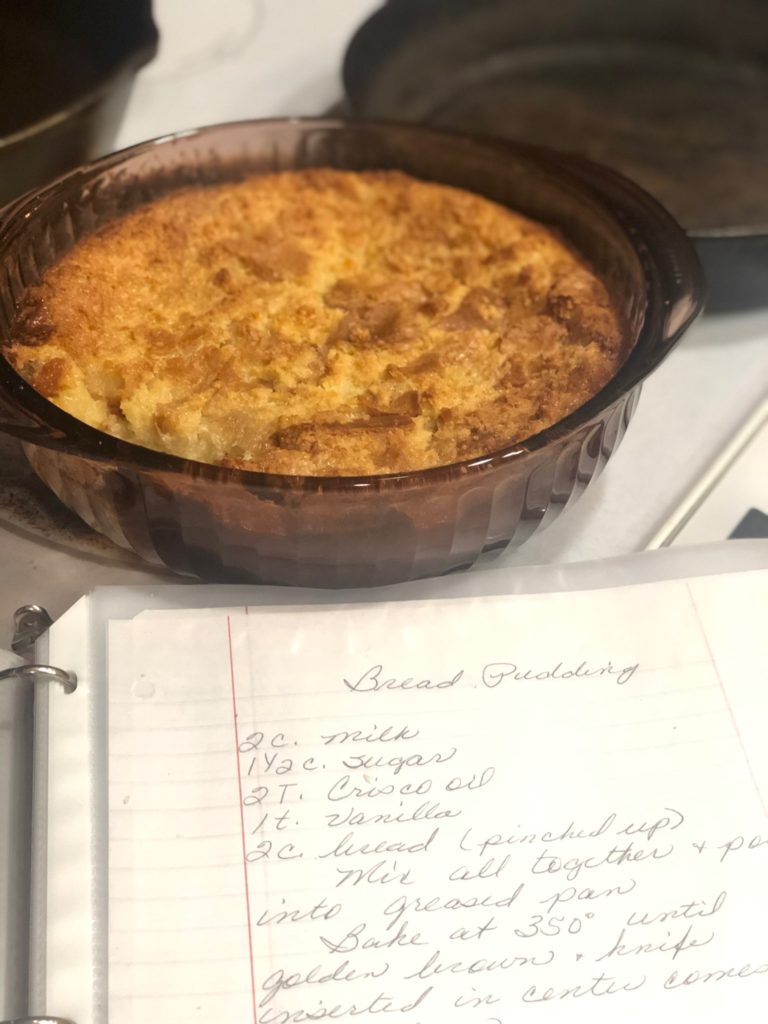
Bread Puddin’

It is – It was delicious

Bread pudding or bread puddin’ as it’s known in the south is a great southern dessert.

Bread Pudding

3 cups slightly stale bread pieces, pinched up

(Don’t use fresh-it gets gummy instead of creamy. Trust me, there’s a difference.)

2 cups milk

1 1/2 cups granulated sugar

2 eggs

1/4 tsp salt

1 tsp vanilla

Preheat oven to 350.

Grease or butter an 8 or 9” square pan.

Pinch bread pieces up in buttered dish.

Whisk milk and egg together.

Add sugar, vanilla and salt. Mix well.

Pour over bread and push bread down into liquid.

Let sit and soak about 5-10 minutes, pushing bread down a couple more times.

Bake 30-40 minutes until center is set (i.e. it doesn’t jiggle like thighs after eating this)

Top with sugar sauce, chocolate sauce, or any sauce you like.

Before baking, you can add in chocolate or butterscotch or peanut butter chips. Or fruit. Or candy pieces. Or broccoli. (Just kidding, don’t use broccoli).

The story behind the recipe

It was a way to make use of less than fresh bread. And also a way to provide a sweet treat to her children.

My mom’s mom, Josie Ward, was a great cook. One of the greatest, to hear my mom and aunt and uncles tell it. And I believe it to be true due to the fact that though her home and kitchen were humble, folks conveniently stopped by regularly at mealtimes. They knew she would feed them. And they knew it would be good. 

She was a sharecropper’s wife and mother to 8 kids. My grandfather Carrell was an honest man, and good – most of the time. He truly would give someone the shirt off his back or hand his last few dollars to one of his children if they needed it. But he also  liked to drink; and would spend what little money they had on moonshine whiskey.

They sharecropped in Scott County, Arkansas and picked cotton all over Arkansas and Oklahoma just to make enough to start again the next year. There was never enough to get ahead. But they always ate well thanks to the large garden they had and to the 8 kids who helped tend that garden and pick the cotton.

Josie knew how to make something out of nothing. She could take the most basic ingredients and work miracles. Ordinary ingredients like sugar and flour and PET (evaporated) milk became extraordinary in her skilled hands. She’d add in butter she’d churned, eggs she’d gathered, and fruit she’d canned and scrape together a delicious diversion from everyday life for her children. She did this after a long day of housework, working in the garden, or working in the field, and most days all three. She did this because life was hard for all of them. And while she couldn’t protect her children totally from Carrell’s temper or give them much materially, she could love them unconditionally and lift their moods with good food.

One dessert she made combined stale bread, milk, eggs or oil, sugar and a little vanilla flavoring. It was an old time recipe handed down by her mom. It was making sure nothing went to waste. It was comfort and love and warmth. It was delicious.

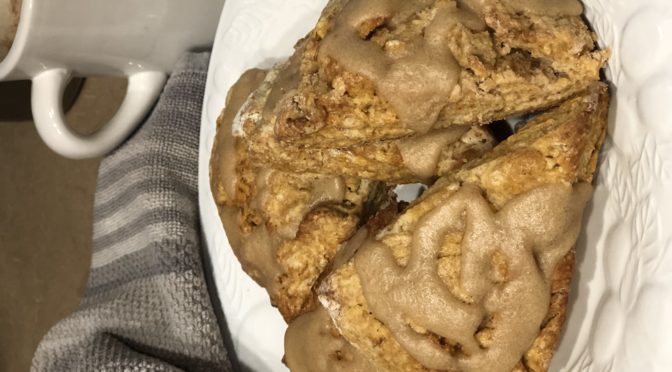
Brown Sugar Sweet Potato Scones

Sometimes there’s a sale on sweet potatoes.
And sometimes your father-in-law buys a case of them at a produce stand and takes two out and brings you the rest.
I’ve had both these things happen. And so I learned to do more than the usual sweet potato casserole or baked sweet potato or sweet potato fries or sweet potato pie. I’m sounding a bit like Bubba from Forrest Gump … but with sweet potatoes.
Our customers enjoyed new dishes. And they especially enjoyed seasonal new dishes. So in the fall/winter, we had an increase in requests for sweet potato pie and sweet potato casserole with the little marshmallows toasted on top. And we happily obliged those cravings.
But I like to try new things, so the brown sugar sweet potato scone became a winner. I loved them, customers loved them. And they’re pretty easy to make using pantry staples, so win-win. A scone is pretty much a ramped up biscuit. This means you can eat them anytime and all the time. Our customers loved to buy them for quick breakfasts or we served them for breakfast catering orders. They travel well and don’t have to be served hot.
Sweet potato scones
Here’s what you’ll need for brown sugar sweet potato scones with brown sugar icing.
(Makes 16 scones)
1 cup mashed sweet potatoes (2 medium sweet potatoes, cooked)
1 cup buttermilk (to make your own: put 1 Tbs lemon juice in a measuring cup and fill it to the cup line with milk)
2 Tbs heavy cream
3 tsp vanilla flavoring (here’s how to make homemade)
Healthy dollop of sour cream (about 2 Tbs)
Sweet potato scones
5 cups all purpose flour
2/3 cup packed brown sugar
1 tsp ground cinnamon
2 tsp baking powder
1 tsp baking soda
1/2 tsp salt
1 cup cold unsalted butter, cubed

Brown Sugar Icing:
1/2 cup brown sugar
1/2 cup powdered sugar
2 Tbs unsalted butter, melted
6 Tbs heavy cream

Preheat oven to 400 degrees.
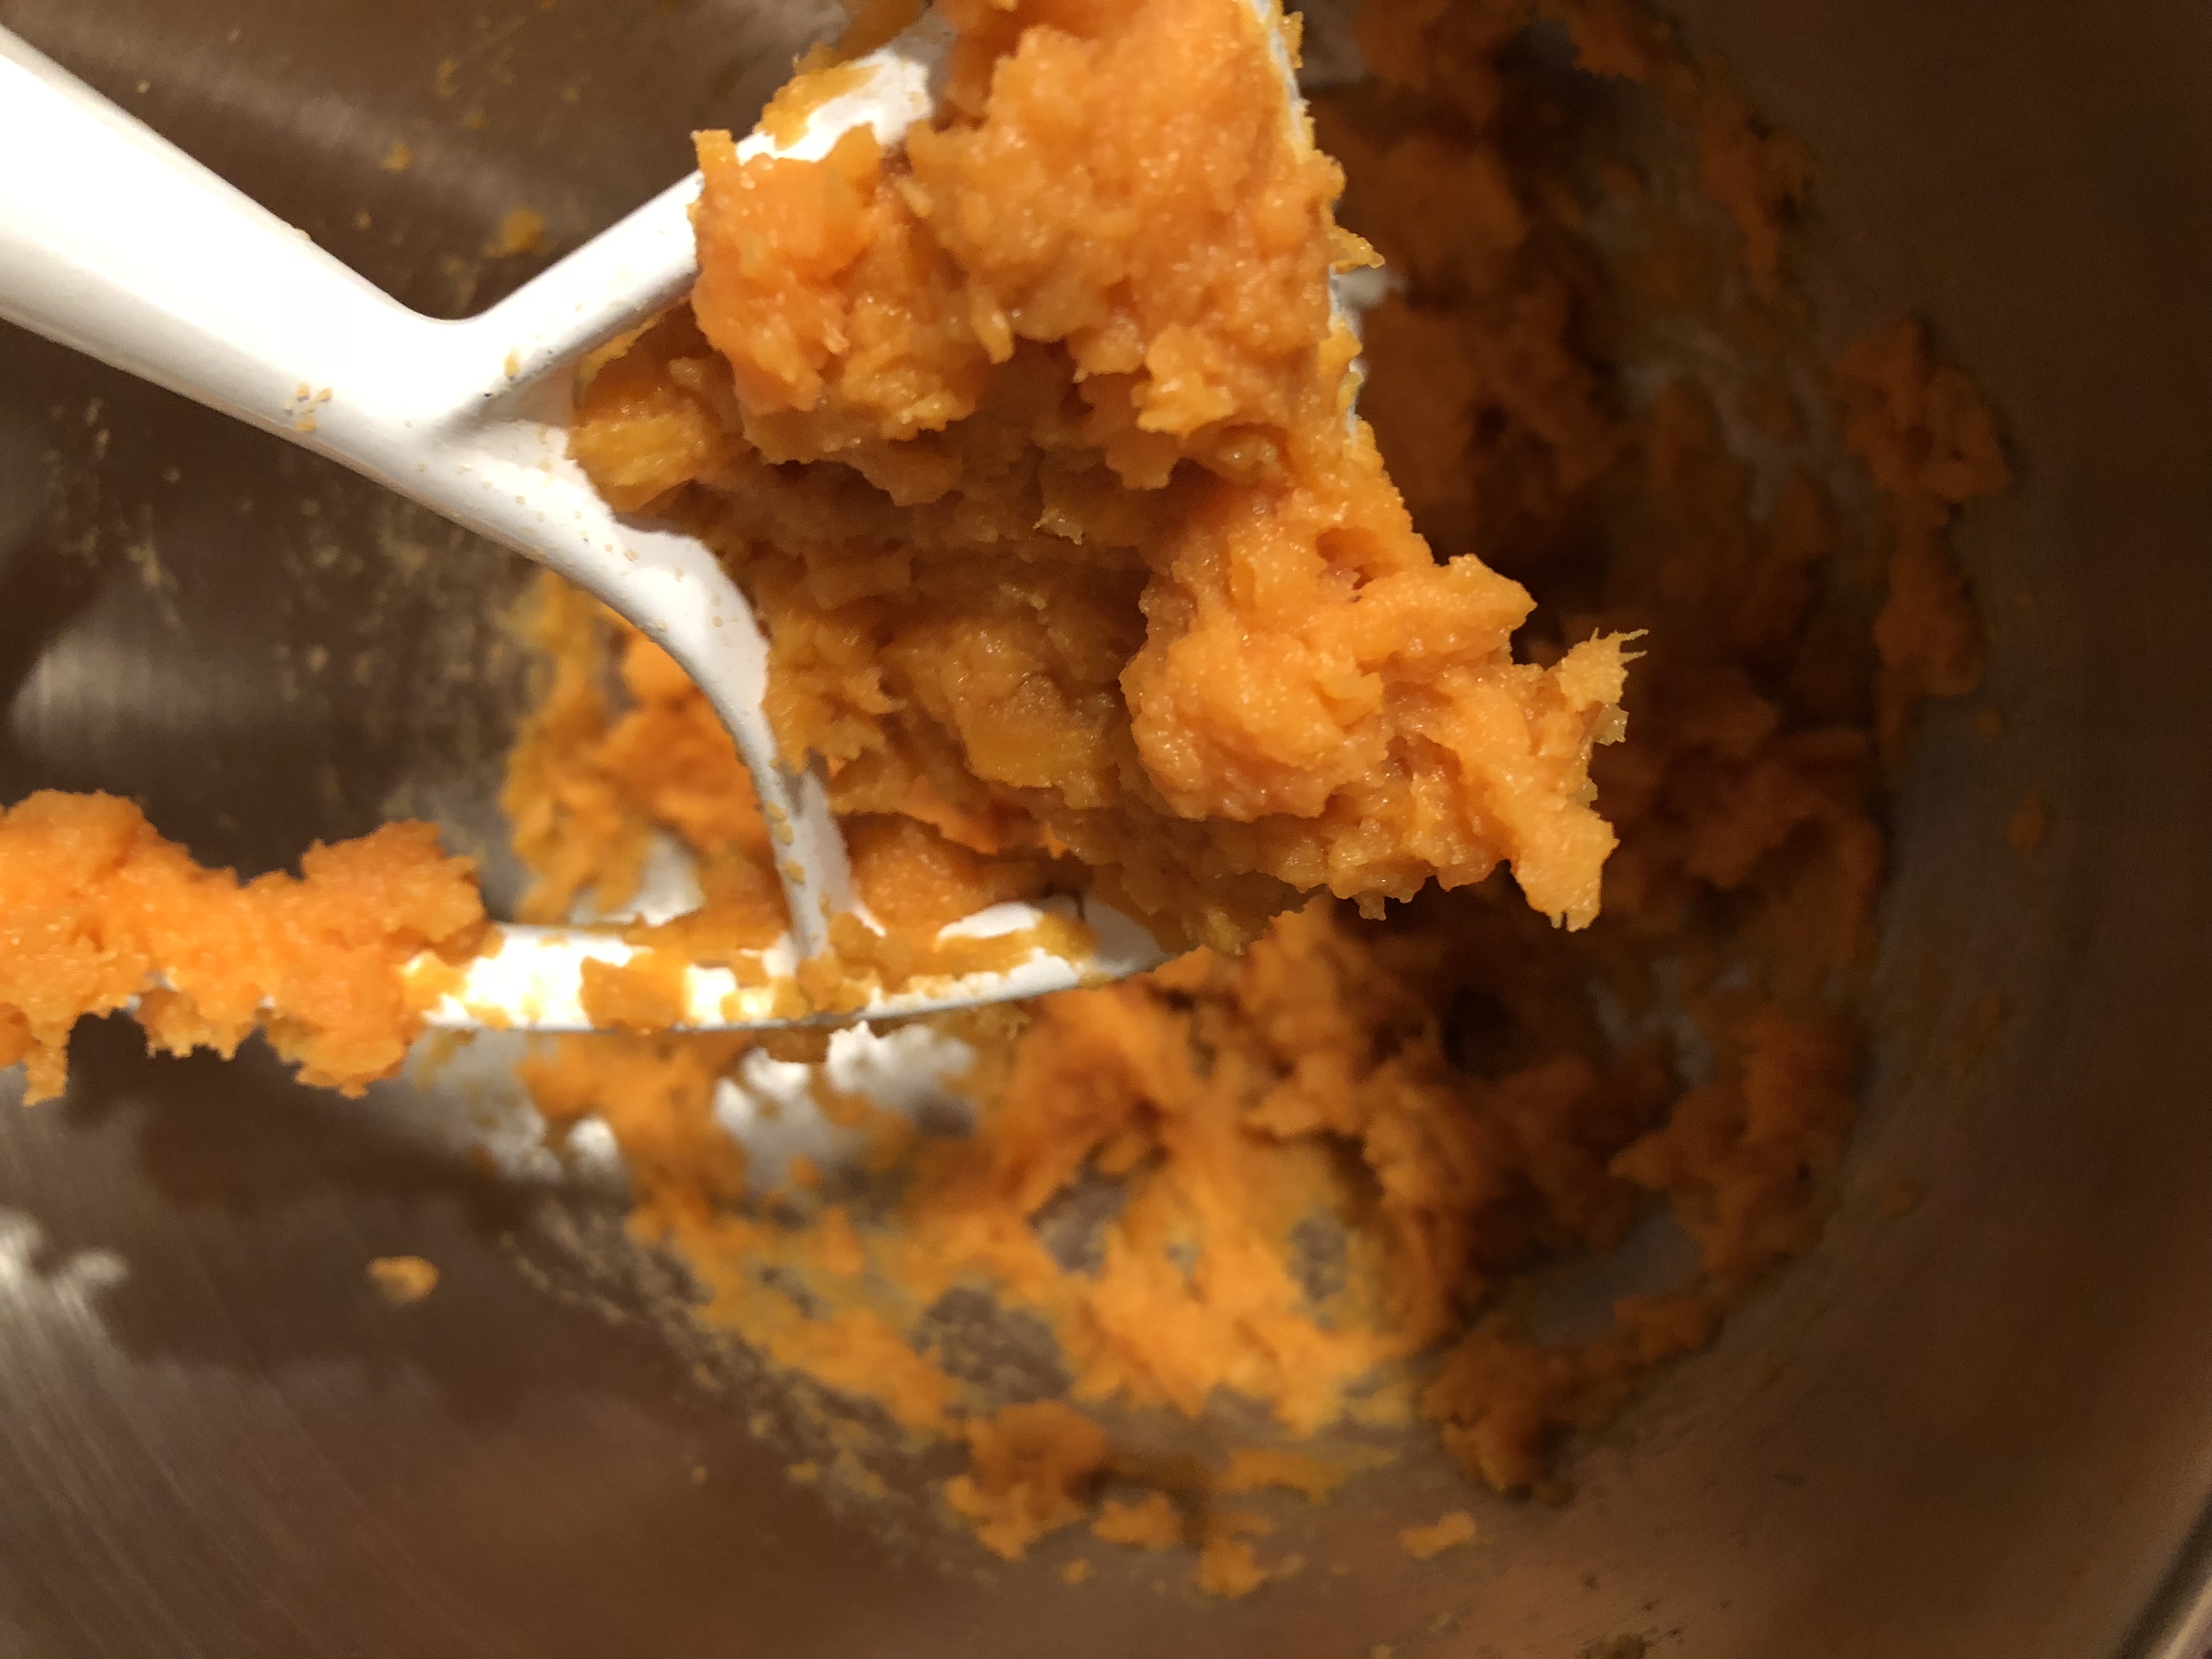
Sweet potato scones, whipping sweet potatoes
Smash those sweet potatoes up in a bowl with a large spoon or in your mixer bowl.
Sweet potato scones
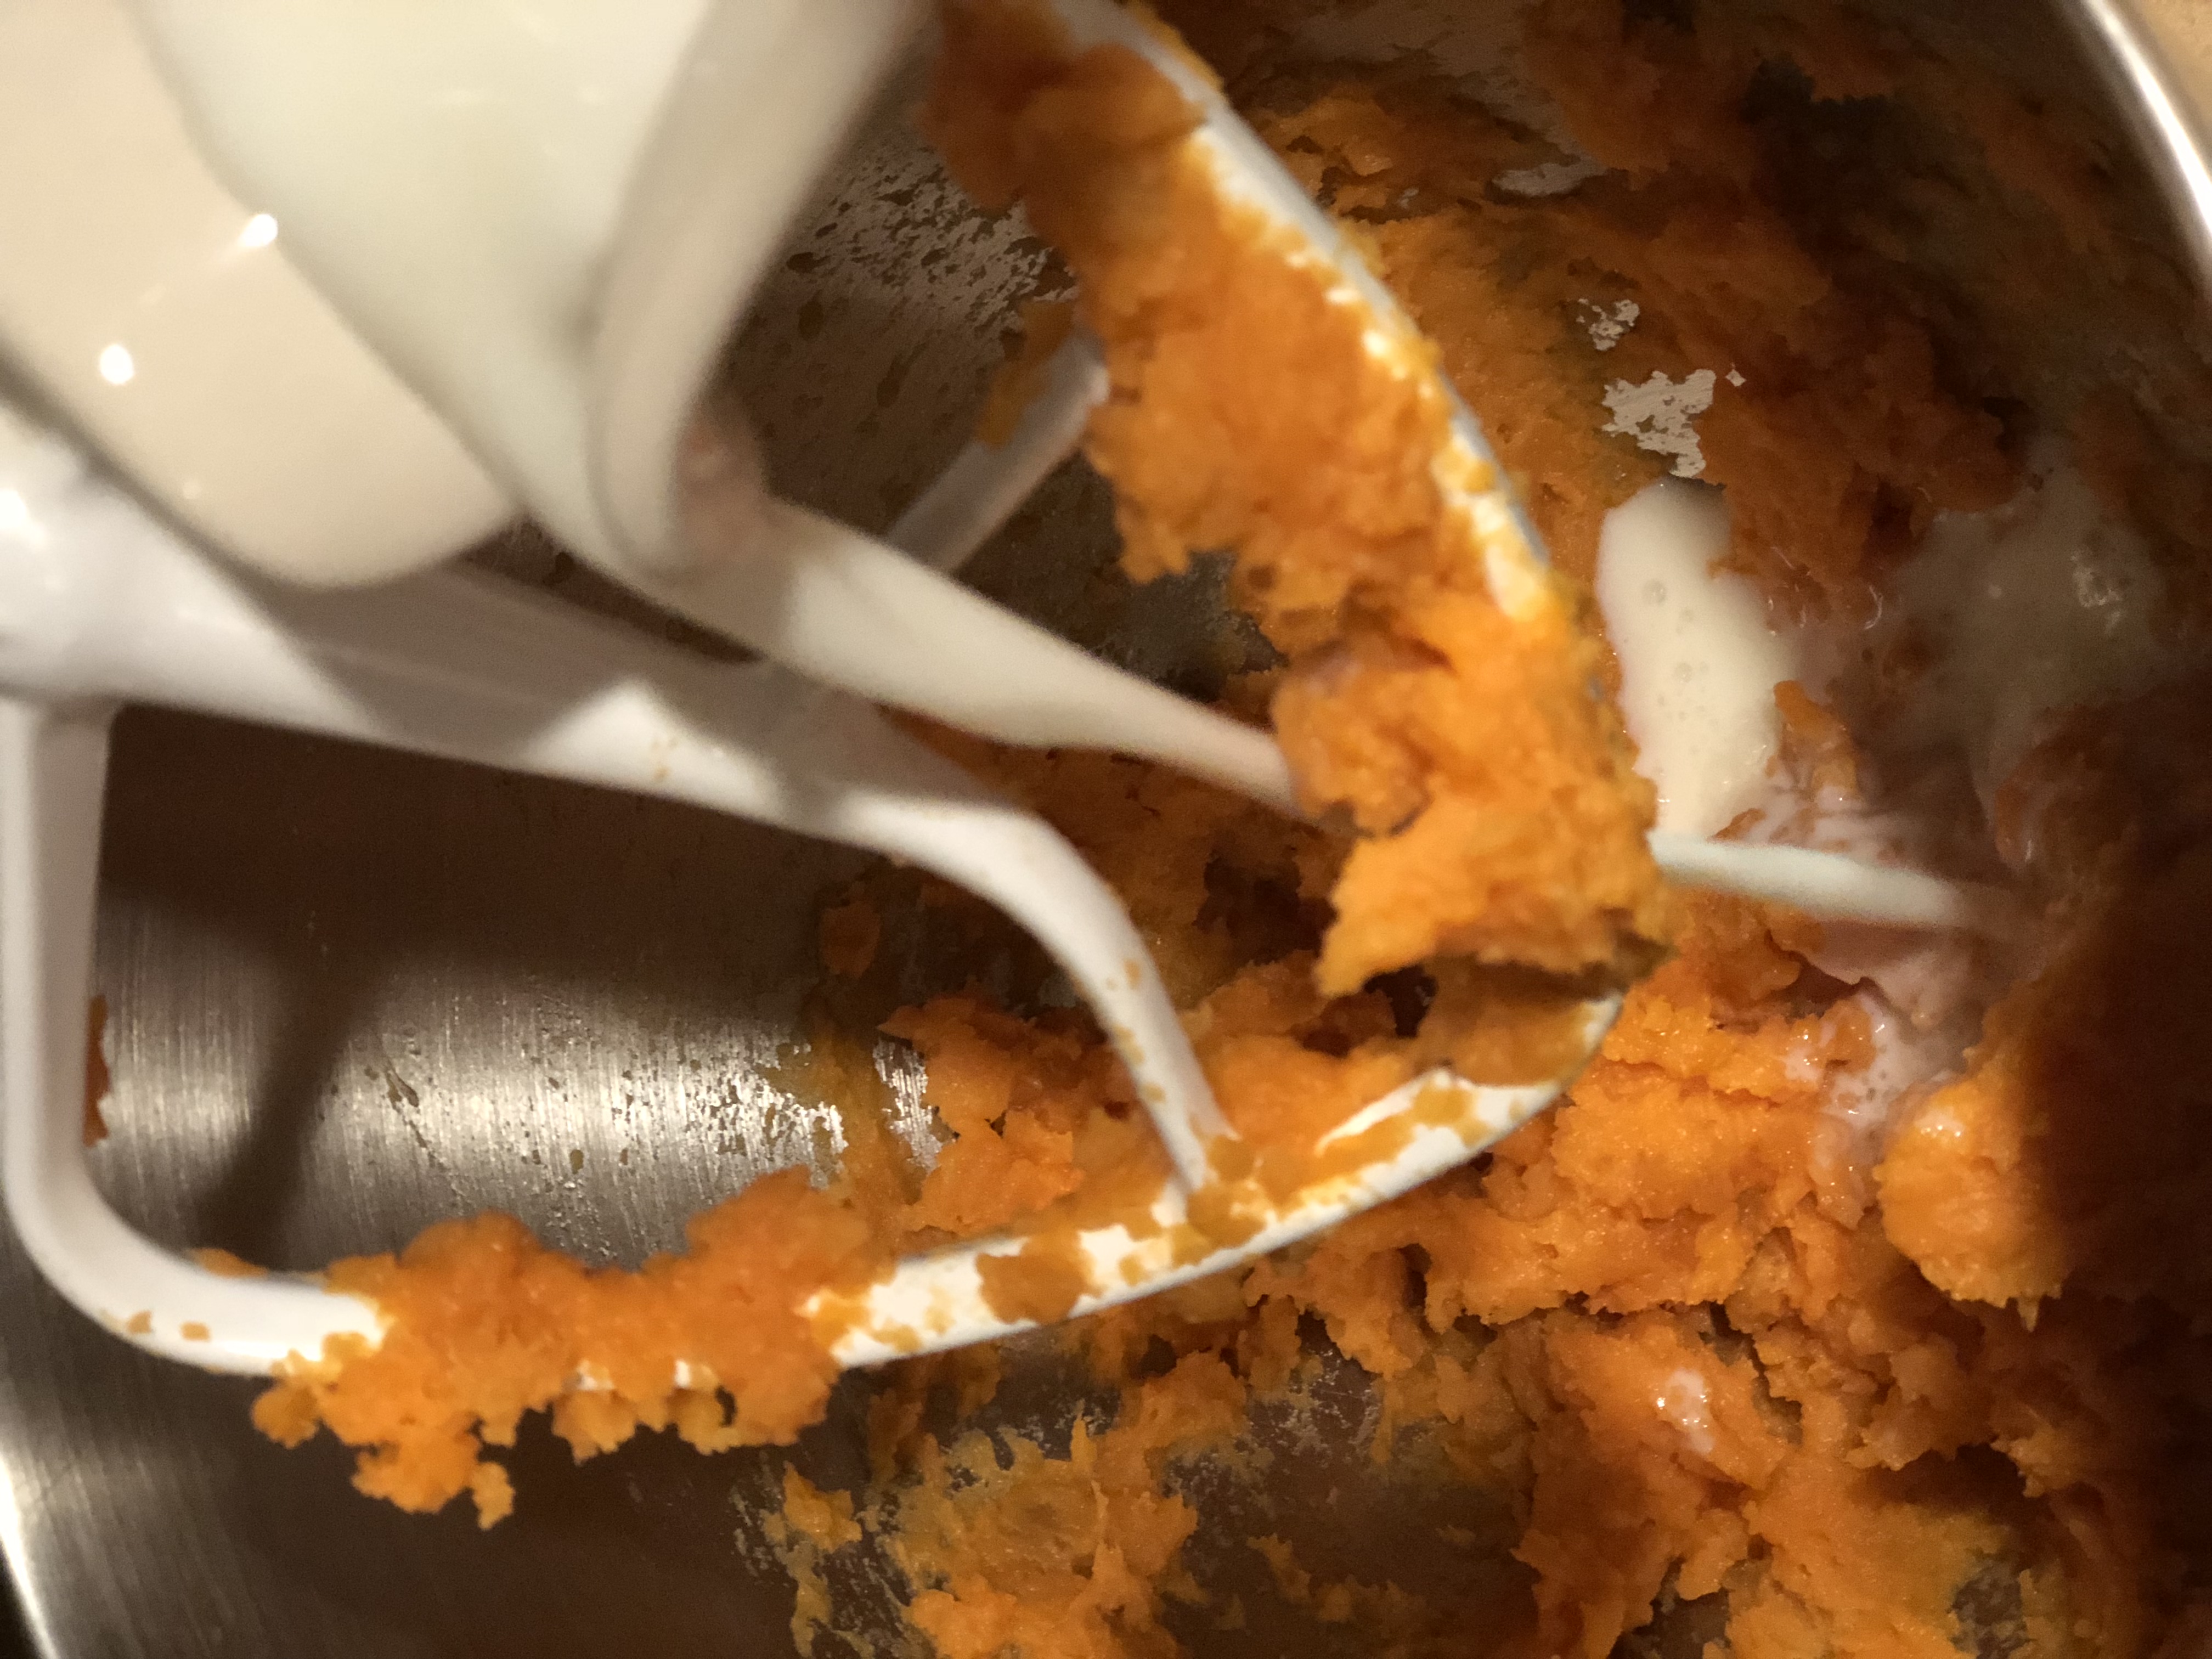
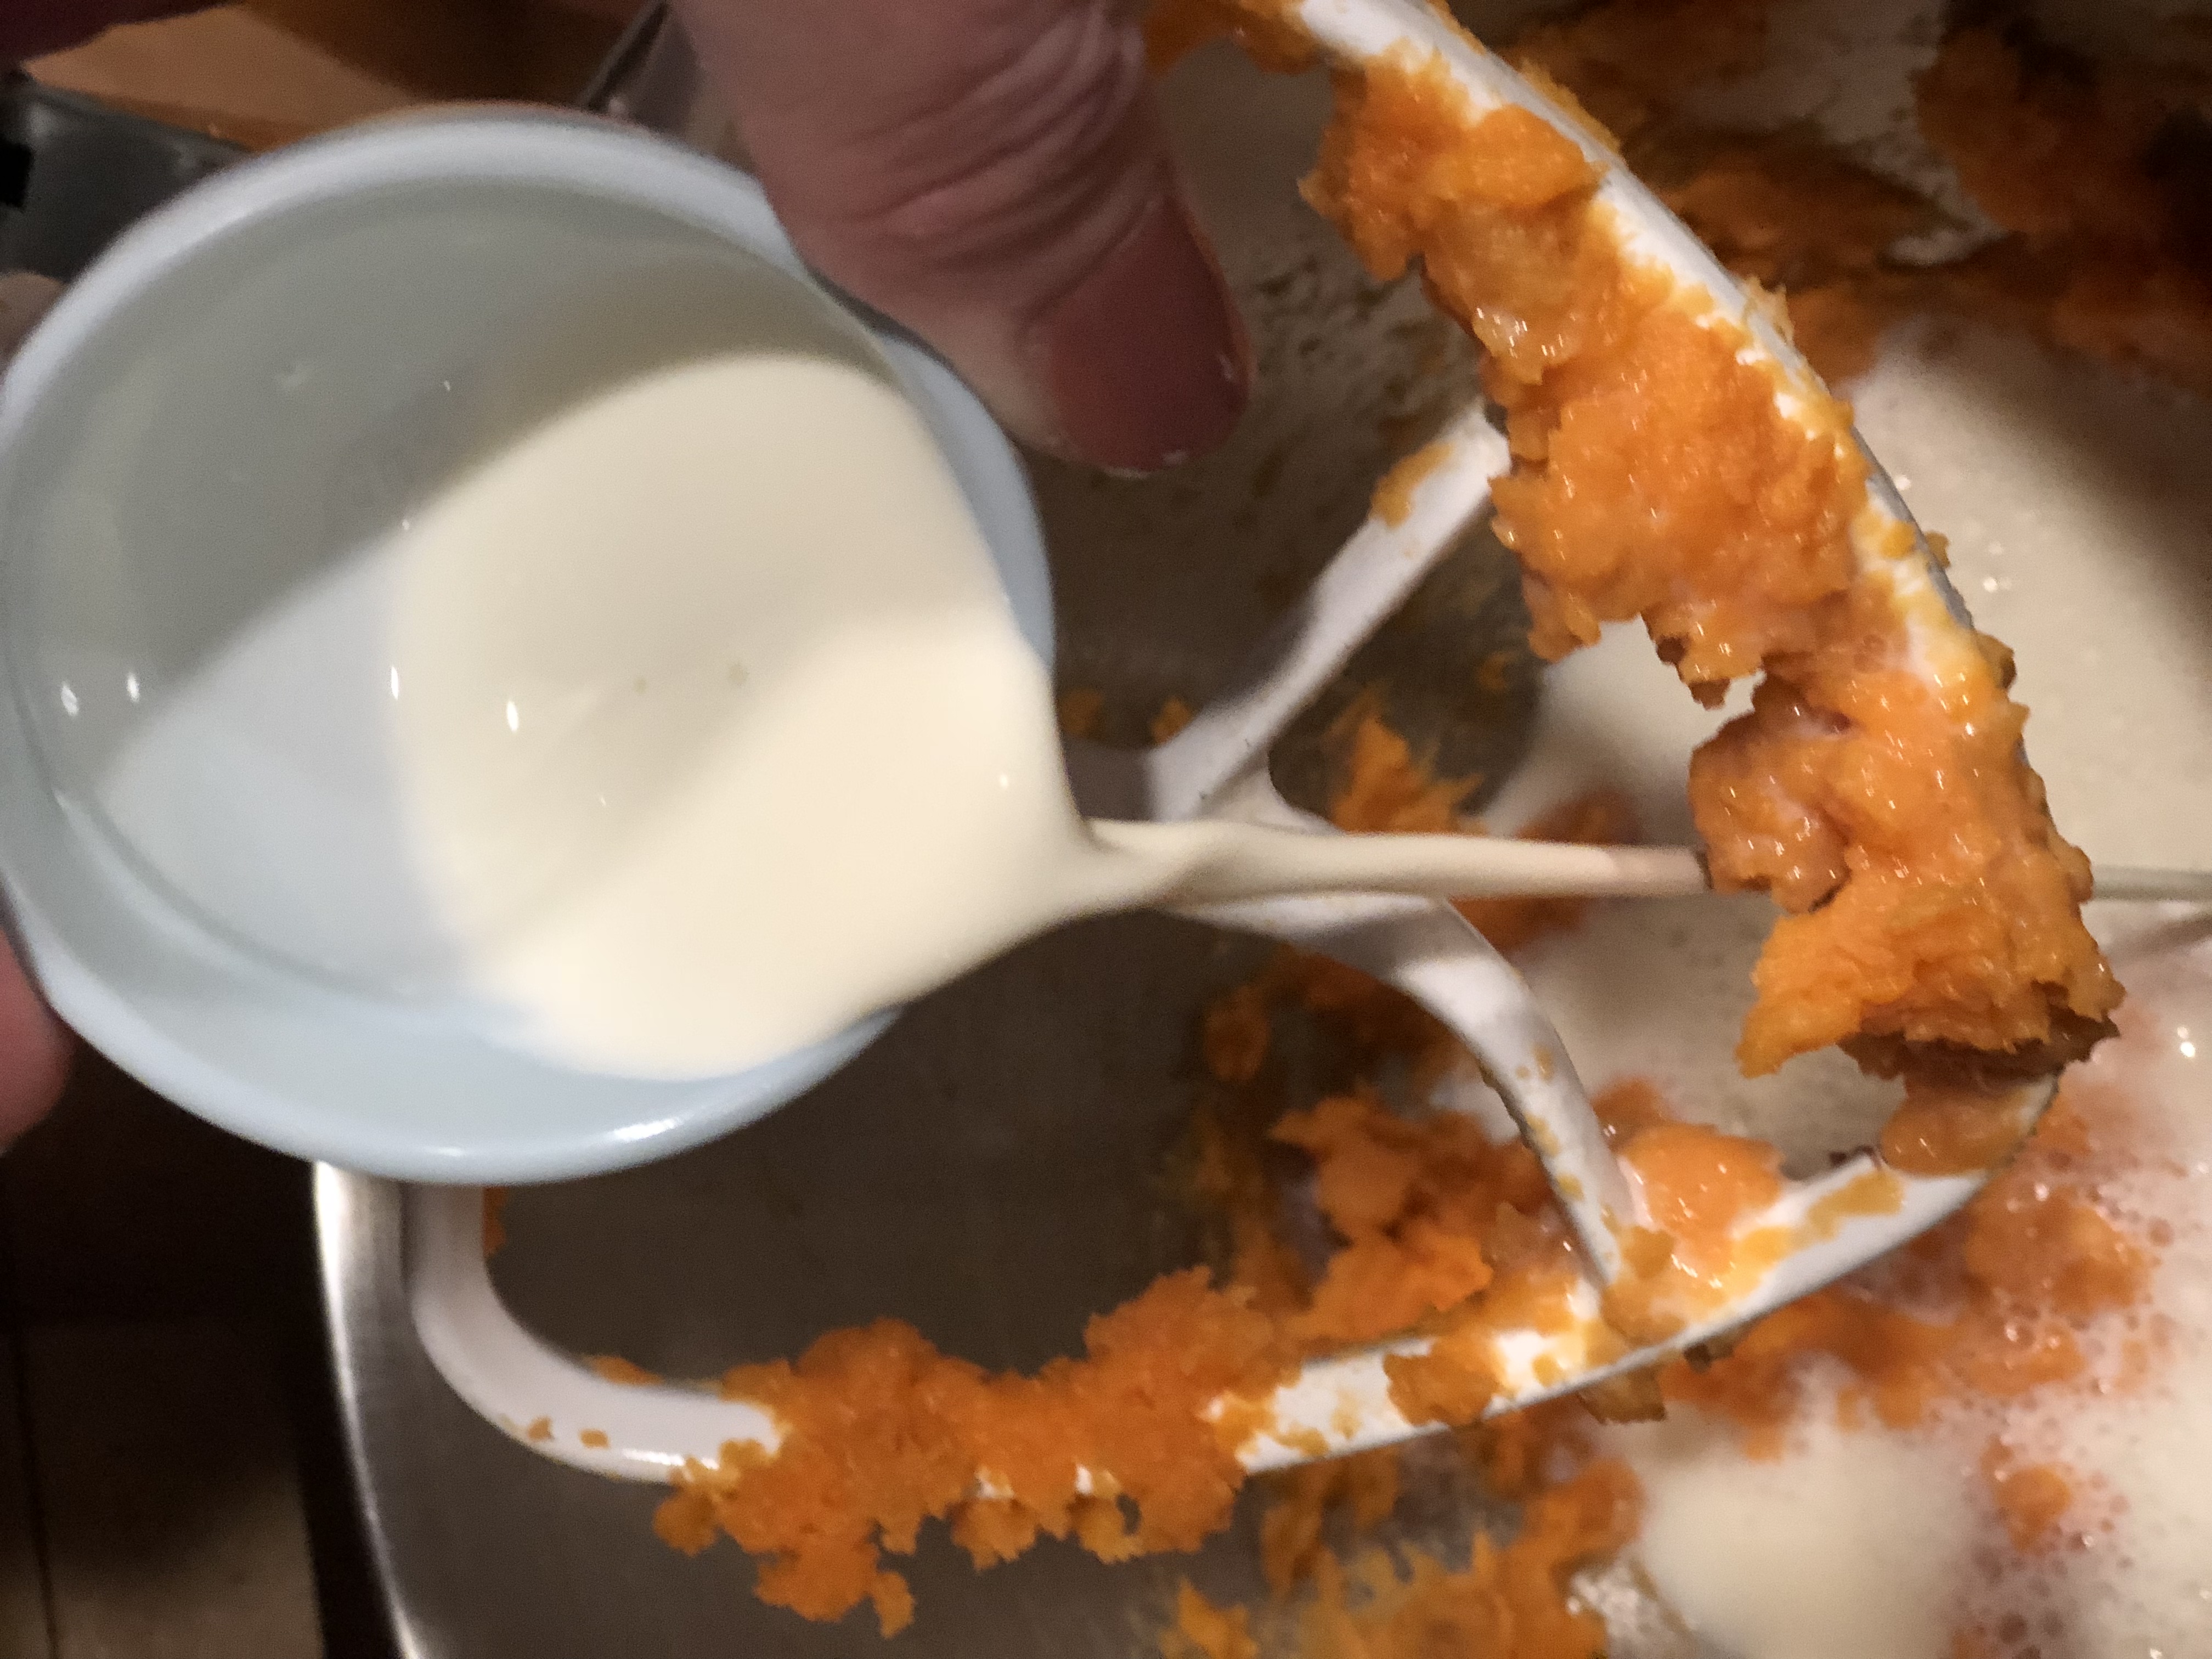
Add milk.
Sweet potato scones
Add cream.
Sweet potato scones
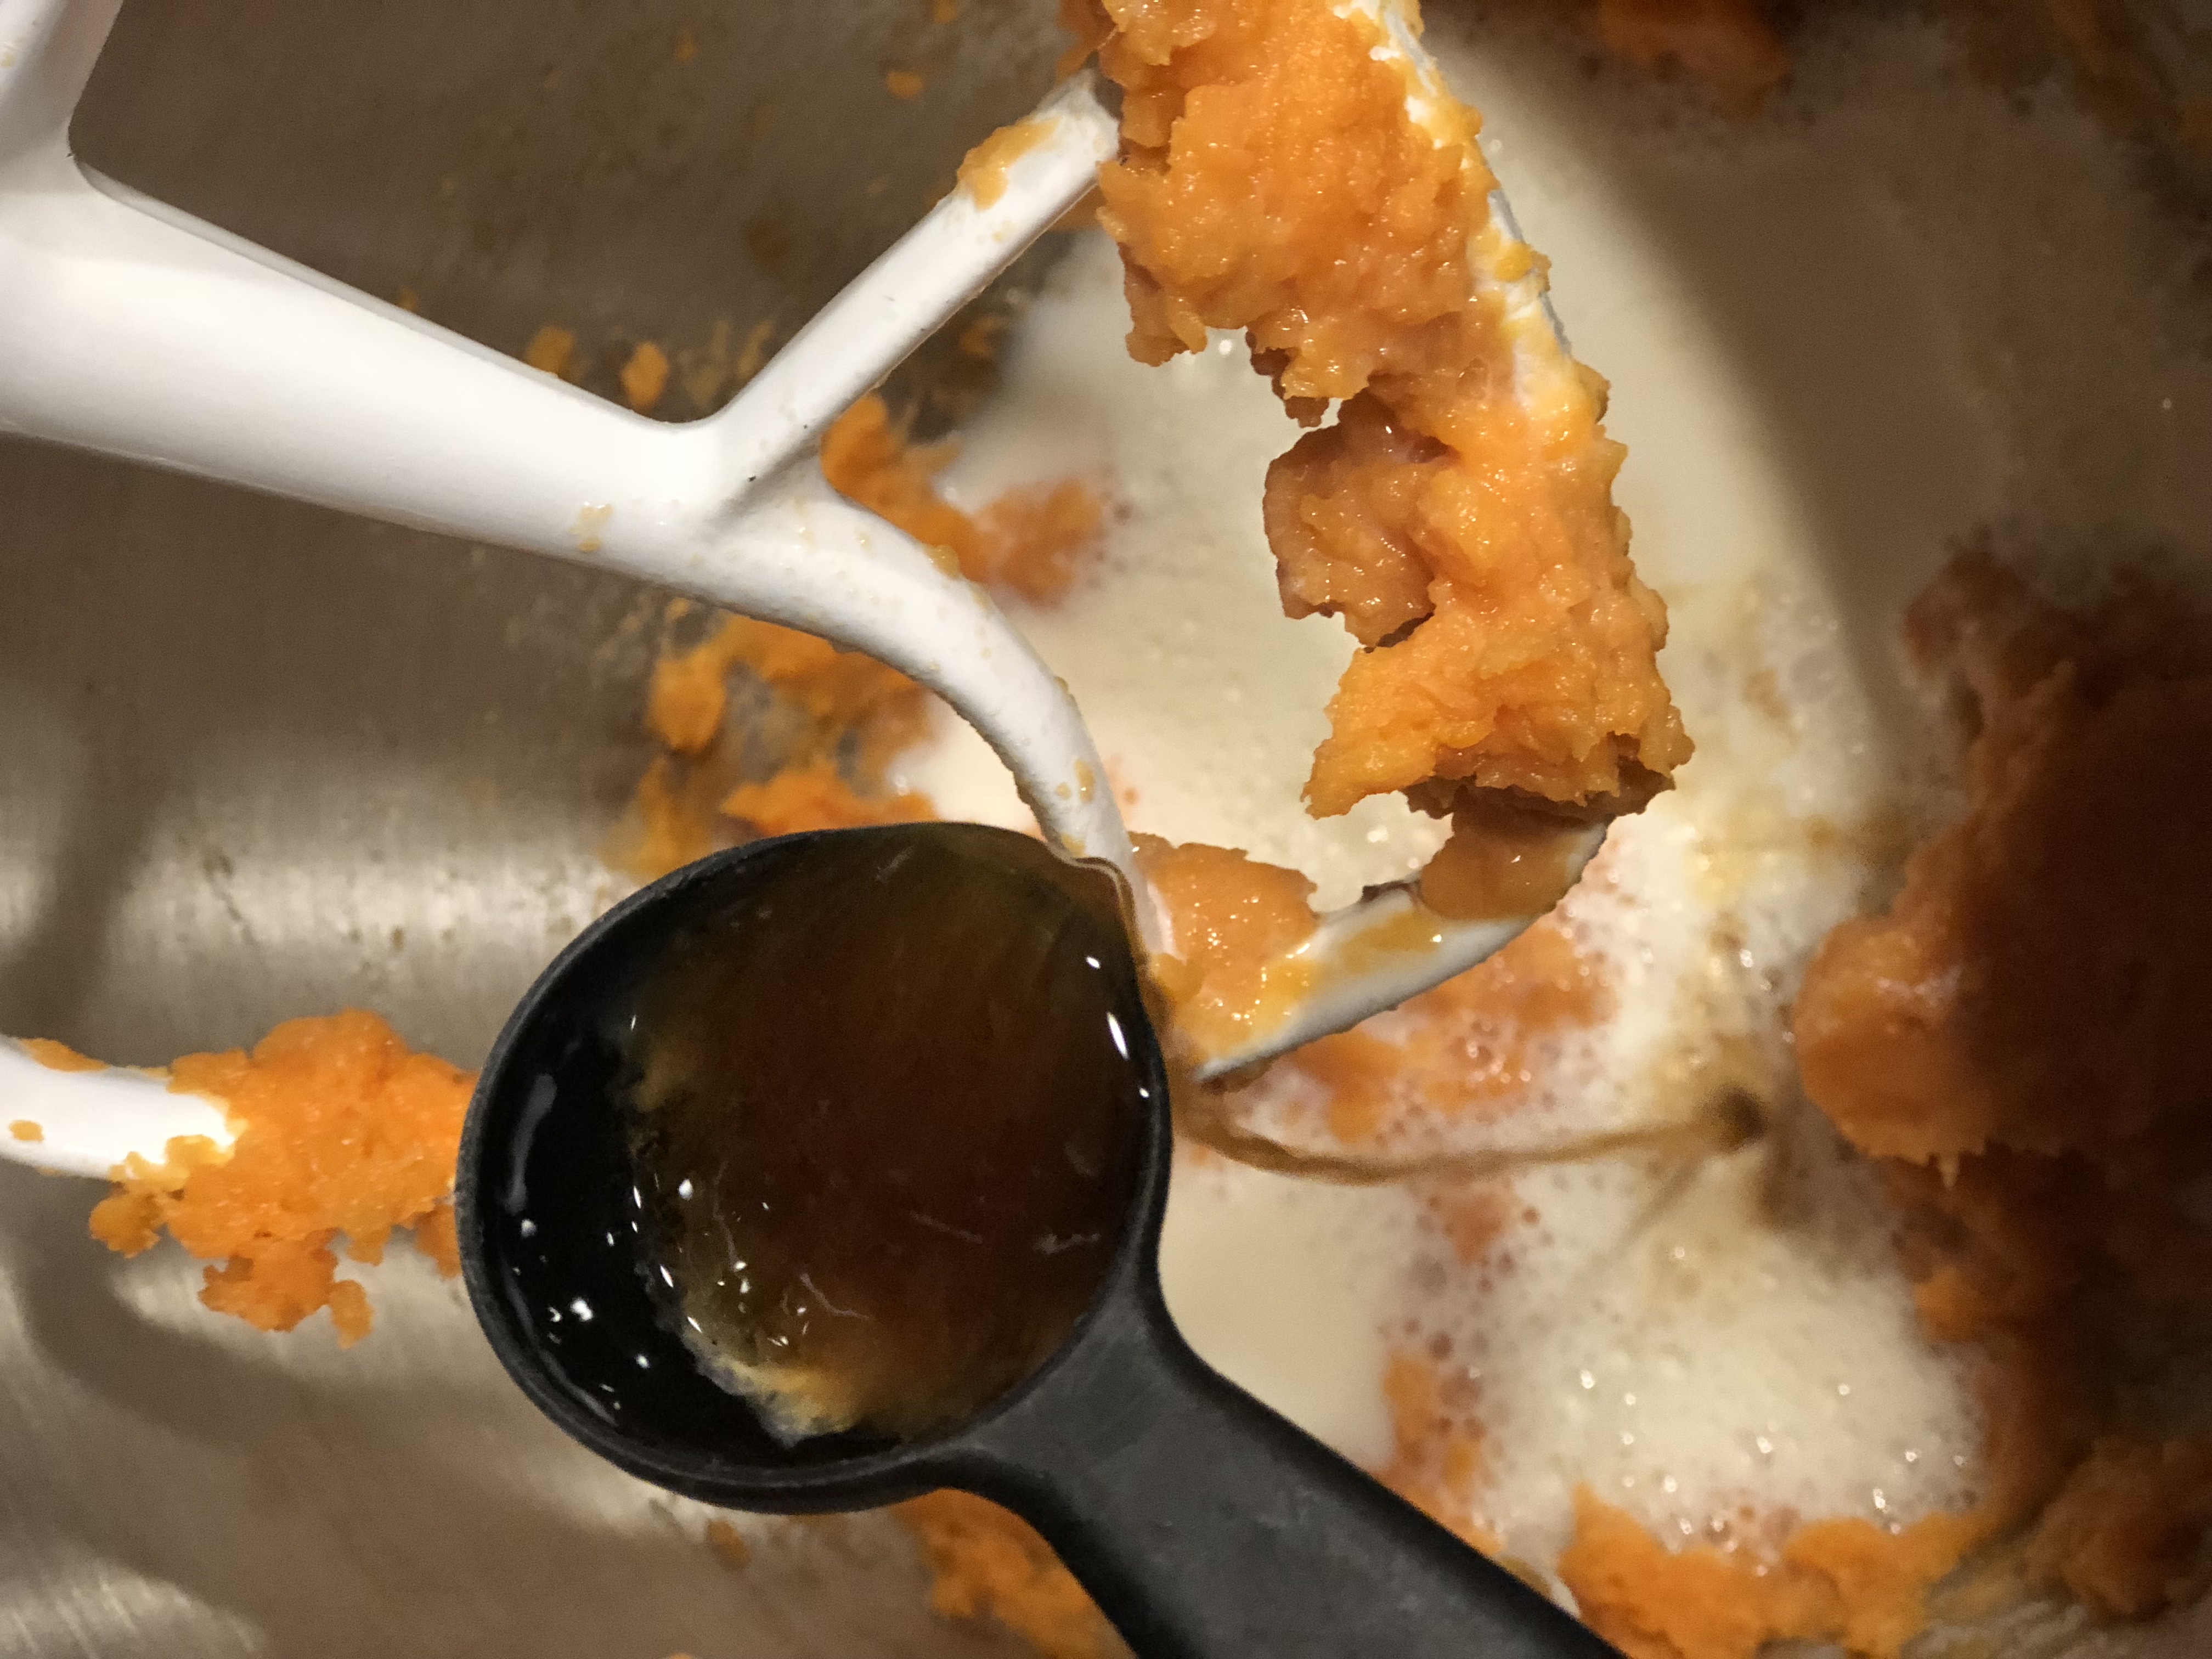
Add vanilla flavoring.
Sweet potato scones
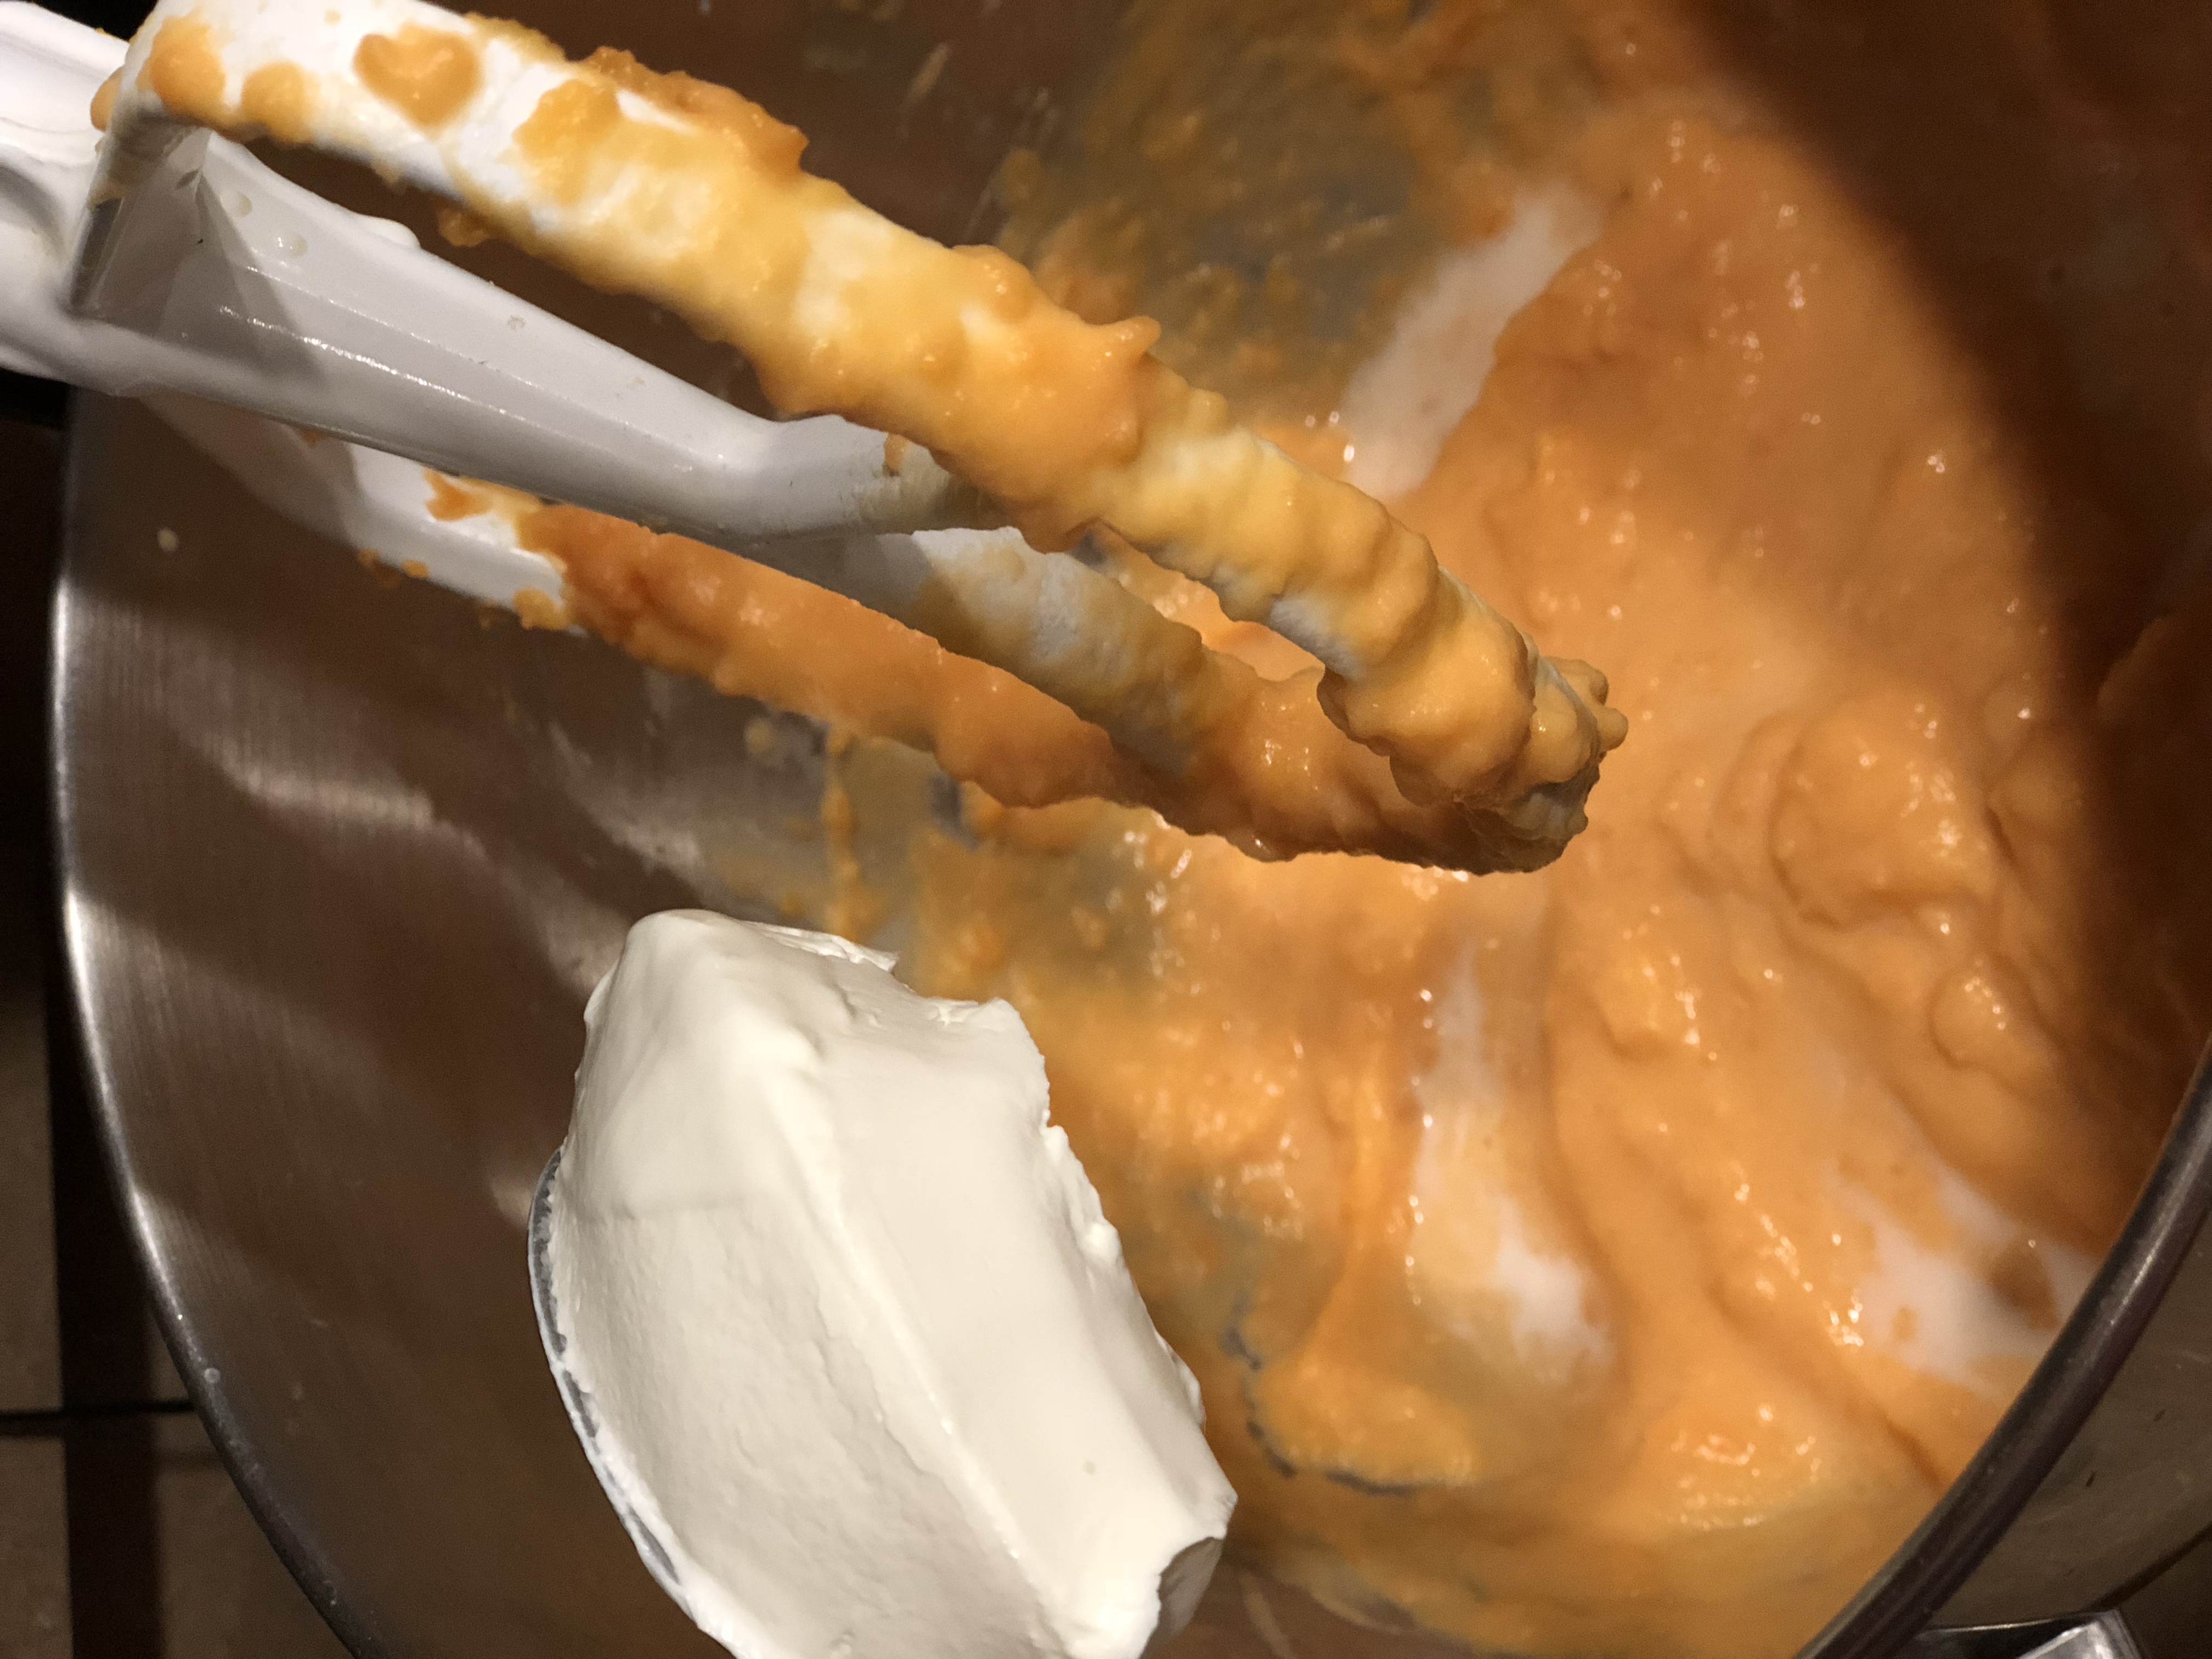
Add sour cream.
Sweet potato scones
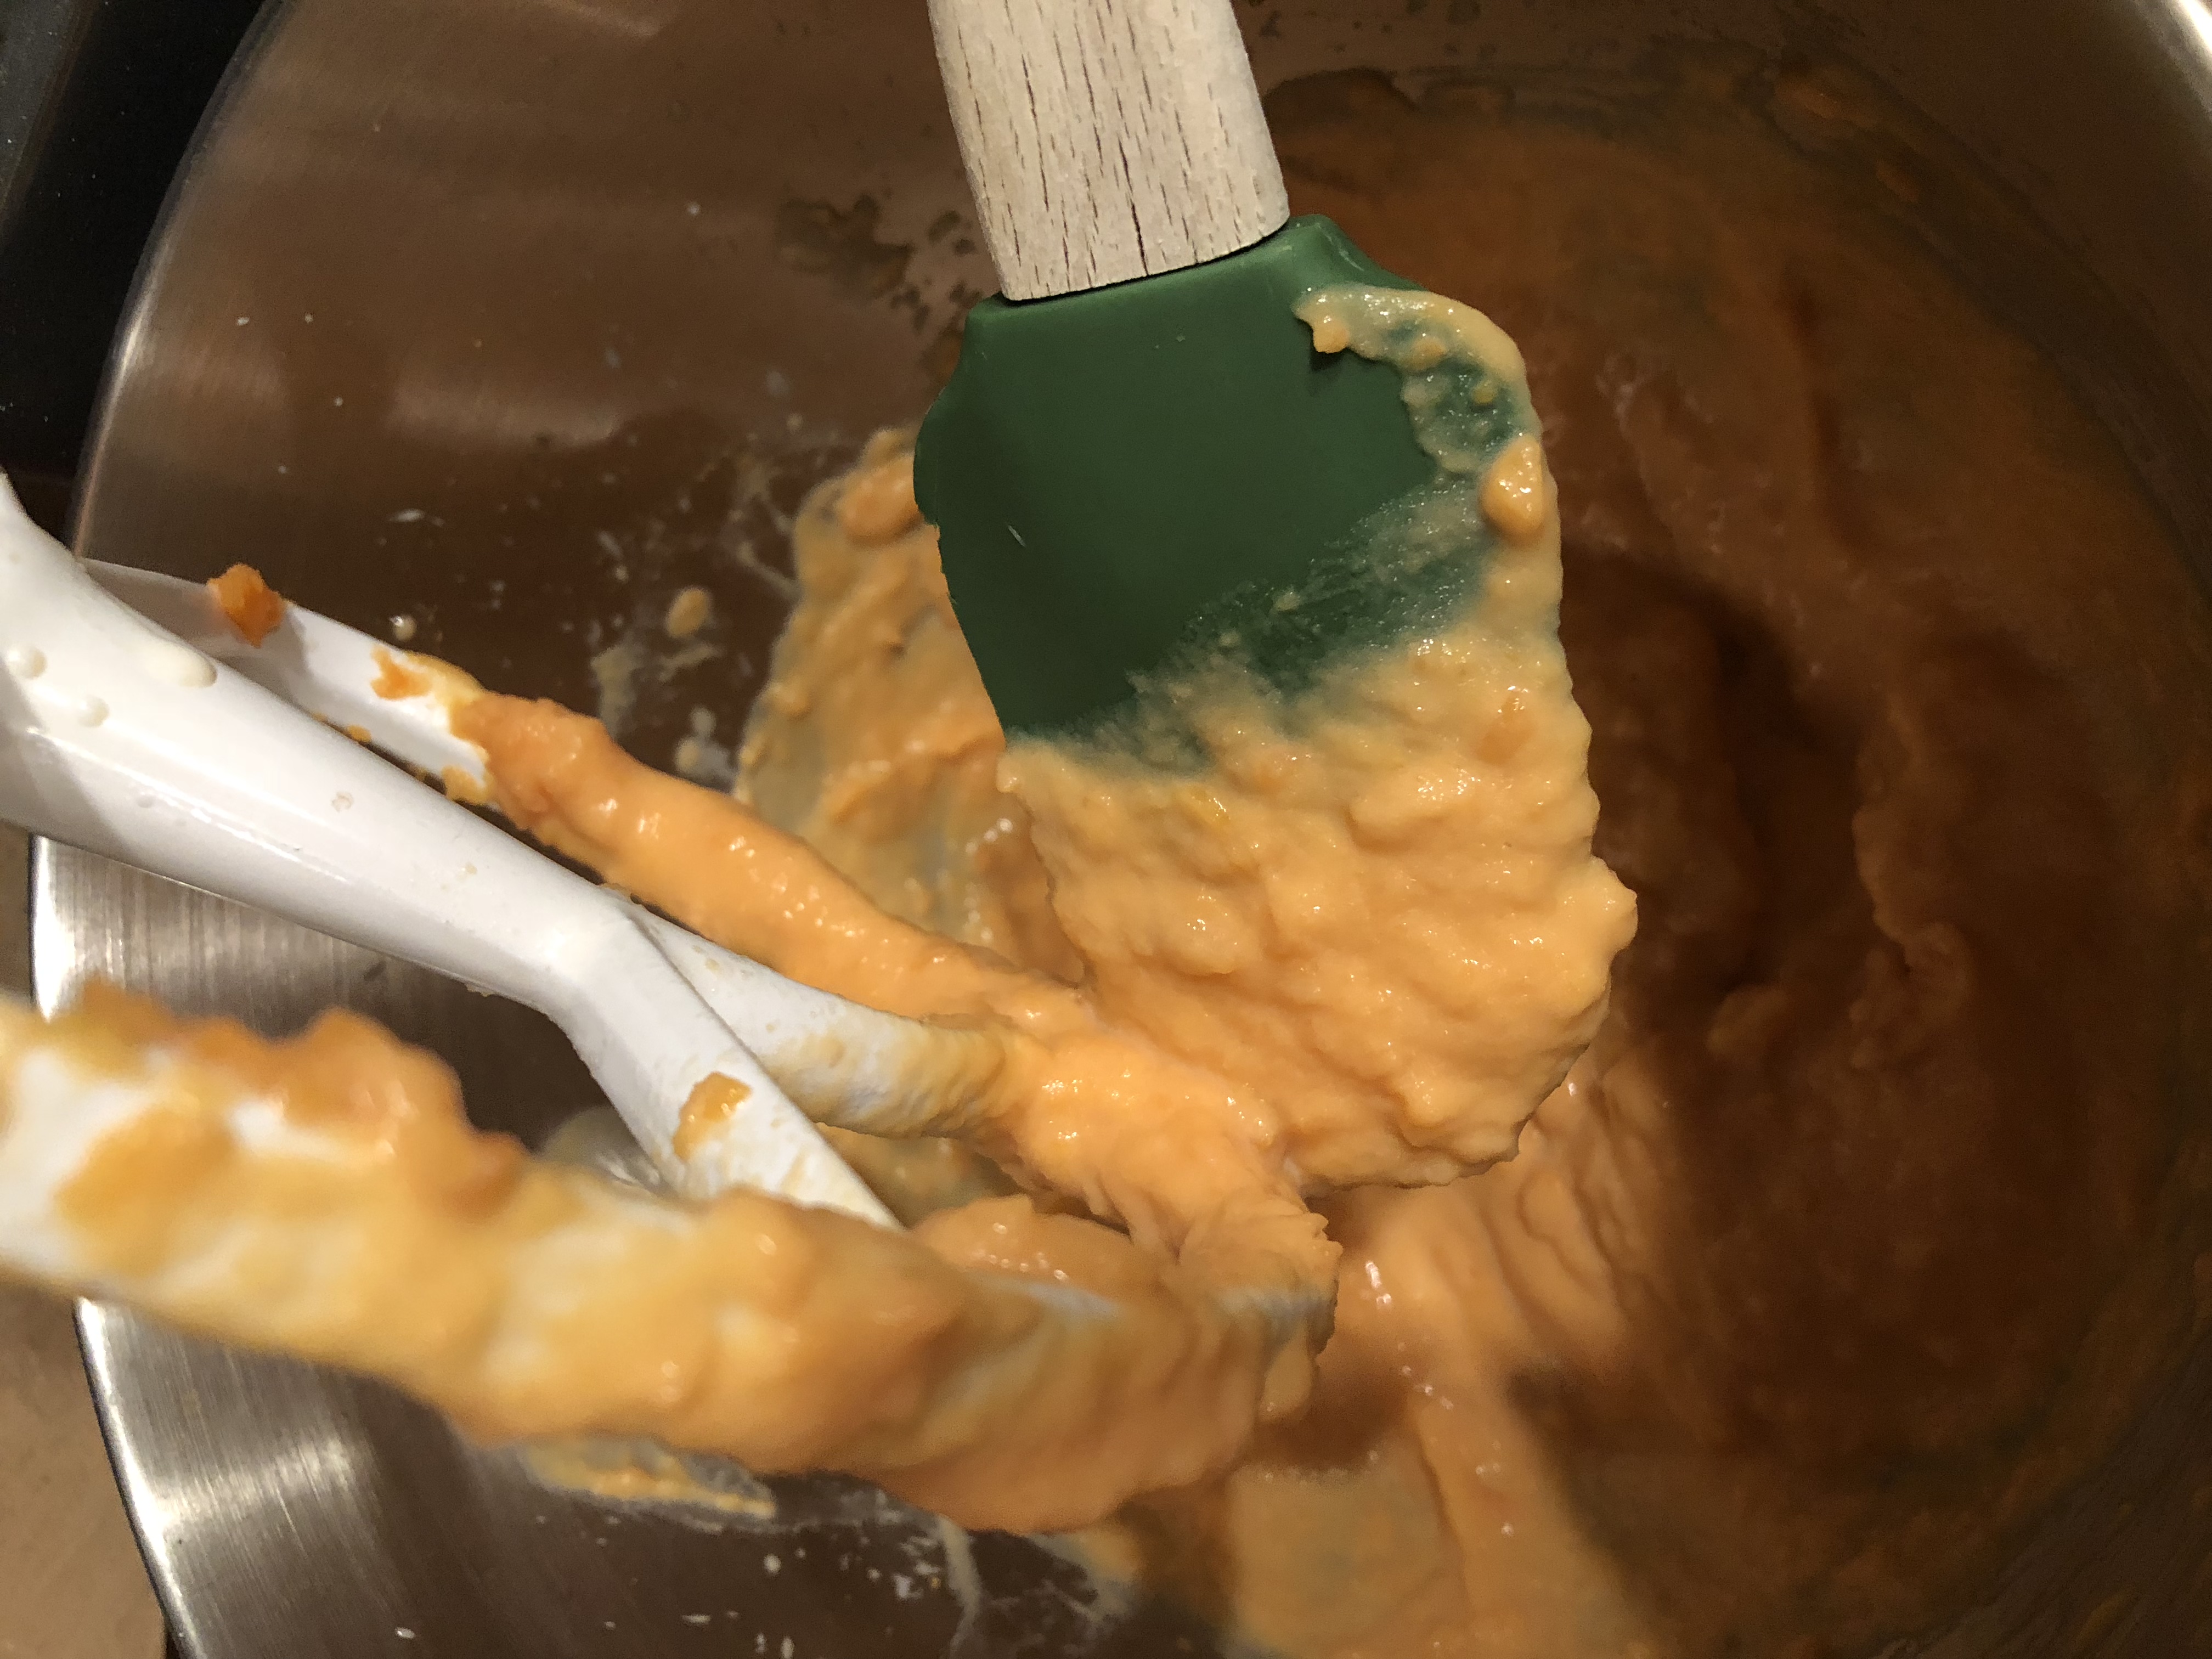
Whip it. Whip it real good. … Until well mixed.
Sweet potato scones
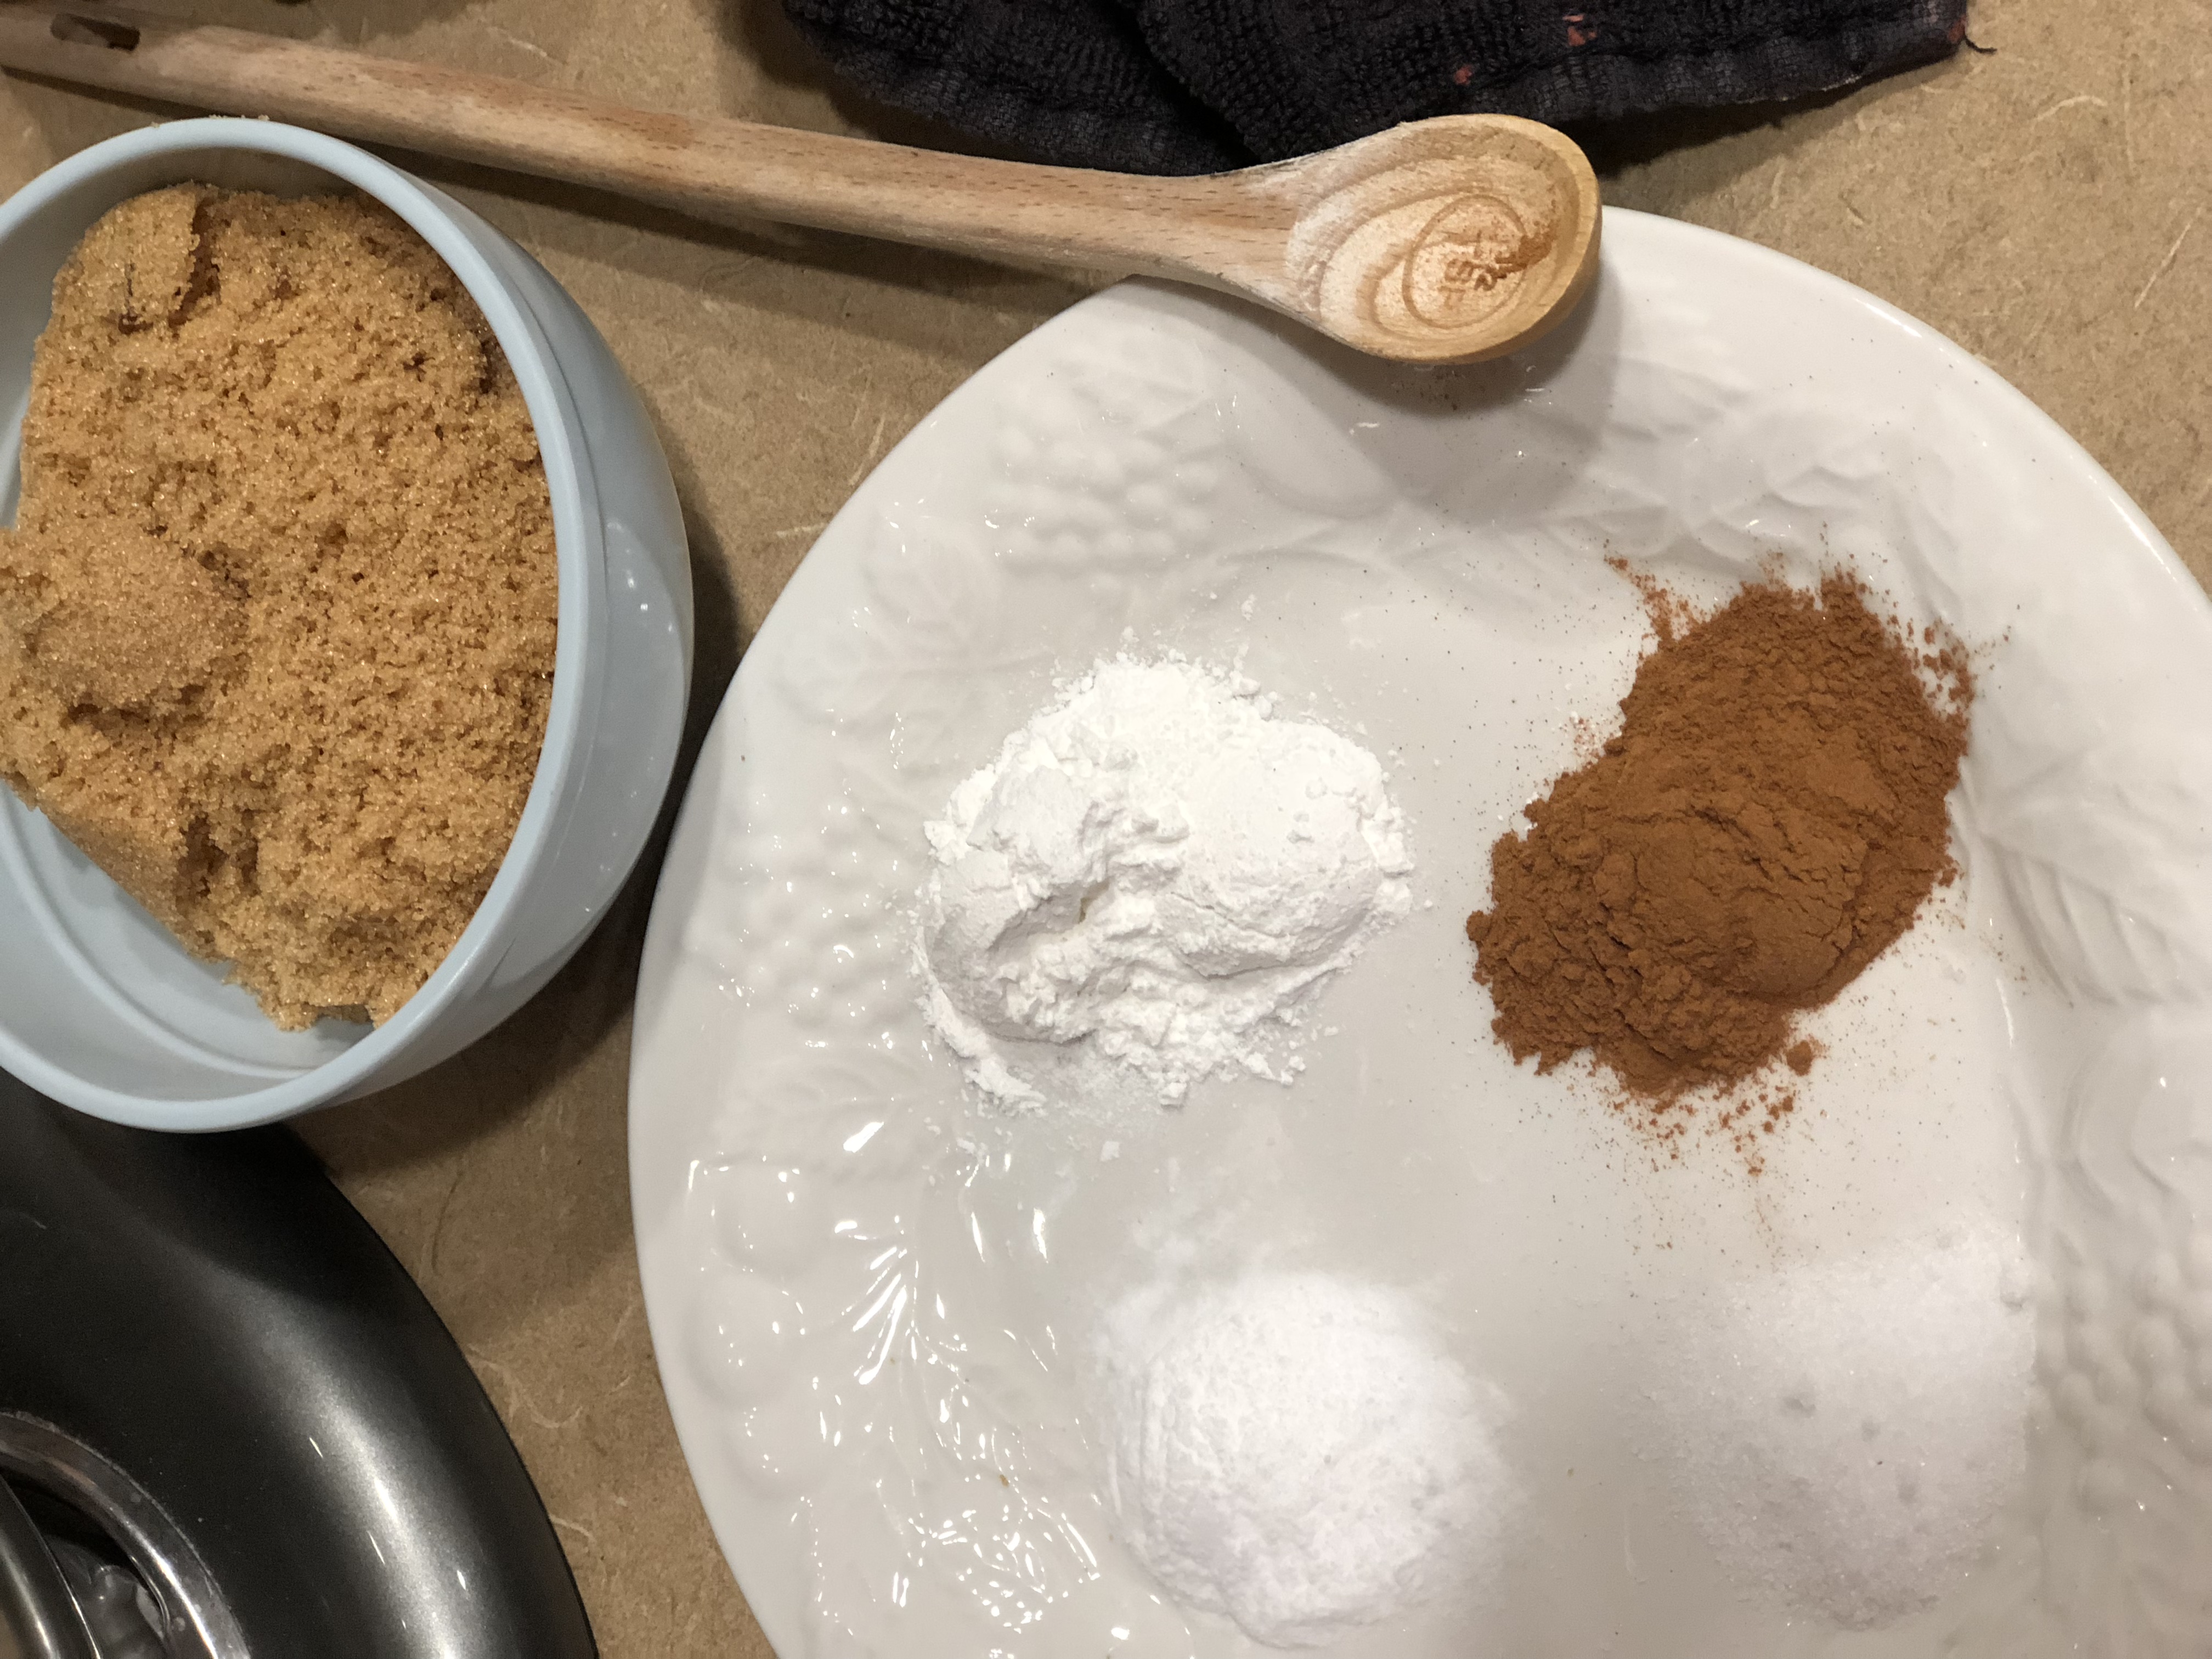
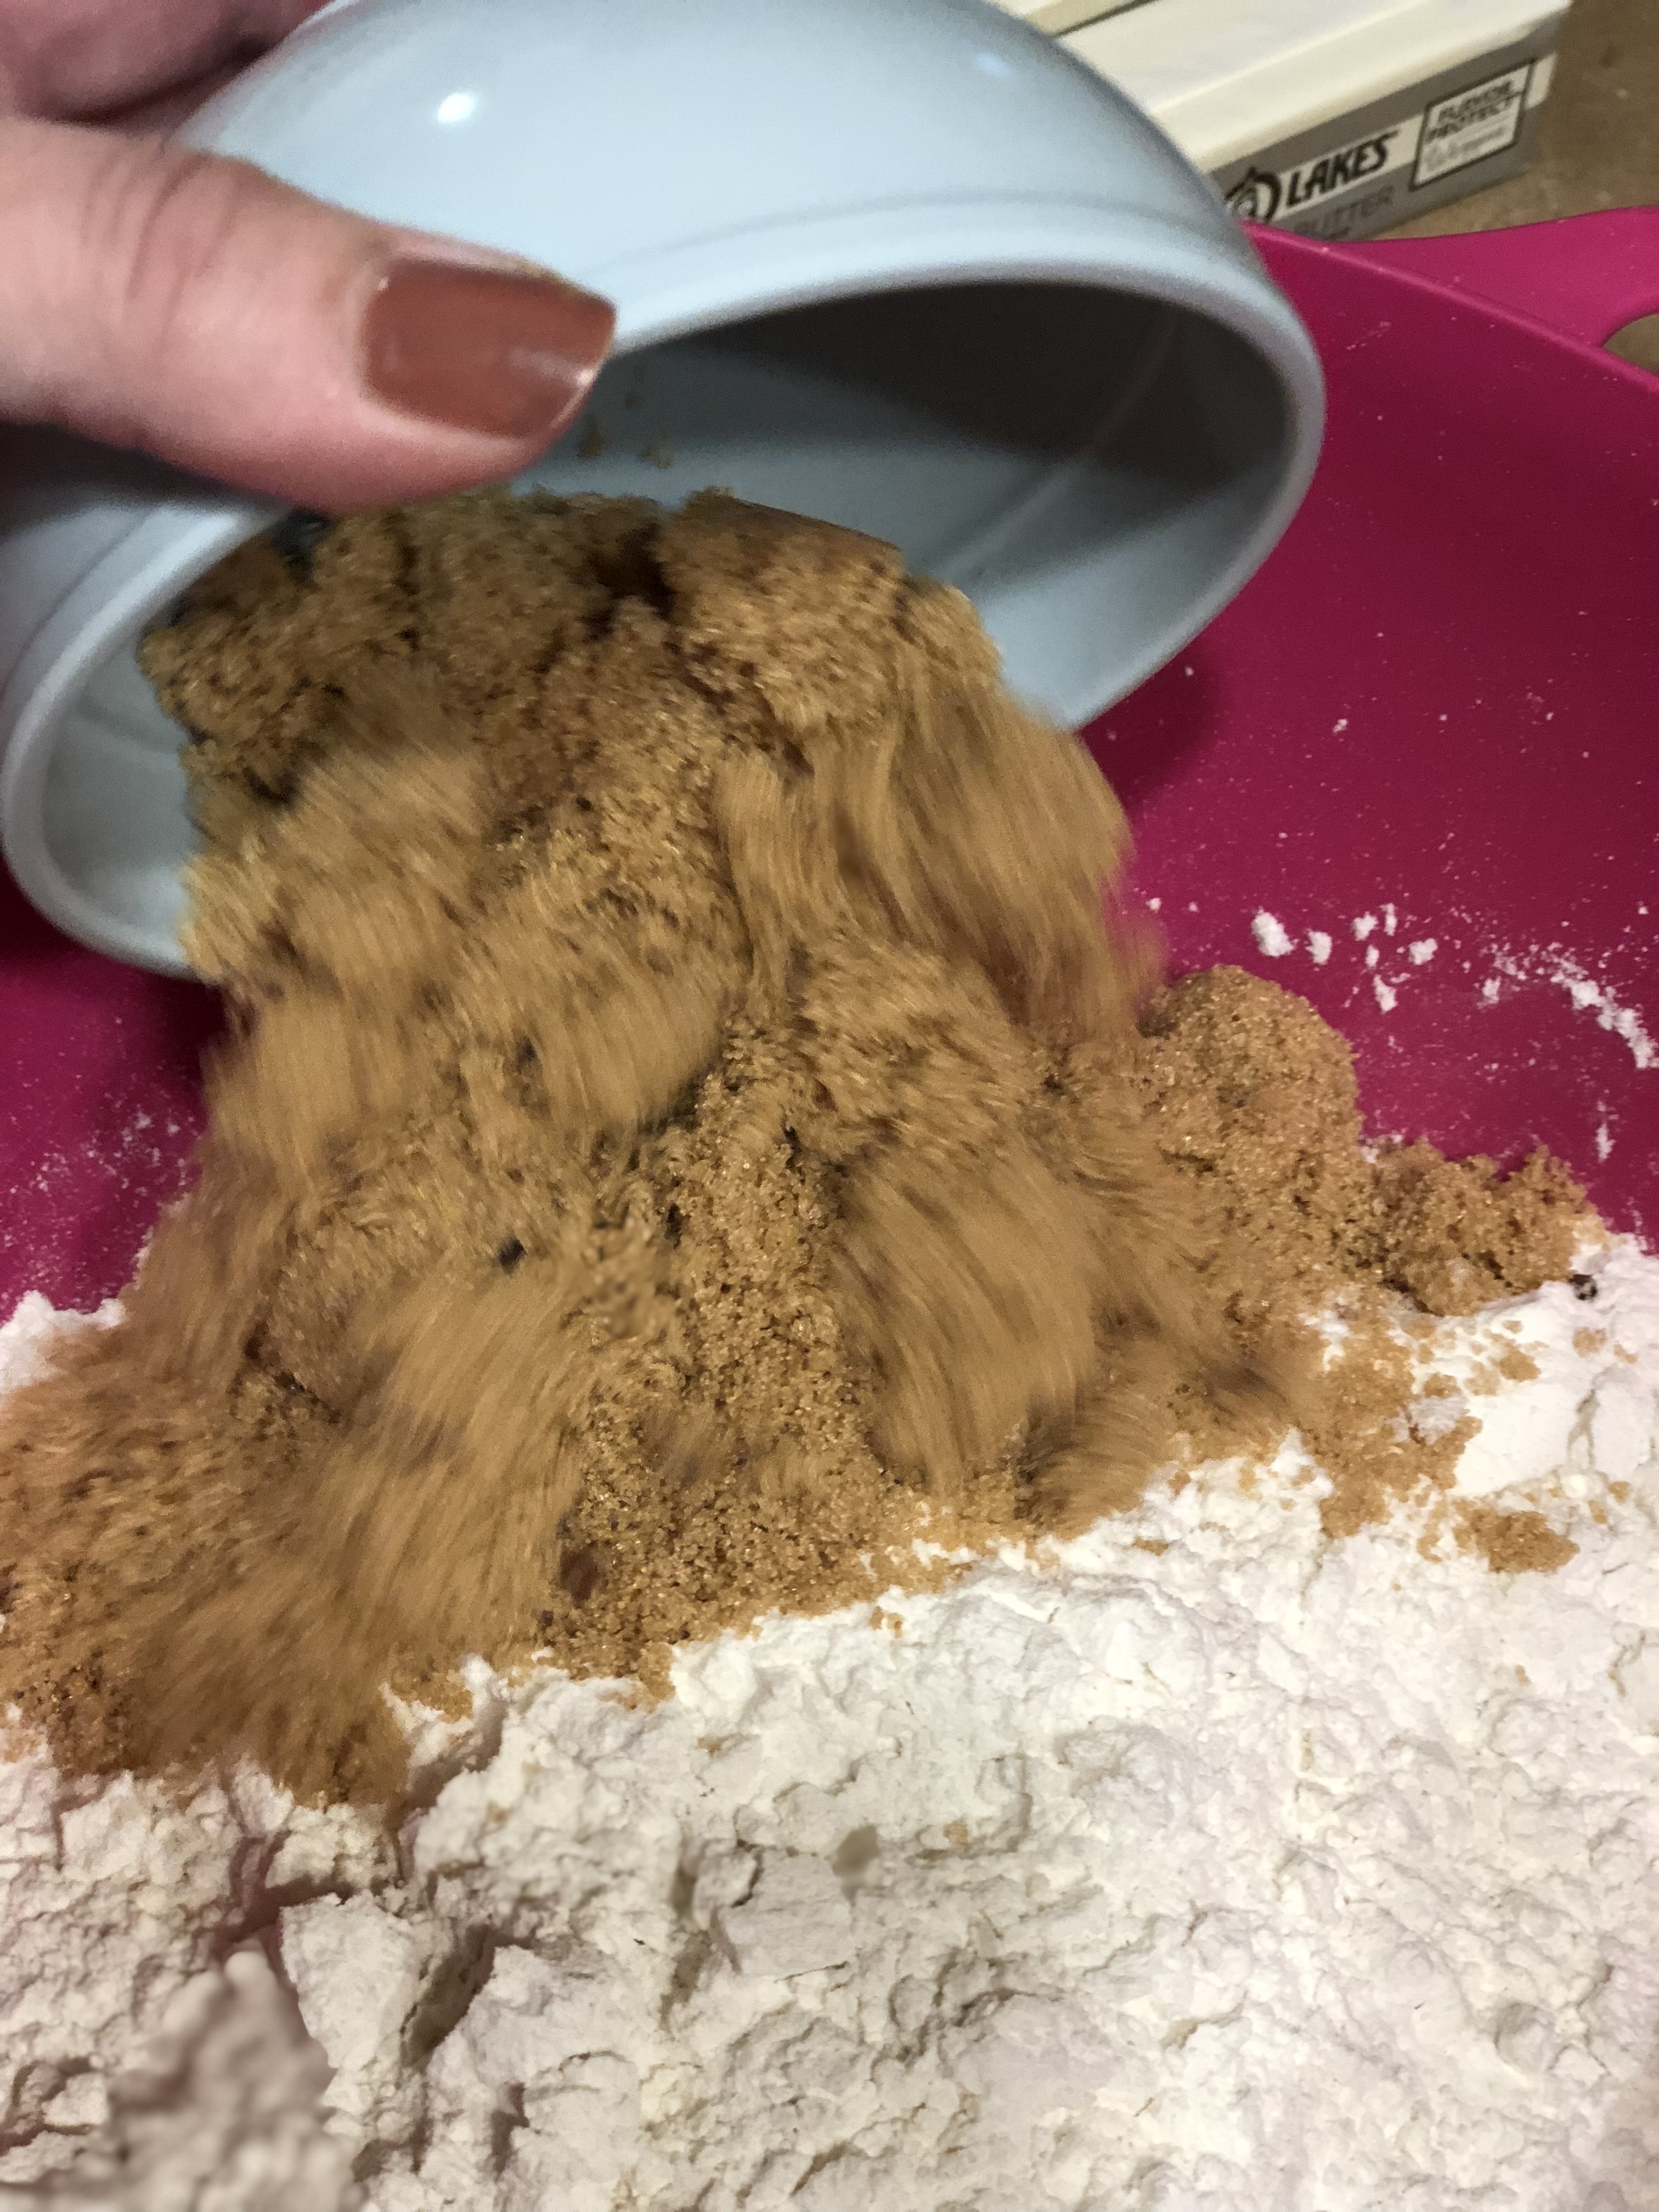
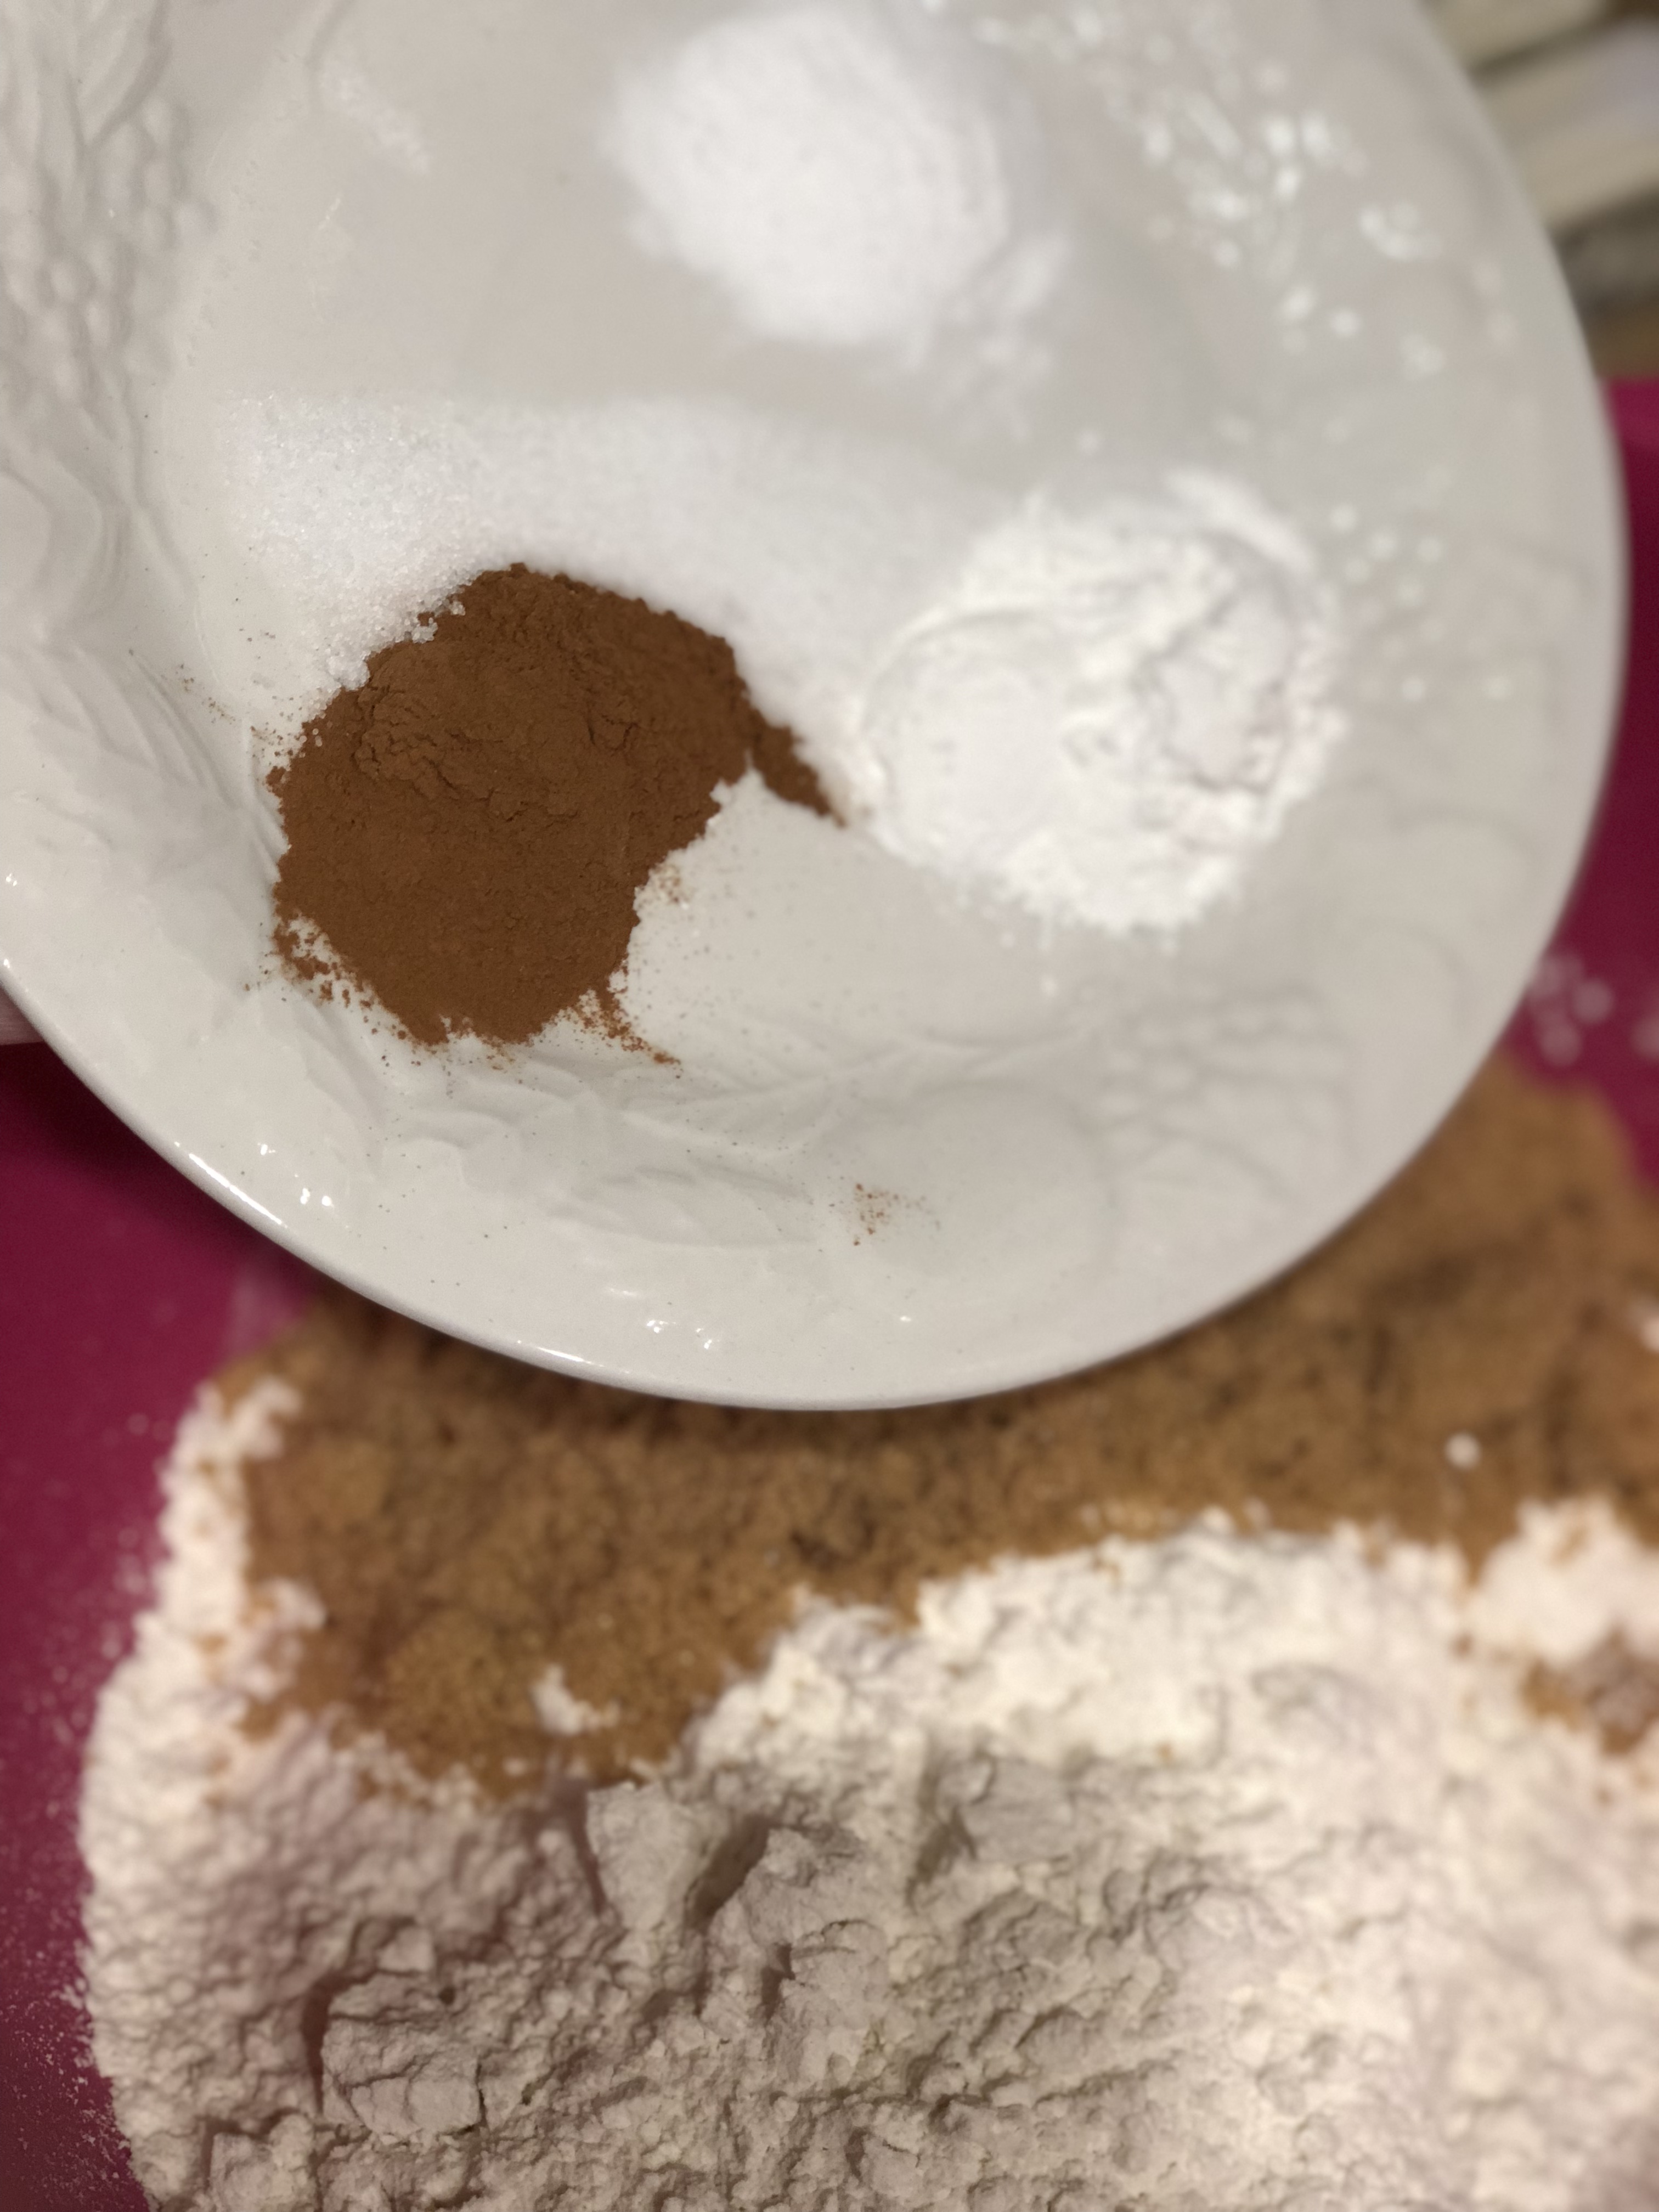
In separate, large bowl, add brown sugar to flour.
Sweet potato scone spices
Add cinnamon, baking soda, baking powder and salt.
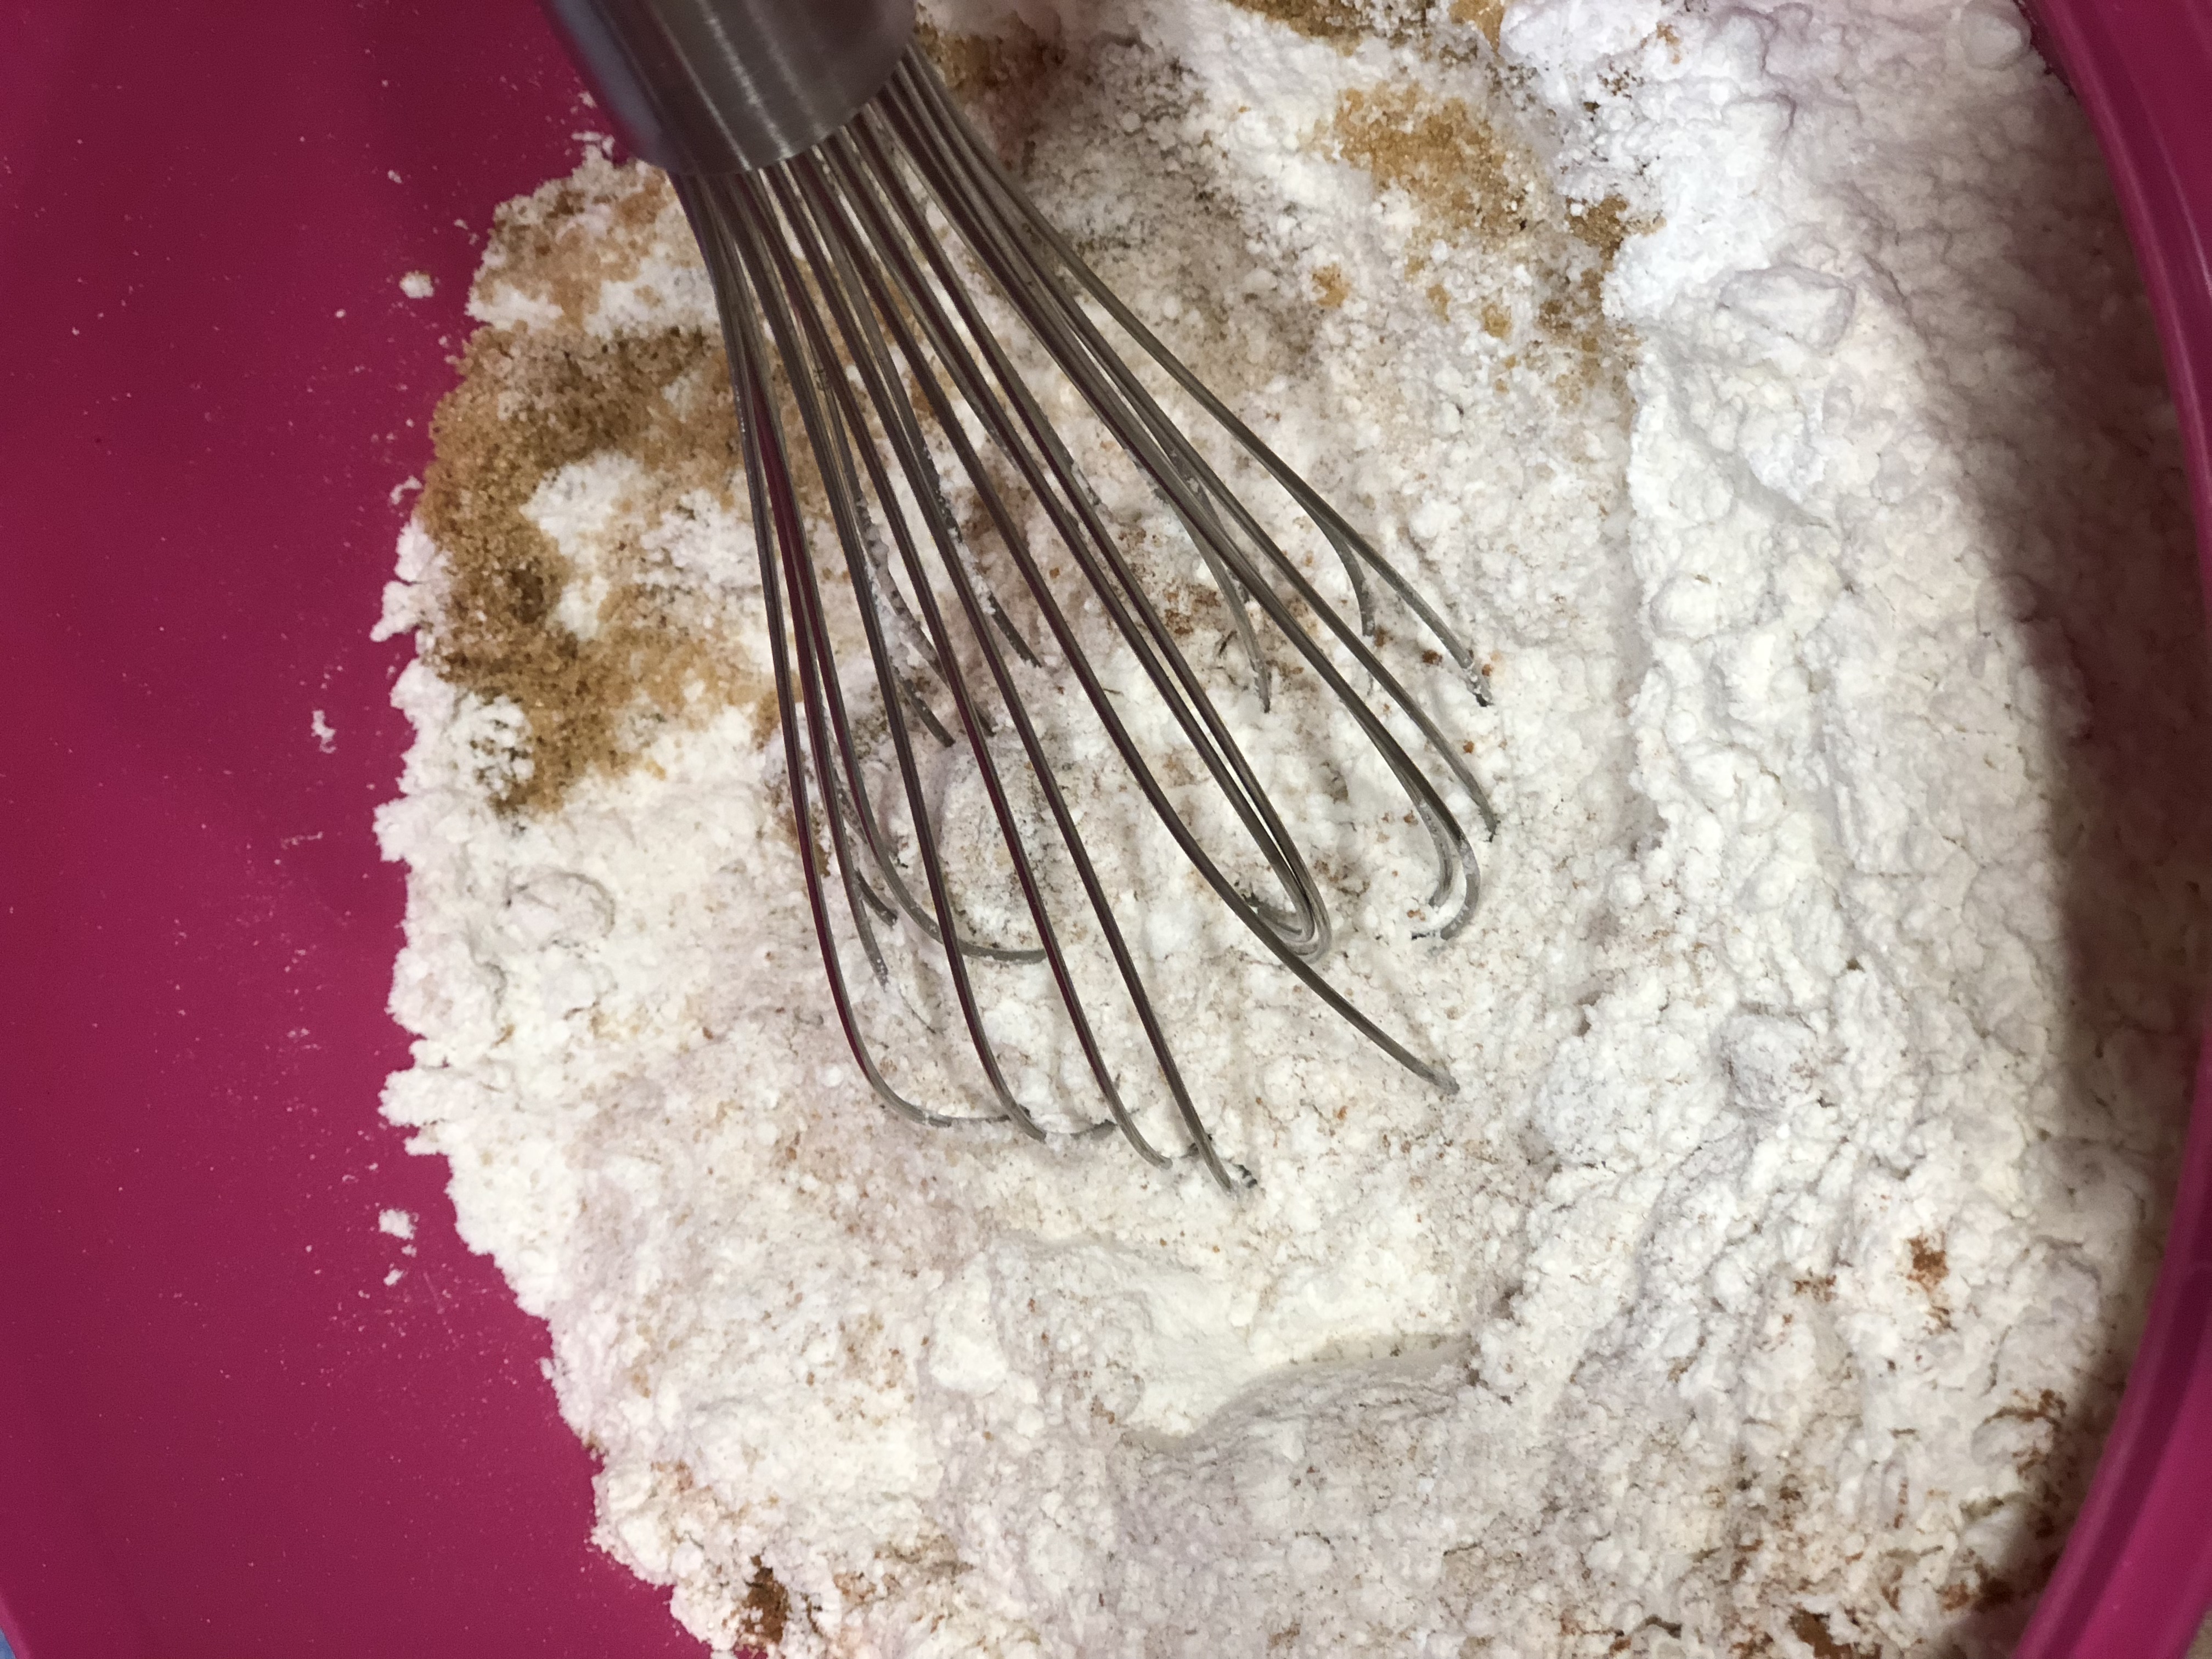
Whisking dry ingredients, sweet potato scones
Use a whisk to incorporate all ingredients well.
Sweet potato scones
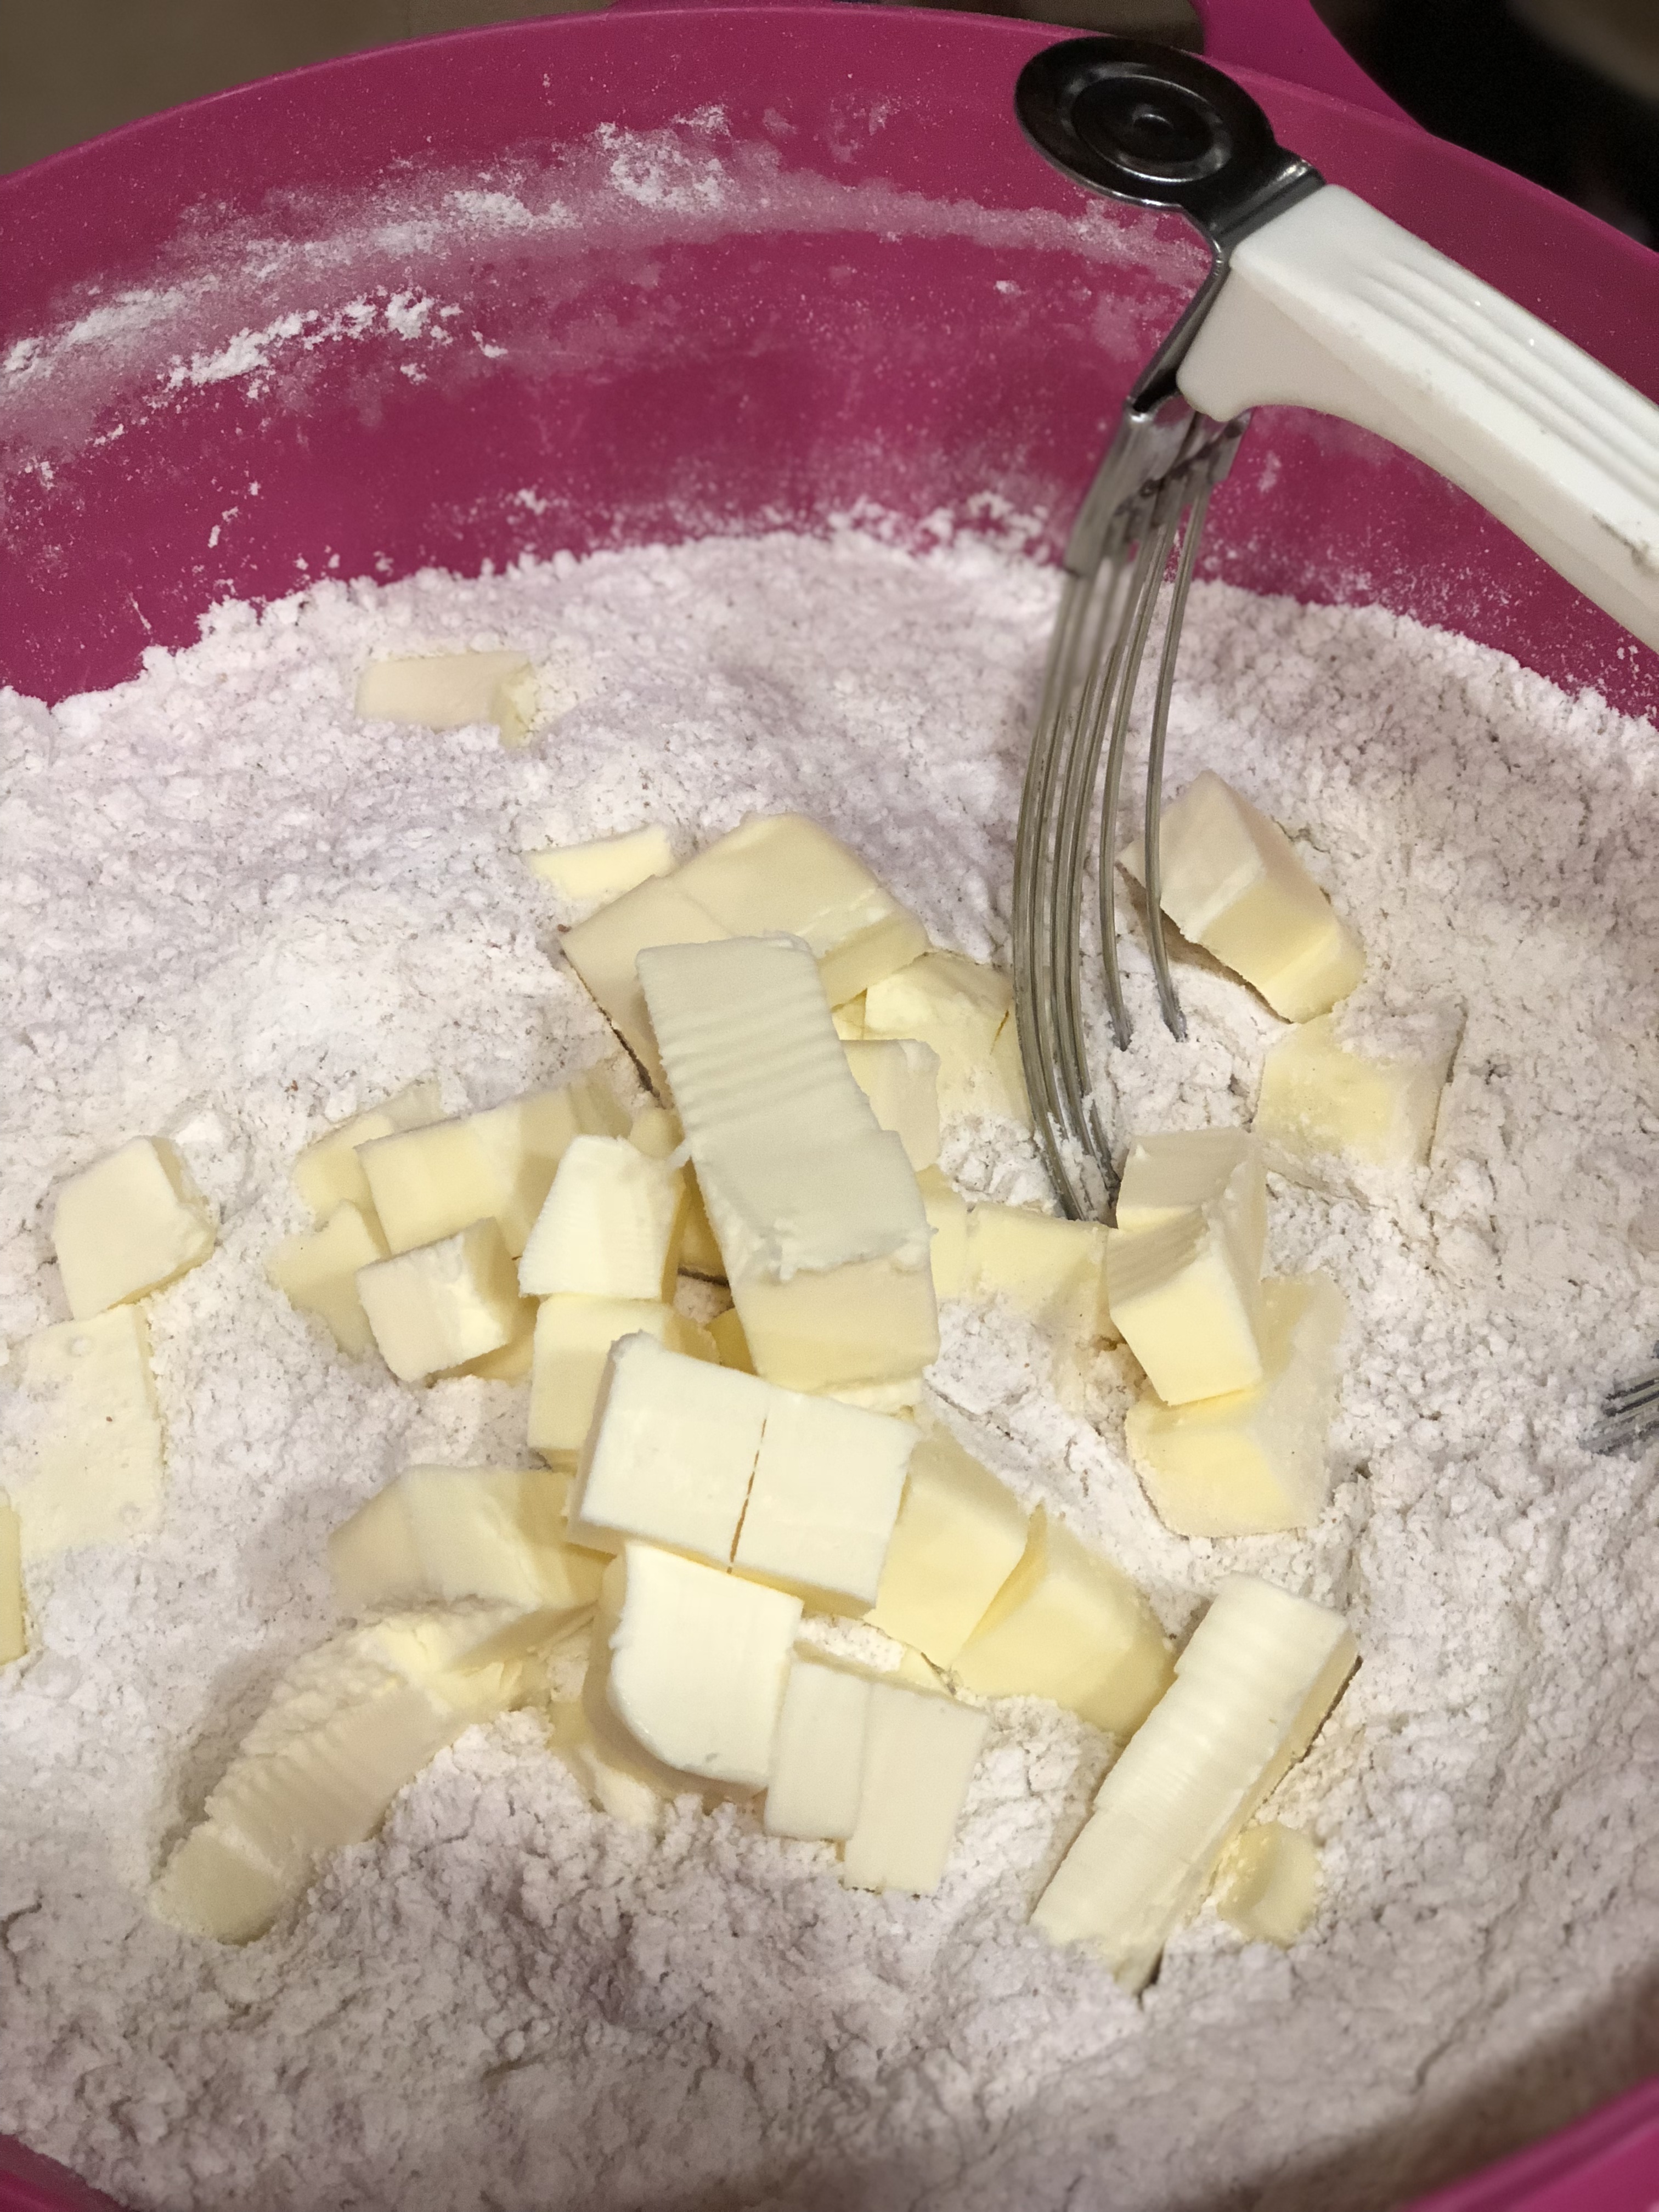
Add cold buttter and mix with pastry blender or in food processor bowl.
Sweet potato scones
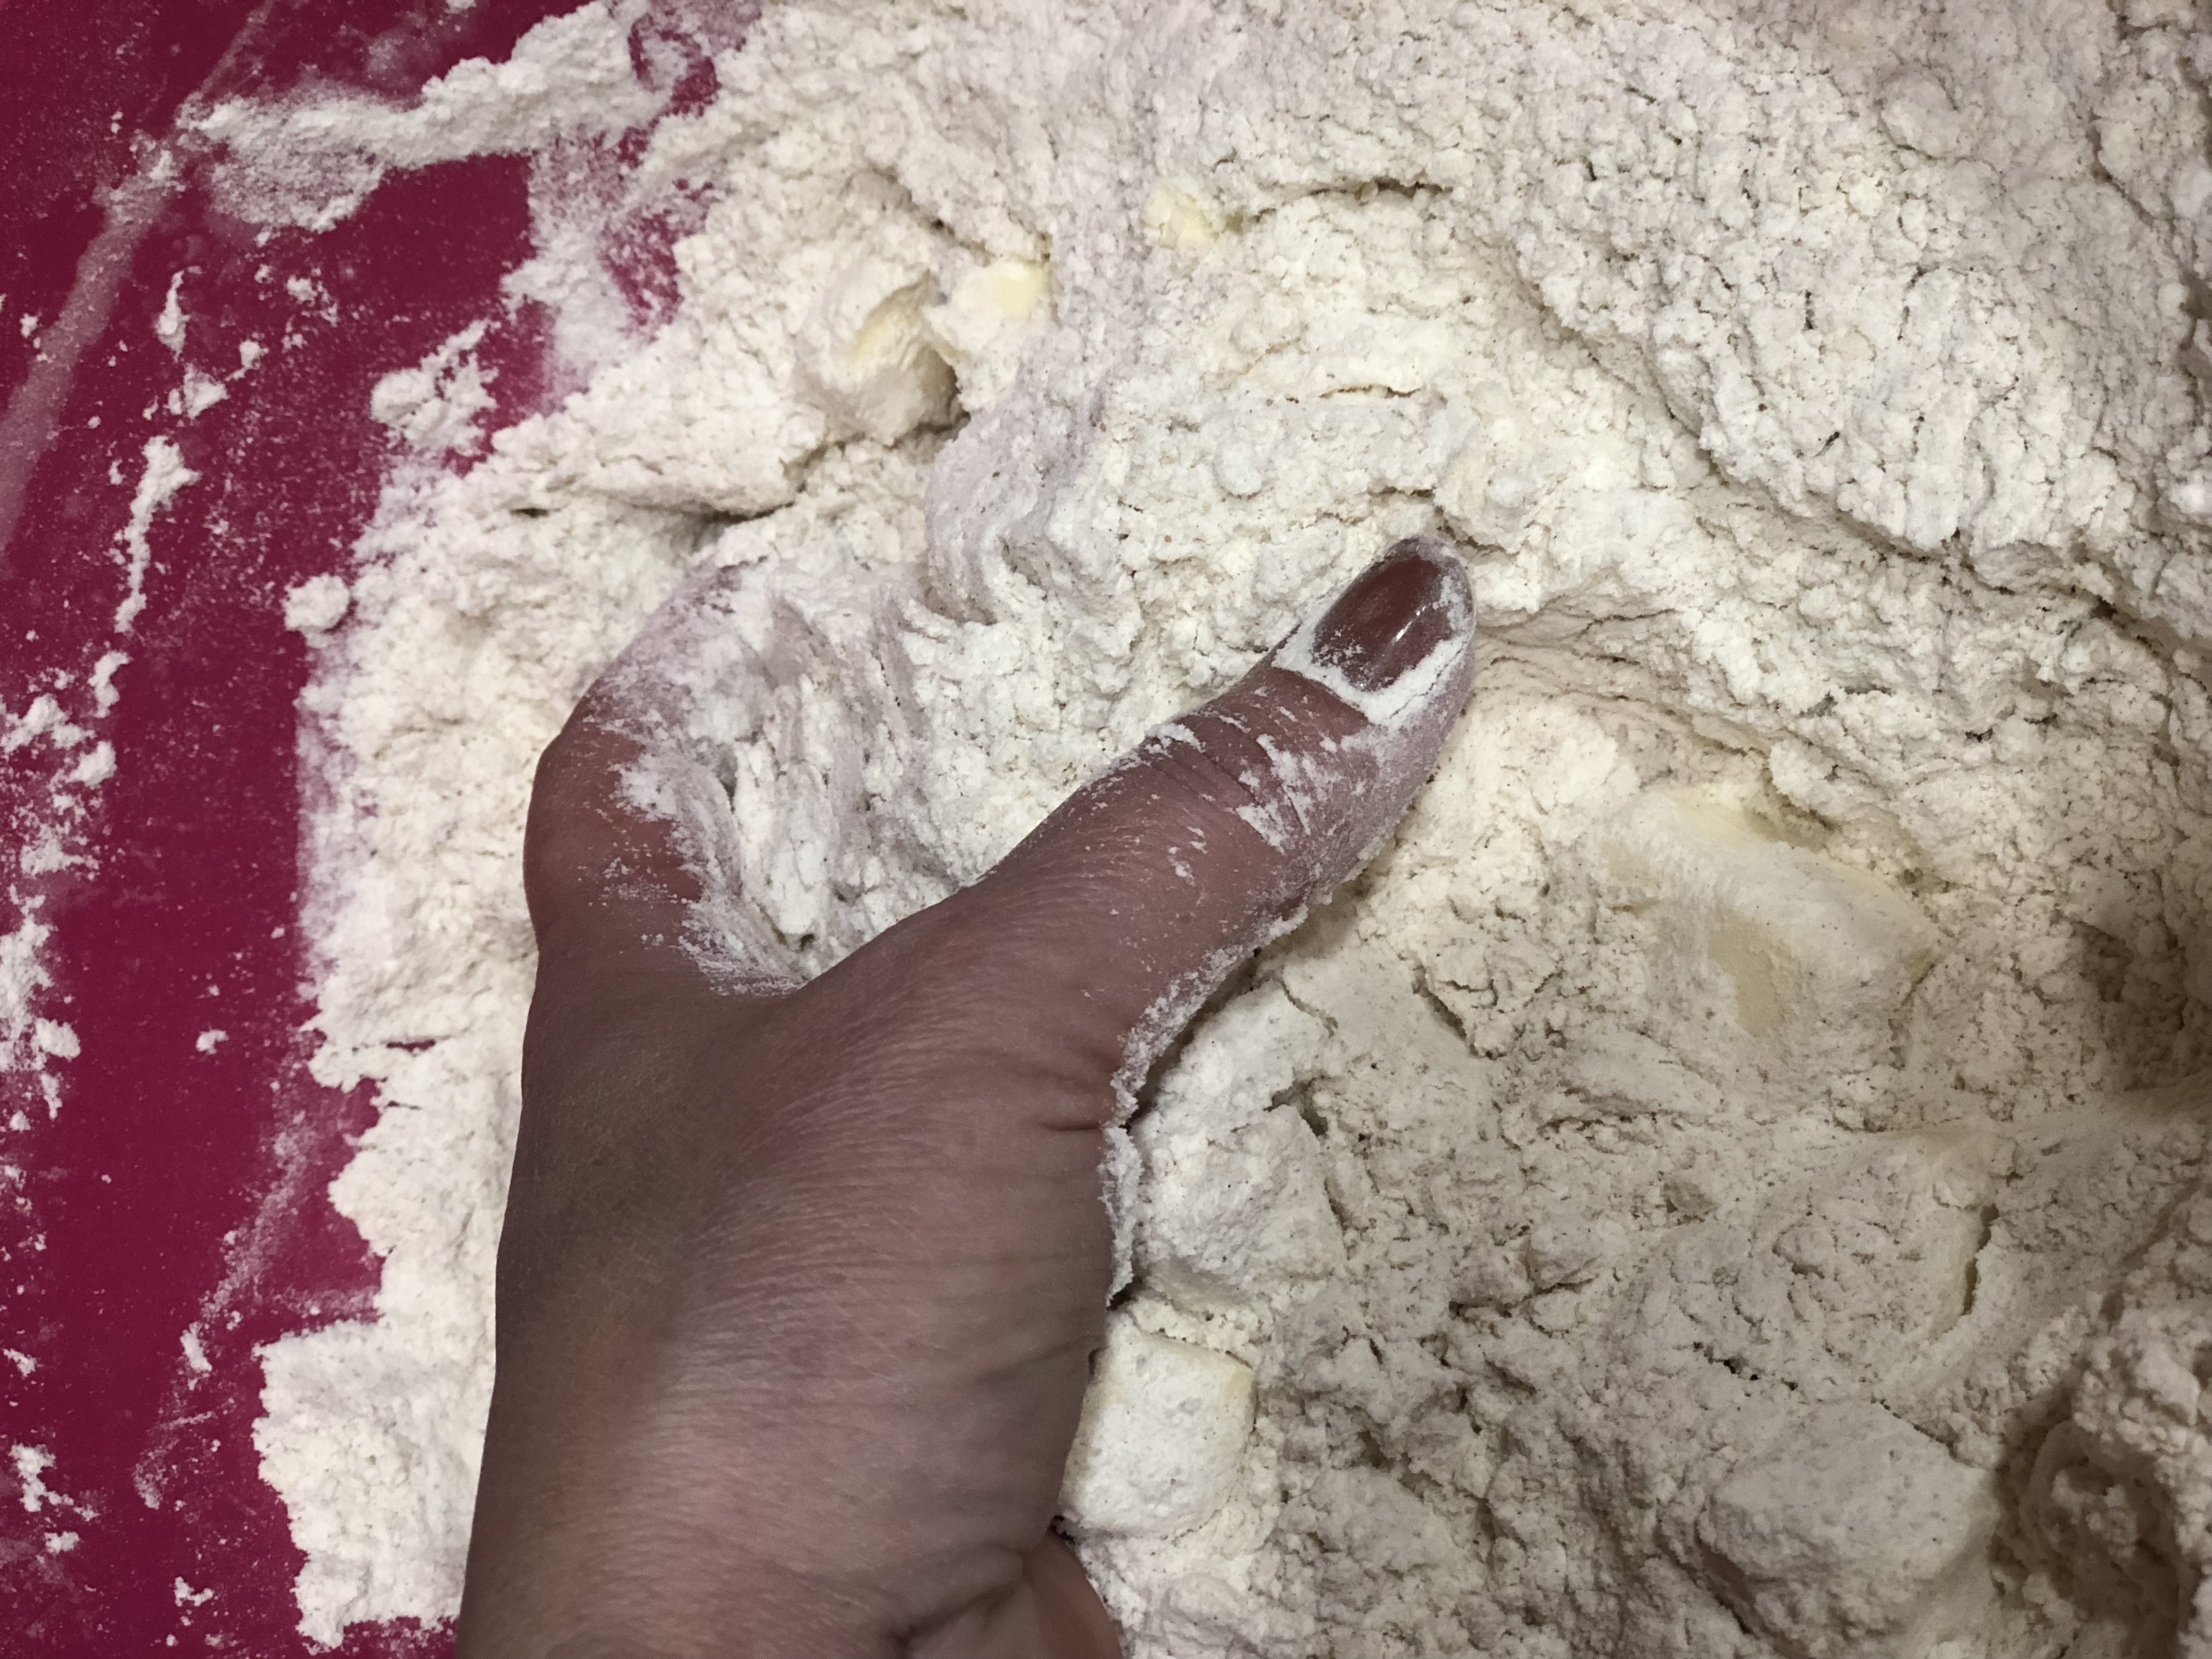
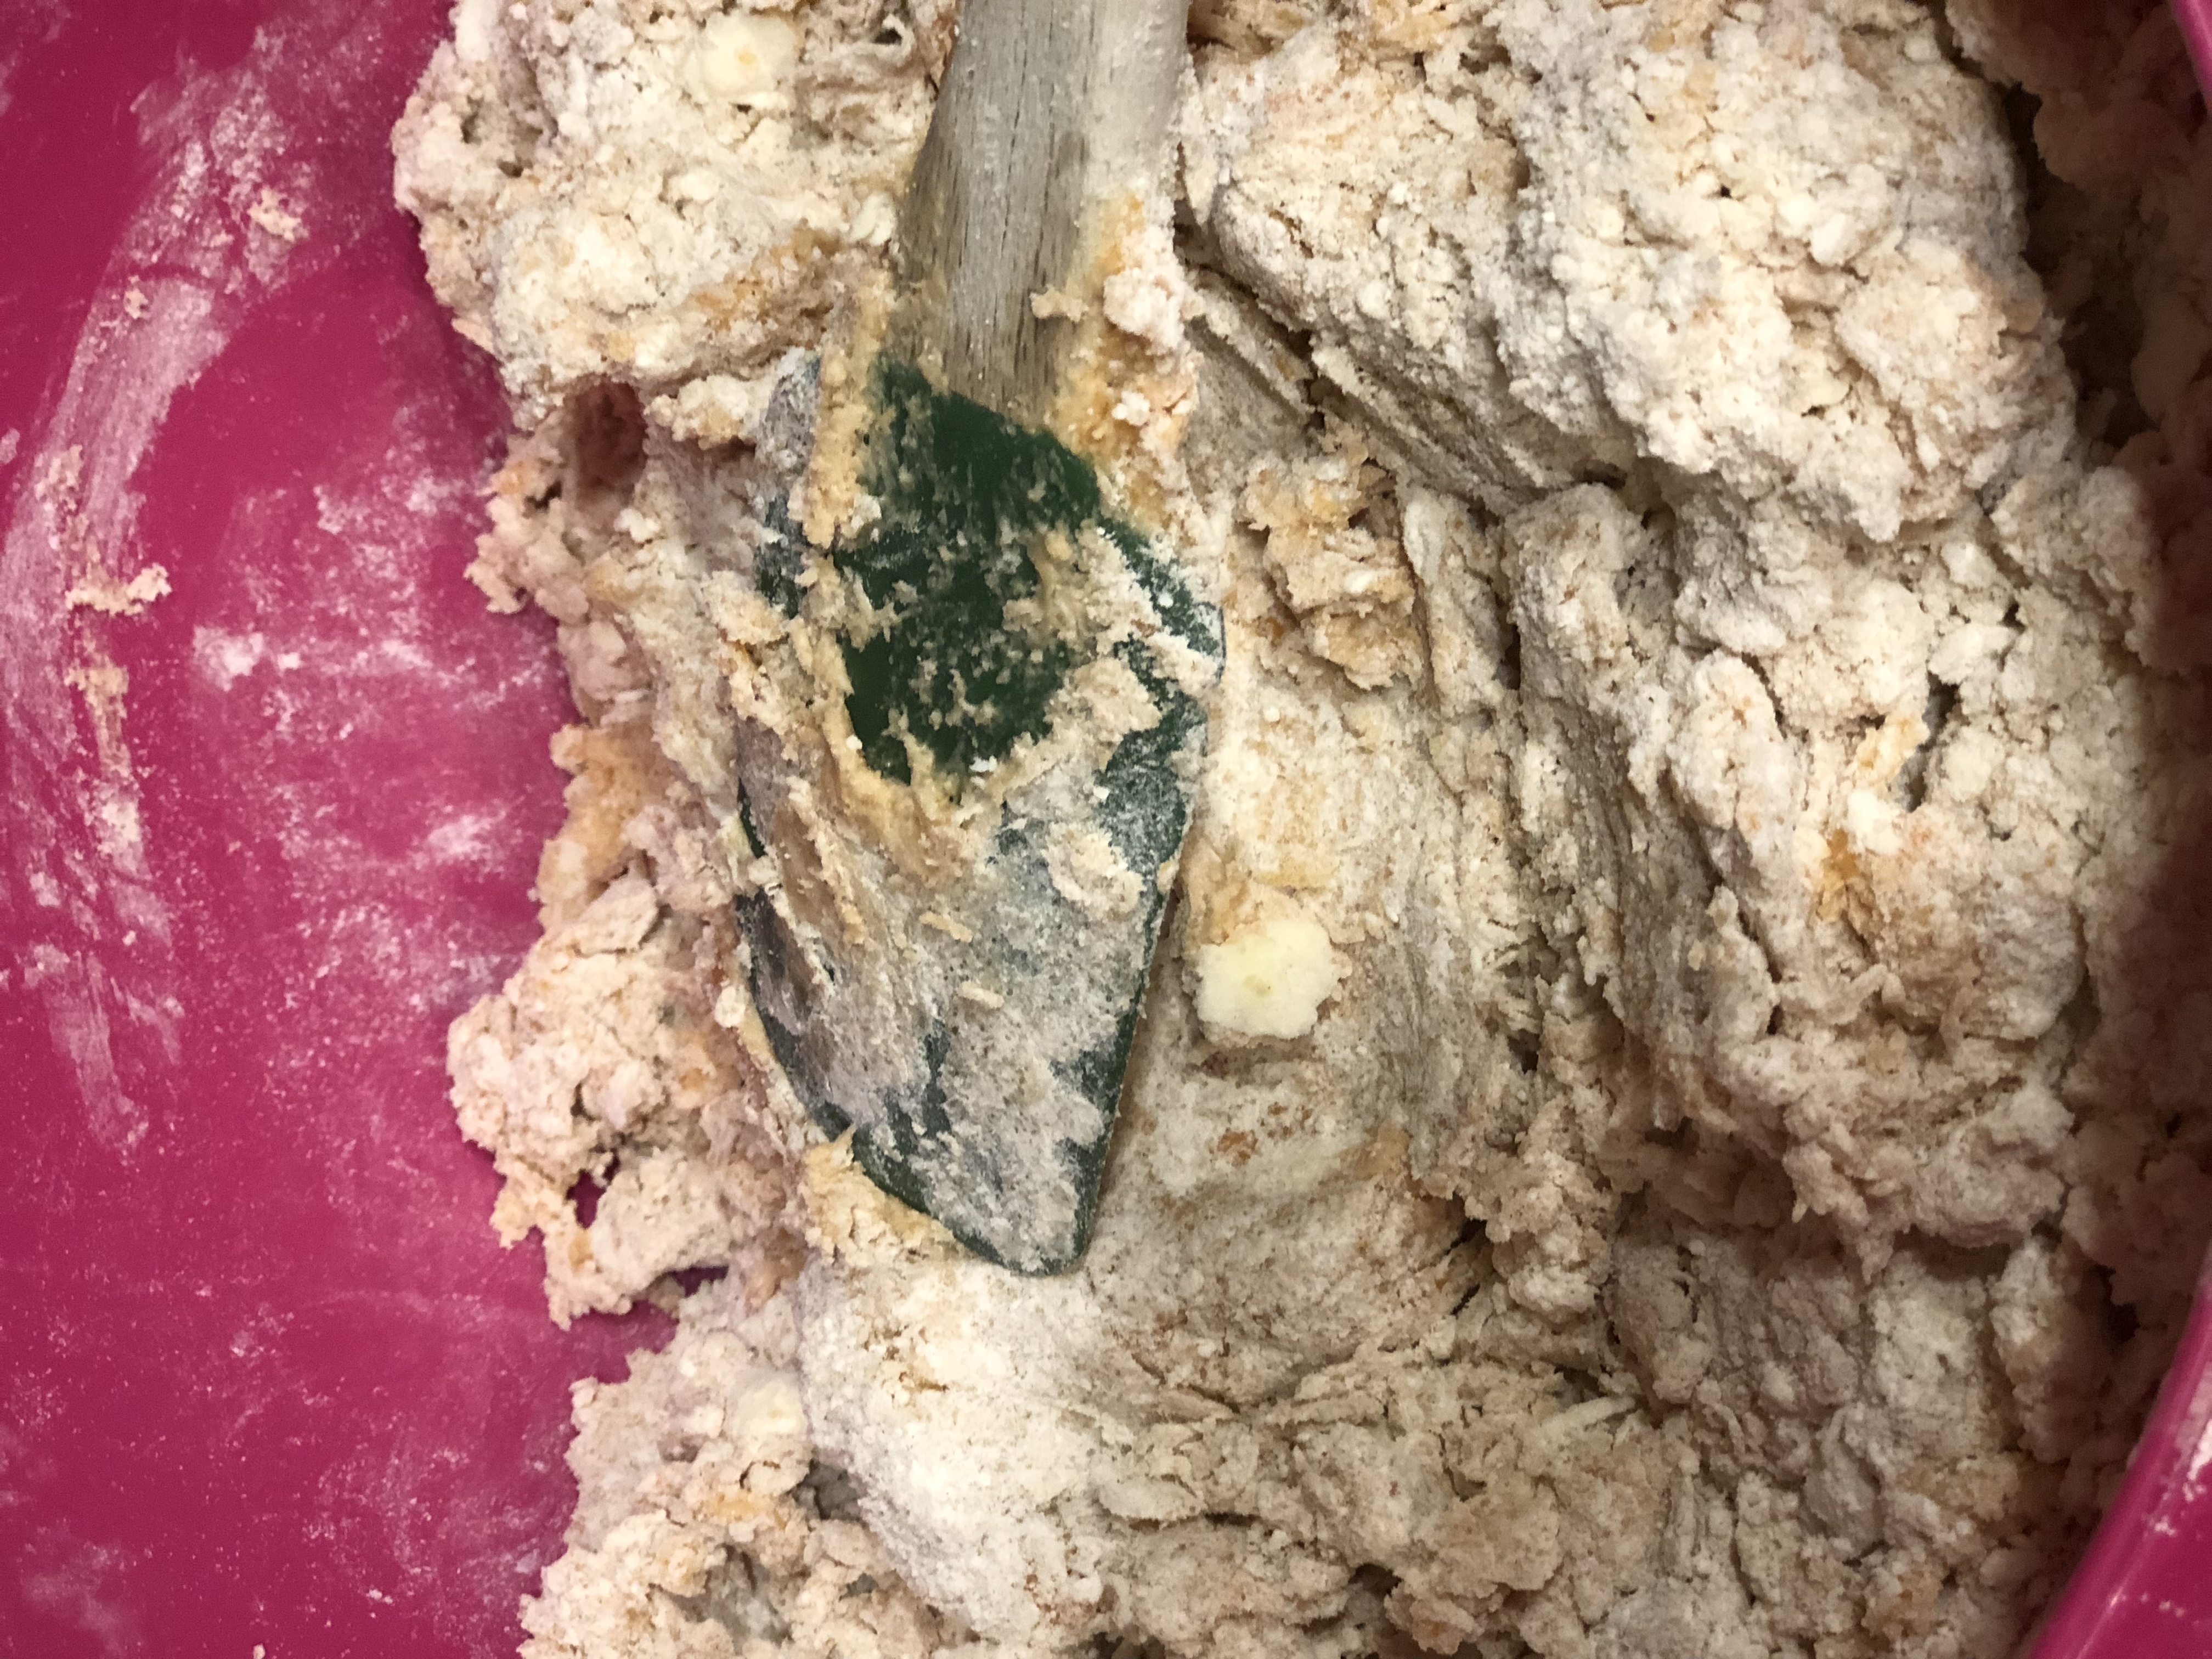
You might have to get in there with your hands. Mix until mixture resembles small pea-size pebbles of buttery goodness.
Sweet potato scones
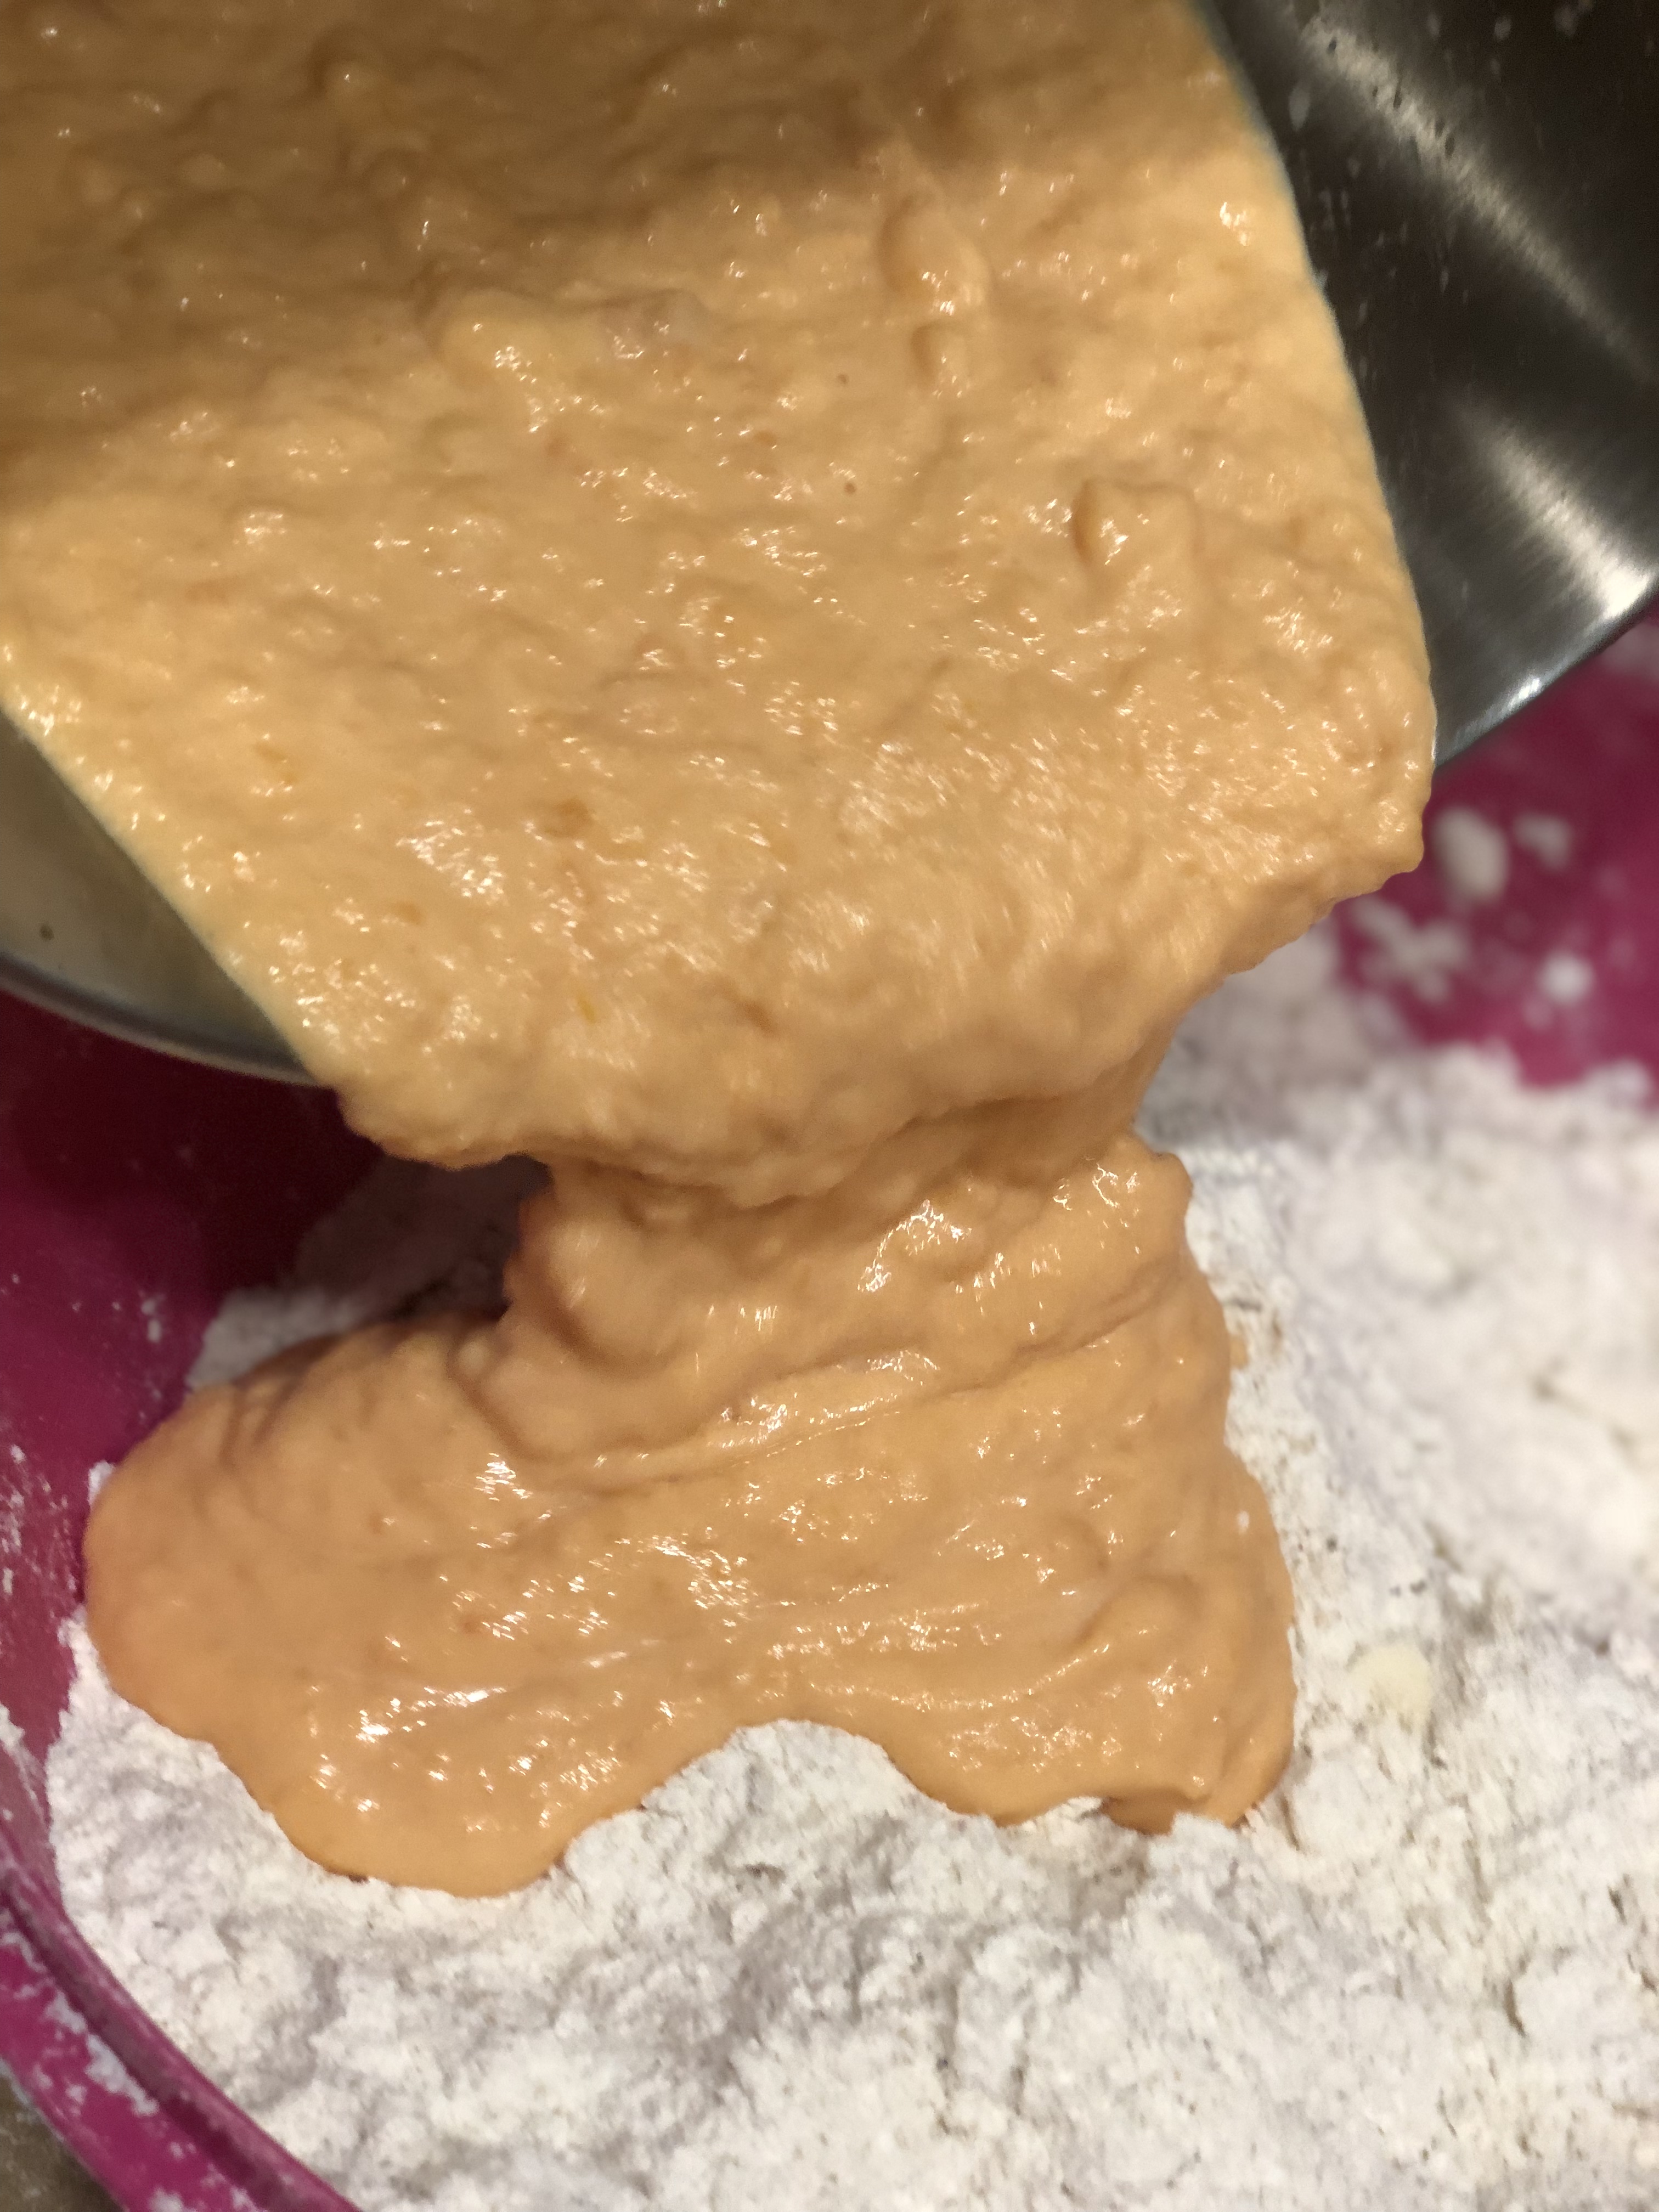
Add the sweet potato mixture to the dry ingredients and mix just until combined.
Sweet potato scones
(You can do this in that same food processor bowl and stop the mixing as soon as the ingredients come together – it’s much easier this way.)
Sweet potato scones
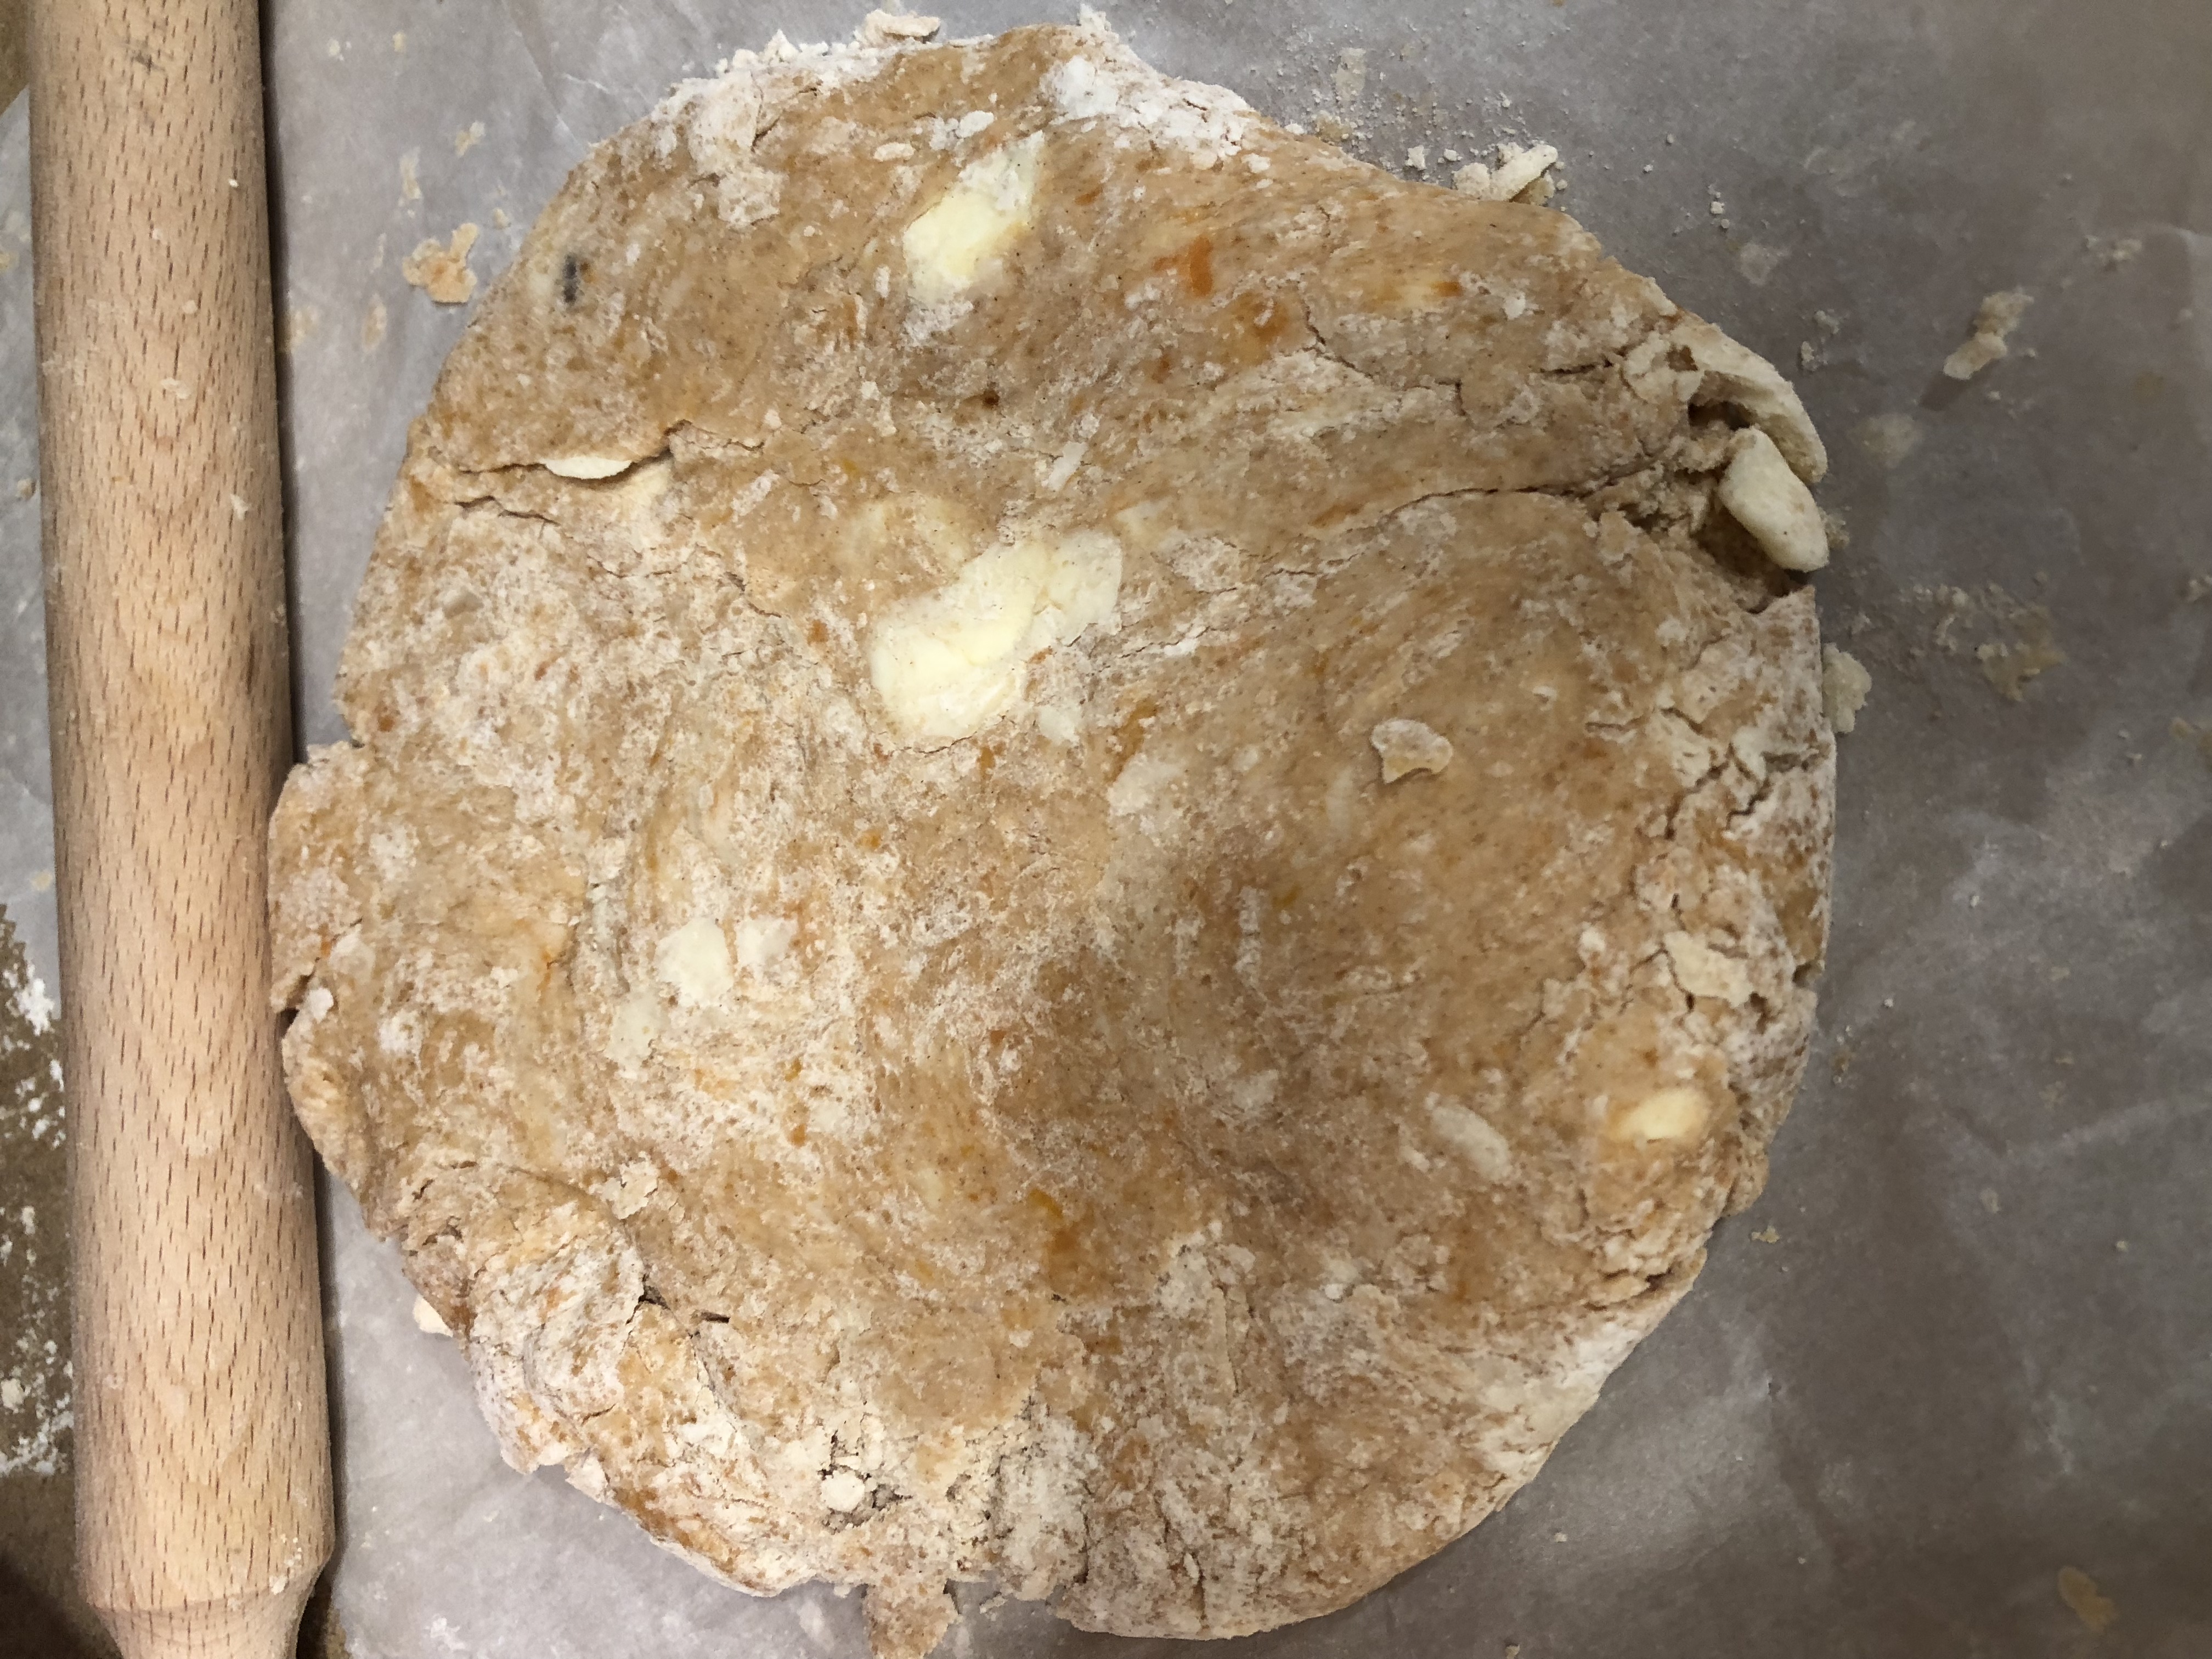
On lightly floured surface, roll the dough into two 7-inch circles (so that you have nice size scones. You can roll it out into a 14-inch circle but you’ll have some monster size scones that take a little longer to bake through. But be a rebel and do what you want.)
Sweet potato scones
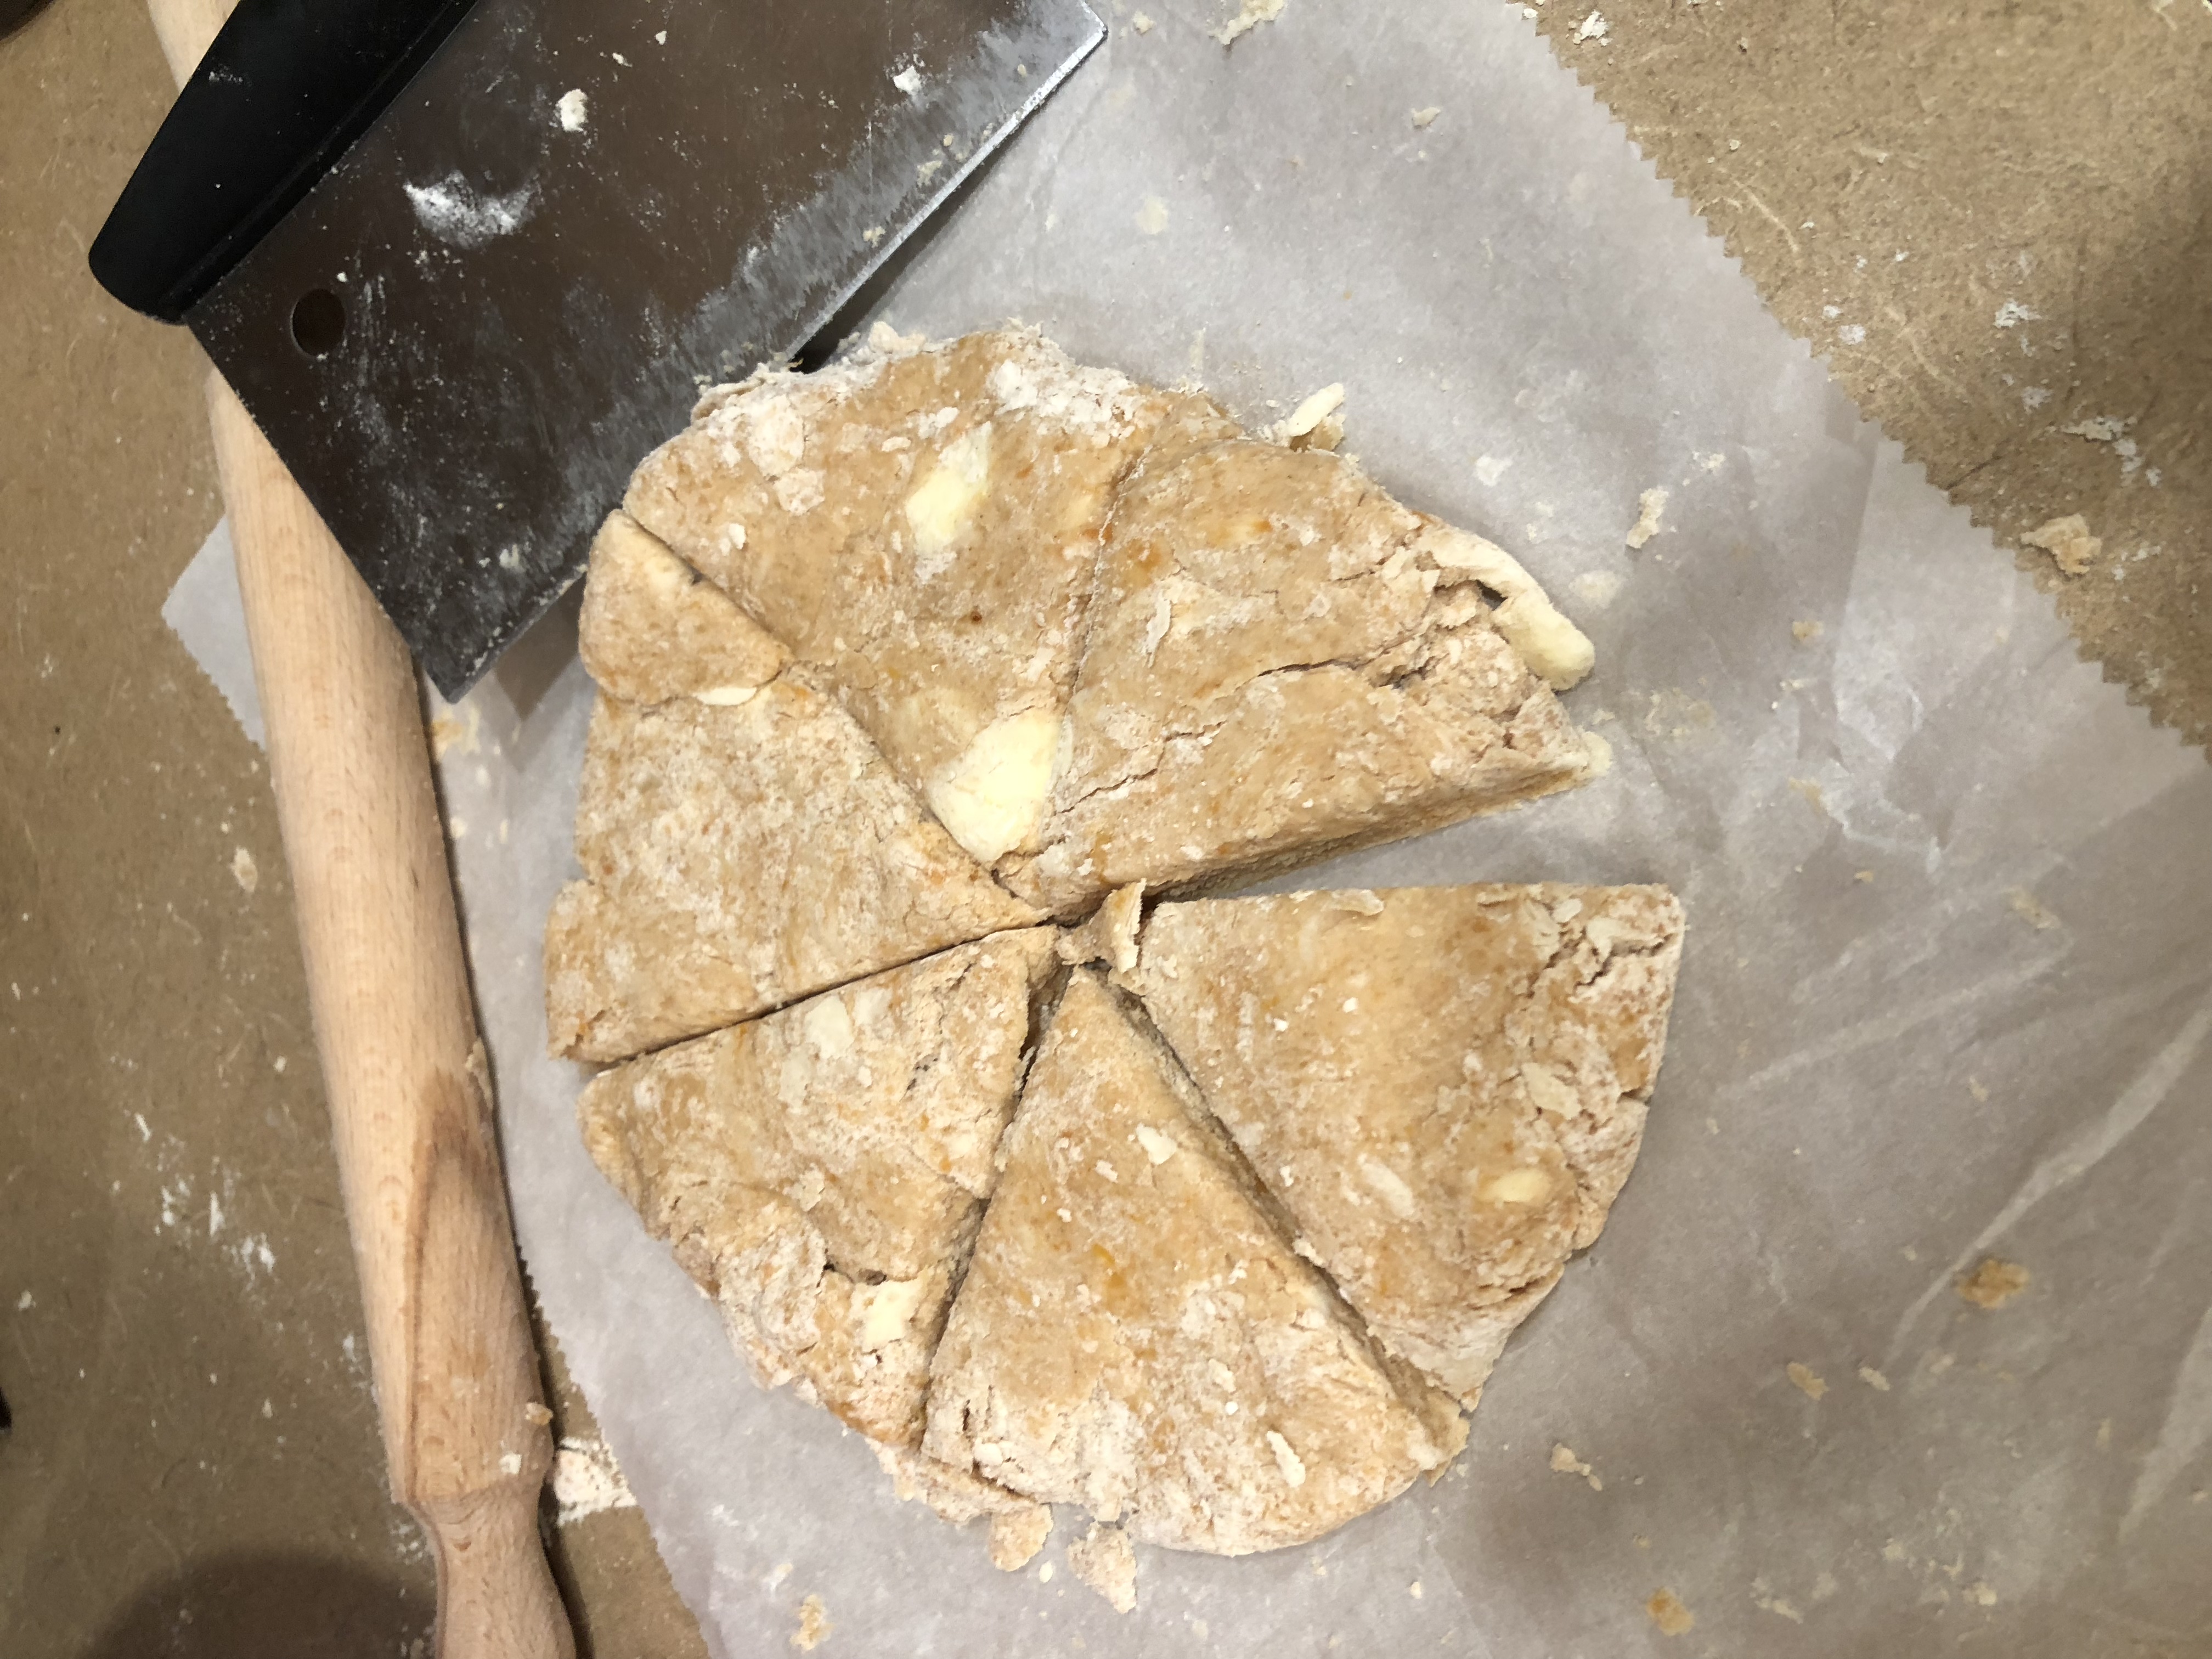
Cut the scones into 8 pieces, like you’re slicing up a pizza. Ummmm-a pizza scone. That’ll be a recipe for another day.
Sweet potato scones
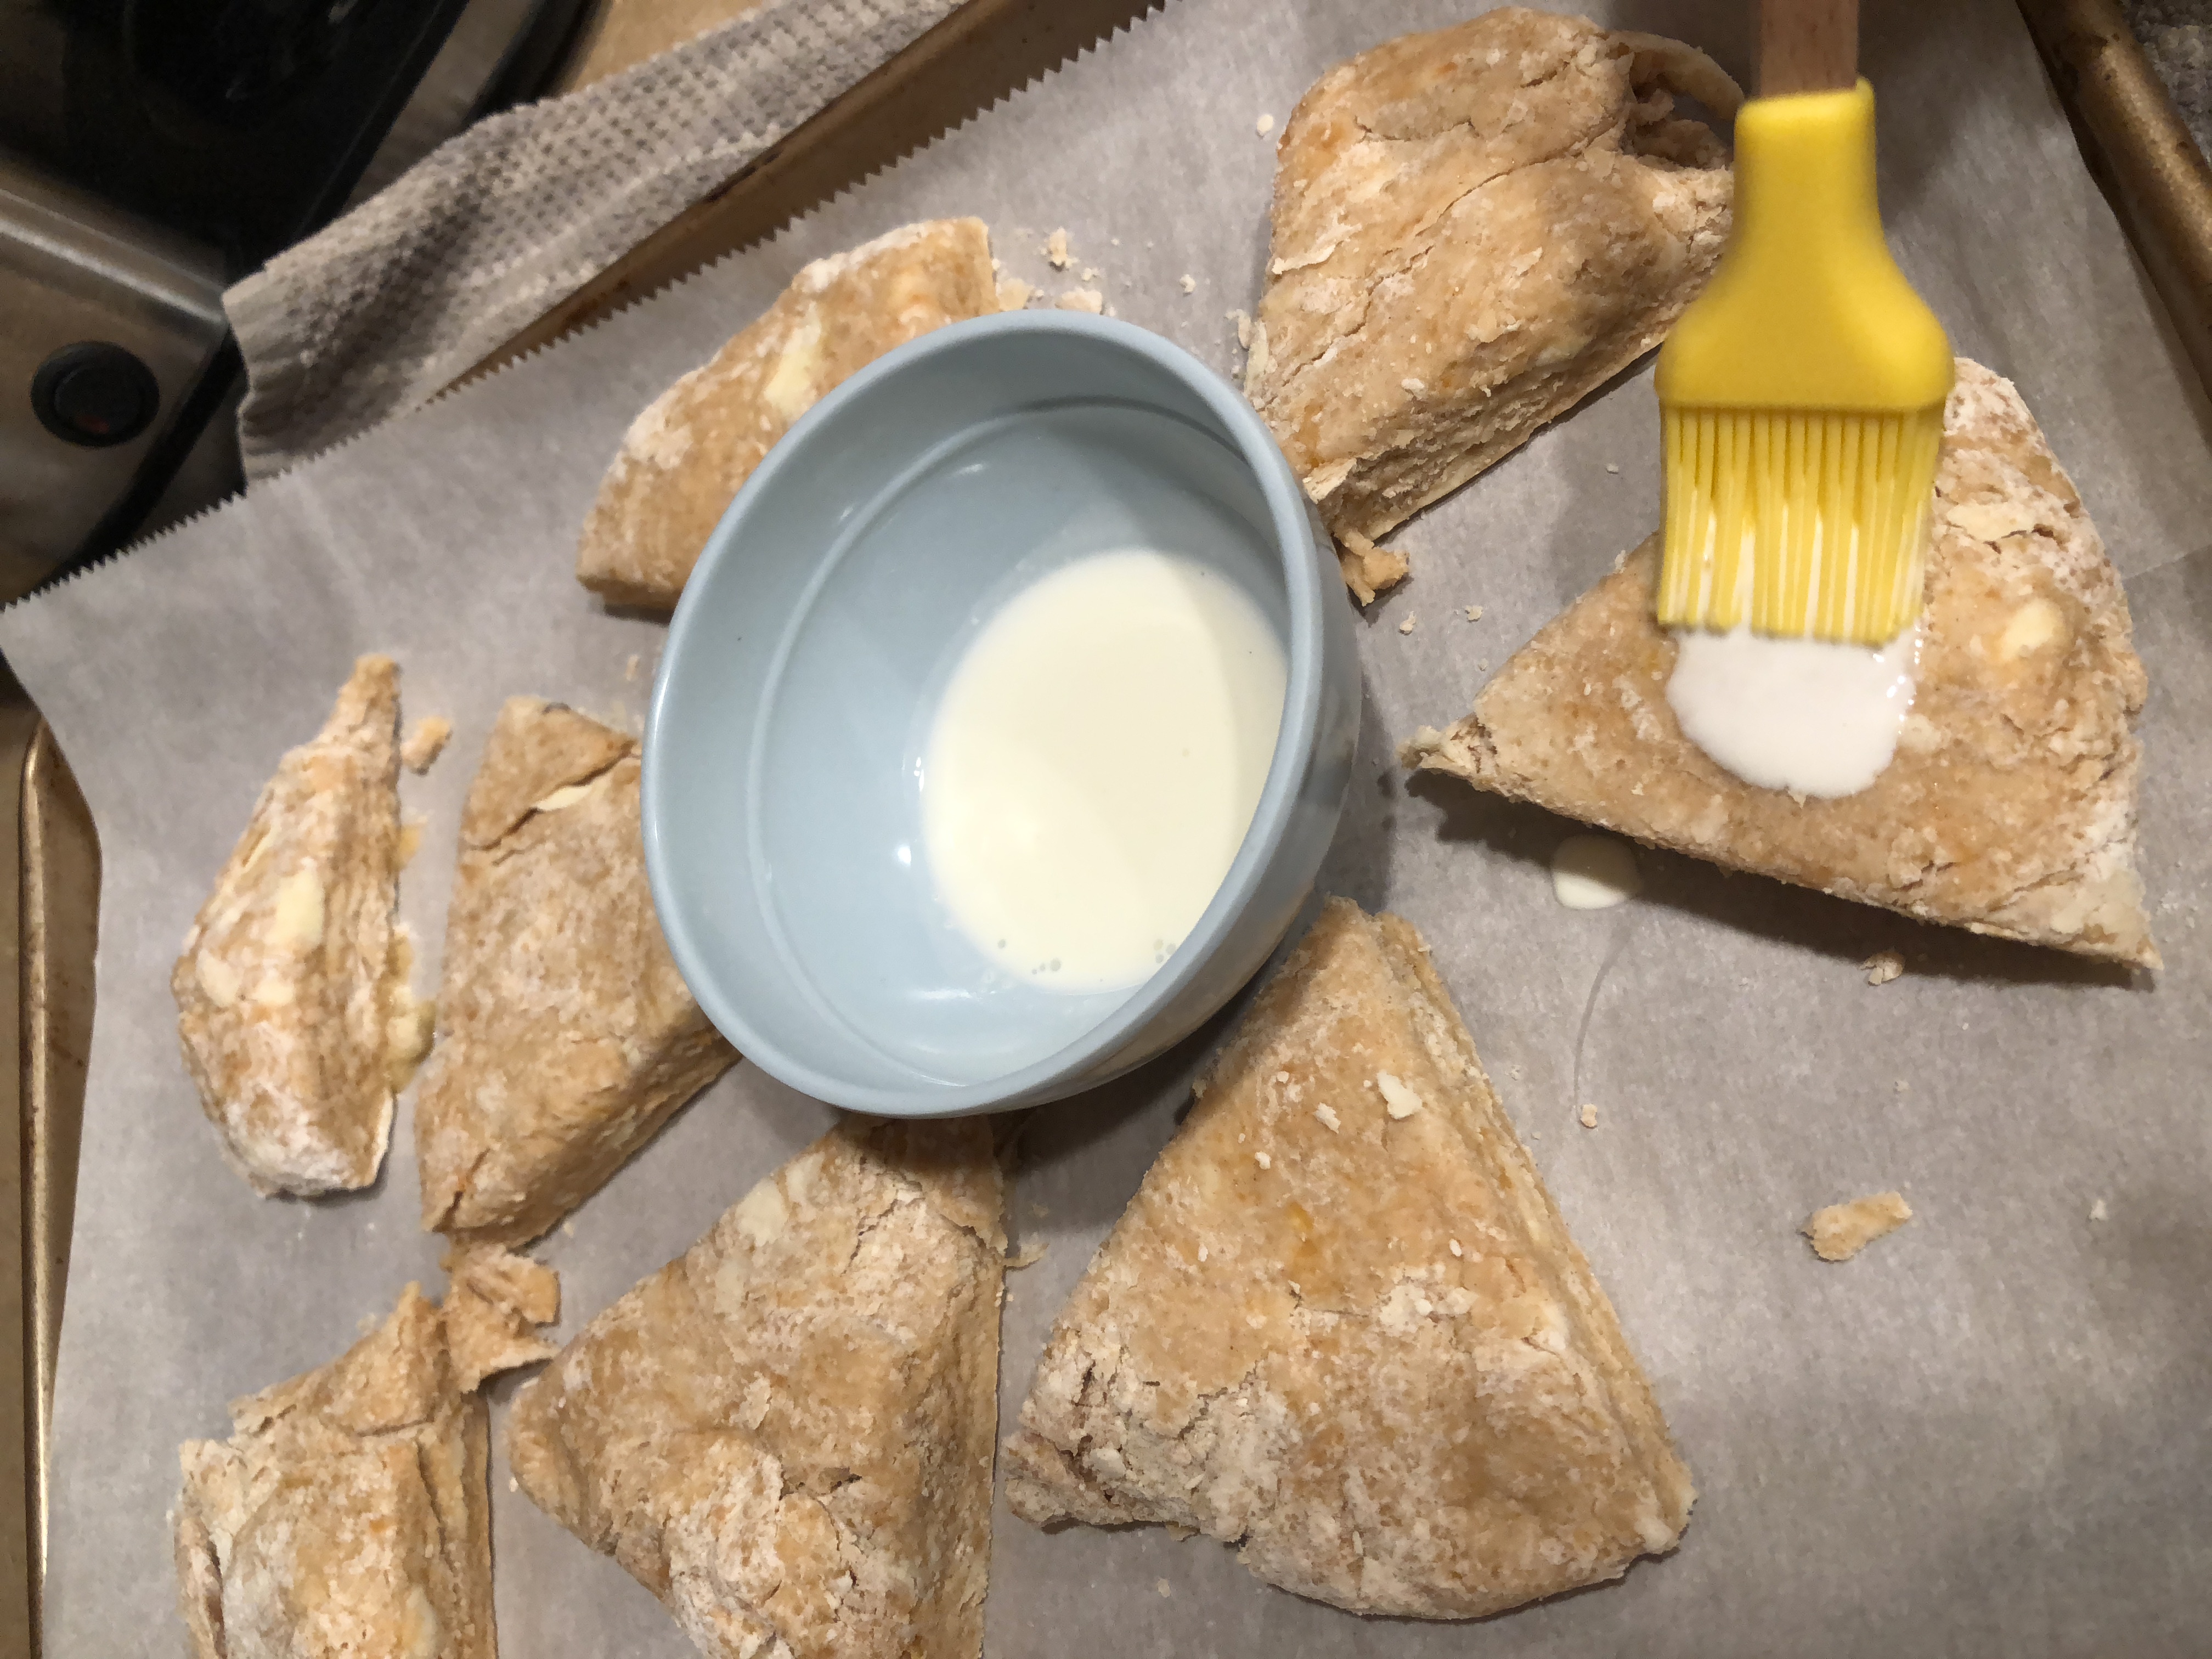
Place scones on parchment-lined pan. Brush tops with a little cream and place in preheated oven.
Bake 20-30 minutes, just until tops are almost browning.
Remove from oven and place on wire racks to cool. This keeps them from getting sweaty and gooey bottomed. (Yes, that is a technical term.)

Sweet Potato Scone, Breakfast Scones, Best Scones
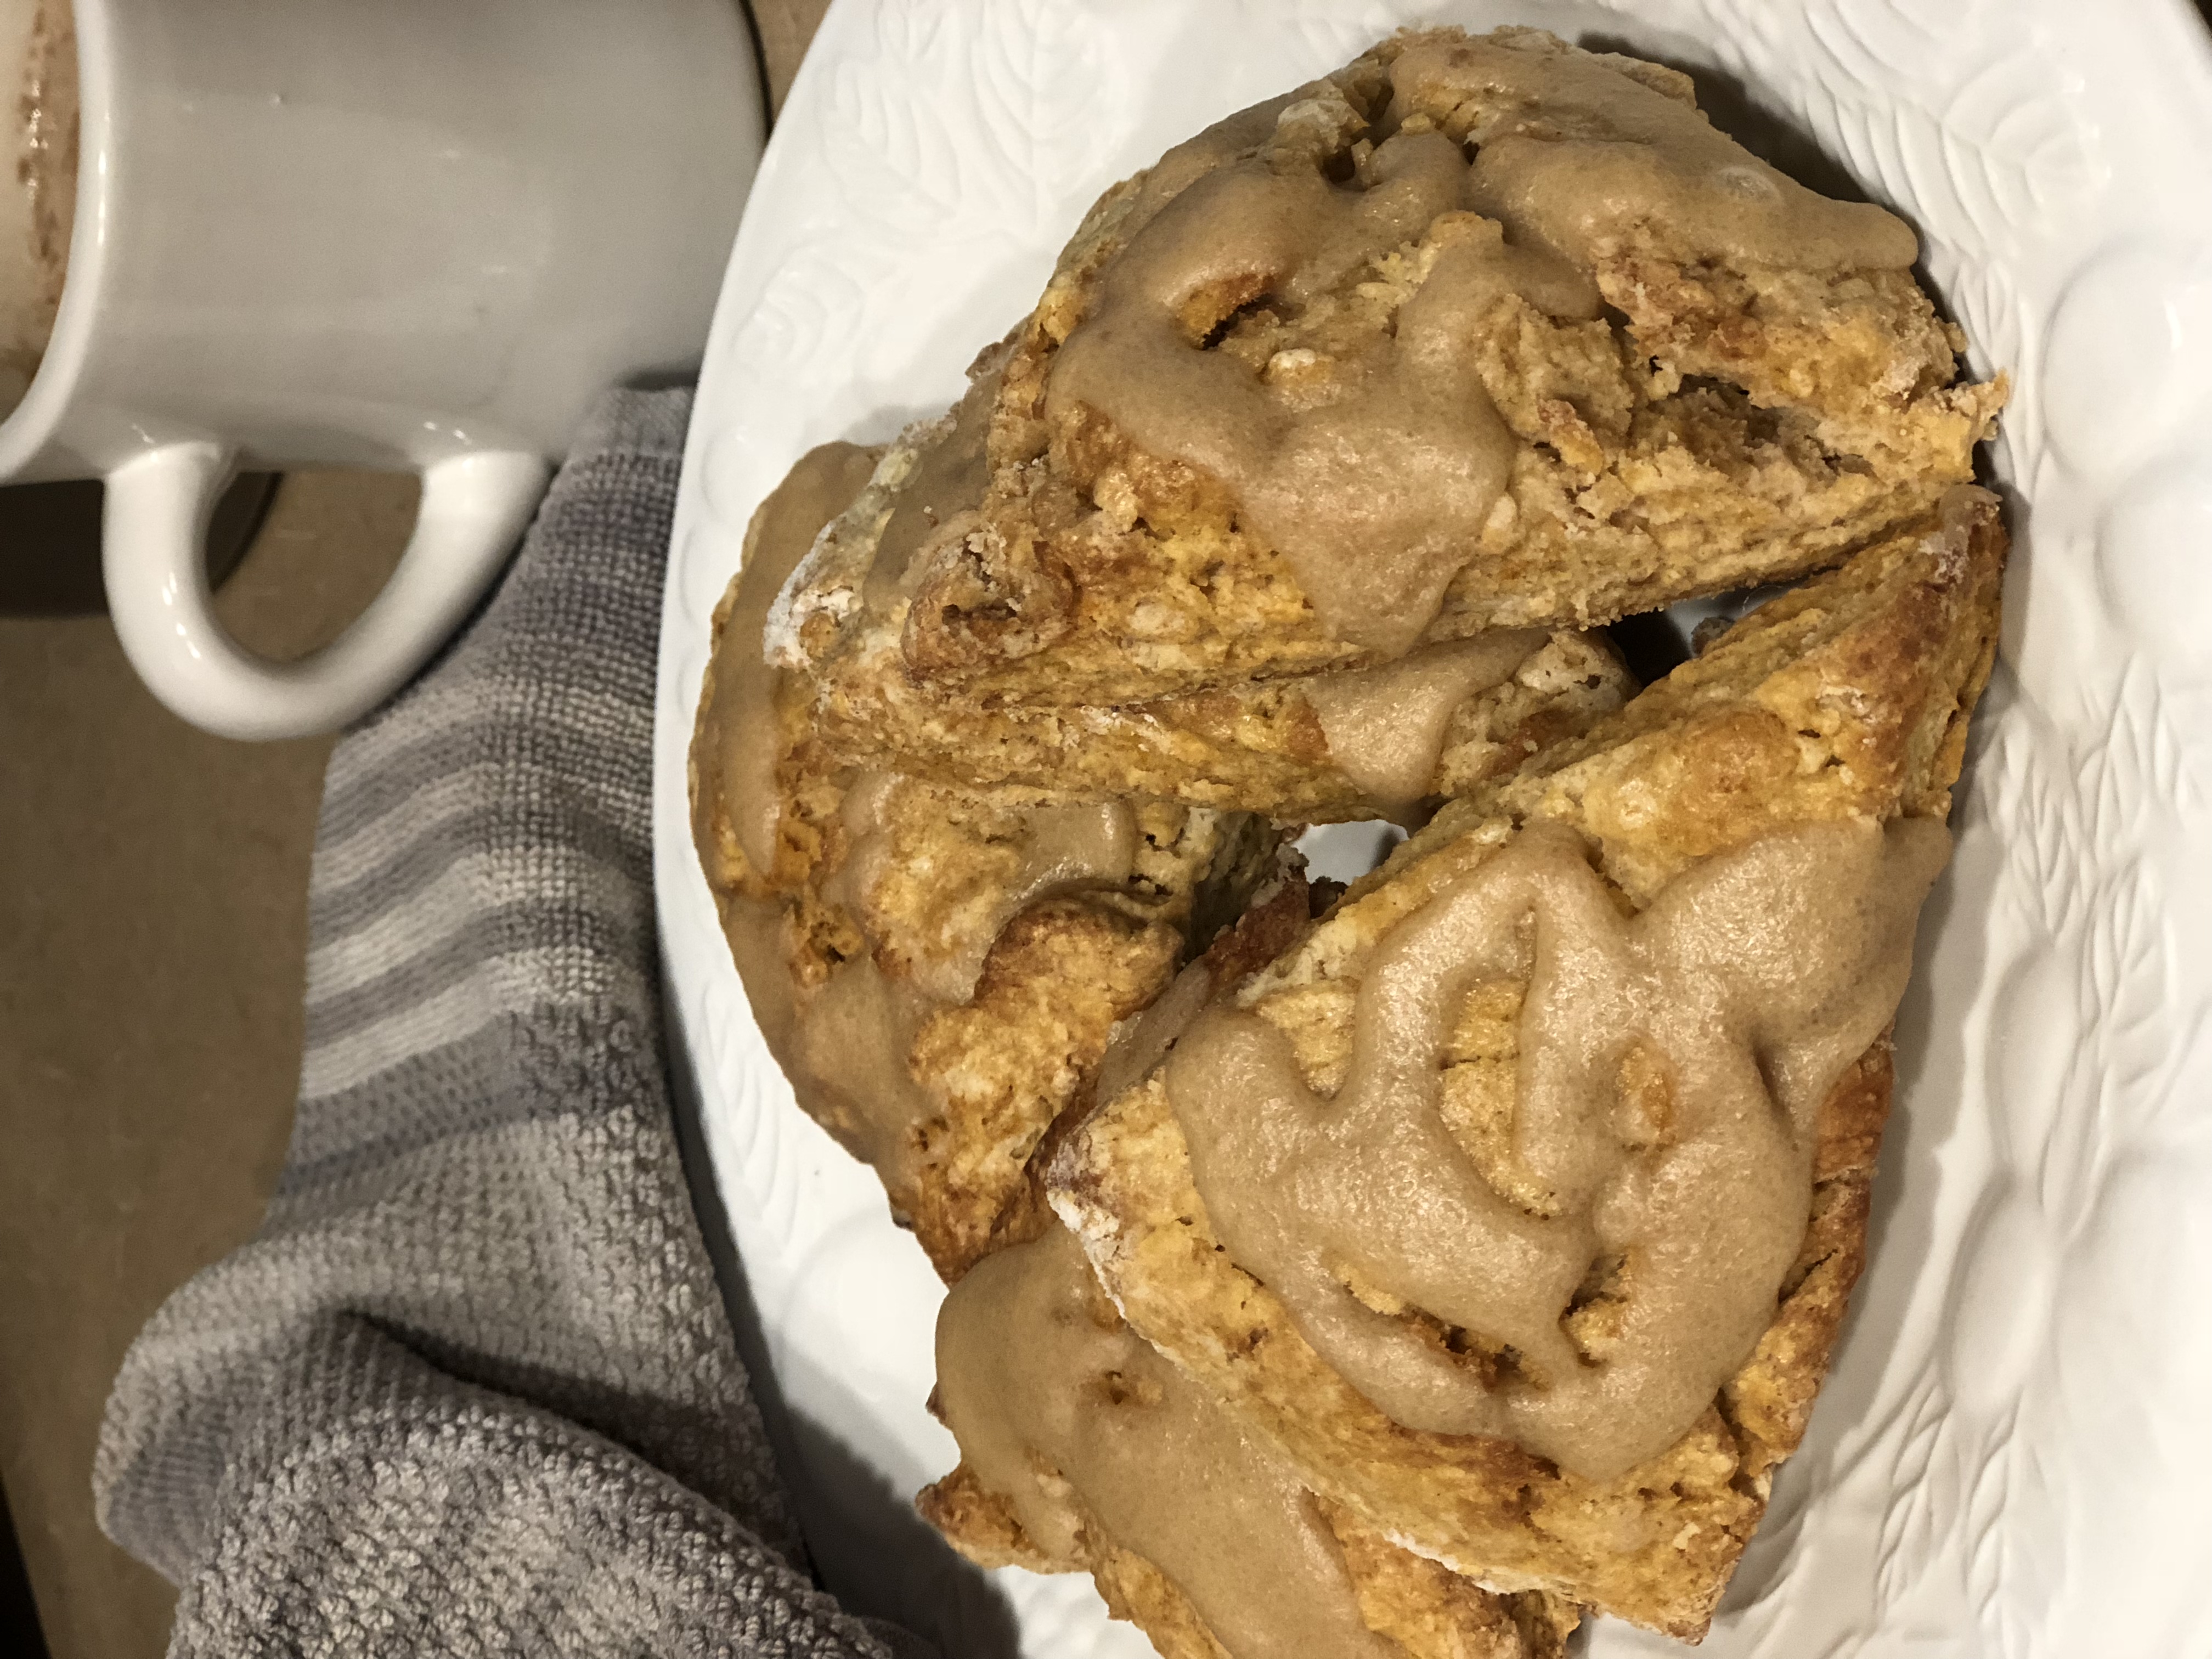
Brown Sugar Sweet Potato Scones with Brown Sugar Icing

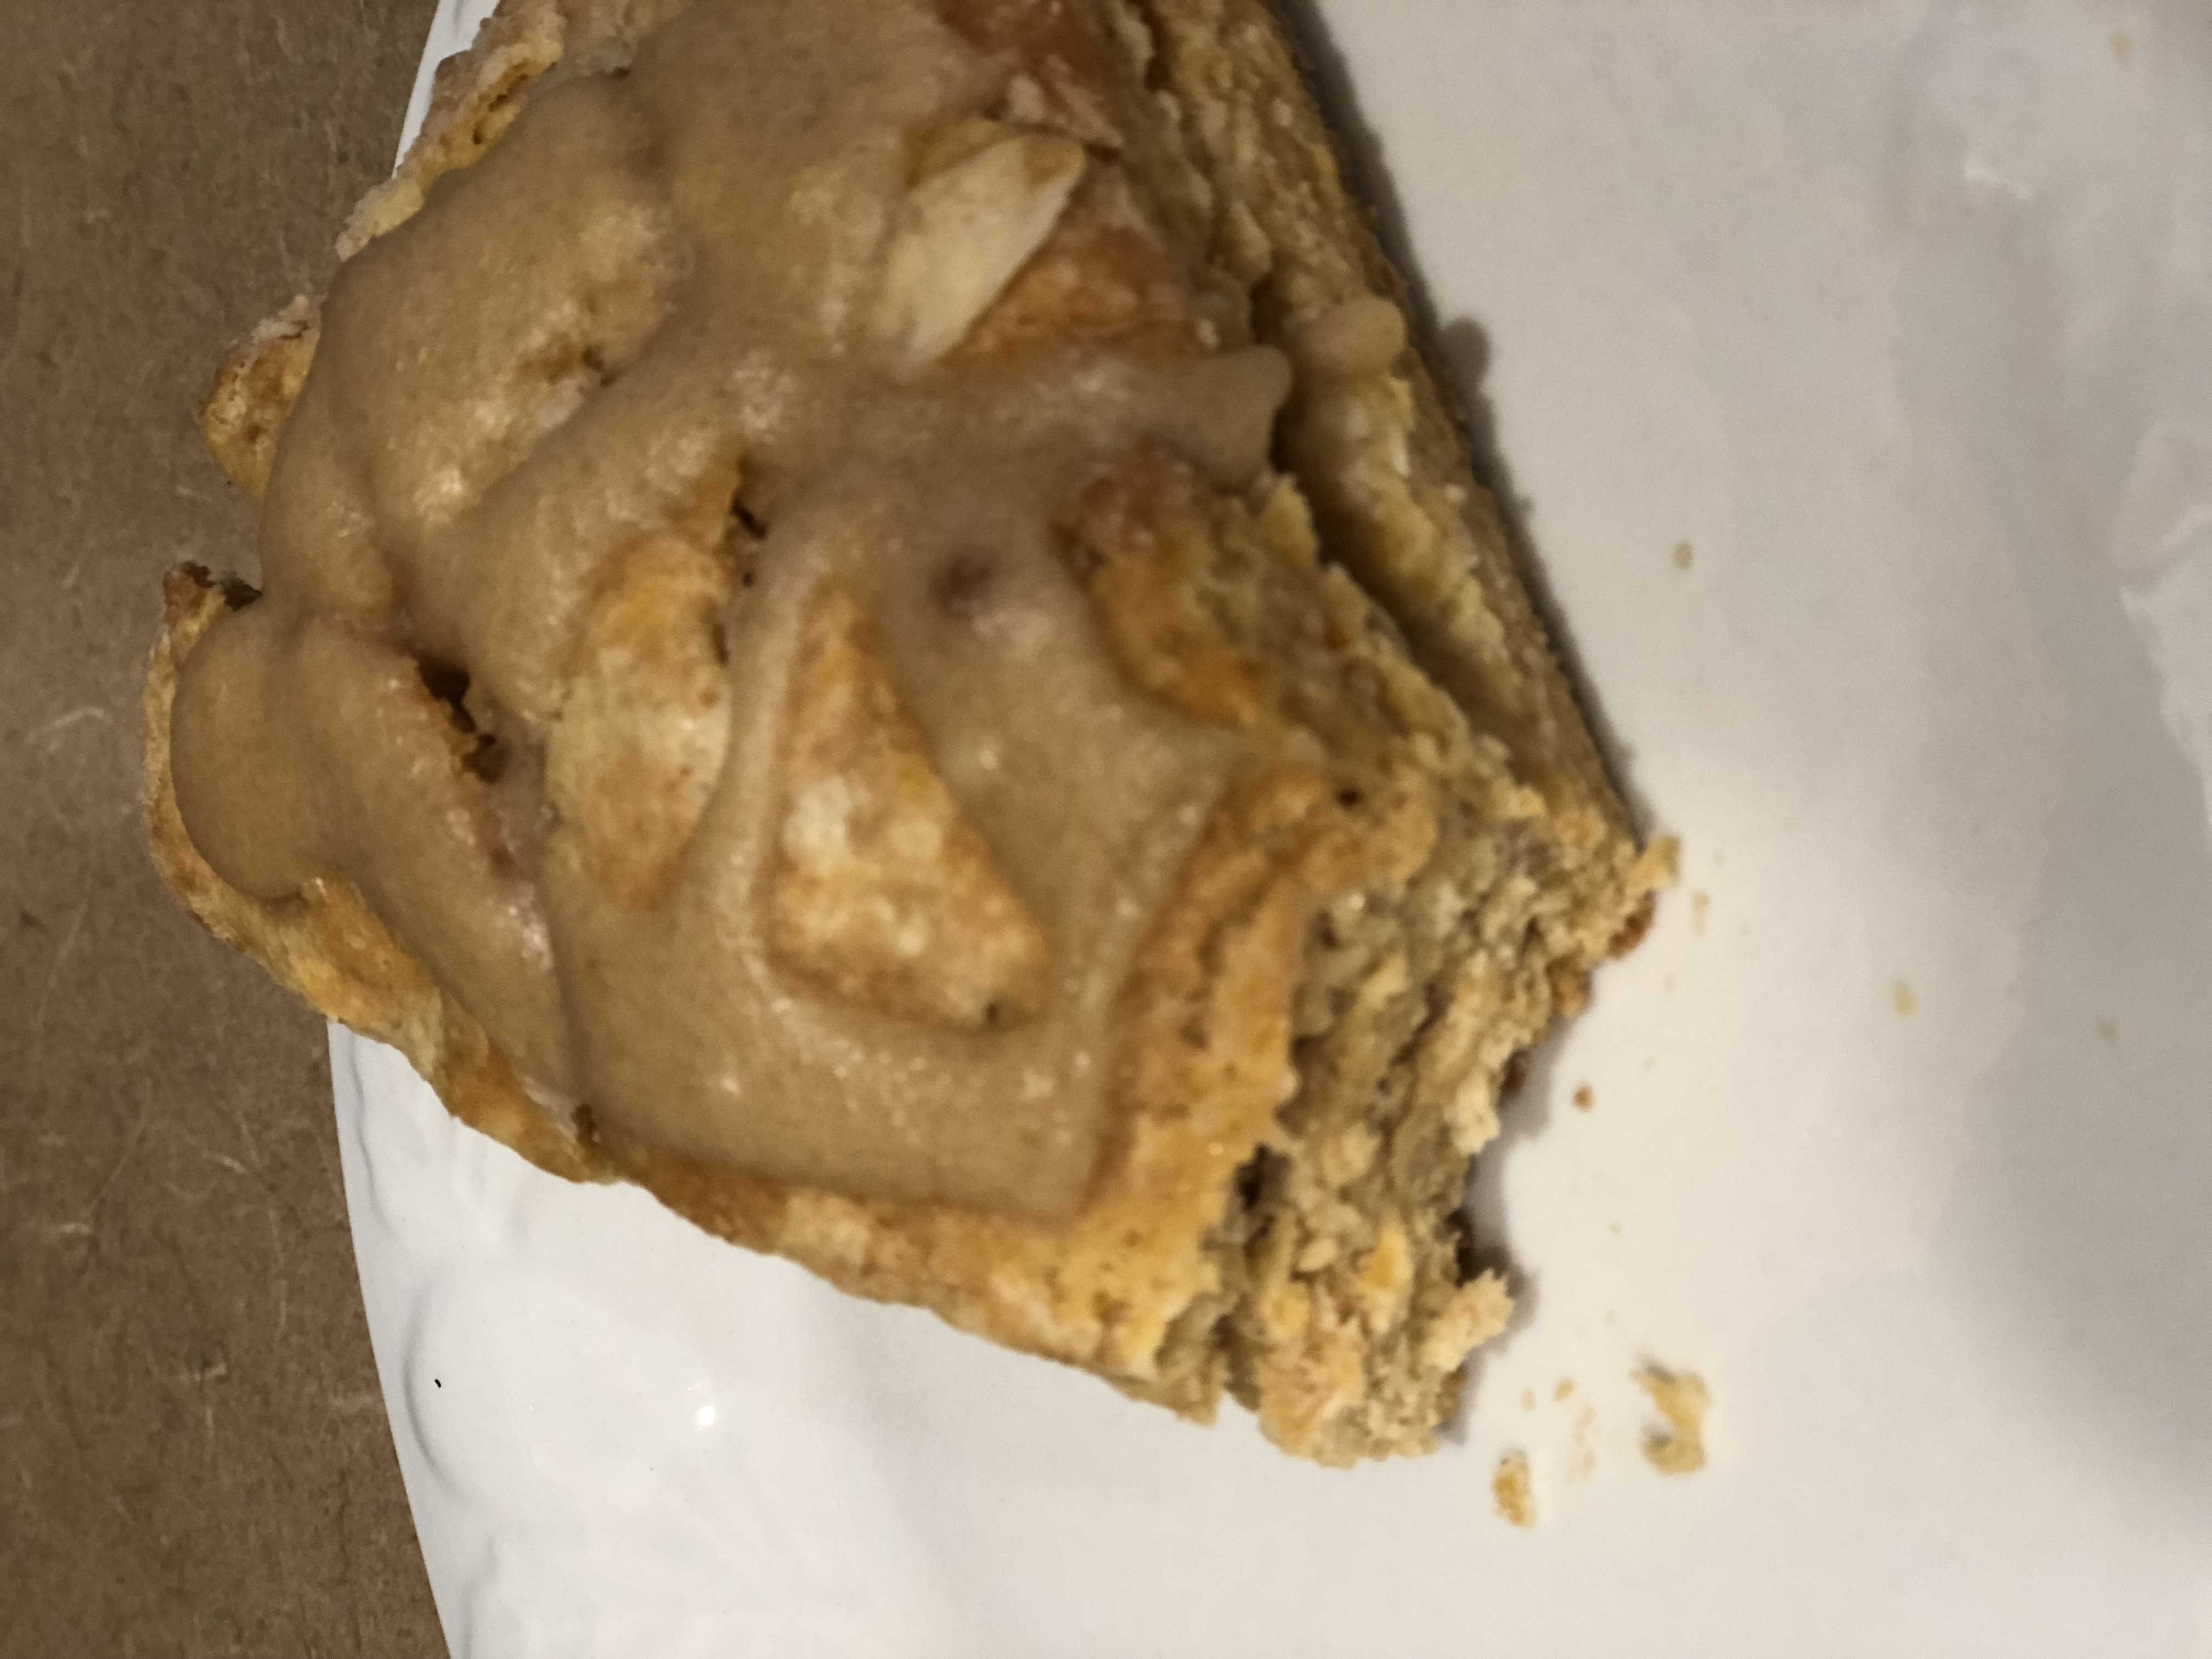
Mix up your icing and drizzle on top. You can mix this icing over low heat and have a less grainy icing texture as well. But I like sugar, so the grains don’t bother me!
Sweet potato scones
Eat.
Sweet potato scones delicious

For catering: Depending on how many you are feeding, double or triple this recipe. You can also roll the dough into smaller 4-inch circles and make mini scones in different flavors. Or roll them into a large rectangle and cut corner pieces in various sizes. This smaller size requires a baking time of 15-20 minutes.

Plain Ole Vanilla – Flavoring That Is

Vanilla beans, 3-5 or more for a larger jar (I use Madagascar vanilla beans)
8 oz. Alcohol of choice (vodka has the most neutral flavor and an expensive vodka is not needed. Just a mid-grade one will do. Or get adventurous and use bourbon, brandy, or rum. These yield a stronger flavor.)
Clean jar or bottle
Sharp knife and cutting board

Split the vanilla beans, leaving the ends intact to expose the inside or chop into pieces if you like.
Place in clean jar or bottle.
Pour alcohol over beans making sure they are completely submerged.
Place airtight lid on container and give a little shake.
Let sit for a month in cool, dark place. You can shake it from time to time. You can use more beans to speed the process. Or allow it to sit for 2 months for stronger flavor.
You can use a coffee filter to strain your finished extract if you want a clear vanilla. I, however, like the little vanilla bits in there.
Top off the bottle as you use the extract to get all that flavor out.
I discard my beans after 3 or 4 refills (adding a new bean here and there) because those beans will eventually lose their flavor infusing ability.

Recipe Failure! It happens

Almond Roca

1 lb. butter (4 sticks)
2 cups sugar (all granulated or 1 cup white, 1 cup brown)
2 Tbs. light corn syrup
6 Tbs. water
1 cups almonds, finely chopped
12 oz. bag of semi-sweet morsels (or half a bag and 6 Hershey bars)

Melt butter over medium-high heat.
Add sugar, corn syrup, and water. Stir to incorporate
Bring to light boil over medium-high heat, stirring occasionally.
Put that candy thermometer in and stir it until it reaches 290 degrees.
Remove from heat.
Stir in 1/2 cup almonds.
Pour mixture onto parchment-lined pan. Allow to cool completely.
Melt chocolate in microwave at 20-second intervals, stirring every 20 seconds.
When bottom layer is cool, spread chocolate on top and sprinkle with almonds.
Allow to cool and break into candy pieces.

Honorable mentions and better candy makers:
http://www.chef-in-training.com/2014/04/homemade-almond-roca/#comment-63384

Copycat Almond Roca


To make the cookie version without the extra drama:
1 cup butter, softened
1 1/2 cups white sugar (or mix of white and brown)
2 eggs
2 teaspoons vanilla extract
2 cups all-purpose flour
2/3 cup cocoa powder
3/4 teaspoon baking soda
1/4 teaspoon salt
1 cup almonds, finely chopped

Preheat oven to 350 degrees.
Whip softened butter with sugar.
Add eggs and vanilla.
In separate bowl, mix together dry ingredients.
Add dry ingredients to mixer a little at a time until completely mixed.
Add almonds.
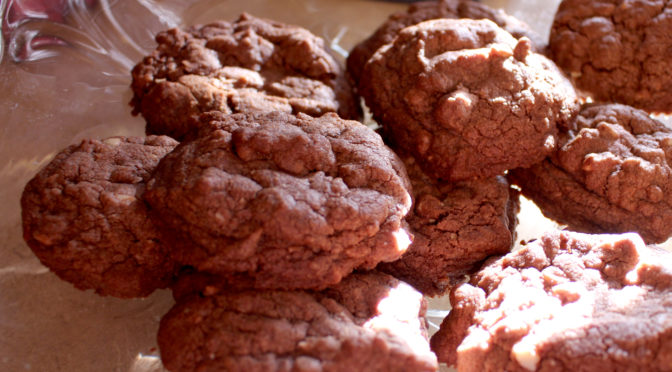
Scoop onto parchment-lined cookie sheet and bake at 350 degrees for 10-12 minutes.

How the candy-making experience was not so sweet

Our customers continued to …. challenge us.
Not only were we asked to alter ingredients, which in some cases worked out marvelously, but we were asked to add dishes. Everyday. All day. Now this is a good thing, actually. It means people liked what we made and trusted us to make things their mamas used to make.
In the first few weeks of these requests, we got a tad aggravated. This was because we were just barely keeping ahead of the overwhelming task of keeping the place stocked with food. But as we practiced our patient smiles and long-suffering response of, “Yes, that’s a good idea,” because you can’t say, “I’ve been here 14 hours already and it’s noon and you’re crazy,” we realized that a lot of requests were actually good ideas.
Enter yet another “helpful” customer who only occasionally stopped by to purchase a $3.00 item. I mention this because when a customer is “good” or “great,” they stop by often or purchase lots of something, or both. These customers are often the ones we would work harder to please or for whom we’d go the extra mile. That’s just the way it is. So, we listened with half an ear to all the suggestions of those who rarely came in. Before this seems totally unfair and awful, let me explain that in the very beginning, we didn’t know who our best customers would be; and so we tried hard, basically bent over backwards, to please everyone and try everything everyone told us. After about a month of putting these “ideas” on our shelves with no one purchasing them and the suggestor never returning (or reading their daily e-mail update) to see that we had taken their advice, we stopped trying every. new. idea.
Now this lovely lady who waltzed in with her $3.00 asked us to make a candy her mom used to buy.
“What was it?” I asked as I gave her the change from her $5.00.
“It was called almond roca,” as she went on to explain how much she and her mom loved it.
“Do they not make it anymore?” I’d never heard of it and I wondered why she didn’t just buy some.
“I can’t find it around here. But it’s so delicious. The ingredients seem so simple. I bet it’d be super easy to make,” she said helpfully.
For those who don’t cook or bake or ever even enter a kitchen to tell others what’s easy is, well, ridiculous.
I took a deep breath, forced a smile and said, “I’ll have to look that up.”
She smiled sweetly and left.
That evening, as I was preparing our schedule for the following day, I decided I might just see what that candy was all about. I do love a challenge. And I do love candy.
Almond Roca, according to Wikipedia, is “a brand of chocolate-covered, almond butter crunch, hard toffee with a coating of ground almonds. It is similar to chocolate-covered English toffee. The candy is manufactured by the Brown & Haley Co. of Tacoma, Washington, founded in 1914 by Harry Brown and J.C. Haley.”
I googled how to make it and found a recipe I decided to try the next day. Why not? It would give us something extra for our shelves and a nice draw as the candy was unavailable in our town. I knew I had an extra 15 minutes somewhere in the day. The recipe seemed straightforward and not complicated. Maybe that chick was right, it’d be easy.
So I combined two recipes I found, with ingredients that were almost identical. One required a candy thermometer and one did not. I did not have a candy thermometer because we were not candy makers. JoAnn, Rebecca, and Sue all thought I might need that thermometer, but I figured winging it would work.
After I followed directions from the second recipe and boiled the mixture to a constant bubble, but not a rolling boil ( I know, what?), I poured it into a parchment-lined pan and set it aside to work on the chocolate topping. I started pouring the chocolate onto the toffee mixture, and watched it sink. Glancing up, I saw all three of my cohorts furrow their brows and button their lips.
I put the mixture in the fridge and waited about an hour to try again. This time the chocolate stayed on top of the toffee, and so I let it cool in the fridge for another hour. I began cutting it into bars and watched the toffee mixture ooze all over the place as the weight of the chocolate squished it down. I glanced up to see if anyone else saw this. Of course they did. We were all working at our central tables mixing and packaging. They all half-grinned. JoAnn offered helpfully, “Looks like we could’ve used a candy thermometer.”
I nodded. Yes, yes, it does.
The ingredients used for this failure were costly and I’d used them in abundance. So I couldn’t just let it go to waste. And eating all of that yummy oozing goodness myself was an delicious but unreasonable option, so I decided to make the proverbial lemonade from lemons.
The ingredients were similar to those in a cookie. So I added flour and baking soda and a bit of salt along with eggs.
That lovely customer did have a helpful suggestion. And though she never called or checked her e-mail update or came back to see if we tried her idea, she was a “good” customer. She had prompted the birth of the almond roca cookie.

Sweet Ending from the Start – Brownies

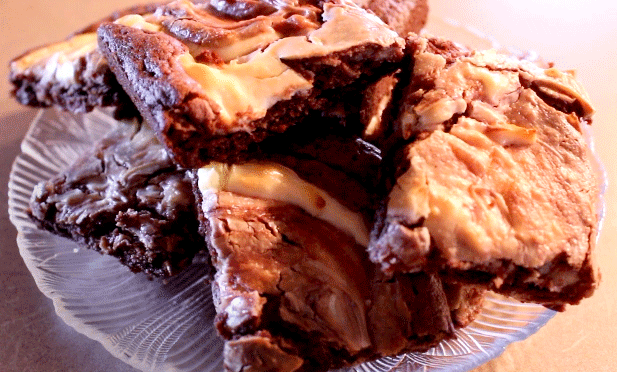
Chocolate Cheesecake Brownies

I had looked and looked for a cheesecake brownie recipe that gave a good contrast of a semi-tart cheesecake and a super sweet brownie. Maybe I was searching in wrong areas, but I could not find one that did not have the baker mixing the cream cheese directly into the batter of the brownie.
But I wanted a flavor fight on my palate. So I decided to tweak the brownie recipe and swirl my tart cheesecake mixture into my super sweet brownie base so each bite had all the flavors I craved. Dispel all visions of grease traps and enjoy this recipe!

Preheat oven to 350 degrees.
Makes 9×7 pan of brownies.

1/2 cup unsalted butter, softened
1 cup granulated sugar
Whip these together in mixer.

Add:
1 egg, whipped
1 heaping tsp. sour cream
1/2 tsp. vanilla
Mix well

In separate bowl, mix together
1/2 cup AP flour
1/4 cups unsweetened baking cocoa powder
1/8 tsp baking powder
1/4 tsp salt
Add this mixture to wet ingredients in mixer bowl.
Incorporate well.
Spread in greased 9×7 pan.

Whip together:
8 oz. cream cheese, softened
1 TBS. lemon juice
Dollop this on brownie mixture and swirl with offset spatula or knife (or whatever you have on hand)
Bake at 350 degrees for 25-30 minutes.

Read on for the beginning of my story.

As with a lot of great endeavors, mine began with an great idea … and a heavy dose of cluelessness.

An opportunity presented itself to leave a job at which I was feeling supremely unappreciated. A local caterer decided to sell – located in a strip mall, fairly good location, and with a good reputation. He’d begun using his leftover food from catering jobs to make meals and package them so locals could grab a meal and simply bake it or reheat it at home. A semi-home cooked meal, if you will. It was actually a novel idea and wasn’t being done in the big chain grocery stores and discount stores as it is now.

That’s all I knew about him or catering. All you need to know, of course.
Did I ask to see books? No. Did I ask to be trained? No. Did I do anything a responsible, knowledgeable person would? No.

I got a love of cooking and a lot of knowledge and little knack for it from my mom, an awesome cook. And I, like a lot of “foodies”, loved watching the FoodNetwork and hearing the backgrounds of the food stars. Paula Deen’s had struck me as it was akin to something I’d thought should be in my town. As I remember it, she’d taken sandwiches and sold them door-to-door. We’d had a young lady who would bring pre-made sandwiches and salads to our office and sell them … from her car. Not actually legit as a food business, but she seemed clean and the food was good and freshly made. Our office, as well as others in the area, bought from her whenever she came in. I worked downtown and it was hard to even leave for lunch some days, so I thought this could be done on a grander scale. Think food truck. My mother-in-law and I had a few of those “we should do that” conversations knowing we never would.

Until said opportunity mentioned earlier came about. Why not mix the above ingredients into one fabulous recipe for success? Rename the business so that the emphasis was on making pre-made lunches and meals, and selling those at the offices downtown, while keeping the brick-and-mortar to sell from as well. And do a little catering on the side. I loved to cook and wouldn’t catering be just like cooking a favorite meal at home? Everyone would love it and be sooooo appreciative of having home-cooked food, they’d take whatever I dished out.
Yes, yes, that is how it would go. How hard could this be?

My first partner, a lady I worked with who’d been in the restaurant business before, and I met with the caterer. As we decided to buy it, she backed out. Probably because she was smarter than I.

My husband, who is also smarter than I, still thought it was a good idea. And so I didn’t feel as stupid for desperately wanting to try my hand at it. Following a discussion with my mother-in-law, Rebecca, who saw how much we wanted to do this and would do anything for her kids, we agreed to go halvesies on the business. Process that …. My mother-in-law would be my partner. Love her to death and she tolerates me so this would be marvelous. Right?

With financing from my husband and mother-in-law, and encouragement and further offer of financing from my parents, my Dad telling me, “You’ll never know unless you try and you’ll always wonder what might have happened if you don’t do it.” Faith and money, check.
Joanne, who cooked for the former caterer agreed to stay on and help us. I think she could see how “deer-in-headlights” we were and didn’t even realize it. But she did, and so she took pity.

We bought it! I gave my two-weeks notice to all of my bosses who seemed aggravated at me for leaving. No well wishes from them. The former owner handed over the “secret recipes,” and explained the basics of operation, like don’t tick off the health department ladies and such.

Day one was to be February 1. In preparation, my father-in-law and super-great, patient, long-suffering husband laid new flooring, attached baseboards, tore down a wall, rewired electrical outlets, found a used two-bay refrigerator and more shelves and hauled those in. We cleaned and painted and cleaned and planned, and cleaned. We got new signage, set up food vendor accounts, bought packaging, and set up a cash register. Because we were going to be bringing in serious money, ya know? I took a ServSafe course for proper food handling and was set to go!

The night before we were to open, and have our health department inspection, we decided to clean the grease trap, which had been stewing in its own juices for a couple of months. To those who don’t know: Grease traps are stinky; awful; gag-the-strongest-stomach kind of yuckness.
Rebecca brought her wet/dry vac from home and since I had a strong stomach and knew nothing of grease traps, I knew I could handle it. My sweet mother-in-law hid her face in her jacket and closed me in the back room with the 20-gallon grease trap and the 10 gallon vac (do the math); and started gagging immediately, as I turned the vac on. After weeks of sitting and not being pumped, it was rank to the utmost degree. I managed to get the vac filled up, not spill it as I wheeled it out the back door, and dumped it. I can handle me some rank stuff, but this was too much. And, lord help us, I was only halfway through. Second fill-up equally gross, if not more so, and done!
We left the nearly new wet/dry vac out behind the strip mall for whoever had the guts to take it.
We were exhausted and beyond over our heads and just plain irritable at the end of that day. But I knew this was the worst of it. (Naivete showing again) I went home, took a long hot shower and polished off a cheesecake brownie with a tall glass of milk.
I thought, “This day will be the most exhausting. This will be smooth sailing once we get a handle on it and a workable schedule. Easy-peasy ……”

For a crowd: (Feeding 48-96, depending on recipe you choose)
One large box of brownie mix (the size from Sam’s) will make 2 steamer trays or 2 large sheet pans. Then proceed to the cream cheese step.
But if you want to make the brownie base from scratch, you can double most ingredients in baking with little issue.
However, to ensure a good rise on brownies, cakes or muffins (and things of that texture), you need to increase your baking powder or baking soda just a bit to neutralize the acidity in your recipe.
To make 4 times this recipe, which is 1 full-size aluminum steamer pans or 1 large sheet pan:
2 cup unsalted butter, softened
4 cups granulated sugar
Whip these together in mixer.
Add:
4 eggs, whipped
4 heaping tsp. sour cream
2 tsp. vanilla
Mix well
In separate bowl, mix together
2 cups AP flour
1 cup unsweetened baking cocoa powder
1 1/4 tsp baking powder
1 tsp salt
Add this mixture to wet ingredients in mixer bowl.
Incorporate well.
Spread in greased 9×7 pan.
Whip together:
3 (8 oz.) cream cheese, softened
3 TBS. lemon juice
Dollop this on brownie mixture and swirl with offset spatula or knife (or whatever you have on hand)
Bake at 350 degrees for 25-30 minutes.