Category Archives: Delicious Dishes

Main dishes and tempting sides are found here.

Cut-Off Corn

(or Skillet Corn or Cream Style Corn)

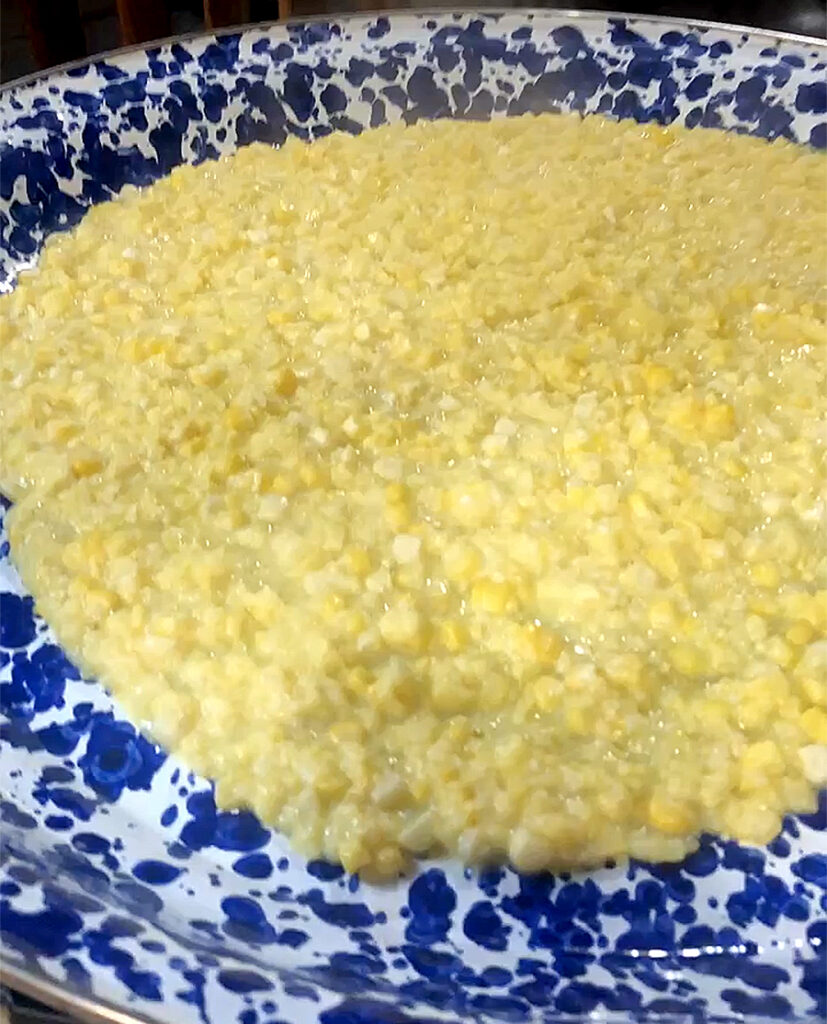
Sweet cut-off corn

Here’s an easy recipe for cut-off corn deliciousness:
1 qt. bag cut-off corn
1 heaping Tbs bacon grease
4 Tbs butter
1/4-1/2 cup cream or whole milk
Place nonstick skillet on medium-high heat and add bacon grease and butter.
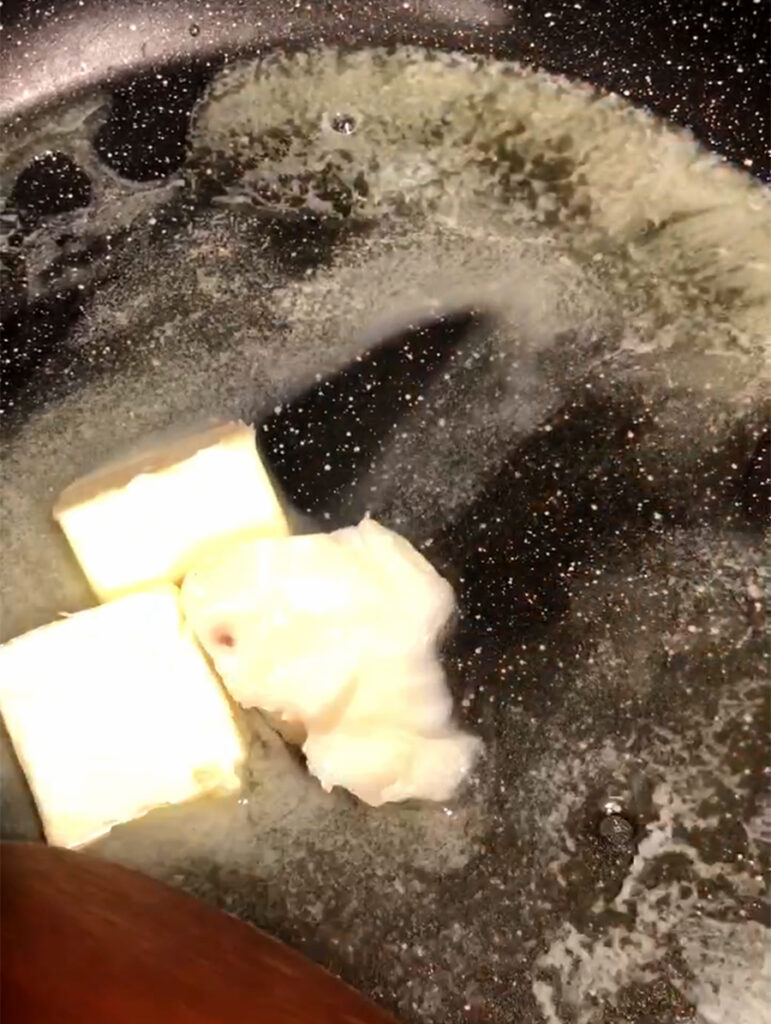

Allow that to melt together and then add your thawed corn.
(Or forget to thaw it, get it in the skillet as best you can, and cover with a lid to allow to steam and melt, stirring occasionally.)
Season with salt and pepper to taste (optional: a pinch of sugar if your corn isn’t as sweet)
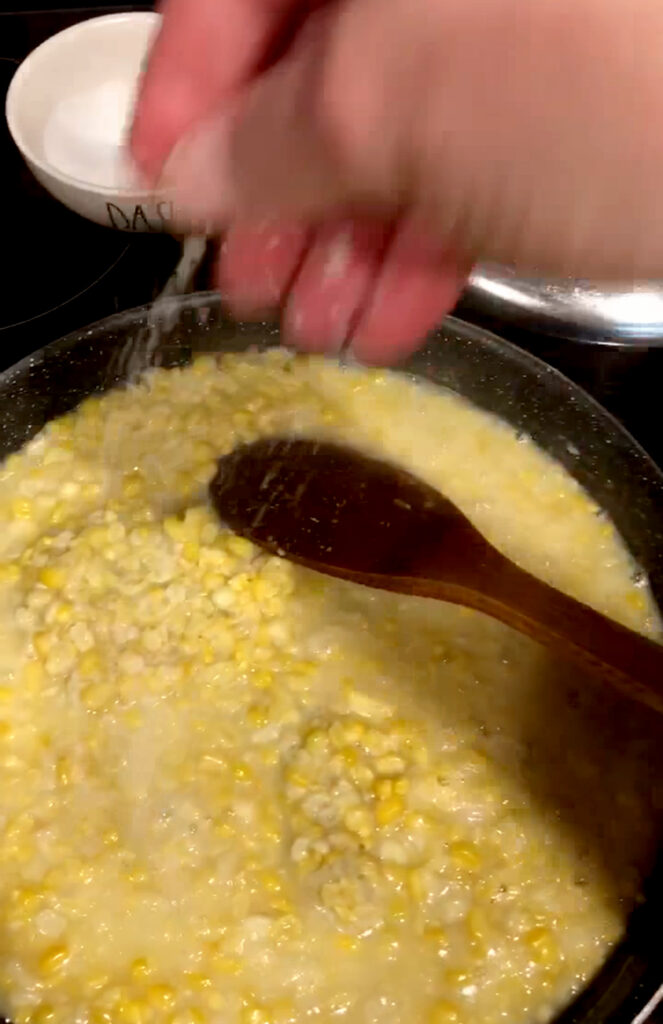

Stir it all together and allow to cook for 5 minute.

Adding a little cream or milk to get it to the consistency you like.

The story:

My mom Juanita learned how to make cut-off corn, as we call it, from my grandmother Josie Ward, who learned to make it from her mama. Josie only added butter, bacon grease, cream, and salt and pepper. Simple ingredients because it is what she had on hand. But those ingredients made a treat out of the ordinary.


They used field corn that had been planted for themselves and their livestock and began the harvest in late summer when the tassels on the corn dried out and started turning brown. They’d pull back the shuck from the top of the ear and see if the kernels were formed and plump. The best ears were considered those that had the least amount of worms or worm tracks and the juiciest, plumpest kernels; and that was saved for the family. These were shucked, silked, and had all the bad spots cut off. Josie would take fresh corn and cut off the kernels (thus the name) and scrape the milky sweetness from the cob. This would be a treat for supper the night of “a pickin”. Those meals with fresh-from-the-field, cut-off corn were the best. Almost equally as good, was the corn she preserved in jars with this same method, adding the extra few steps (about a day’s time) to jar and process it in a pressure canner. There were no freezers back then so corn was jarred and canned for winter. Lorene, my dad’s mom, did not have her own pressure canner so she used the local cannery. This was a building down on West 5th St. in Waldron, Arkansas. It was set up specifically for those who needed to get their food preserved by the pressure canning method. She would gather up her vegetables, fruits, jars, rings, flats, whatever other canning ingredients she needed, and her two little boys and go wait her turn to use the canners.


Some of the harvest would be cut off and taken to the local grist mill, down in the area of East 5th and Featherston Streets, which was run by Old Man Smith, as he was called. This made a superior cornmeal that turned out a deep yellow color with a strong, sweet earthy scent. You could stand and watch your corn ground and be handed back to you for the year’s cornbread supply.

Some of the corn would be used for hominy and grits, but that’s a whole other story.


The largest portion of the corn was taken inside the cellar or smokehouse and hung up with shucks intact to preserve it longer. The rest was kept in the corn crib in the barn. Sometimes, before it completely dried out, they’d grab a few of the plumpest ears left in the crib and take it inside to soak. This plumped up the kernels enough to make it fit to eat for corn on the cob.


What wasn’t gleaned for the family was fed to a variety of farm animals. It’d be shucked in the field with shucks left to compost on the ground. Two ears were rubbed together so that the kernels fell off and that was thrown to the chickens. Others were shucked and the whole ears thrown to cows and hogs. The cobs were left in the field to be trampled, peed on, and rolled in cow patties by the animals living there. These were then perfect for corn cob fights. Yes, it was a thing. Kids then did not have their thumbs on a phone screen and toys galore so they amused themselves by walloping each other with corn cobs. It was kind of like a snowball fight behind snow forts except you were behind whatever was available and throwing hard cobs. And my dad says, yes, they hurt. They’d dig for the nastiest corn cobs that had been soaked with animal urine, or better yet, one that had found its way into a cow patty. Not only did those hurt the worst and raise a big whelp, but they were the grossest thing to be hit with. And they aimed for the head. You wanted to see a big, cow patty-smeared whelp on your opponent’s head. And nobody ran crying to tell on anybody. They just went and found a worse corn cob and chased their attacker down. According to dad, this served a two-fold purpose. One, you learned to aim well and dodge better. And two, you got tough pretty quick. His quote, “Sissies were few and far between.”
So, yes, bruises were plenty. Pain was real. Toughness was learned. And fun was where you found it. Sometimes, it was found in a corn cob.

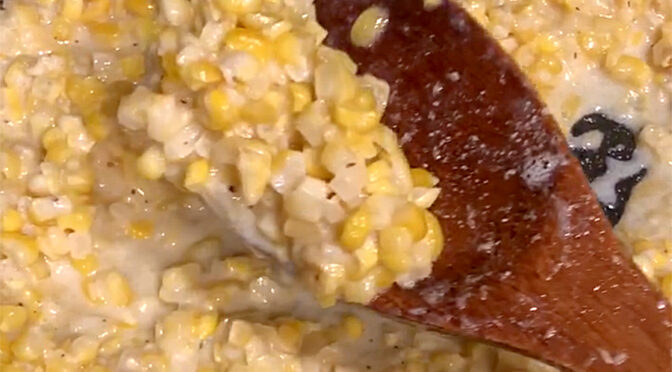
Preserving Sweet Corn

Shuck and save for later

Fresh sweet corn on the cob ready for the freezer

The smell of cut-off corn cooking is a memory trigger. All good memories, except for the time it took to pick, shuck, trim, cut it off, and package for the freezer. But it tastes so good fresh from the freezer in the wintertime that all that work is forgotten, mostly. If you’ve ever smelled fresh corn straight from a farmer’s field cooking and tasted it, you know what I mean. If you haven’t, bless your heart.


That particularly sweet aroma flips a switch and turns on a memory of shucking corn with my parents on their deck back when I was a kid. Calloused hands moving at twice the speed of mine pulling silks and shucks off almost in one fell swoop and then rapidly trimming ends and spots with a paring knife. Then, I hated sitting in that heat swatting the flies that swarmed around the shucks and silks. I remember thinking “My friends don’t have to do this. All they do is lay around the house all summer. Why do I have to learn any of this?” But now I’m so glad I did. It took patience on their part with an extra helping from my mom who then taught my sisters and I how to par-cook it, cool it, and package it so we’d have the most delicious fresh corn all winter. I had no idea at the time how fortunate I was to be taught those things. If you were never taught, truly, bless your heart. It’s not too late and I hope this little tutorial and video help.


To have fresh corn takes a little effort. You can just go to Kroger or Walmart or wherever you shop and get it there, unshucked if you want the “real” corn cooking experience, or shucked and packaged on one of those neat little Styrofoam trays, which is still good and still requires you to cook it. So yes, you are cooking fresh corn that way as well. It is an okay stand-in for bona fide straight from the farmer corn. But if you have the opportunity to buy fresh from a farmer or “produce guy” on the side of the road, you really should. If you don’t know where to find one of those, bless your heart.


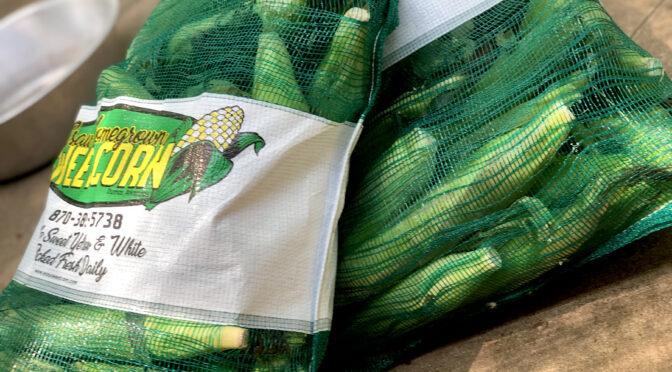
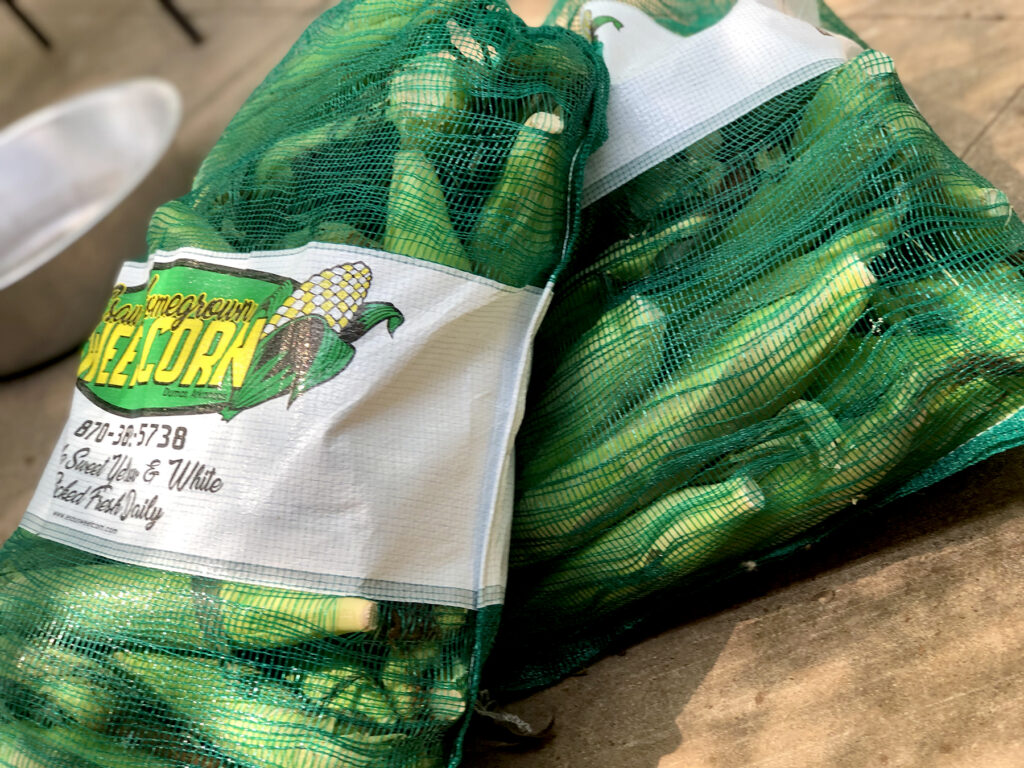
Every year, I buy at least 2-3 (50 lb.) sacks of Esau’s Corn from my produce guy. He gets it to me freshly picked and I process it as quickly as I can. Here’s why: It’s generally picked in hot weather and when it sets off the plant in the heat for too long, it begins to sweat and will lend a “soured” taste to the corn. It also will begin to get waxy and a bit rubbery. If it is kept in a cool environment (in your house or a refrigerated area), it will keep fresher longer. However, once picked, it can only retain all the juicy sweet goodness locked in the kernels and cob for so long. This usually takes a day and a half to process fully. Bless my heart.

Par-cook and freeze your corn in whole cobs or make cut-off corn (aka skillet corn or creamed corn). There are lots of ways to do this. This is not the only way. However, it is how I was taught so that’s what I’m going with.

Shuck your corn and silk it (remove the silks as much as you can)
Cut off any bad spots on the cob as they can ruin that cob or others


For whole corn on the cob:
Place cobs in large pot of water and bring to gentle boil.
Make sure all the cobs are submerged, rotating them as needed.


Allow to bubble for 3-4 minutes and remove.
Lay in single layer on towel in a cool location. (Do not lay on a stained or painted table as the sugars and steam can ruin a finish. My mom learned this the hard way.)


When completely cool, package in bags and remove as much air as possible to freeze.


For cut-off corn:
Cut your kernels off the cob using one the fancy new corn cutter gadgets or just use a knife.
When you’ve got it removed, place a large nonstick skillet on medium-high heat.
Put just a little water in the pan (about 1 Tbs. per 2 cups of corn)


Cook, stirring to keep from sticking (the sugars in the corn will make it stick)
(Do not season if doing this to freeze.)
Cook for 5-6 minutes and remove to large tray so you can spread it out evenly.


Stir it around occasionally to let all the corn cool at the same rate.
When completely cool, package in bags (removing as much air as possible) for freezing.

To cook your corn after thawing or before freezing, you have to use bacon grease and butter and a little cream if you have it. Well, you don’t HAVE to. If you want sub par-tasting corn, go ahead and leave all that out. But you’ll regret it.


Here’s an easy recipe for cut-off corn deliciousness: (https://www.scrappylittlecook.com/cut-off-corn/)
1 qt. bag cut-off corn
1 heaping Tbs bacon grease
4 Tbs butter
1/4-1/2 cup cream or whole milk
Place nonstick skillet on medium-high heat and add bacon grease and butter.
Allow that to melt together and then add your thawed corn.
(Or forget to thaw it and put it in the skillet, covering with a lid and stirring occasionally to allow to steam and melt.)
Season with salt and pepper to taste (optional: a pinch of sugar if your corn isn’t as sweet)
Stir it all together and allow to cook for 6-10 minutes, adding a little cream or milk to get it to the consistency you like.

For corn on the cob:
1 qt. bag frozen corn on the cob
Salt
Place large stew pot of water on medium high heat.
Add salt to taste (I add 1-2 tsp.)
Place cobs in water and make sure they are submerged.
Allow to come to boil.
Boil gently for 5-6 minutes.
Remove from water into bowl and place butter on top to melt for extra flavor and calories.

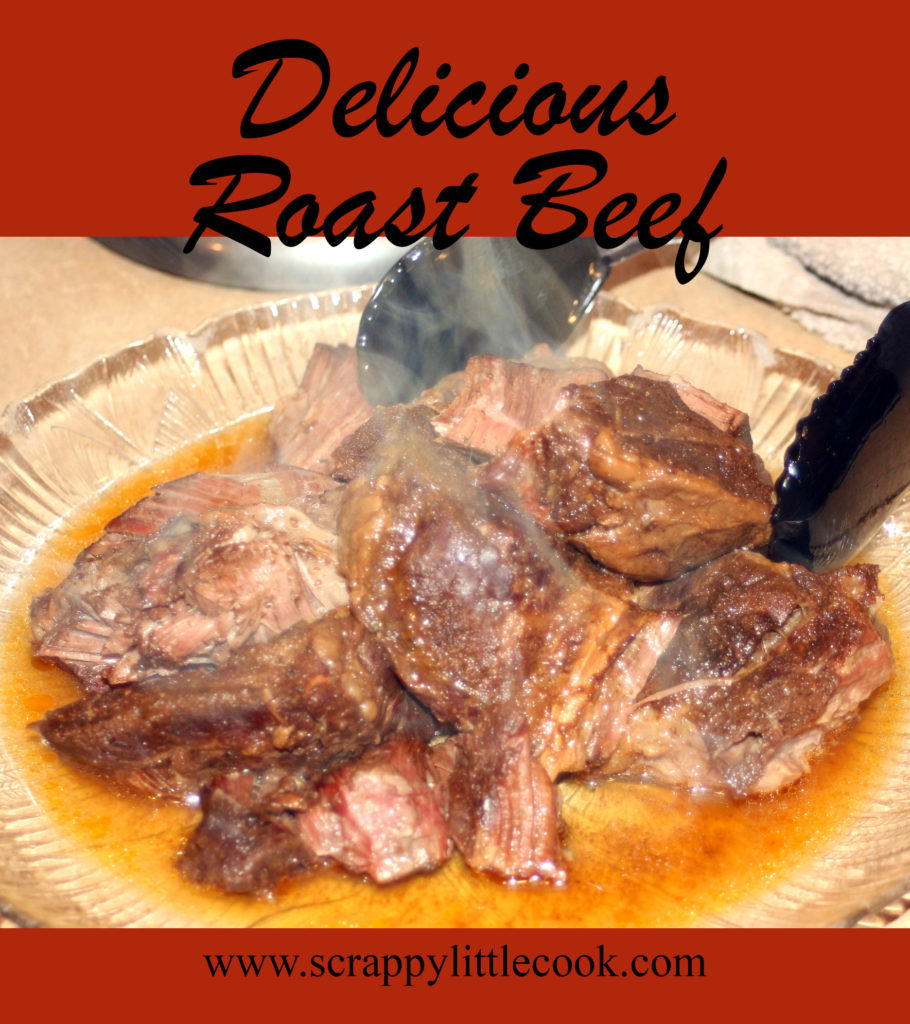
Beef Roast

Add a dab of your own flavor. It will be delicious.

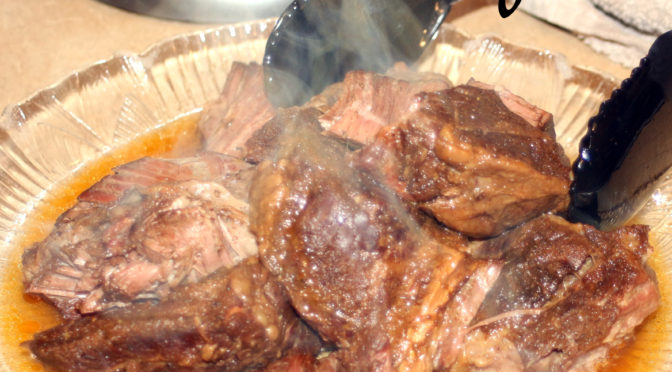
Beef Roast
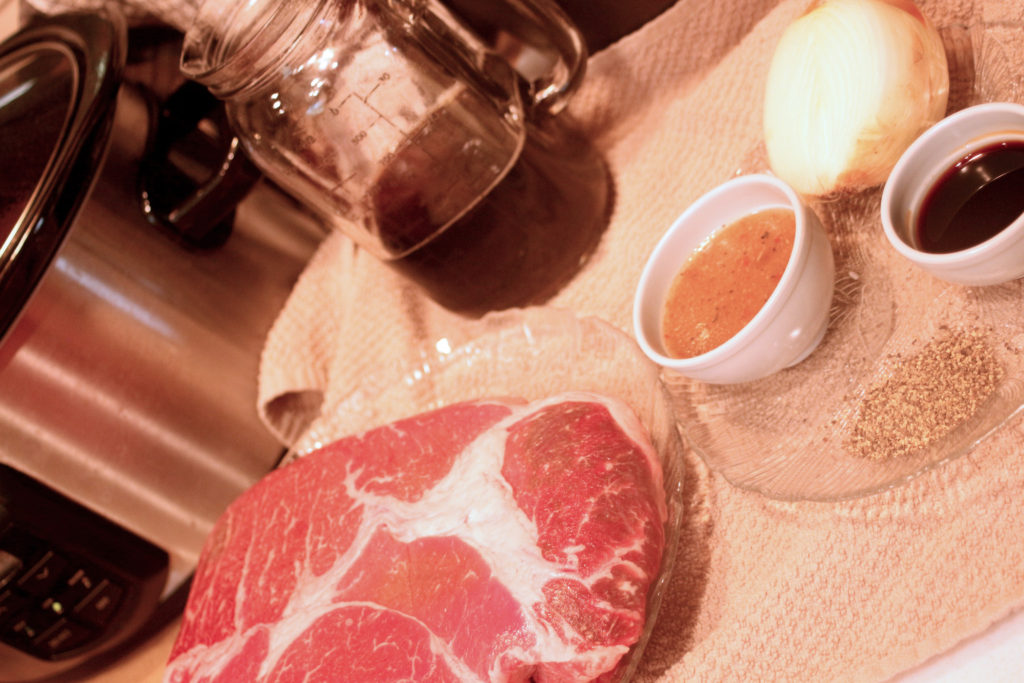
(3-4 lb. chuck or “English”)

1/2 cup Italian dressing (or packet dry Italian dressing mix)
1/4 cup soy sauce (or healthy dose of salt)
1/2 medium onion, peeled and chunked
1-2 Tbs. coarse black pepper (depends on your taste)
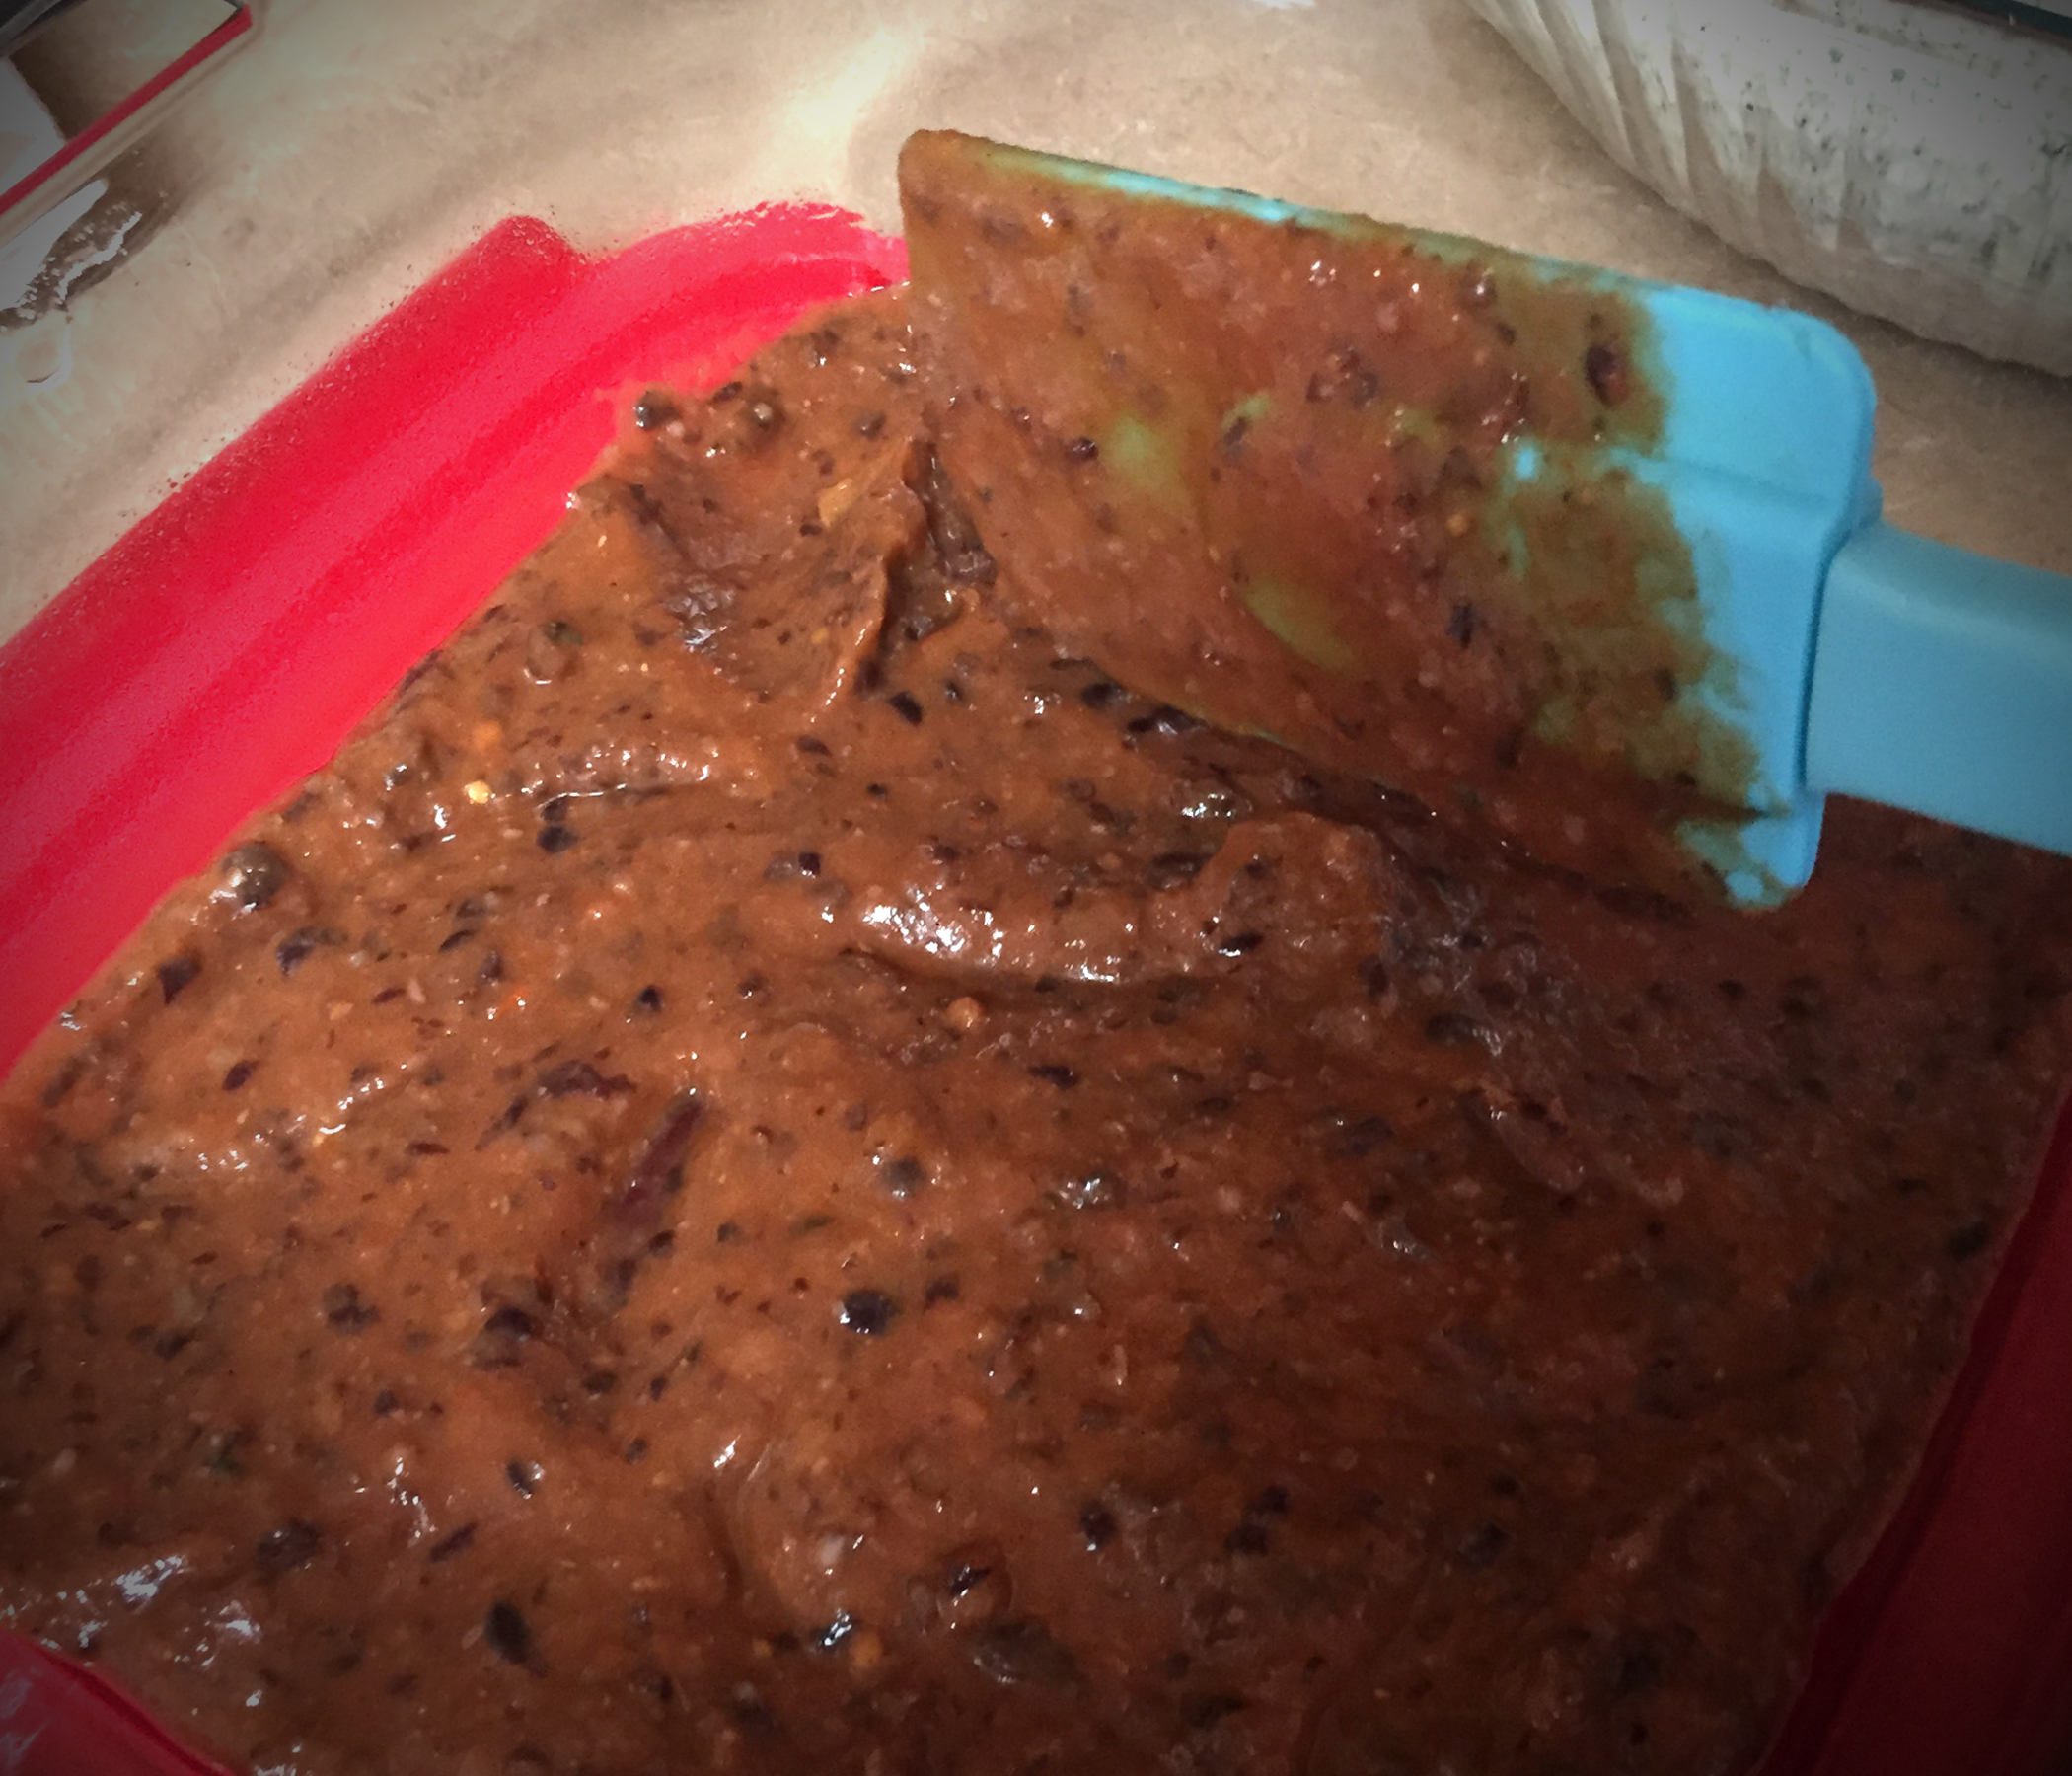
1/2-1 cup coke (not the Southern “any soda is coke,” but coca-cola)
Water to cover the roast

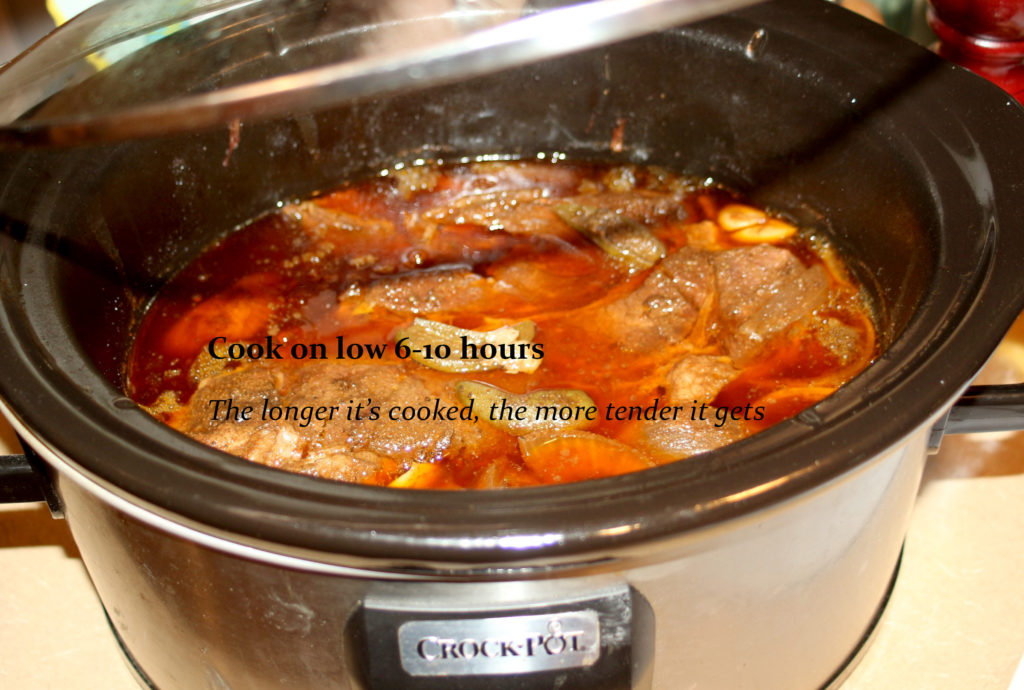
Use your crockpot for this recipe. Or use a casserole dish in the oven.
Add the ingredients I’ve listed and whatever you like. Throw in a hot pepper or two if you like a little heat. Add in mushrooms or cream of mushroom soup for a different flavor.
Just don’t go overboard and cook a couple days! It will dry out. 😉 If you decide to cook this in the oven in a casserole dish, just cover with lid or foil and cook for 3-4 hours at 350 degrees.
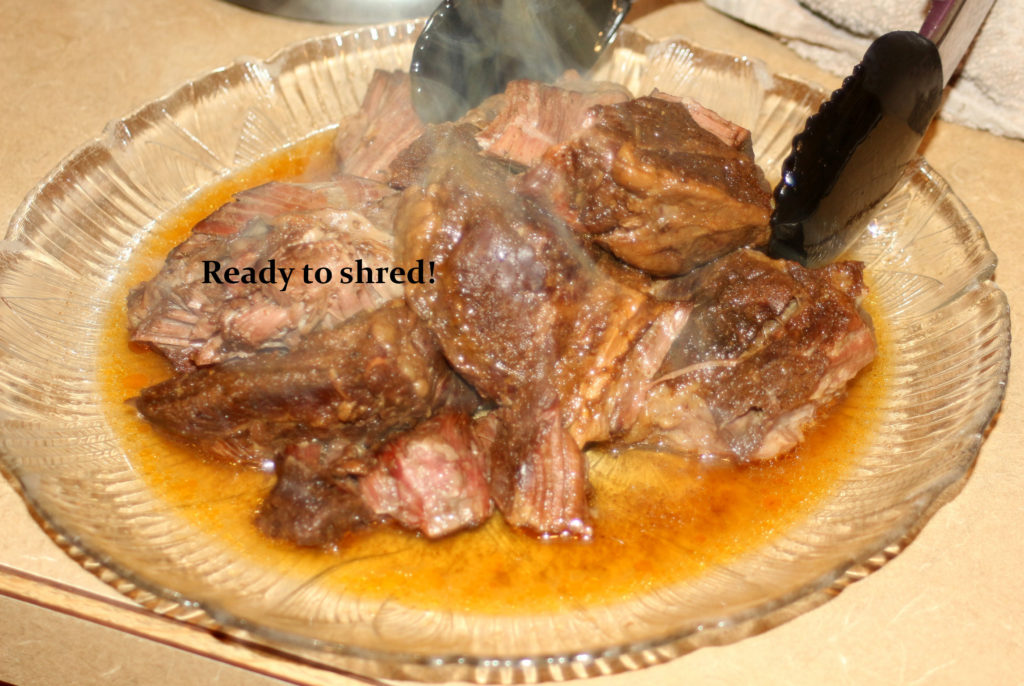
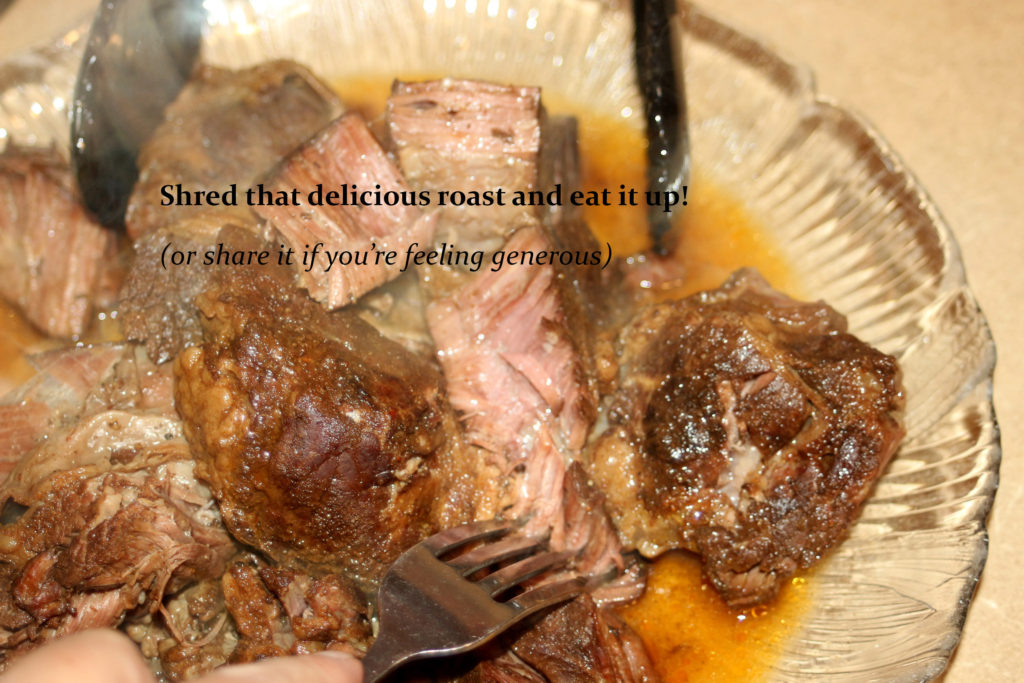
Pull those delicious hunks of tender happiness out of the crockpot.
Shred it and eat it on sandwiches, over mashed potatoes, with a side of potatoes and carrots, or in tacos with salsa and fixins!

The story behind the recipe:

It is handwritten on a green Stuart Hall spiral bound pocket notebook. Written there because she knows things don’t have to be fancy to be good. And that is probably what she had at home in her stash of new notebooks, cards, and such that she keeps to give as small gifts or for her own writing. She writes too, and better than I, about glimpses of life from her perspective; about memories from her childhood. Memories of the good times in a less-than-idyllic upbringing. She writes a lot about her mom, my grandmother, who held it all together while her dad, a good man but with a hearty taste for rotgut whiskey, seemed bent at times on ripping it all apart.


My piece of her memories is in this notebook: Recipes that she used; ones she knew I didn’t like, but that other normal folks would (i.e. anything with onions); recipes my grandmother passed down; and many I should’ve known, but didn’t.

She gave it to me as one of my wedding gifts, alongside some blue willow dishes that had been my great aunt’s and ones to match the treasured set my mom had given me.


This little book also contains my grandma’s secret donut recipe (use canned biscuits), the family salty dill pickle recipe, the foods she knew I’d love (fudge brownies), and ones she knew my husband would like (Pork Chop Casserole). It has cookies, brownies, cinnamon rolls, easy cobblers, punch, and even headache and bee sting remedies – all that and they don’t even fill the 100 page capacity.


This little map of cooking is much like the lady who wrote it – full of love and humor. Always there and ready to help, but content to sit on the shelf until I have sense enough to seek it out. My aunt Kathy has always been there when I needed her. She has helped guide me and provided comfort when I didn’t even know I needed it.


She was there when my mom battled a rare bladder disease for more than 10 years. She drove my mom to the doctor visits and hospital stays those times my dad had to stay home and work as he was the lone provider. She was there to celebrate and assist with graduations and weddings and anniversaries. She was one of the first to be there when someone in our community or congregation died and the family needed a shoulder or a casserole.

She was able to throw things together quickly and make it good. This is because she never measured. I must remember to thank her for the exact measurements in this book – a dab of this and a spoon of that. Confusing at times, but it taught me to stop and think about what would taste good and to add my own flavor. I think she did this on purpose.


I referred to it the first time I decided to cook a roast after I got married. This is one of those things I should’ve known, as I’d watched my mom cook delicious beef roasts my whole life. I’d bought a roast and got it home and then stood with the roast on my kitchen counter, realizing I hadn’t the foggiest notion of how to cook this hunk of meat properly. My mom had used an electric skillet. She’d sear it in the skillet first, season it with salt and pepper, and cook on low in that skillet with onions and a little water to steam it and make it tender. It was delicious. I had no electric skillet, so I guessed cooking this thing would be impossible – because there’s only the one way, right?


I’d previously leafed through my little green spiral bound book of gold just to see what it held, and I remembered something about a roast. Sure enough, there in her half-print/half-script writing was a recipe simply titled “Roast”. It had a Crockpot method and an oven method and used simple ingredients; and was written as if she was standing next to me, telling me just what to do. Her recipe used Lipton onion soup mix, which I had on hand, and was delicious, as well.


Now I use a combination of their methods and add my own touch, my own flavor. And every time I cook a roast, I think of my mom over her electric skillet and my Aunt Kathy writing this book for me. Small dabs of delicious memories. What’s a dab? That’s up to you.

One recipe she included that has served me well:
Love your enemies – It drives ’em crazy.

Chicken Stir Fried Rice

A fancy meal at a strip mall hibachi grill prompts this easy, at-home recipe.

Chicken Stir Fried Rice

How-to video below
Makes about 6-8 servings, (depending how much of a serving you take 🙂

The players:
Chicken, cut into 1-2” pieces (you can use steak or shrimp or all 3 if you’re fancy)

Olive oil

Butter, lots of it

Garlic salt

Soy sauce

Soybean sauce, if you have it. If not, just use soy sauce

Sesame oil, if you have it

White wine vinegar (or apple cider vinegar, or white vinegar, or lemon juice)

Veggies (your choice), cut into small bite size pieces (not big “I’m starving” bites, but tiny, dainty bites): carrots, asparagus, bell pepper, onion, broccoli, squash, peas, zucchini, mushrooms, whatever you like

1 cup cooked rice (white, brown, wild – your choice)

3-4 eggs, cracked and ready in a bowl

How to cook your rice, my way:

Put 1 Tbs. butter and 2 tsp oil in bottom of small pan over medium high heat. Let melt.

Meanwhile, heat just under 2 cups water or chicken broth to almost boiling in microwave, (about 2 min.).

Pour rice in pan with butter/oil and stir. You want to coat the rice in the butter/oil and toast slightly.

Add in 2 tsp garlic salt or 1 tsp salt and 1 tsp garlic powder.

Stir rice until it is coated and glistening with a buttery sheen (about 2 min.)

Keep it stirred, or it will scorch – and you don’t want that.

Add in liquid and it will begin to bubble immediately. If it doesn’t, don’t panic. Just keep heating it until it does. But if you get your liquid hot before you add it to the rice, this helps keep the rice from getting mushy as it cooks.

Cover with tight-fitting lid and turn to low. 

Let cook 15-20 min. (or however long your rice package says to cook it).

Meanwhile, on another burner, get this happening:

Take a nonstick pan or wok and put a pat of butter (tsp. – ish) in it along with 1 Tbs. sesame or olive oil.

Heat to slight bubbliness on medium-high heat.

Add chicken or steak or shrimp and cook to done, turning to brown evenly. 

Sprinkle on a little sesame oil to get some flavor here, if you have it.

While that cooks, chop your veggies. Or if you really planned ahead and have those already chopped, take a small dance break here.

Remove from pan.

Add another pat of butter.

Reduce heat to medium low.

Put in your toughest veggies first. (Carrots, broccoli, you be the judge)

Let those cook a couple minutes while stirring occasionally and sprinkling on some garlic salt goodness.

Add some more veggies (onions, bell peppers – in large chunks so you don’t accidentally bite into a piece if you hate them like I do, but add them anyway because they do add flavor and your husband loves them).

Cook a couple minutes adding a sprinkle of pepper and maybe more butter or oil if it needs it.

Add more veggies (squash, zucchini).

Cook a couple minutes and add some soybean sauce.

Add last veggies (peas, mushrooms, asparagus).

Cook 1 minute or so and add splash of vinegar or lemon juice to brighten up the flavors.

If your pan is big enough, add your rice to this now. If it will spill over sides, take veggies out and put rice in pan to heat and fry a bit in the butter and oil you that may or may not add. 🙂

Add a little soy sauce and black pepper at this point to flavor the rice even more.

Push rice or rice and veggies to the side and pour your cracked eggs into pan. 

They will begin to cook immediately so start scrambling them. They will spill into your rice, don’t worry. They’ll get cooked.

Keep stirring until eggs are cooked and then mix in to rice. 

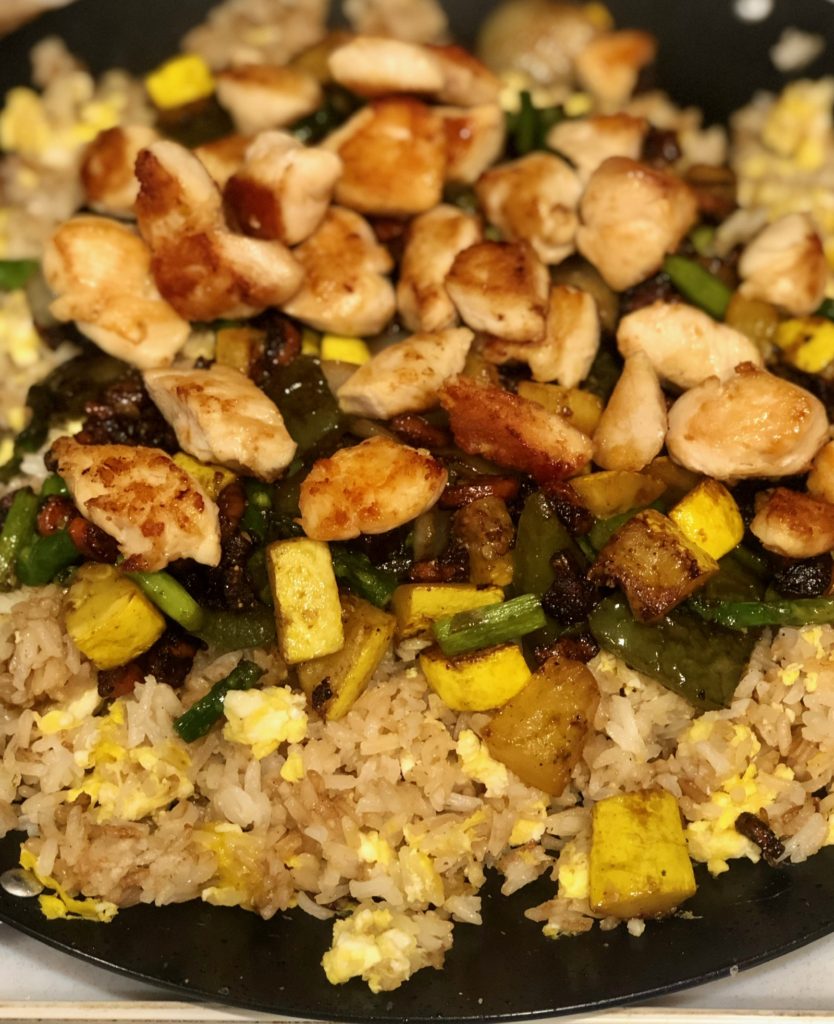
Add veggies/meat back in and take off heat. Eat!

Just watch how easy this is …

The story behind the recipe: 


I am from a small town in Arkansas and so we didn’t come in contact with ethic foods or really, anything other than down home cooking (you know, the good stuff) when I was growing up. If we went to the big city to shop (Fort Smith), we ate at McDonald’s or Bonanza or somewhere that had the “normal” food we picky eaters were used to. My mom was more adventurous, she tried Chinese food once! And liked it! 


Anyway, when I got married and moved to another big city (Hot Springs), my husband took me out with friends to the new hibachi grill that had just taken over a space in a strip mall. It was fancy! It had pillows on the floor (who can eat like that?), and Asian inspired bi-fold doors, and fake bamboo plants. We sat around the big fry surface with a bunch of folks we didn’t know – your typical high-class stuff. So Jason knew I was out of my comfort zone and ordered for me. The soup comes. Not actual soup like tomato or potato, but clear stuff with green onions floating on top. Nope, I wouldn’t even try it. (Update: Now I like it.) The salad arrived with a dressing that was not Ranch or Italian and that blew my mind. That just ain’t right …. but it was pretty good.

The chicken and steak Jason chose for me was being cooked while the veggies took a space next to it (and they seemed to use plenty of butter too, by the way). Then as the cook yelled things I didn’t understand and beat his spatula against the fry-top rim, he did acrobatics with an egg. It was impressive and I worked up an appetite dodging the whirling egg and the flames from the onion tower.

The chef mixed the cooked eggs into some cooked rice and gave us each a helping followed by the veggies and meat. My first bite was taken very daintily – like I was a lady or something. But successive bites were larger and by the end, I actually liked the meal.

So I decided I could make this at home with some modifications (maybe use bacon grease????).

So here is my recipe. It’s easy … you can make this too.

 Did I also try to do egg acrobatics? Yes. Can I do that too? Nope. I would recommend not trying that at home.

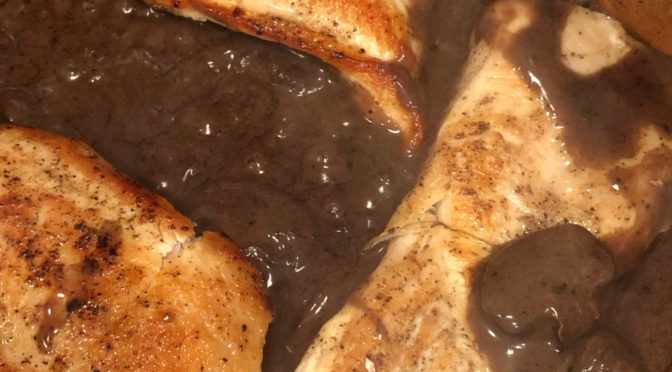
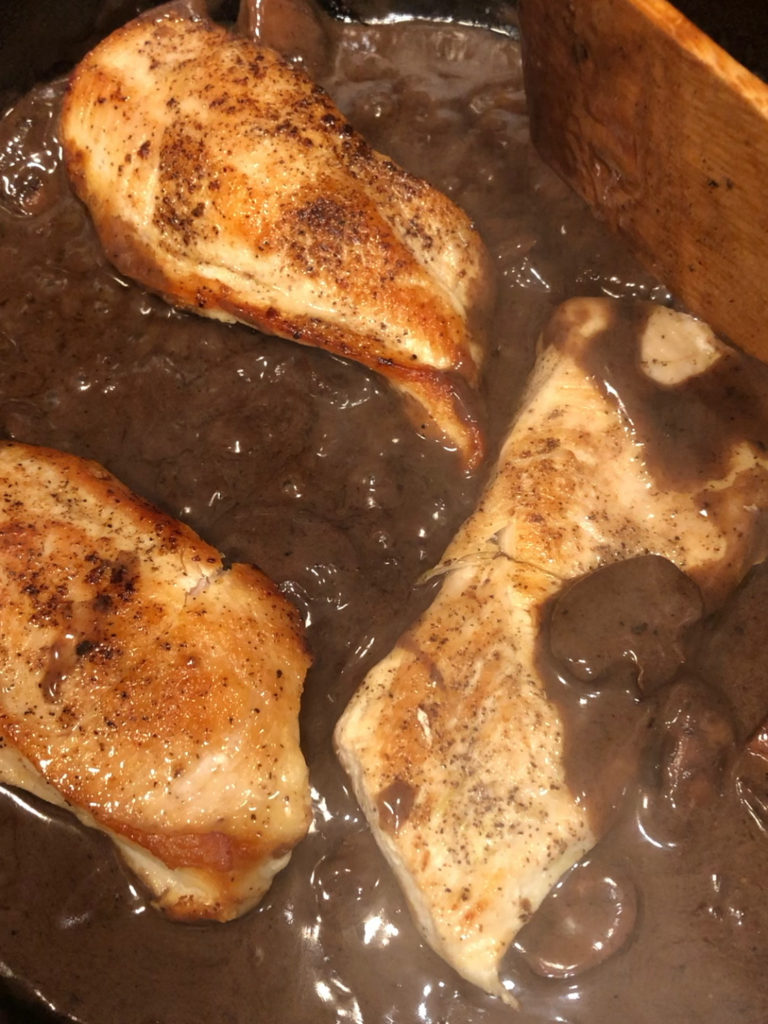
Chicken with Mushroom Gravy

Preparing chicken for a meal isn’t easy when it stares back at you.

Recipe:

2 tsp cornstarch

1/2 cup milk

4 boneless skinless chicken breast halves

1 tbs olive oil

1 tbs butter

1/2 lb sliced fresh mushrooms

1/2 medium onion, thinly sliced

1/4 cup red wine or chicken broth

1/2 tsp salt

1/8 tsp pepper

Mix cornstarch and milk until smooth. 

Pound chicken flat or slice in half lengthwise.

In large skillet, heat oil over medium heat.

Cook chicken until no longer pink, 5-6 min per side.

Remove from pan.

In same pan, heat buttter over medium-high heat. 

Sauté mushrooms and onion until tender.

Stir in wine, salt and pepper.

Bring to boil.

Stir cornstarch mixture and add to pan.

Return to boil.

Cook and stir until thickened, 1-2 min.

Return chicken to pan and heat through.

Serve over mashed potatoes, rice, cheese grits, whatever you want!

The story

My mom was raised on a farm. Her family grew most of the food they ate – including the meat. They ate true grass fed, non-GMO, humanely raised, cage-free, free range, heritage breed, and any other now-fancy adjective, meat. Bacon, ham, sausage, and on occasion, chicken graced their table alongside a selection of scratch made sides including cathead biscuits and gravy, cornbread on top of the stove cooked in bacon grease, fried potatoes, mashed potatoes, purple hull peas, boiled cabbage, or fried cut-off corn with freshly sliced garden tomatoes, just to name a few.

Now chicken was reserved for special occasions because chickens also provided eggs and so more chickens meant more fried eggs cooked in bacon grease for breakfast or ingredients for pies, cakes, or cookies. It was also even more labor intensive to make that meal. There was no running to the store to grab pre-packaged chicken breast, thighs, or drumsticks. There was, however, running into the yard and chasing down a living, breathing package of those items.

My grandmother, Josie, would kill, pluck, clean (I won’t explain this here – but if you want to know the graphic details, google it), and chop the chicken into pieces and proceed to fry it up. This skill most people used to have, was learned by watching others handle the task with few instructions verbalized.

My grandma apparently thought my mom should be well educated in this by the time she was 12. So she told my mom, Juanita, to go into the yard and wring the chicken’s neck. Being obedient, having watched the process numerous times, and receiving her mom’s vote of confidence, she proceeded to the yard where chickens roamed free.

She successfully caught a hen, which boosted her confidence, and placed one hand firmly around the chicken’s neck. Being squeamish about this task, she determined to make it quick, so she gave a few mighty circles of her arm, as she’d seen her mama do; and saw the dazed chicken staring back at her with a very unbroken, though slightly wobbly neck. She panicked, then gave a few more mighty circles and snaps of her arm. Flapping wings, kicking legs, and a writhing body ensured her she had again been unsuccessful. This did not happen to her mother who got the neck wrung with as few as 3 circles of the arm. She was approaching hysteria and so was the chicken, she assumed, as neither of them had ever seen this fiasco occur. So she quickly slung the bird in an arc again and when the chicken, still alive, stared back at her with its body now uncontrollably swinging from its pendulum-like neck, she had all she could take. She dropped that chicken and took off running to the house. The chicken wobbled off in the other direction, stumbling sideways like a drunk man due to its elongated sidewinding neck. 

My grandma heard her hit the door squealing and upon seeing no chicken in her hands, took off outside to find the poor bird. It was relatively easy to find – and catch – for obvious reasons. She grabbed it and ended the bird’s life with a couple quick snapping whips of the hand. 

I asked my mom if Granny scolded her or was mad. She said no. She just handled that issue as she did everything else that happened in her life – with understanding, patience and grace. And know-how born of need-to.

My mom has those same qualities. She handles everything that has been thrown at her. Except chicken killing. That is one thing she cannot, and will not do. Nor was she ever asked to again.

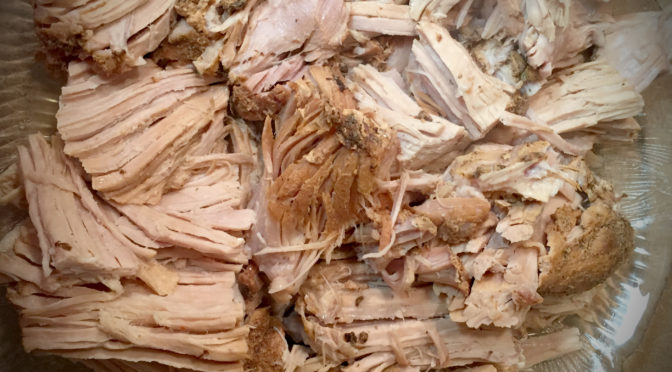
Making meat eaters happy – Shredded Pork

Pork becomes the star:

So we cooked a lot of chicken dishes. I mean, A LOT. And folks loved them. But we had a few customers (mostly men and wives looking to make their man happy) ask for more beef and pork dishes. We didn’t blame them, eating chicken every night does not a well-rounded diet make, although it can make a well-rounded person. (laughter)
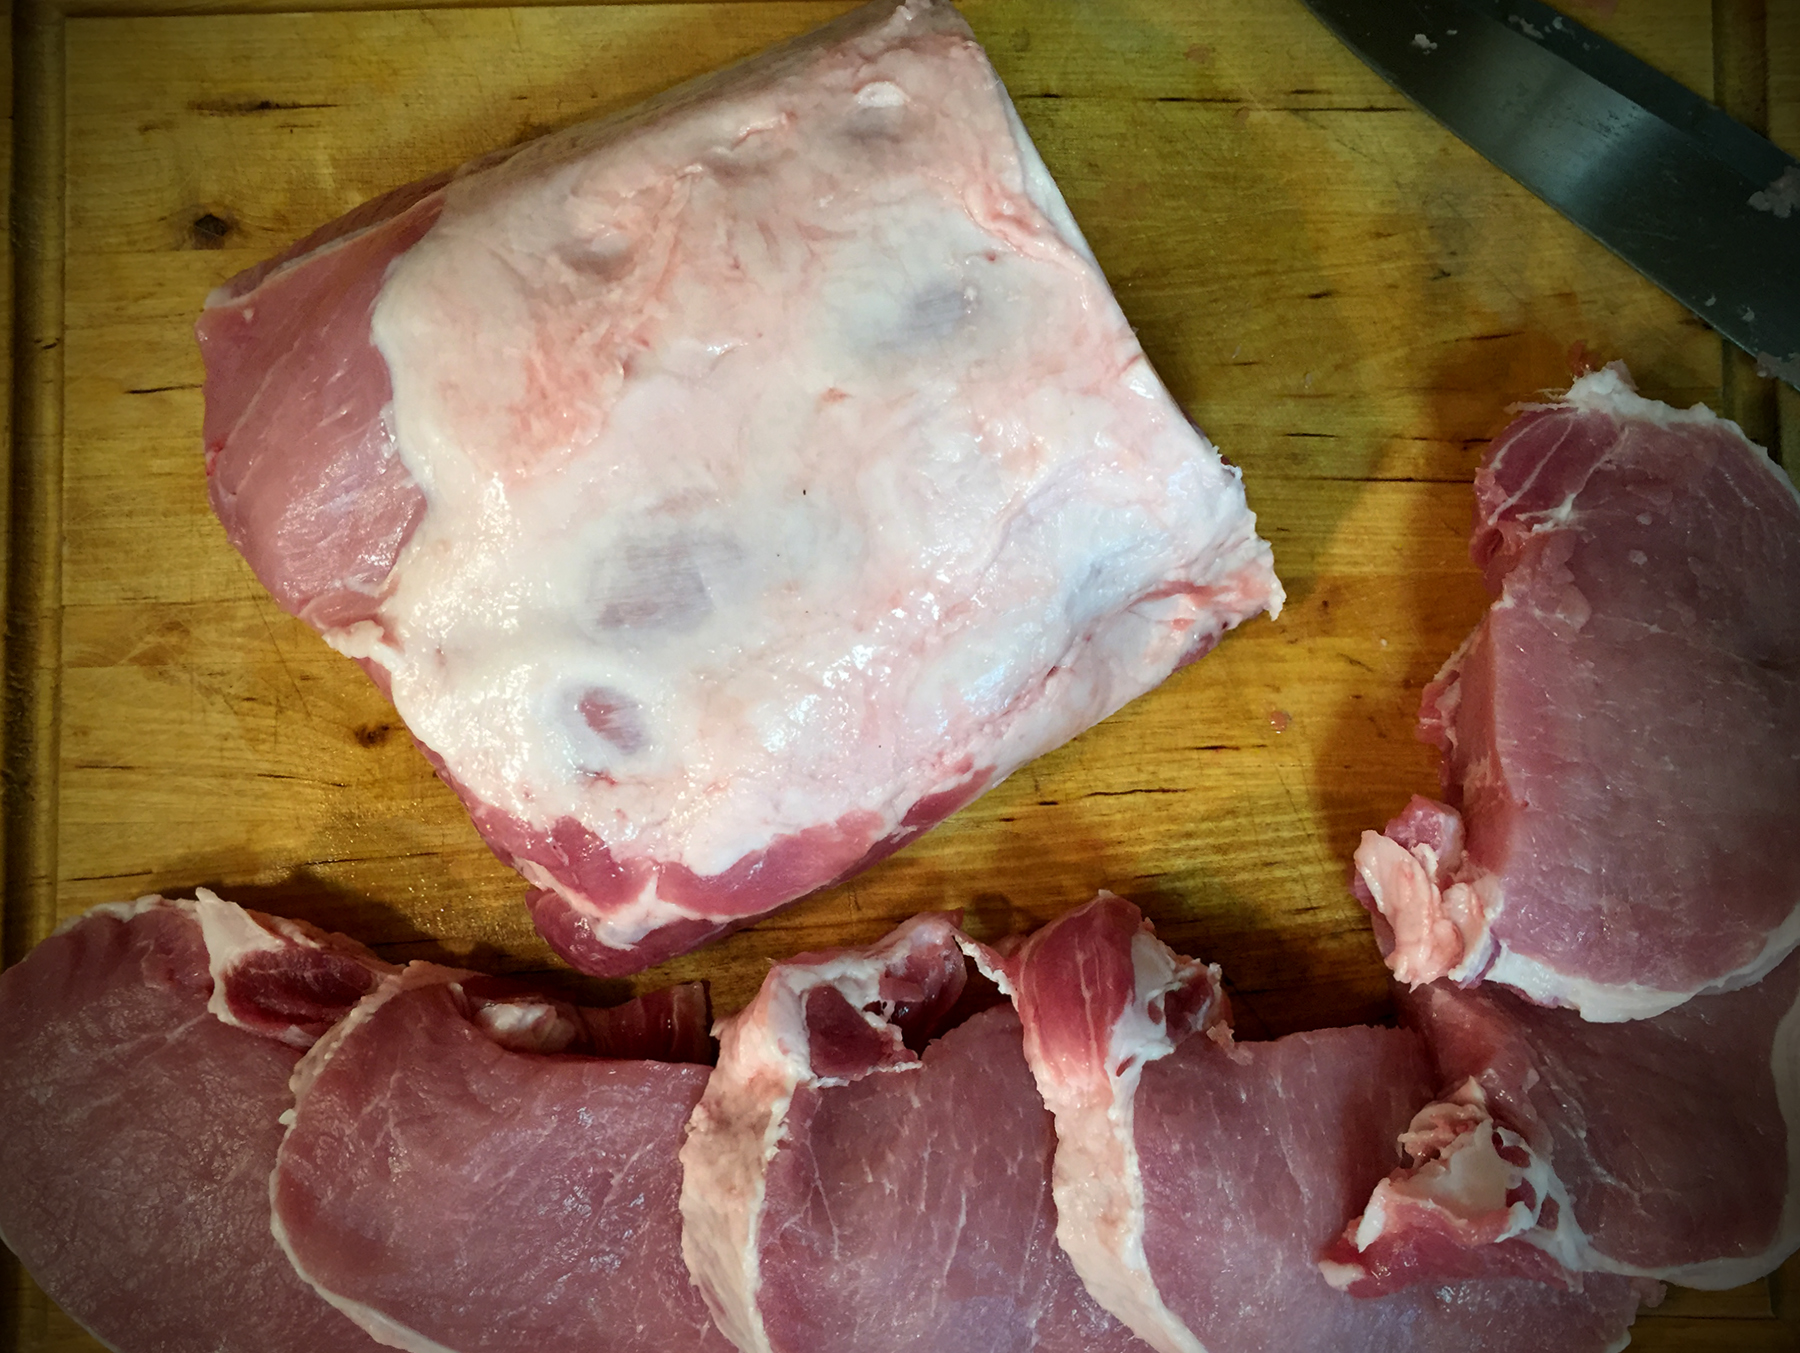
When we catered, we made a pork loin that was super delicious and I will get to posting that in a week or two. We often had the “ugly end” of a pork loin that we needed to use and that had lots of good meat on it, but just wasn’t picture worthy, ya know? All that fattiness that makes for less than pretty chops or loin makes for super tasty meat, though. So we slow cooked it to tenderize it in its own fatty juices, along with a beer and a coke and a healthy dose of spicing. You can use these same spices with a pork butt in the crockpot. Easy and delicious.
This is great as a base for barbecue pork sandwiches with baked beans and potato salad. Or maybe with a brown onion gravy over mashed potatoes, green beans, and hot rolls. Or spiced up with taco seasoning and salsa for nachos with Mexican rice and black beans. I could go on and on, but I’ll just provide the basic recipe and let you run with it.

Pulled (Shredded) Pork
Pork Loin (5-6 lb. is the usual size found in your grocery store) Use the whole thing or cut pork chops out of the pretty end and freeze those for later. Put the rest in the crockpot.
12 oz. beer (pale ale, preferably)
8 oz. Coca Cola (not Dr. Pepper, not Pepsi, not RC Cola – Coca-Cola)
1 Tbs. salt
1/2 Tbs. black pepper
1 Tbs. Rib Rub (or your favorite pork seasoning)
2 cups water (or to cover)

(You can also add a bottle of barbecue sauce if you already know that’s how you’re gonna use it. Or a jar of mild Salsa Verde for nachos or tacos. If you do, reduce your water a little.)

Turn crockpot on low.
Place loin inside.
Pour coke and beer over it.
(And barbecue or salsa if you want)
Add seasonings.
Add water.
Cover and cook for 6-8 hours on low (8-10 for a whole loin)

Shred and eat!

Vegetarians Must East Too – Spinach and Black Bean Lasagna

How a vegetarian got her wish:

As our customer base grew, so did our menu. We made chicken dishes in every way possible, mouth-watering roasts with potatoes and carrots, slow-cooked prime rib, oven roasted turkey, brown sugar ham, and a plethora of ground beef dishes. This is when a customer brought it to our attention that vegetarians like to eat too. She bought a lot of our meaty meals for her husband, a big fan of all things meat.
I told her jokingly, “We have all kinds of salads and vegetable sides. Grab a head of lettuce out there.”
She had a sense of humor and responded, “Just because I don’t eat meat doesn’t mean I wanna live on lettuce every day.”
Point taken.
She added, “There are a lot of us ‘crazy’ (she used air quotes) vegetarians who want an actual main dish to eat. Can’t you cater to us. You are a ‘catering company’ (she used air quotes again) after all.”
Funny girl. And another point well made.
So JoAnn dug through her own recipes and came up with this little gem. It’s so good, our vegetarian requester’s husband even loved it. And he didn’t seem to mind that it was actually pretty good for him too. … or maybe she never told him.

Spinach and Black Bean Lasagna

Wait, stay with me. Don’t let the name turn you off! I know, I know … it sounds slightly too healthy? yuck? (insert your adjective here.) But take it from me, an admitted picky eater who used to hate to try new things, it’s delicious.

Get a large pot of water and set on high heat to boil the water.

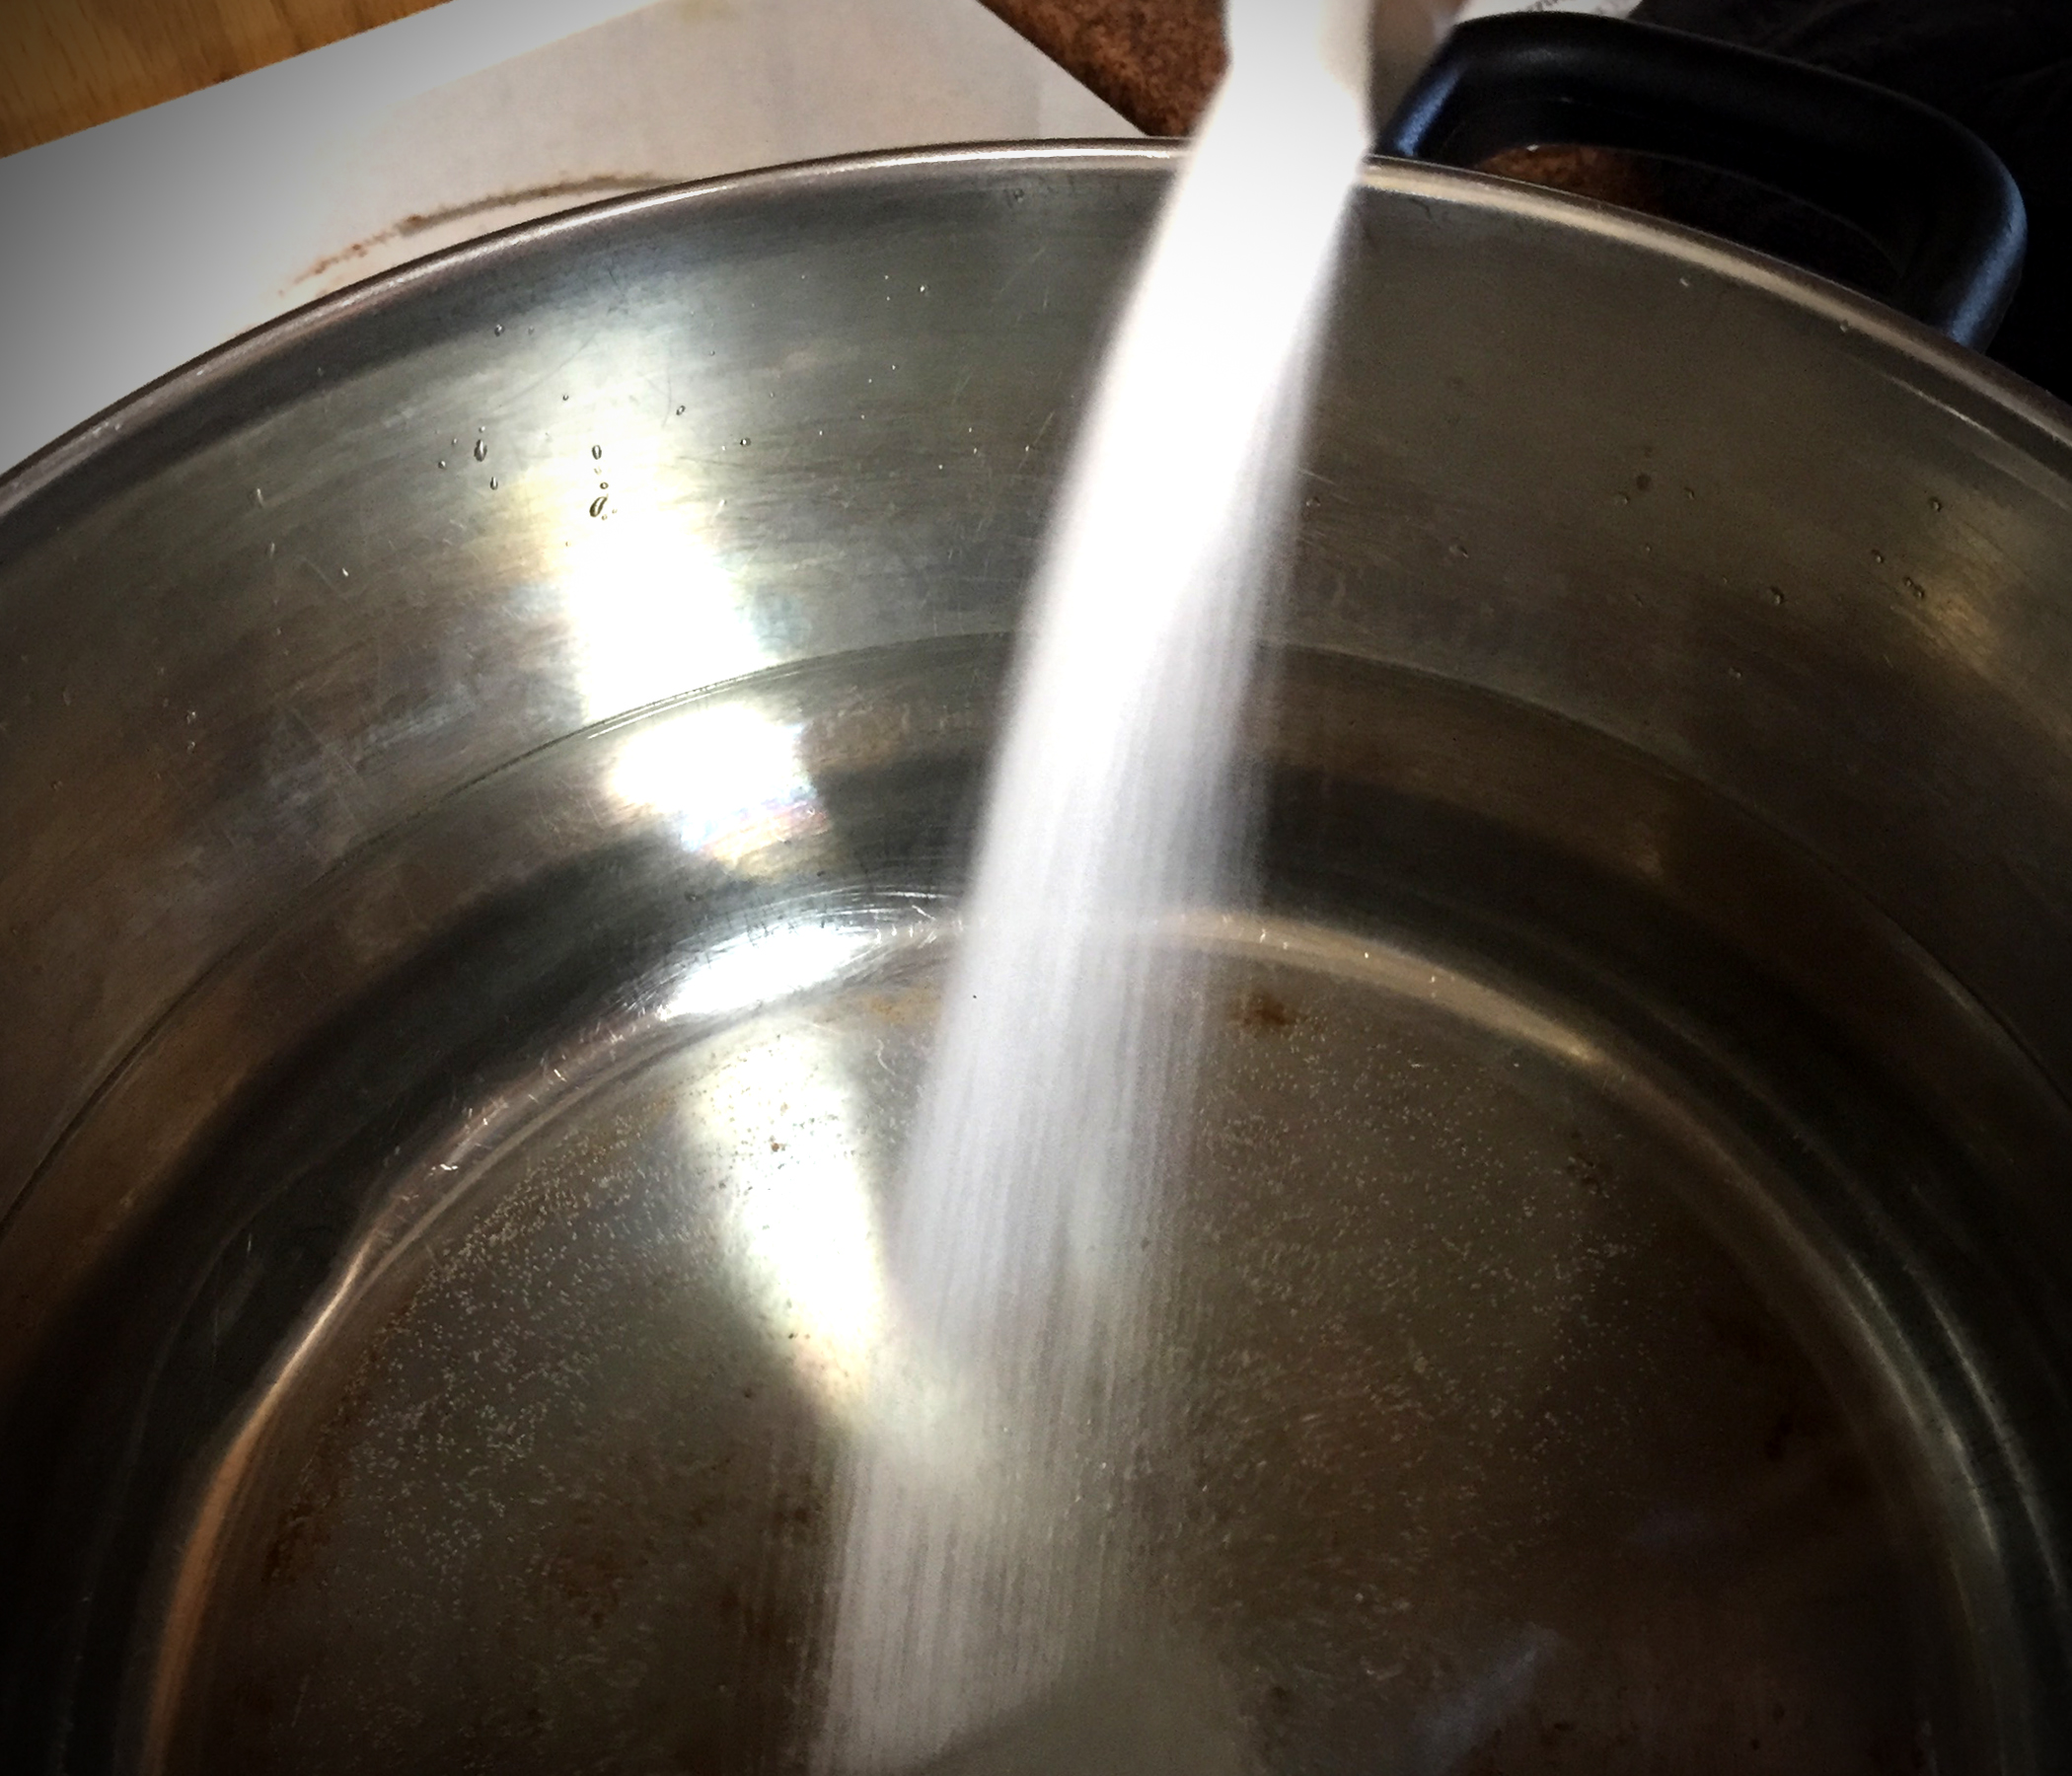
Salt that water! (A couple teaspoons should do it.)

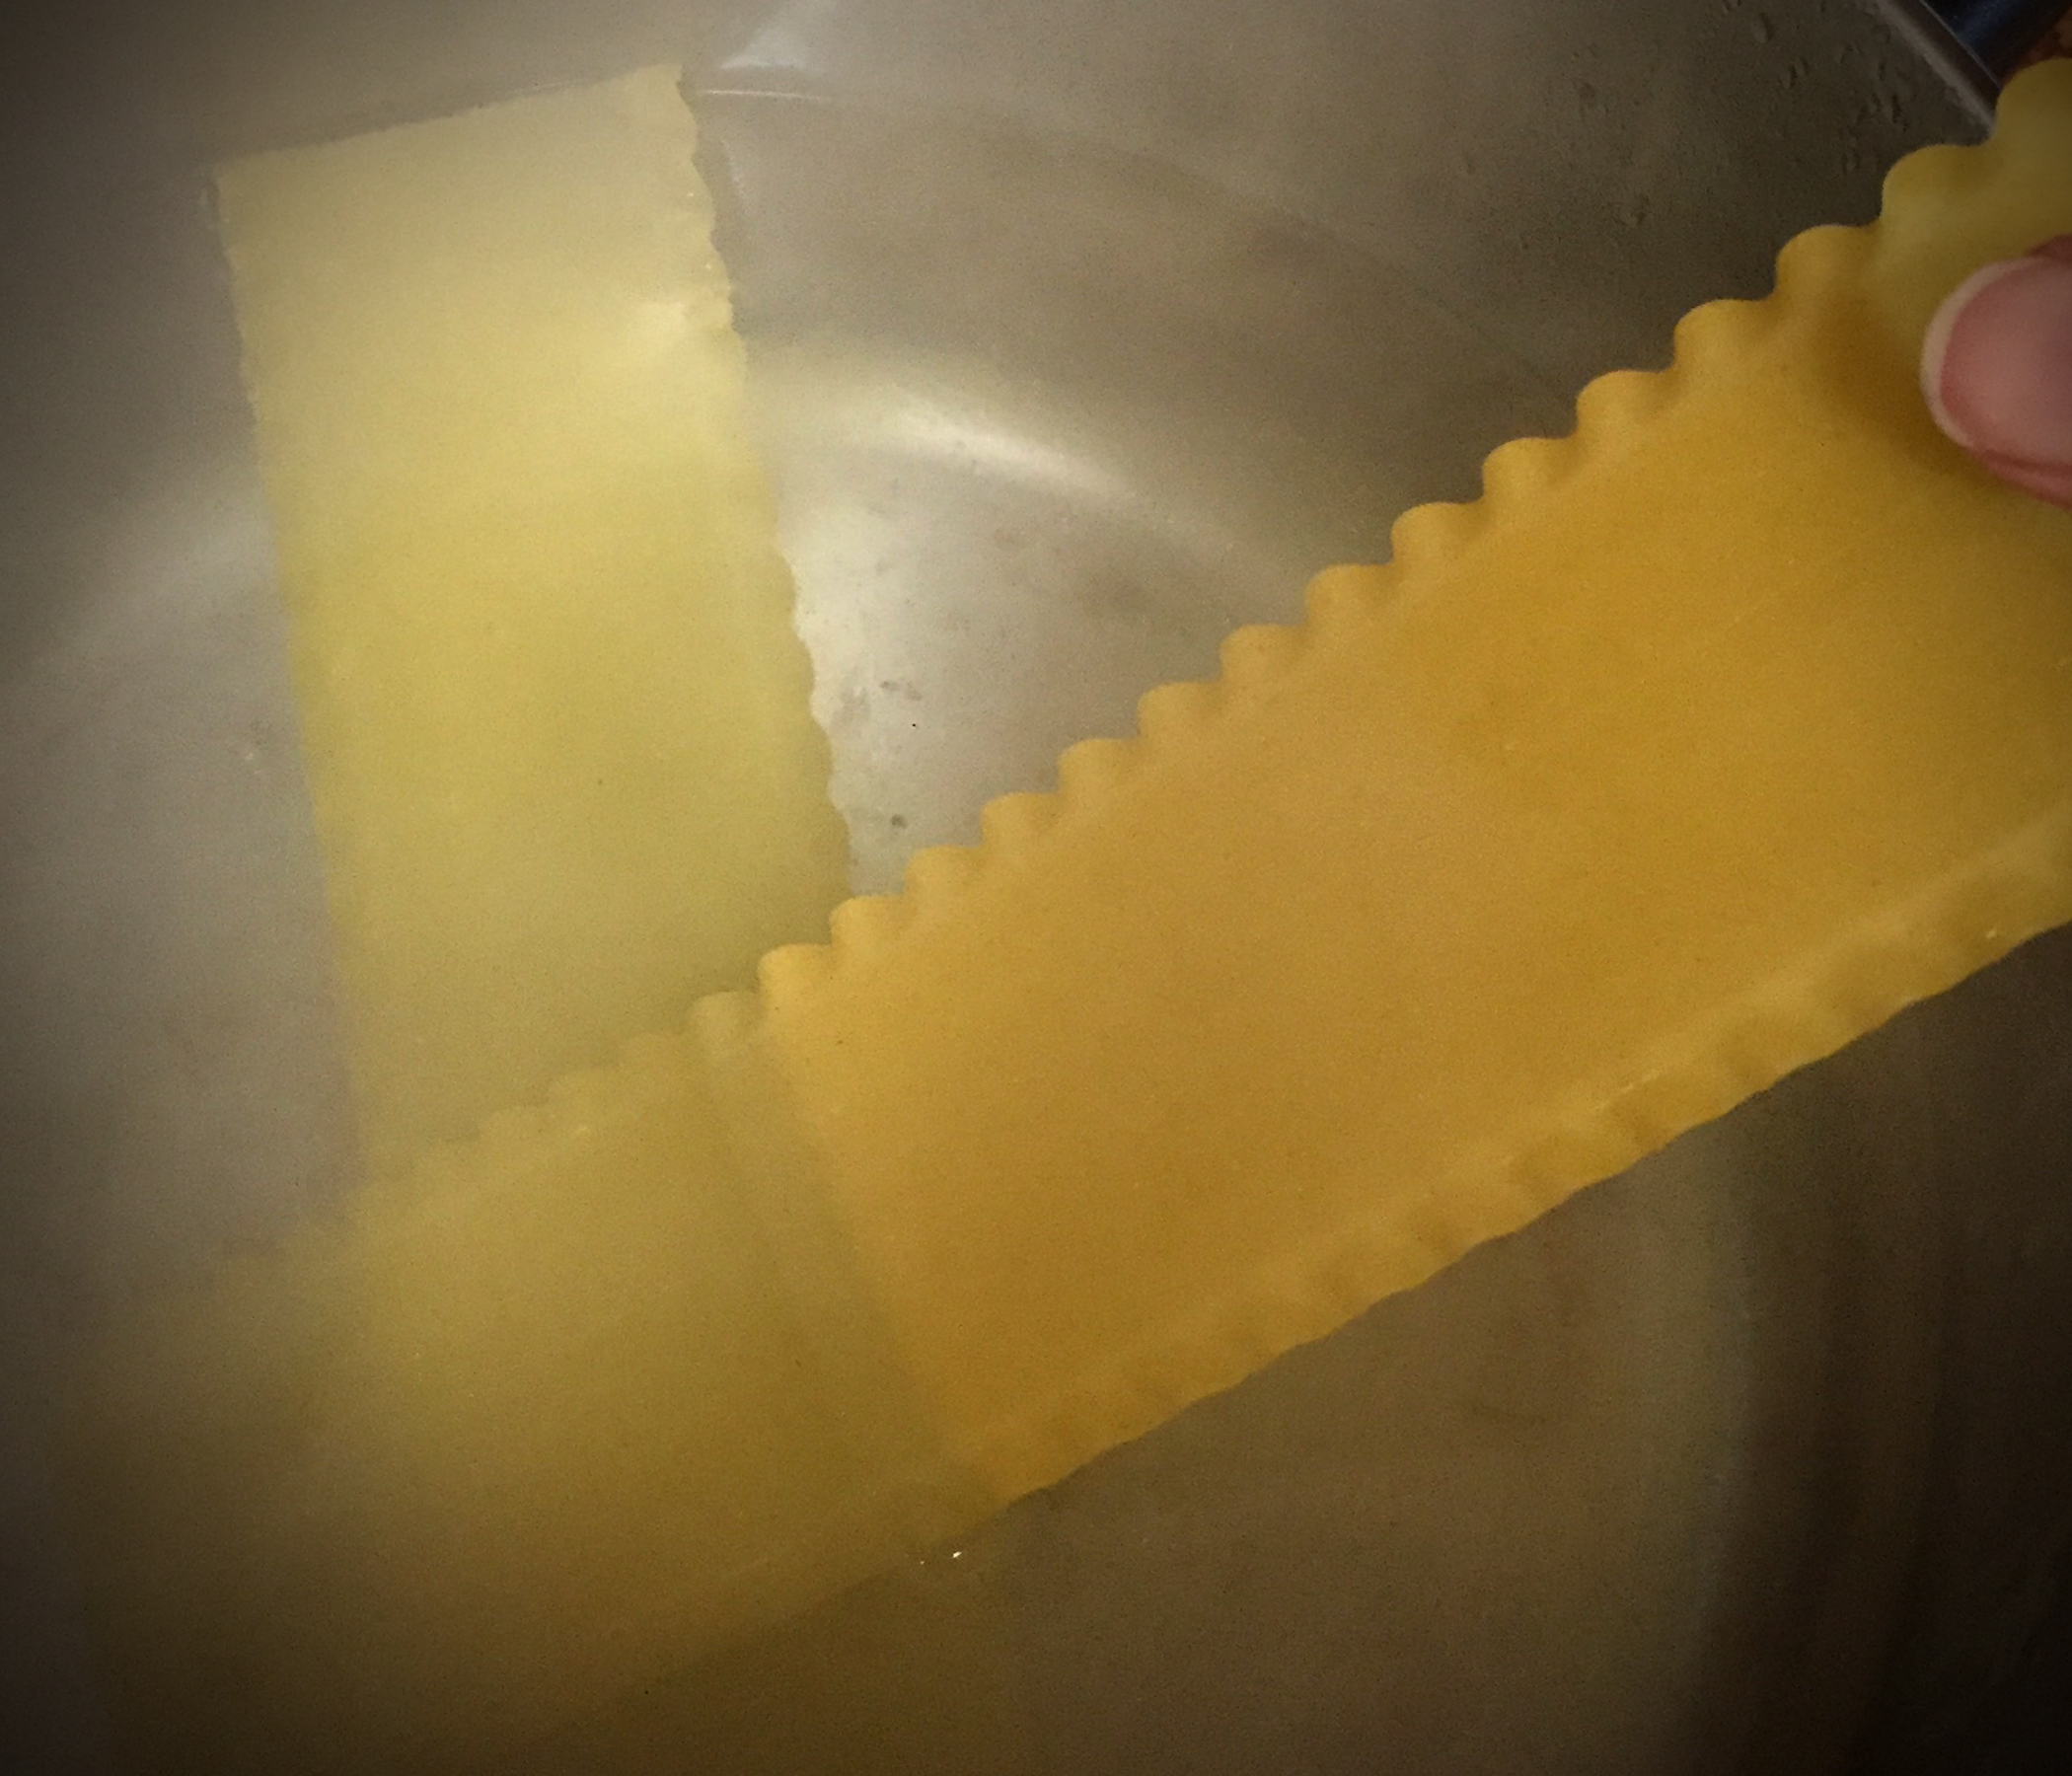
Once boiling, add pasta.

Boil for eight minutes and remove to towel to drain when done.

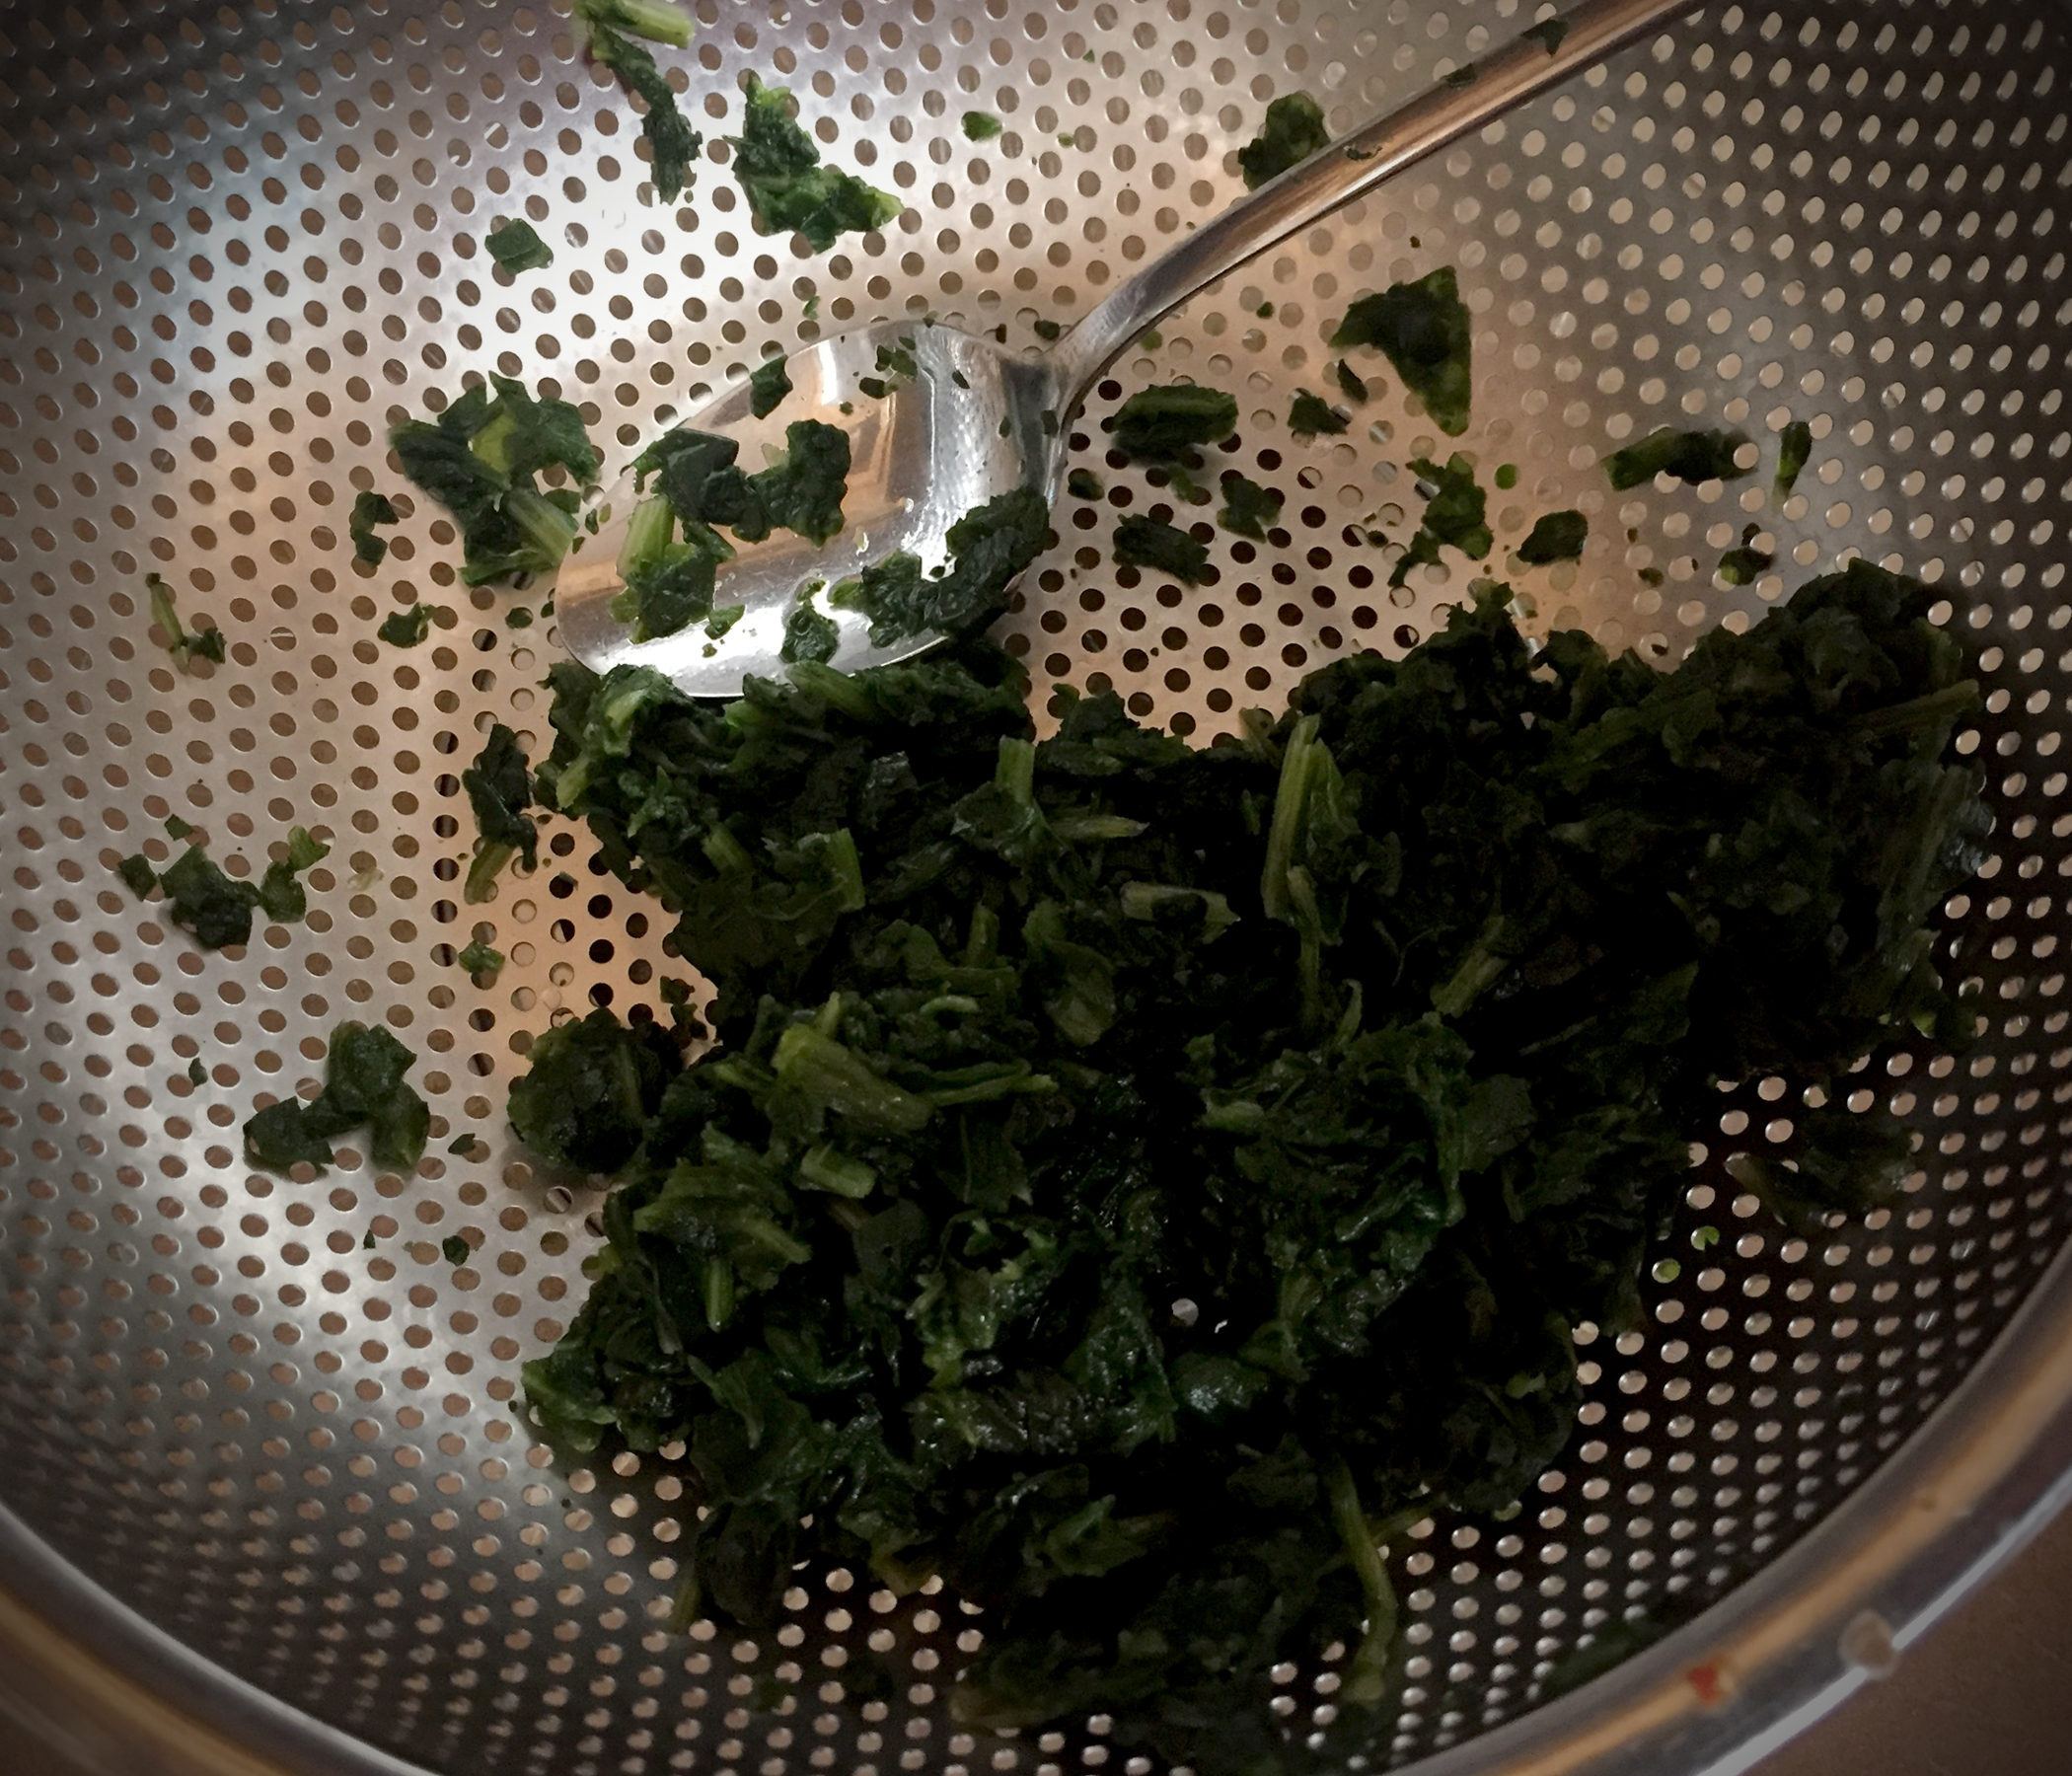
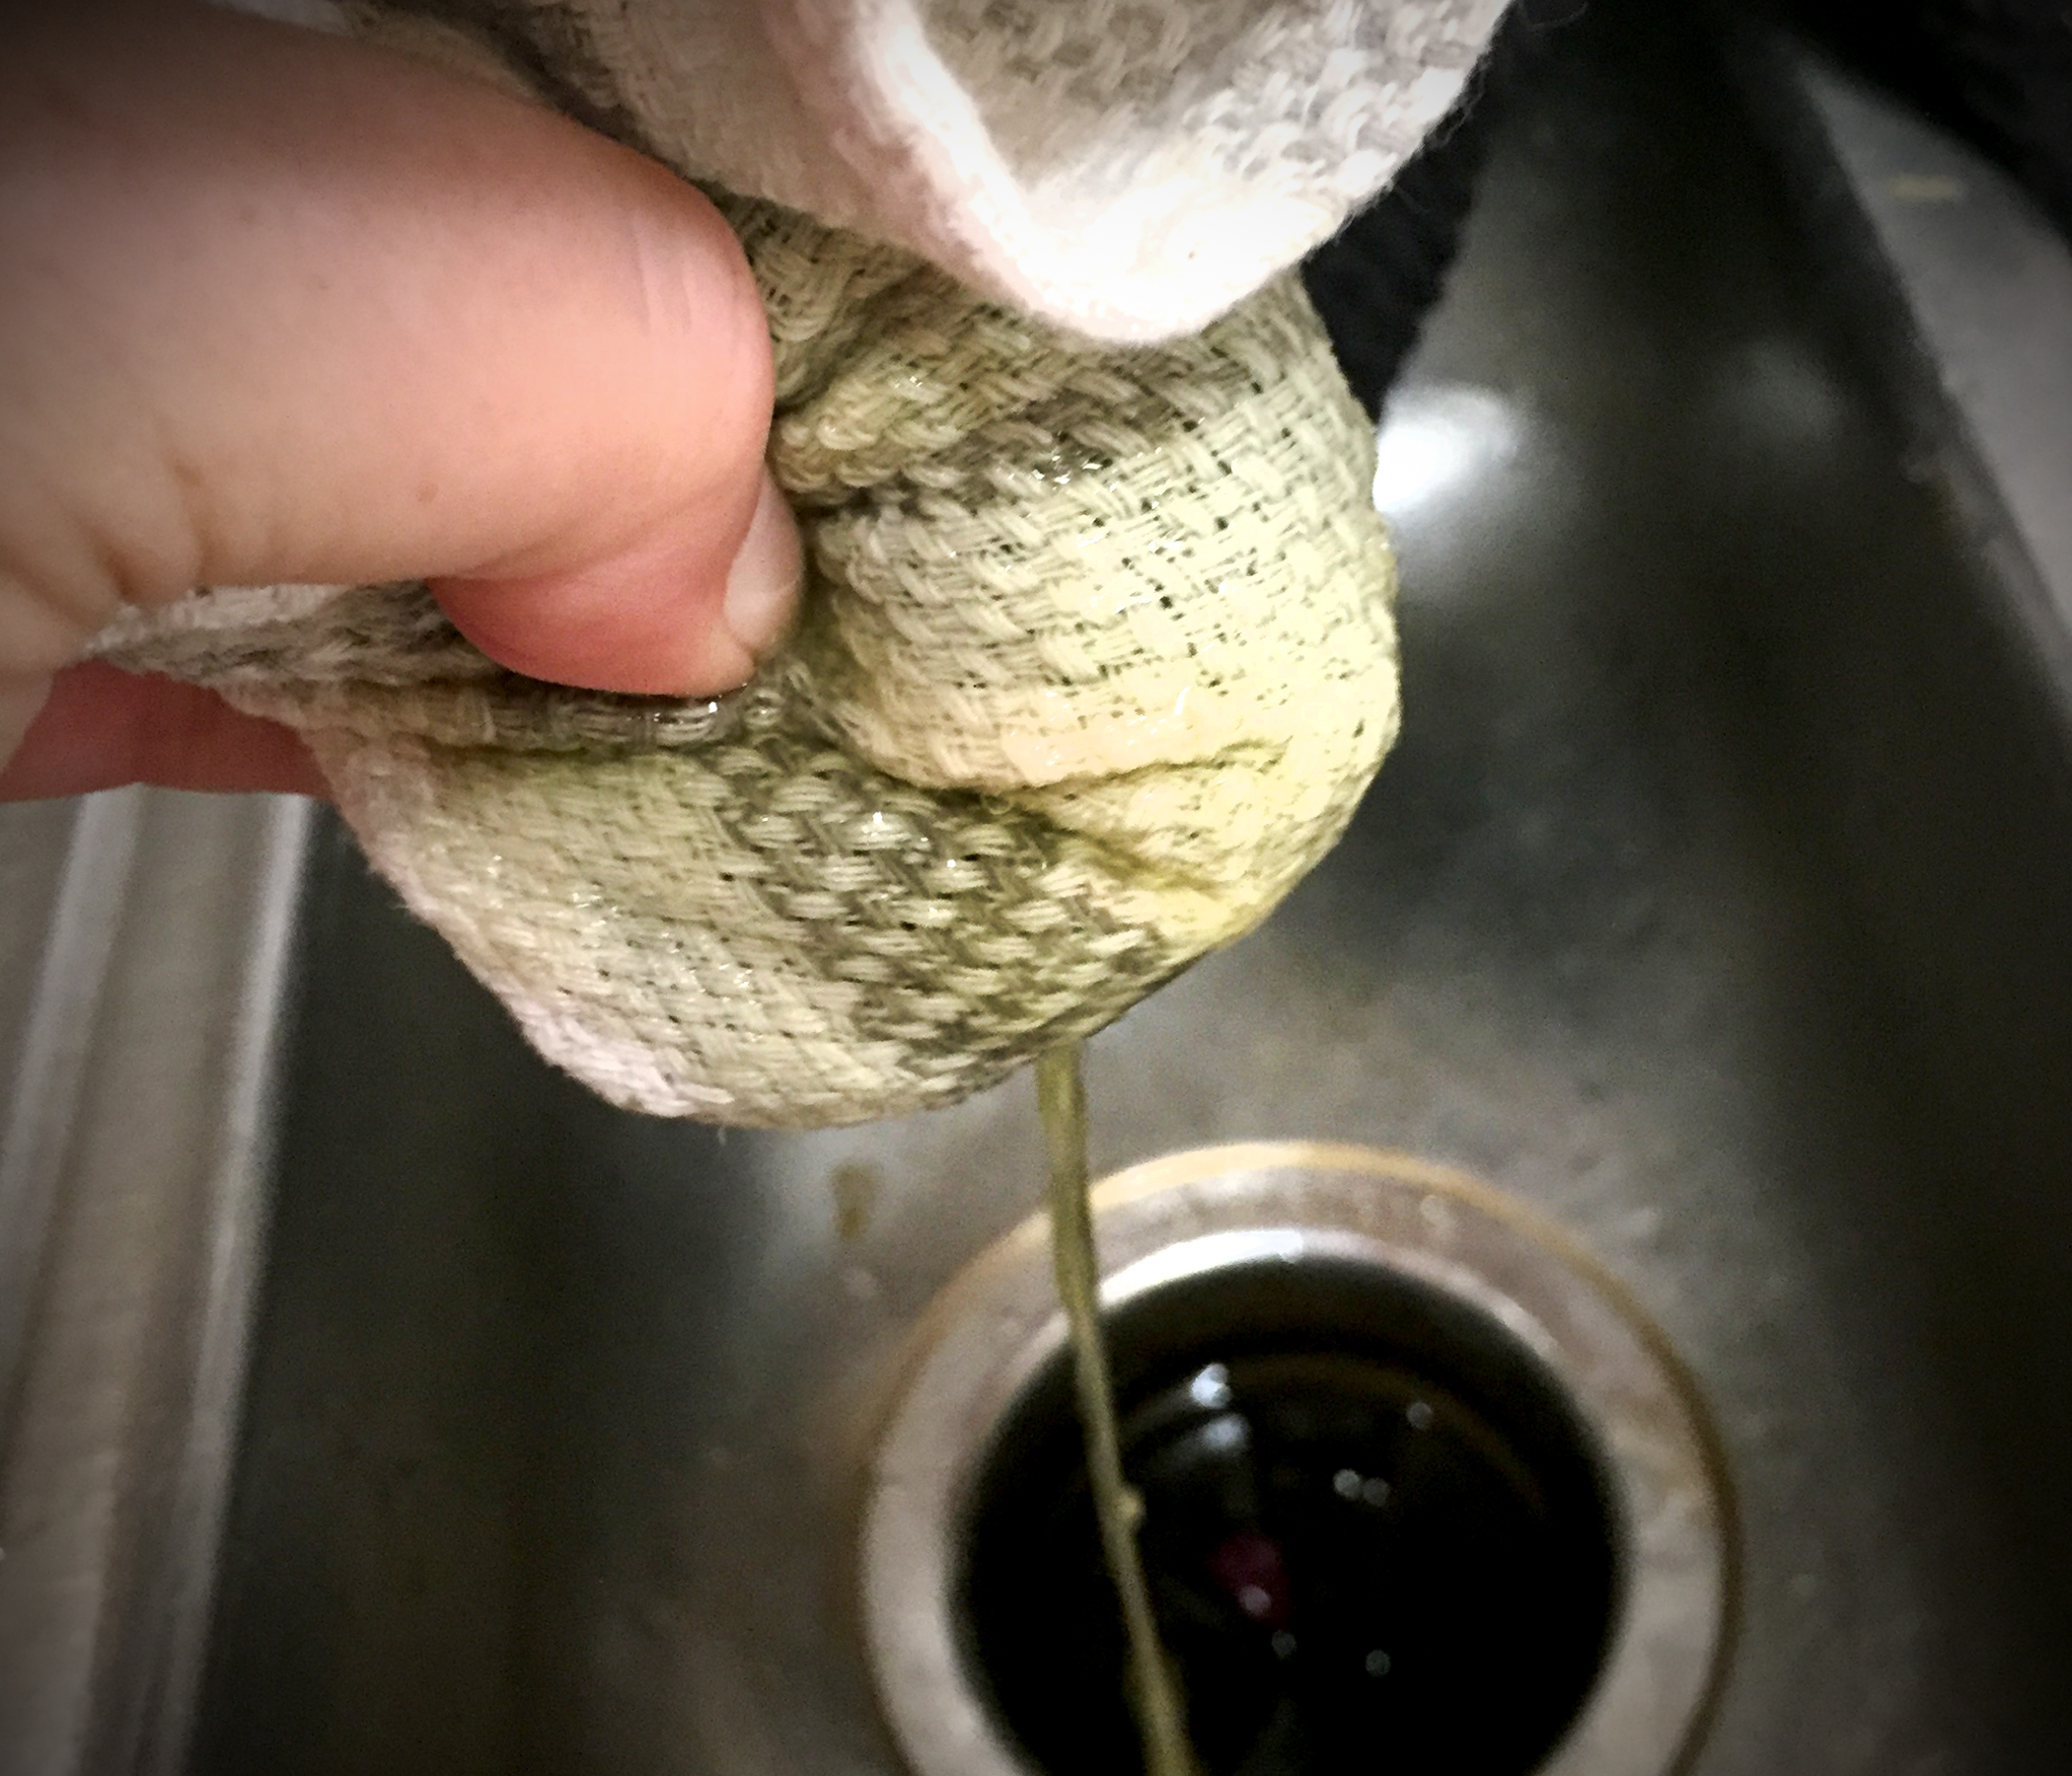
Drain spinach, but also …

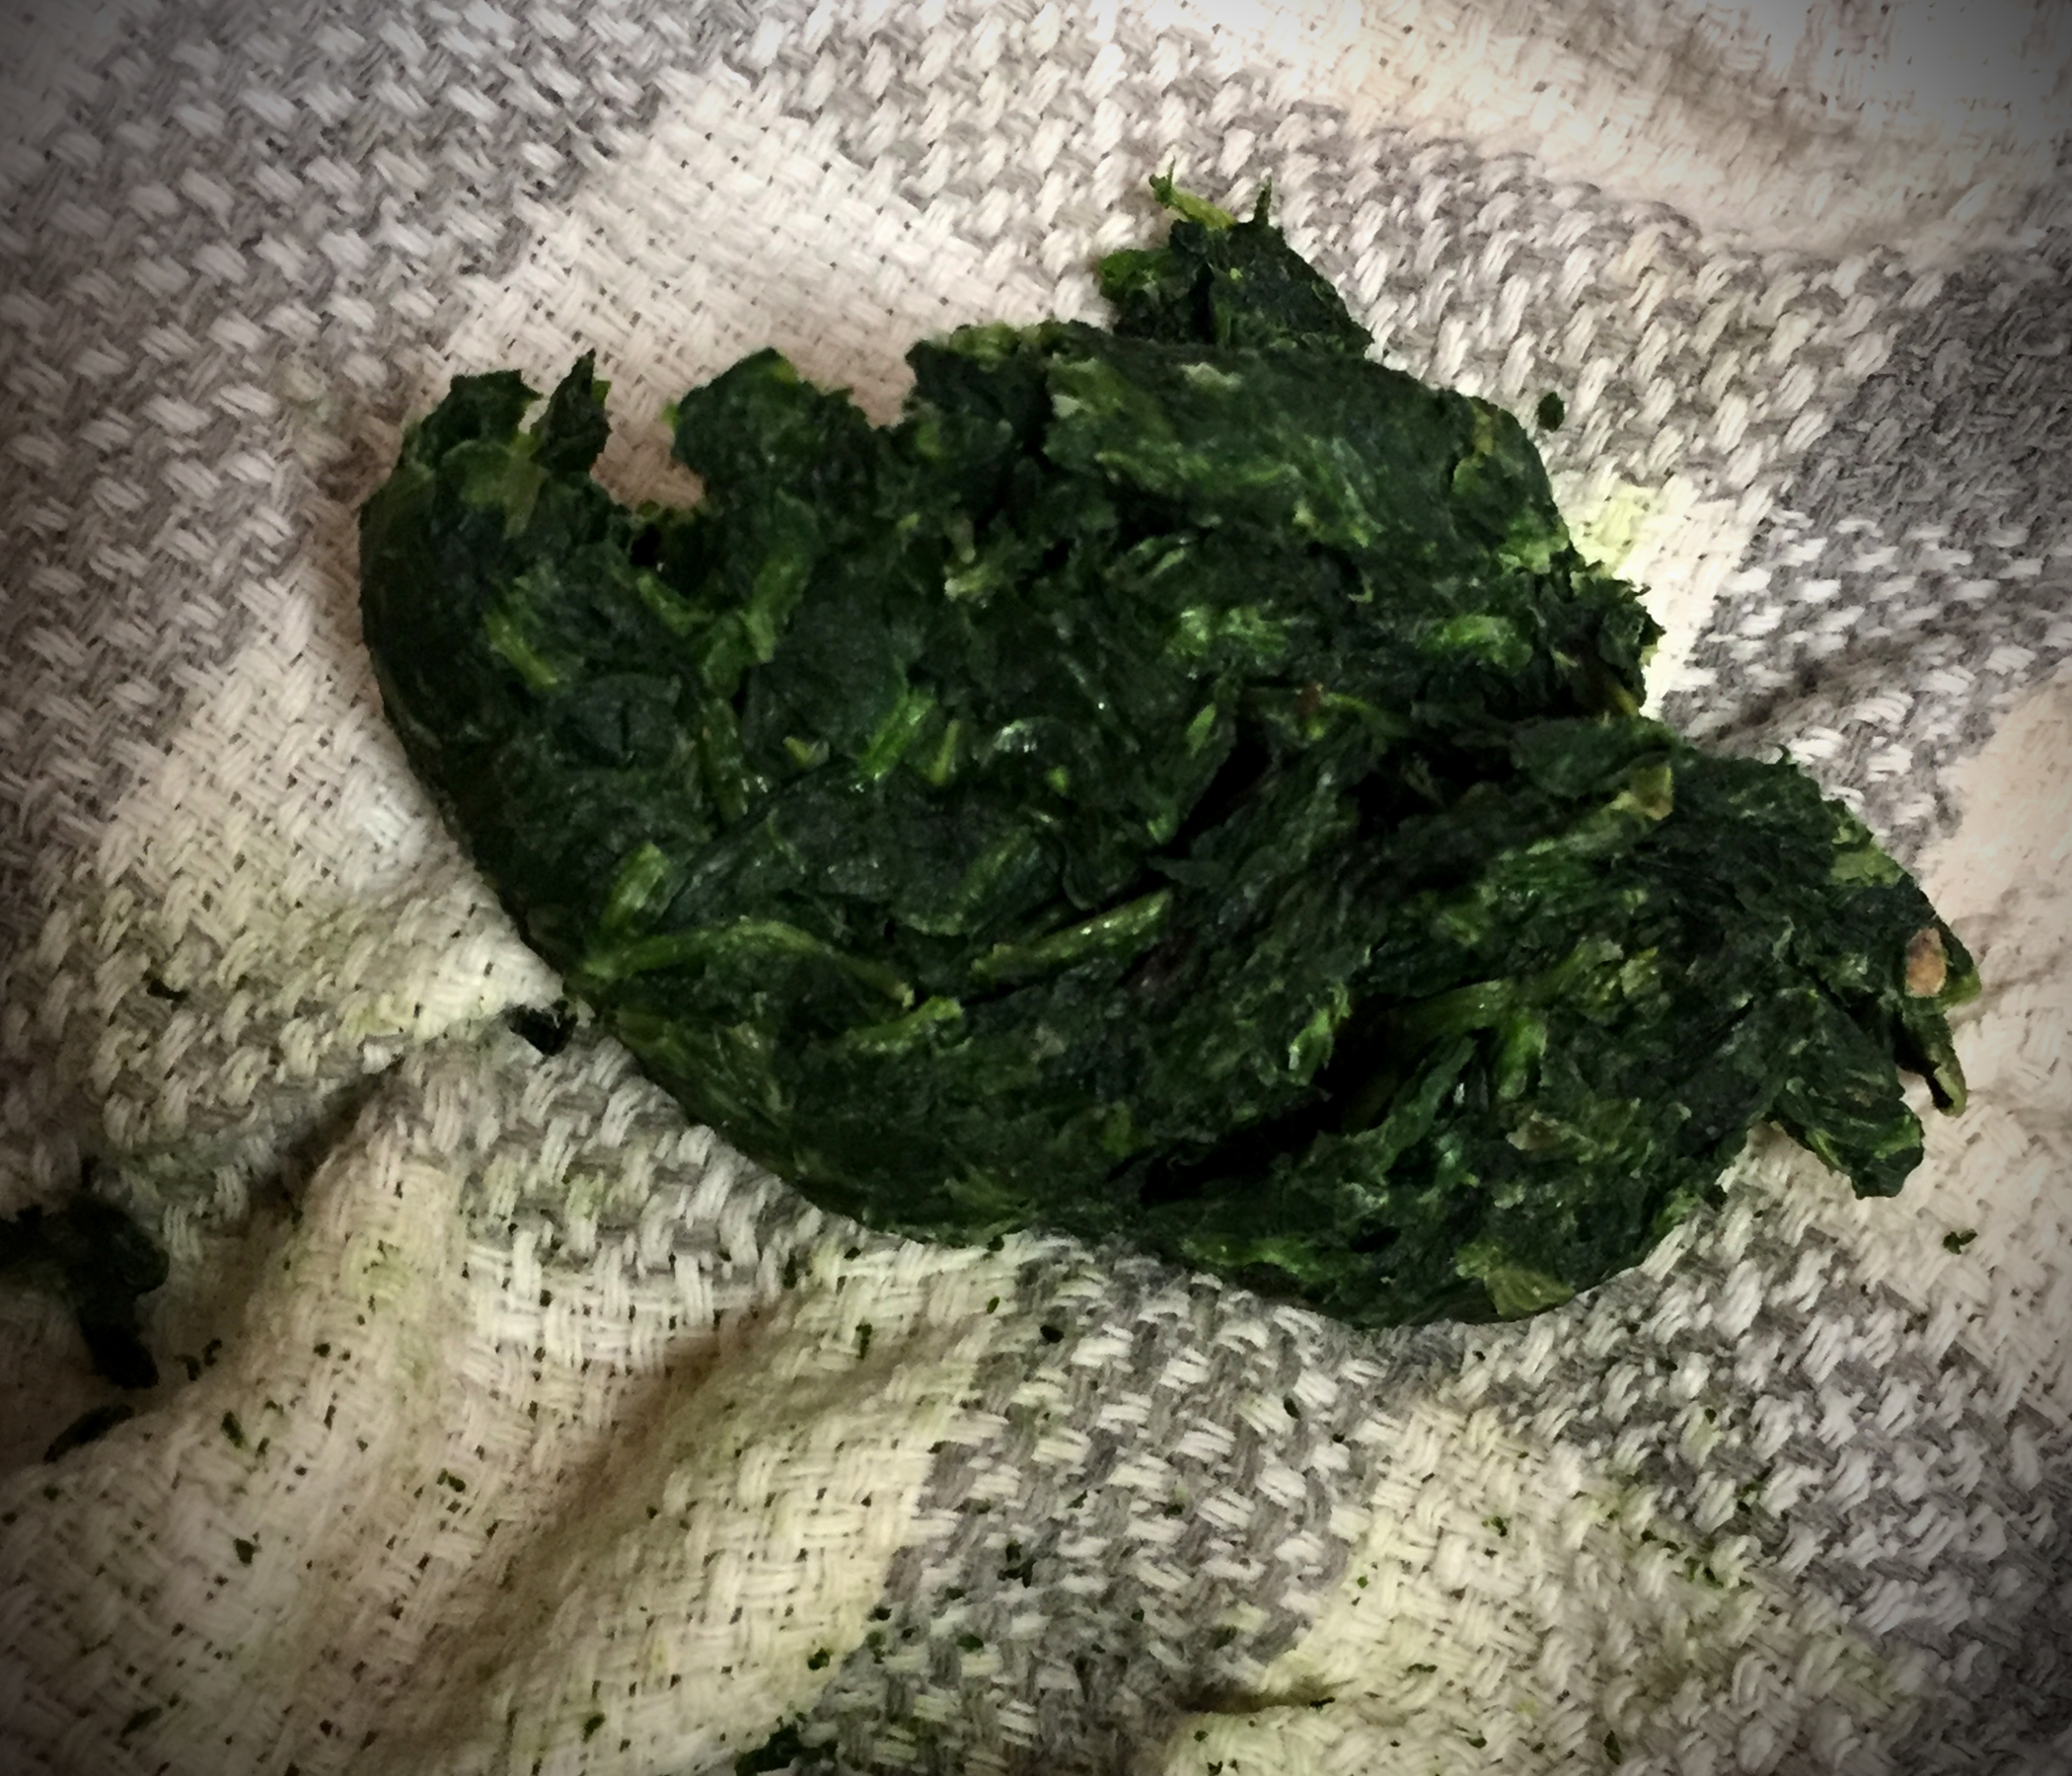
place in towel and squeeze. Take your aggression out on it. Really get in there. Get all the water out. We don’t want soupy spinach.

See? Nice and dry. And clumpy, but don’t worry. It’ll break up in the stirring process.

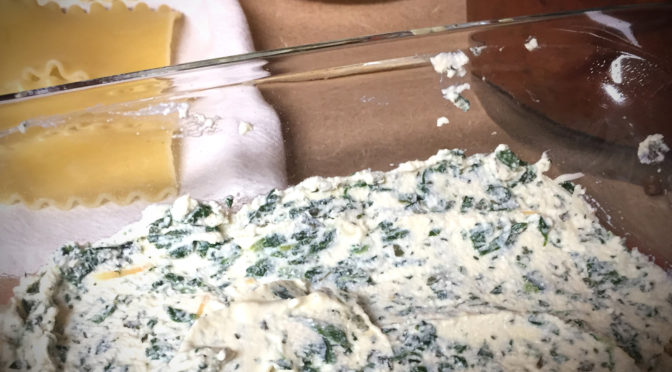
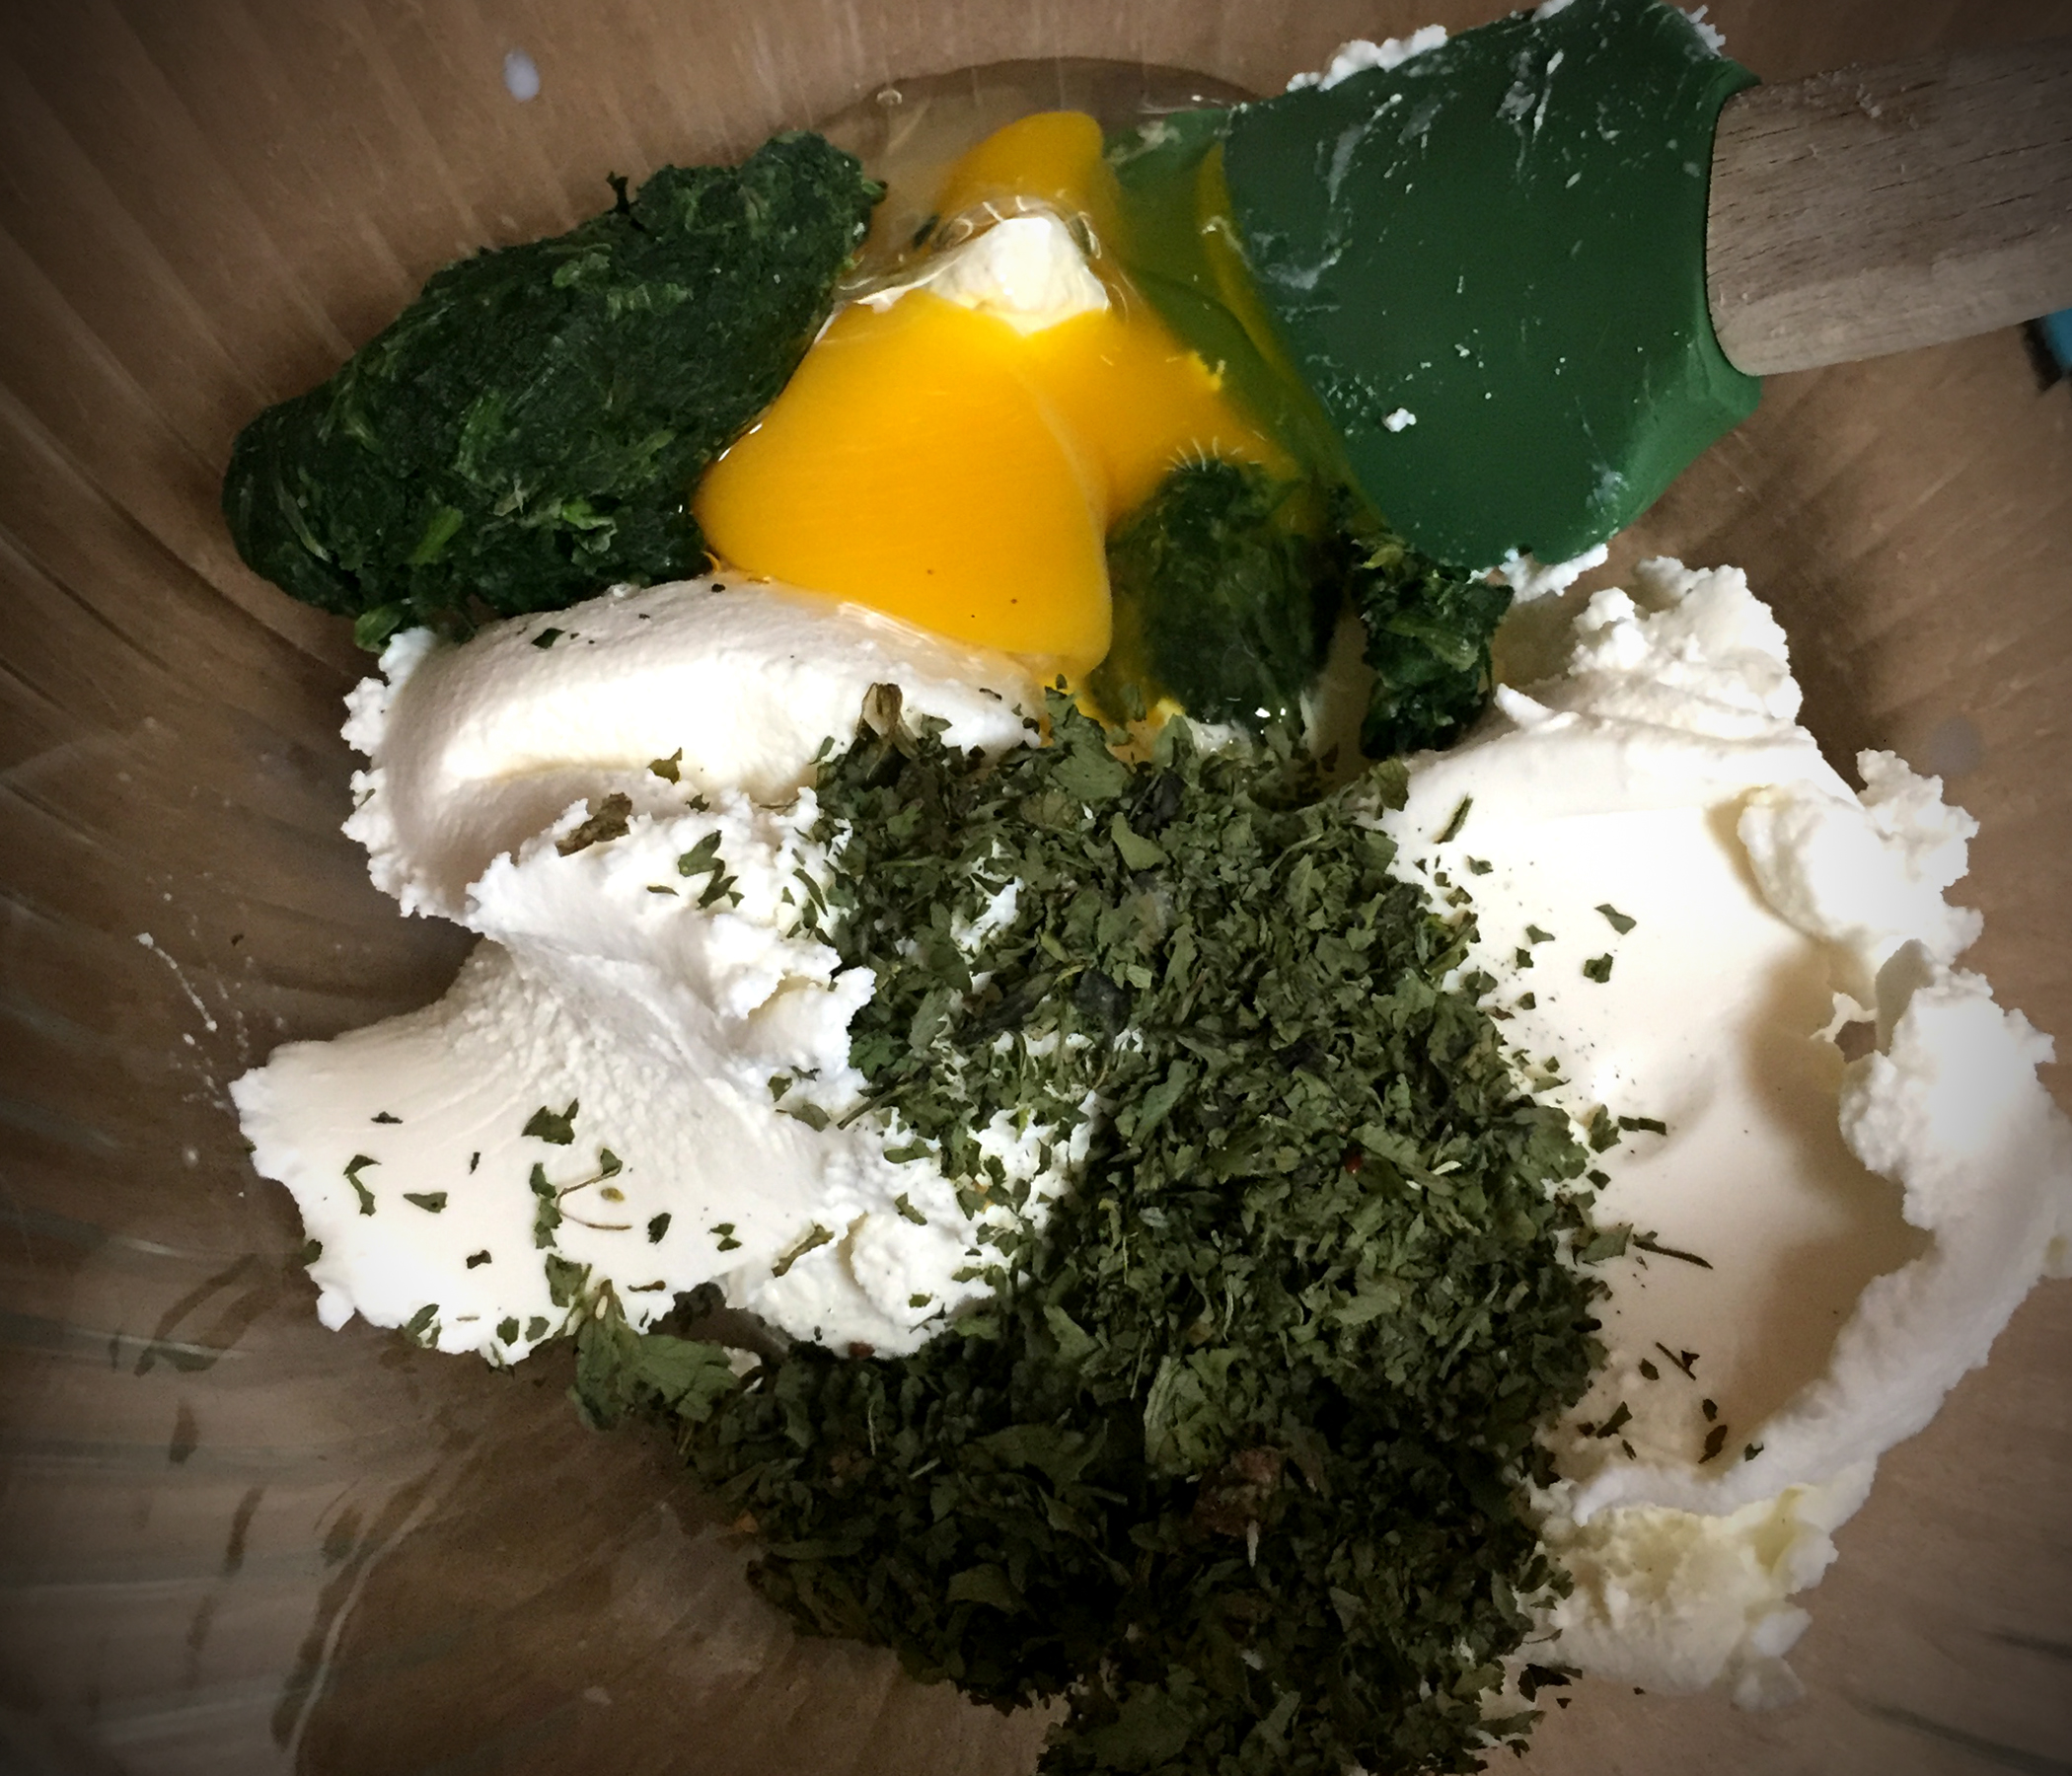
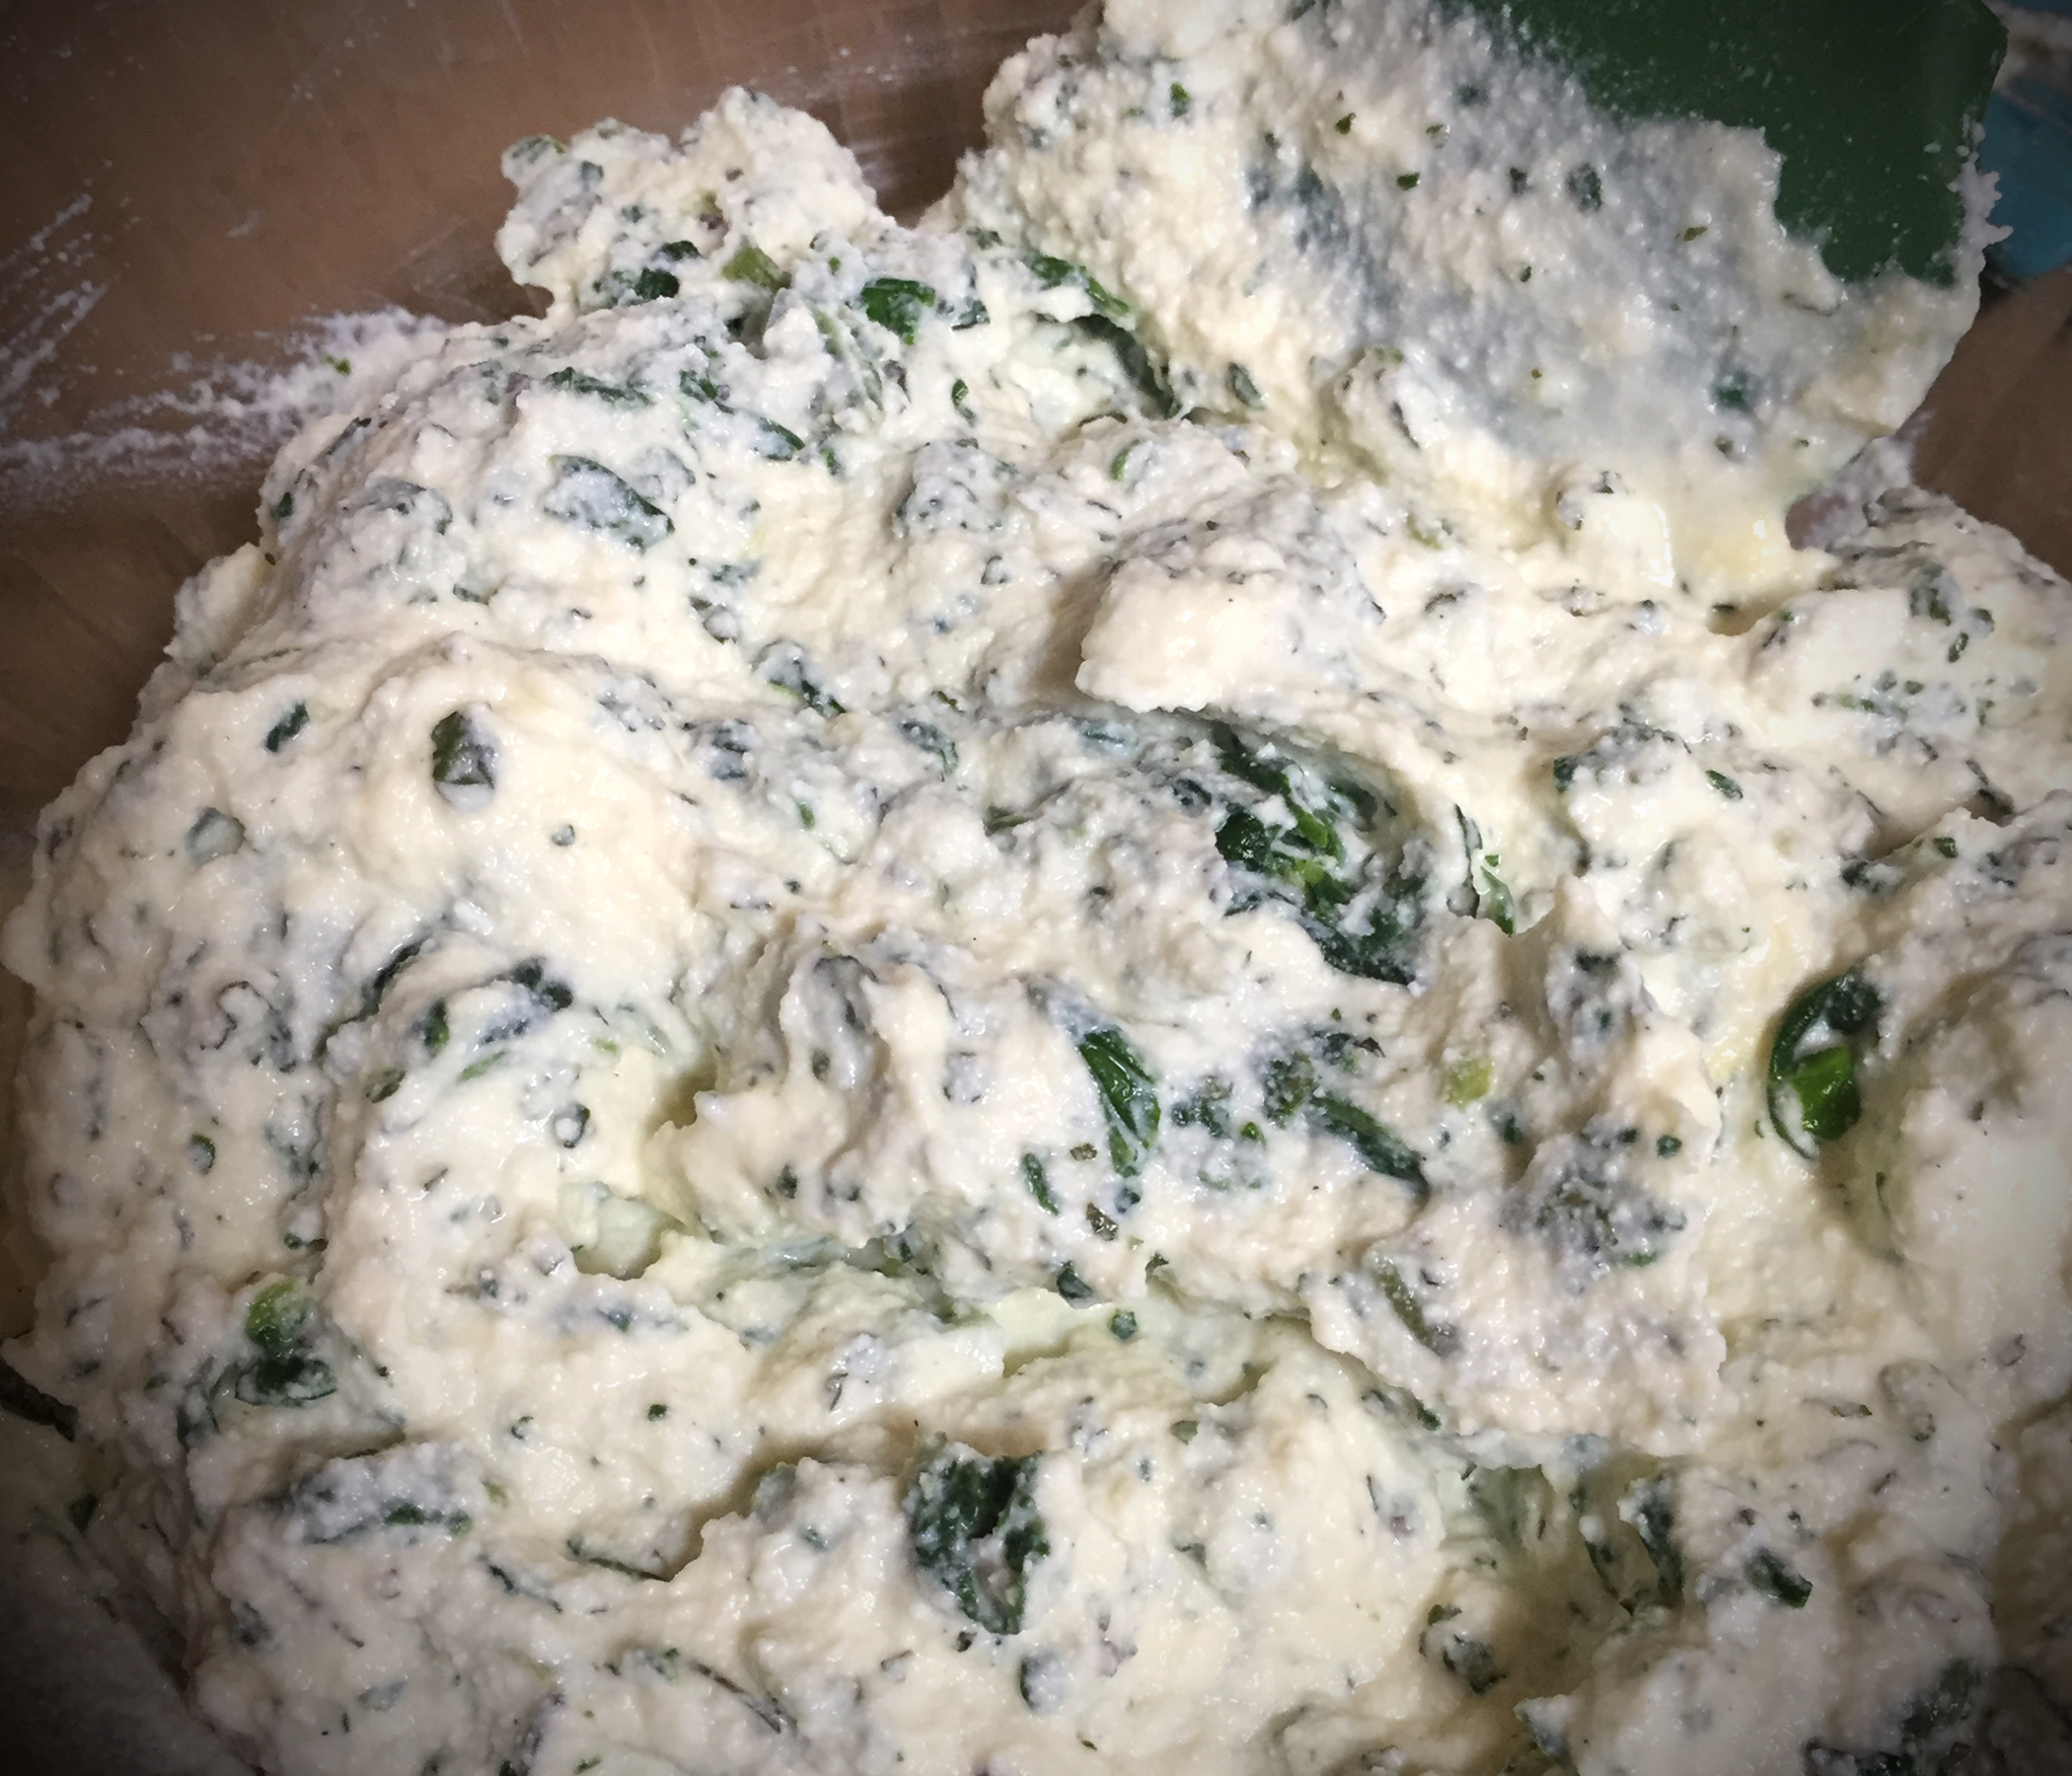
Mix ricotta, spinach, egg, and cilantro

See? Spinach all mixed in and well hidden behind delicious cheesy flavors.

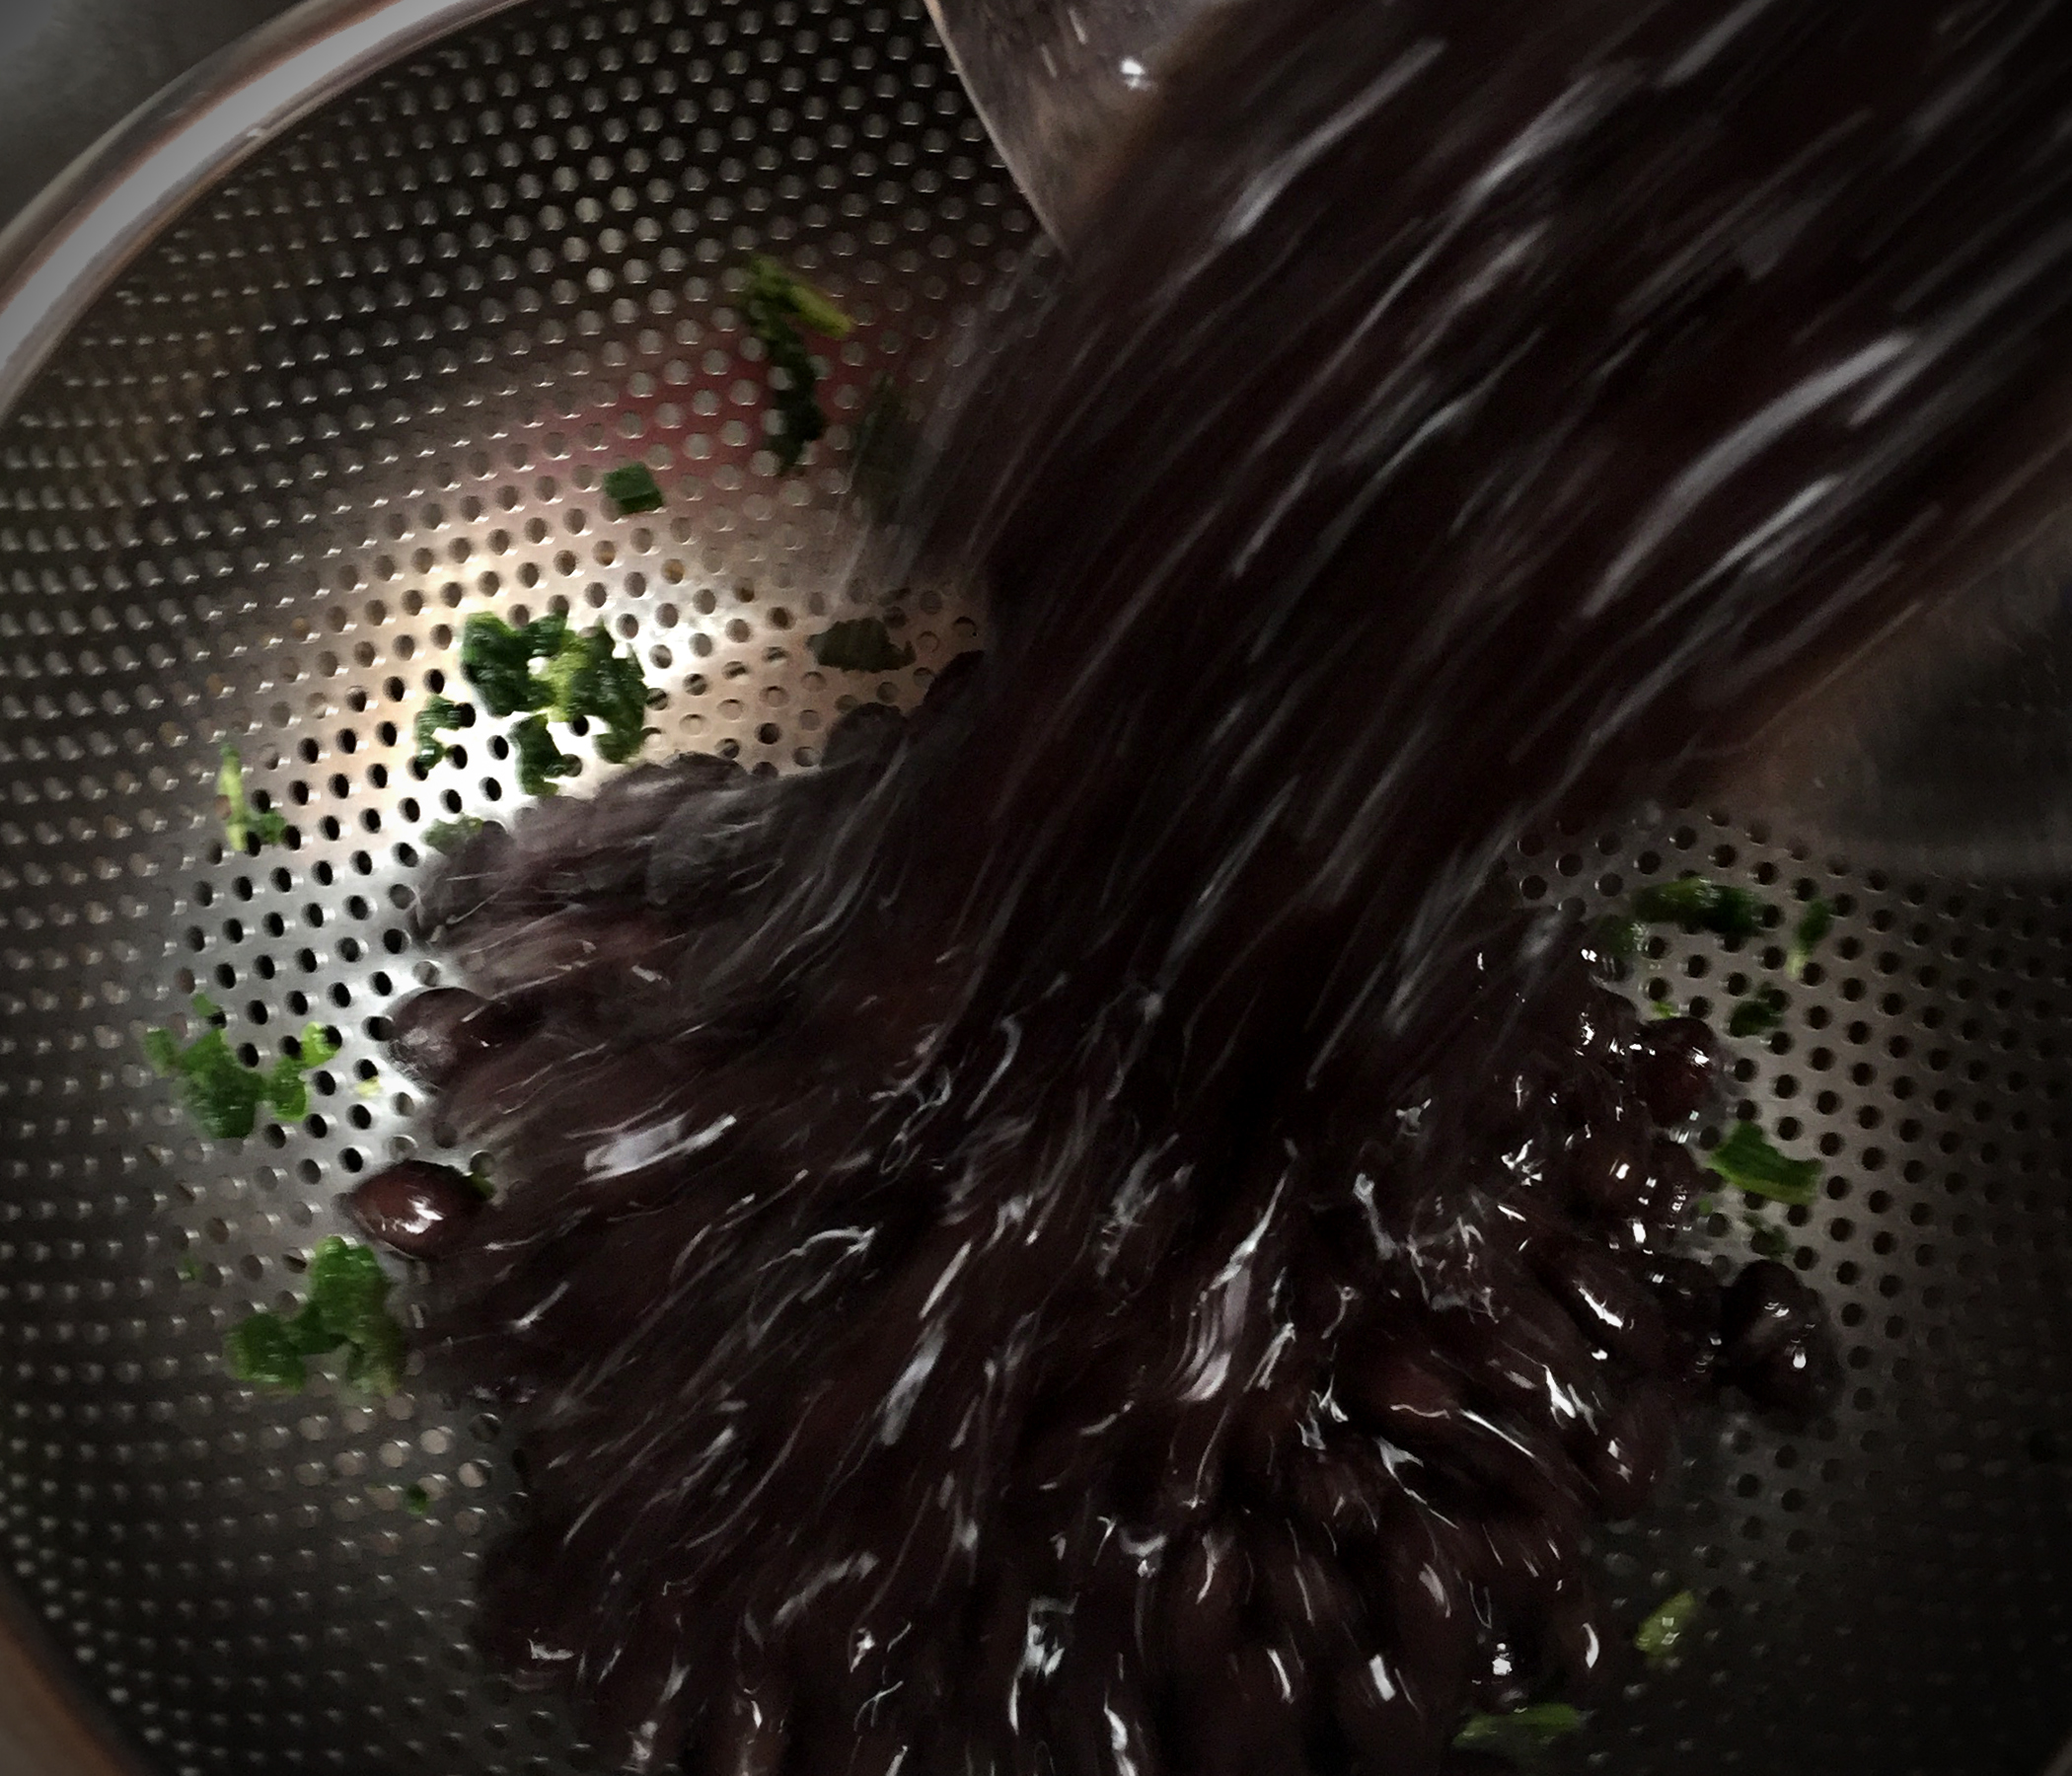
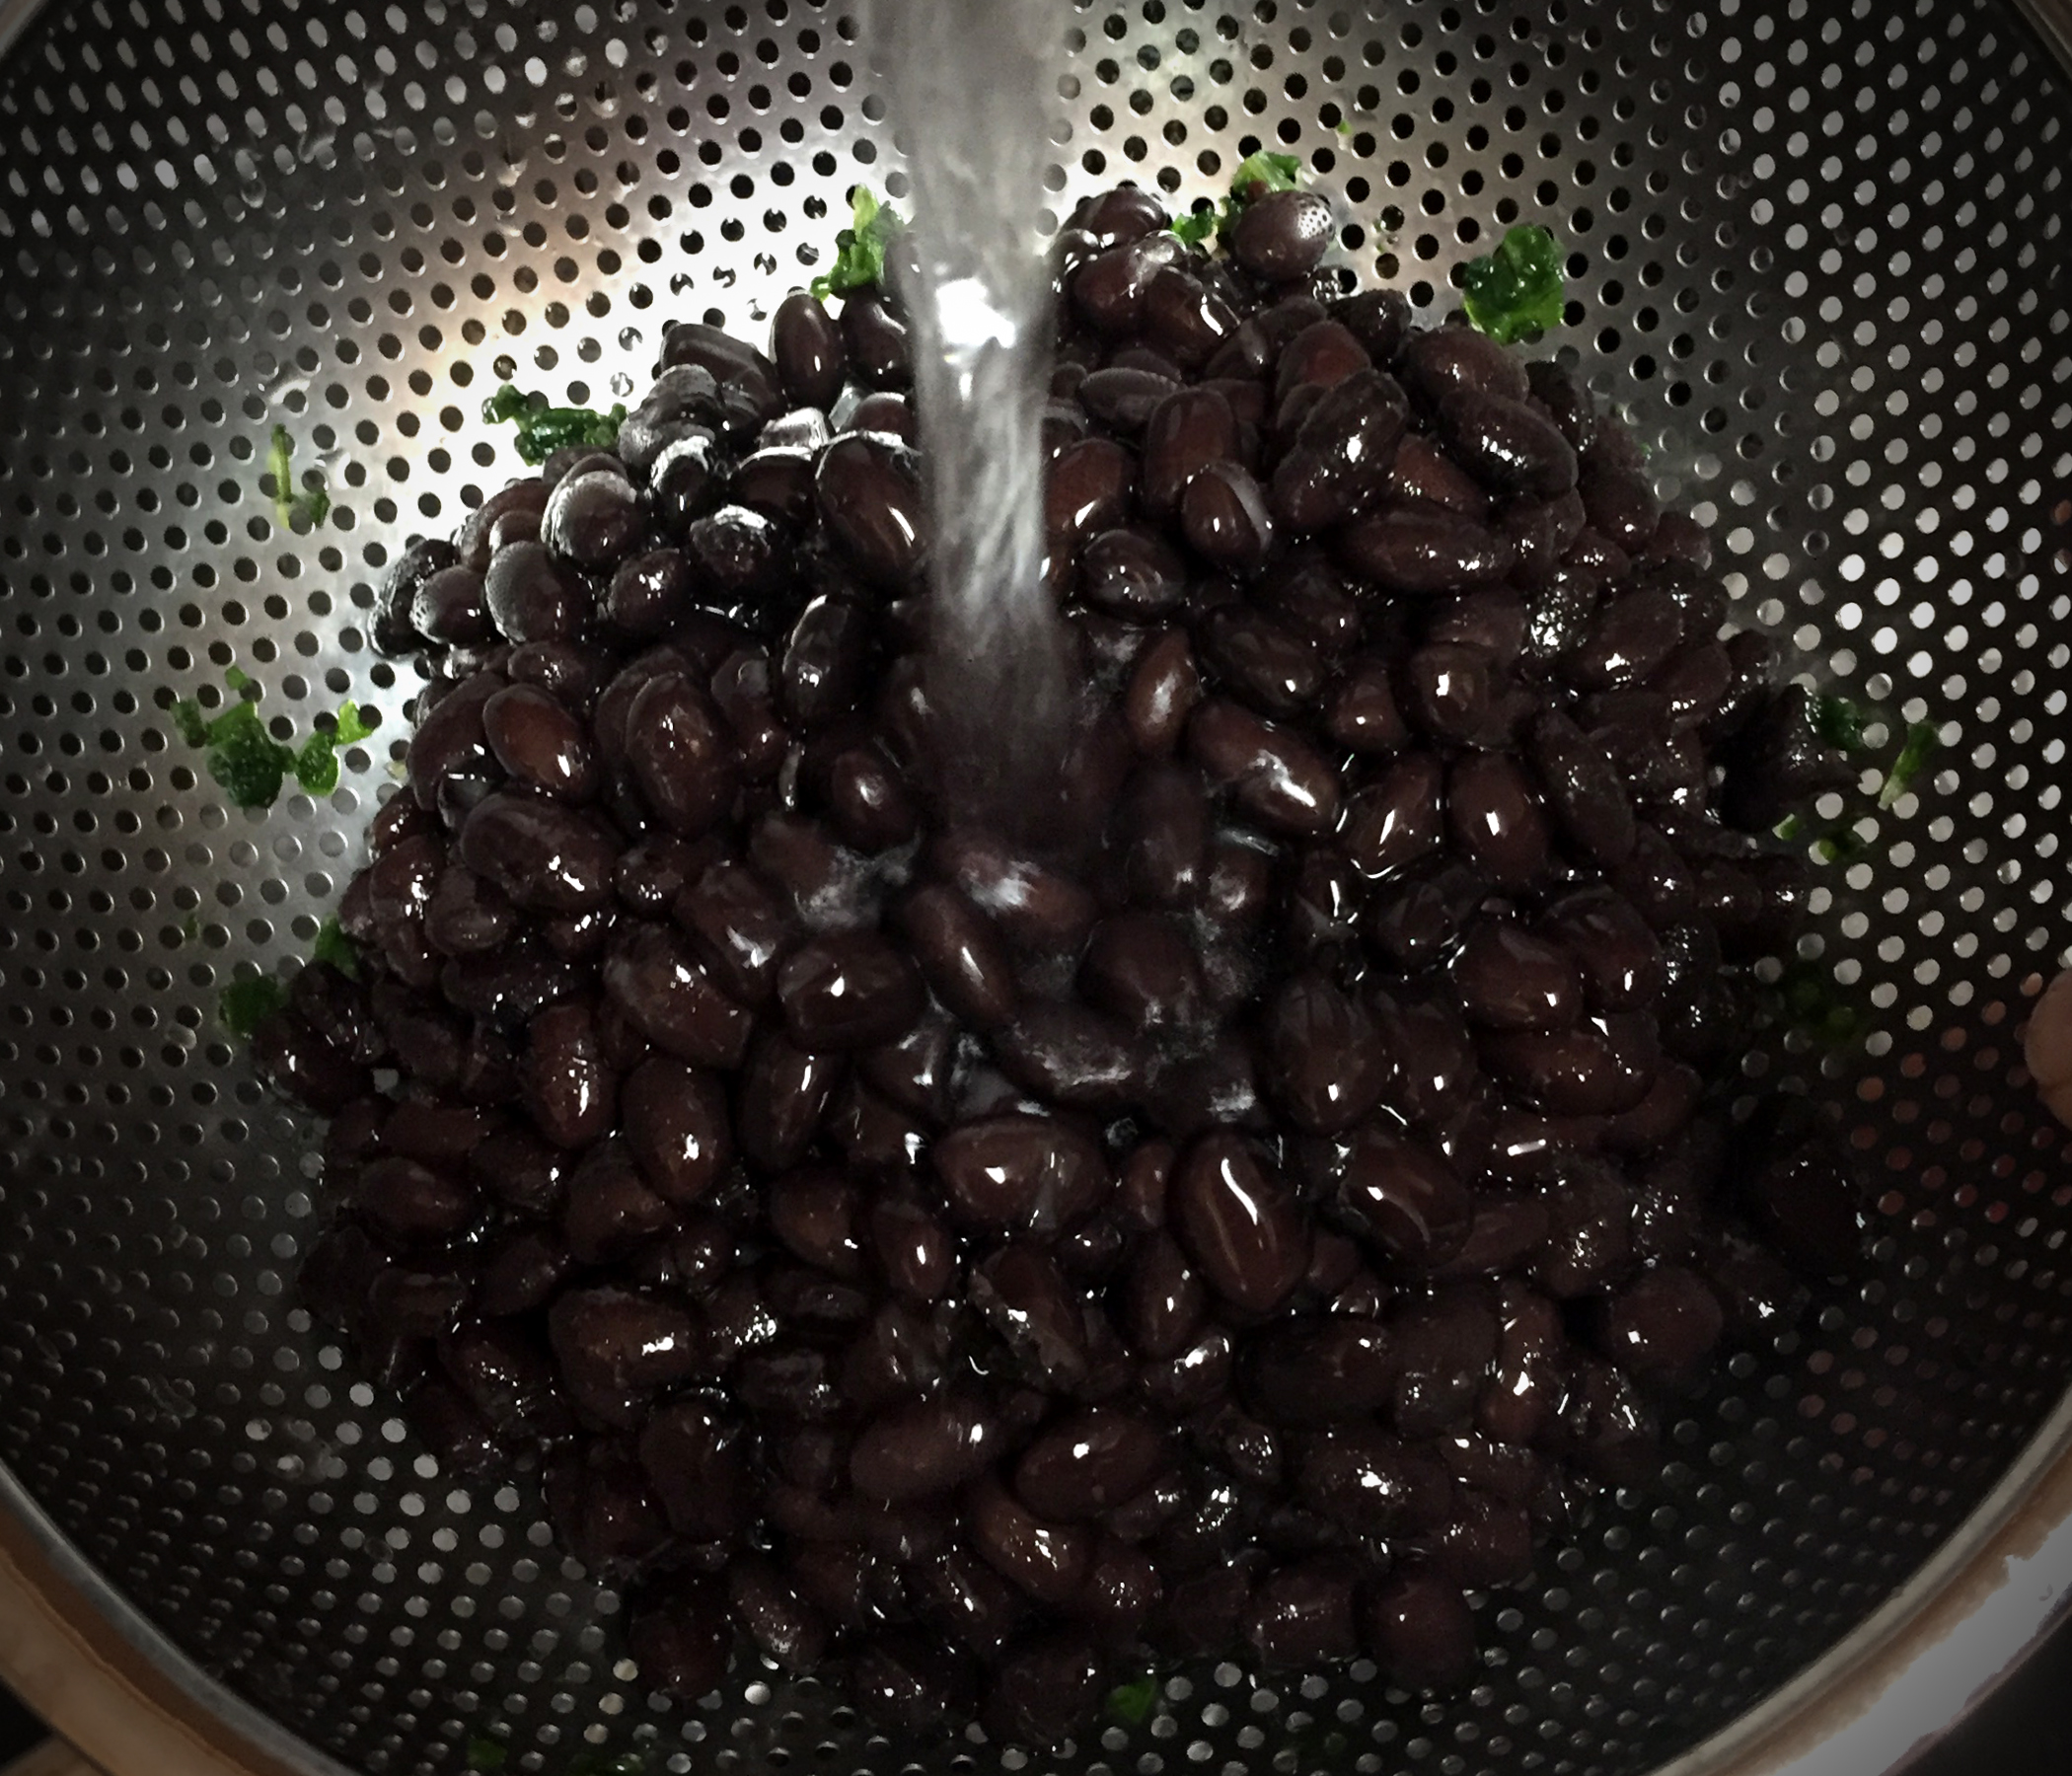
Now, drain your black beans in a colander ….

and rinse them too.

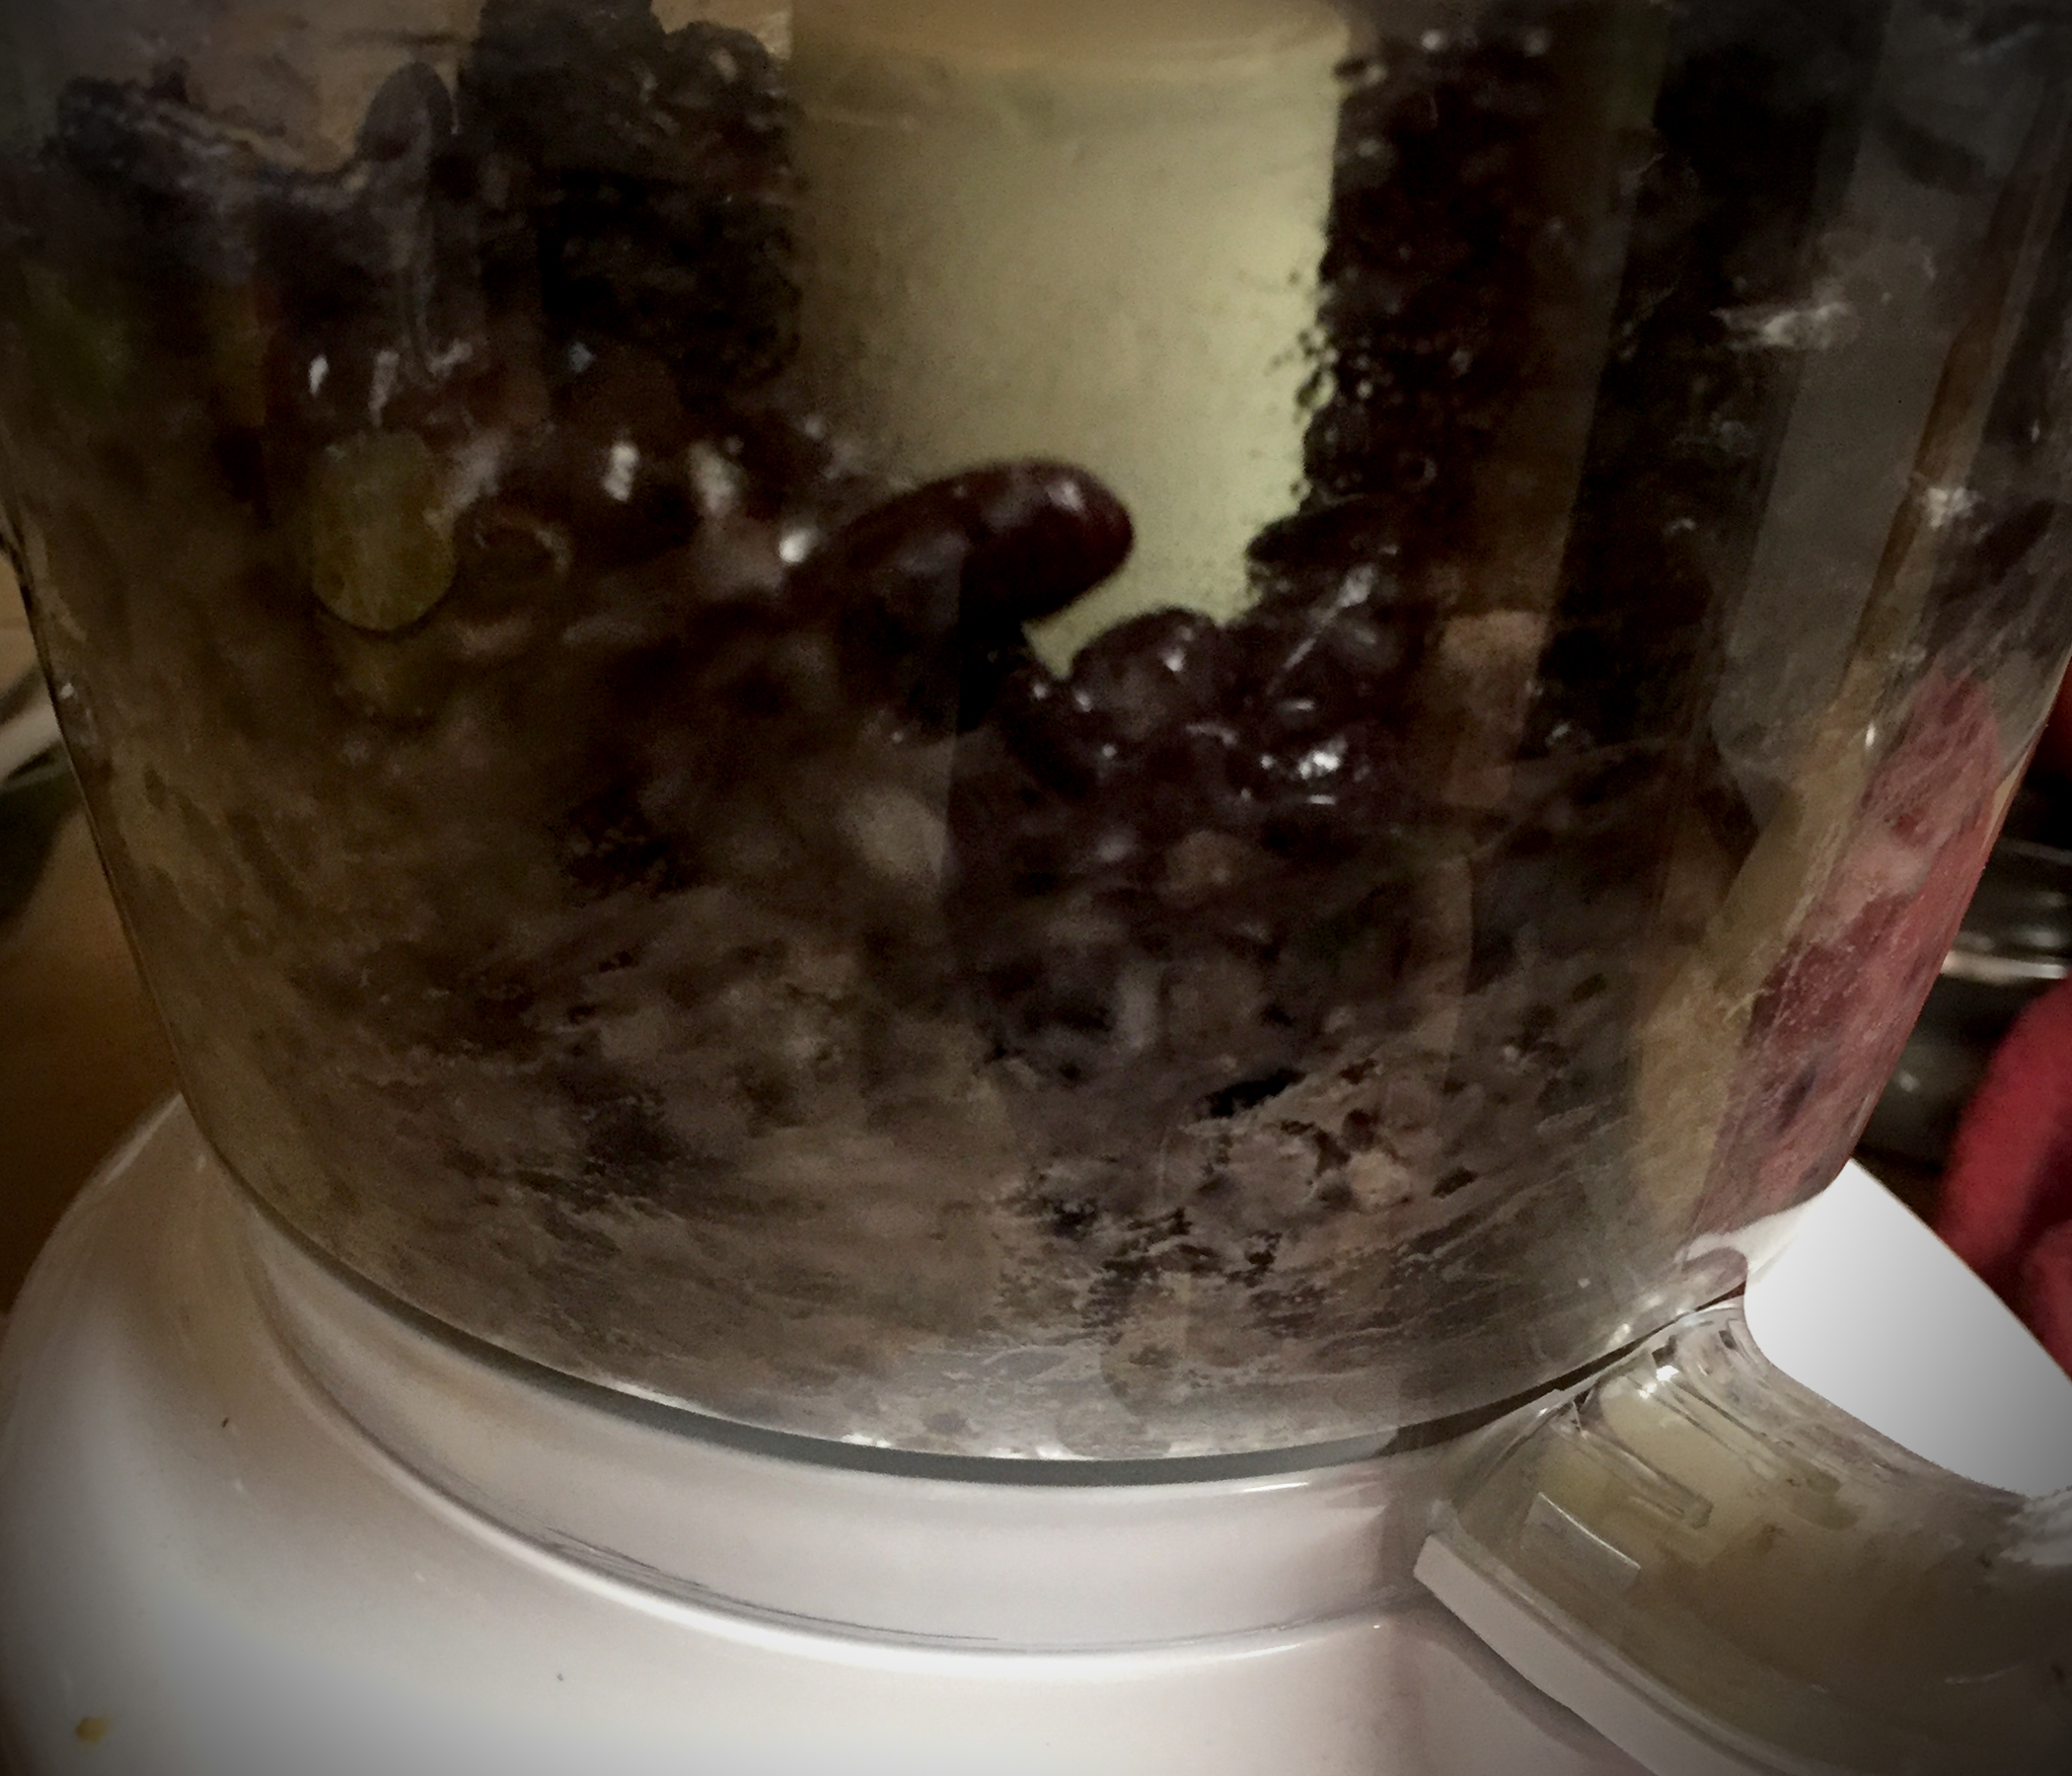
Pour into food processor and process until relatively smooth. Then …

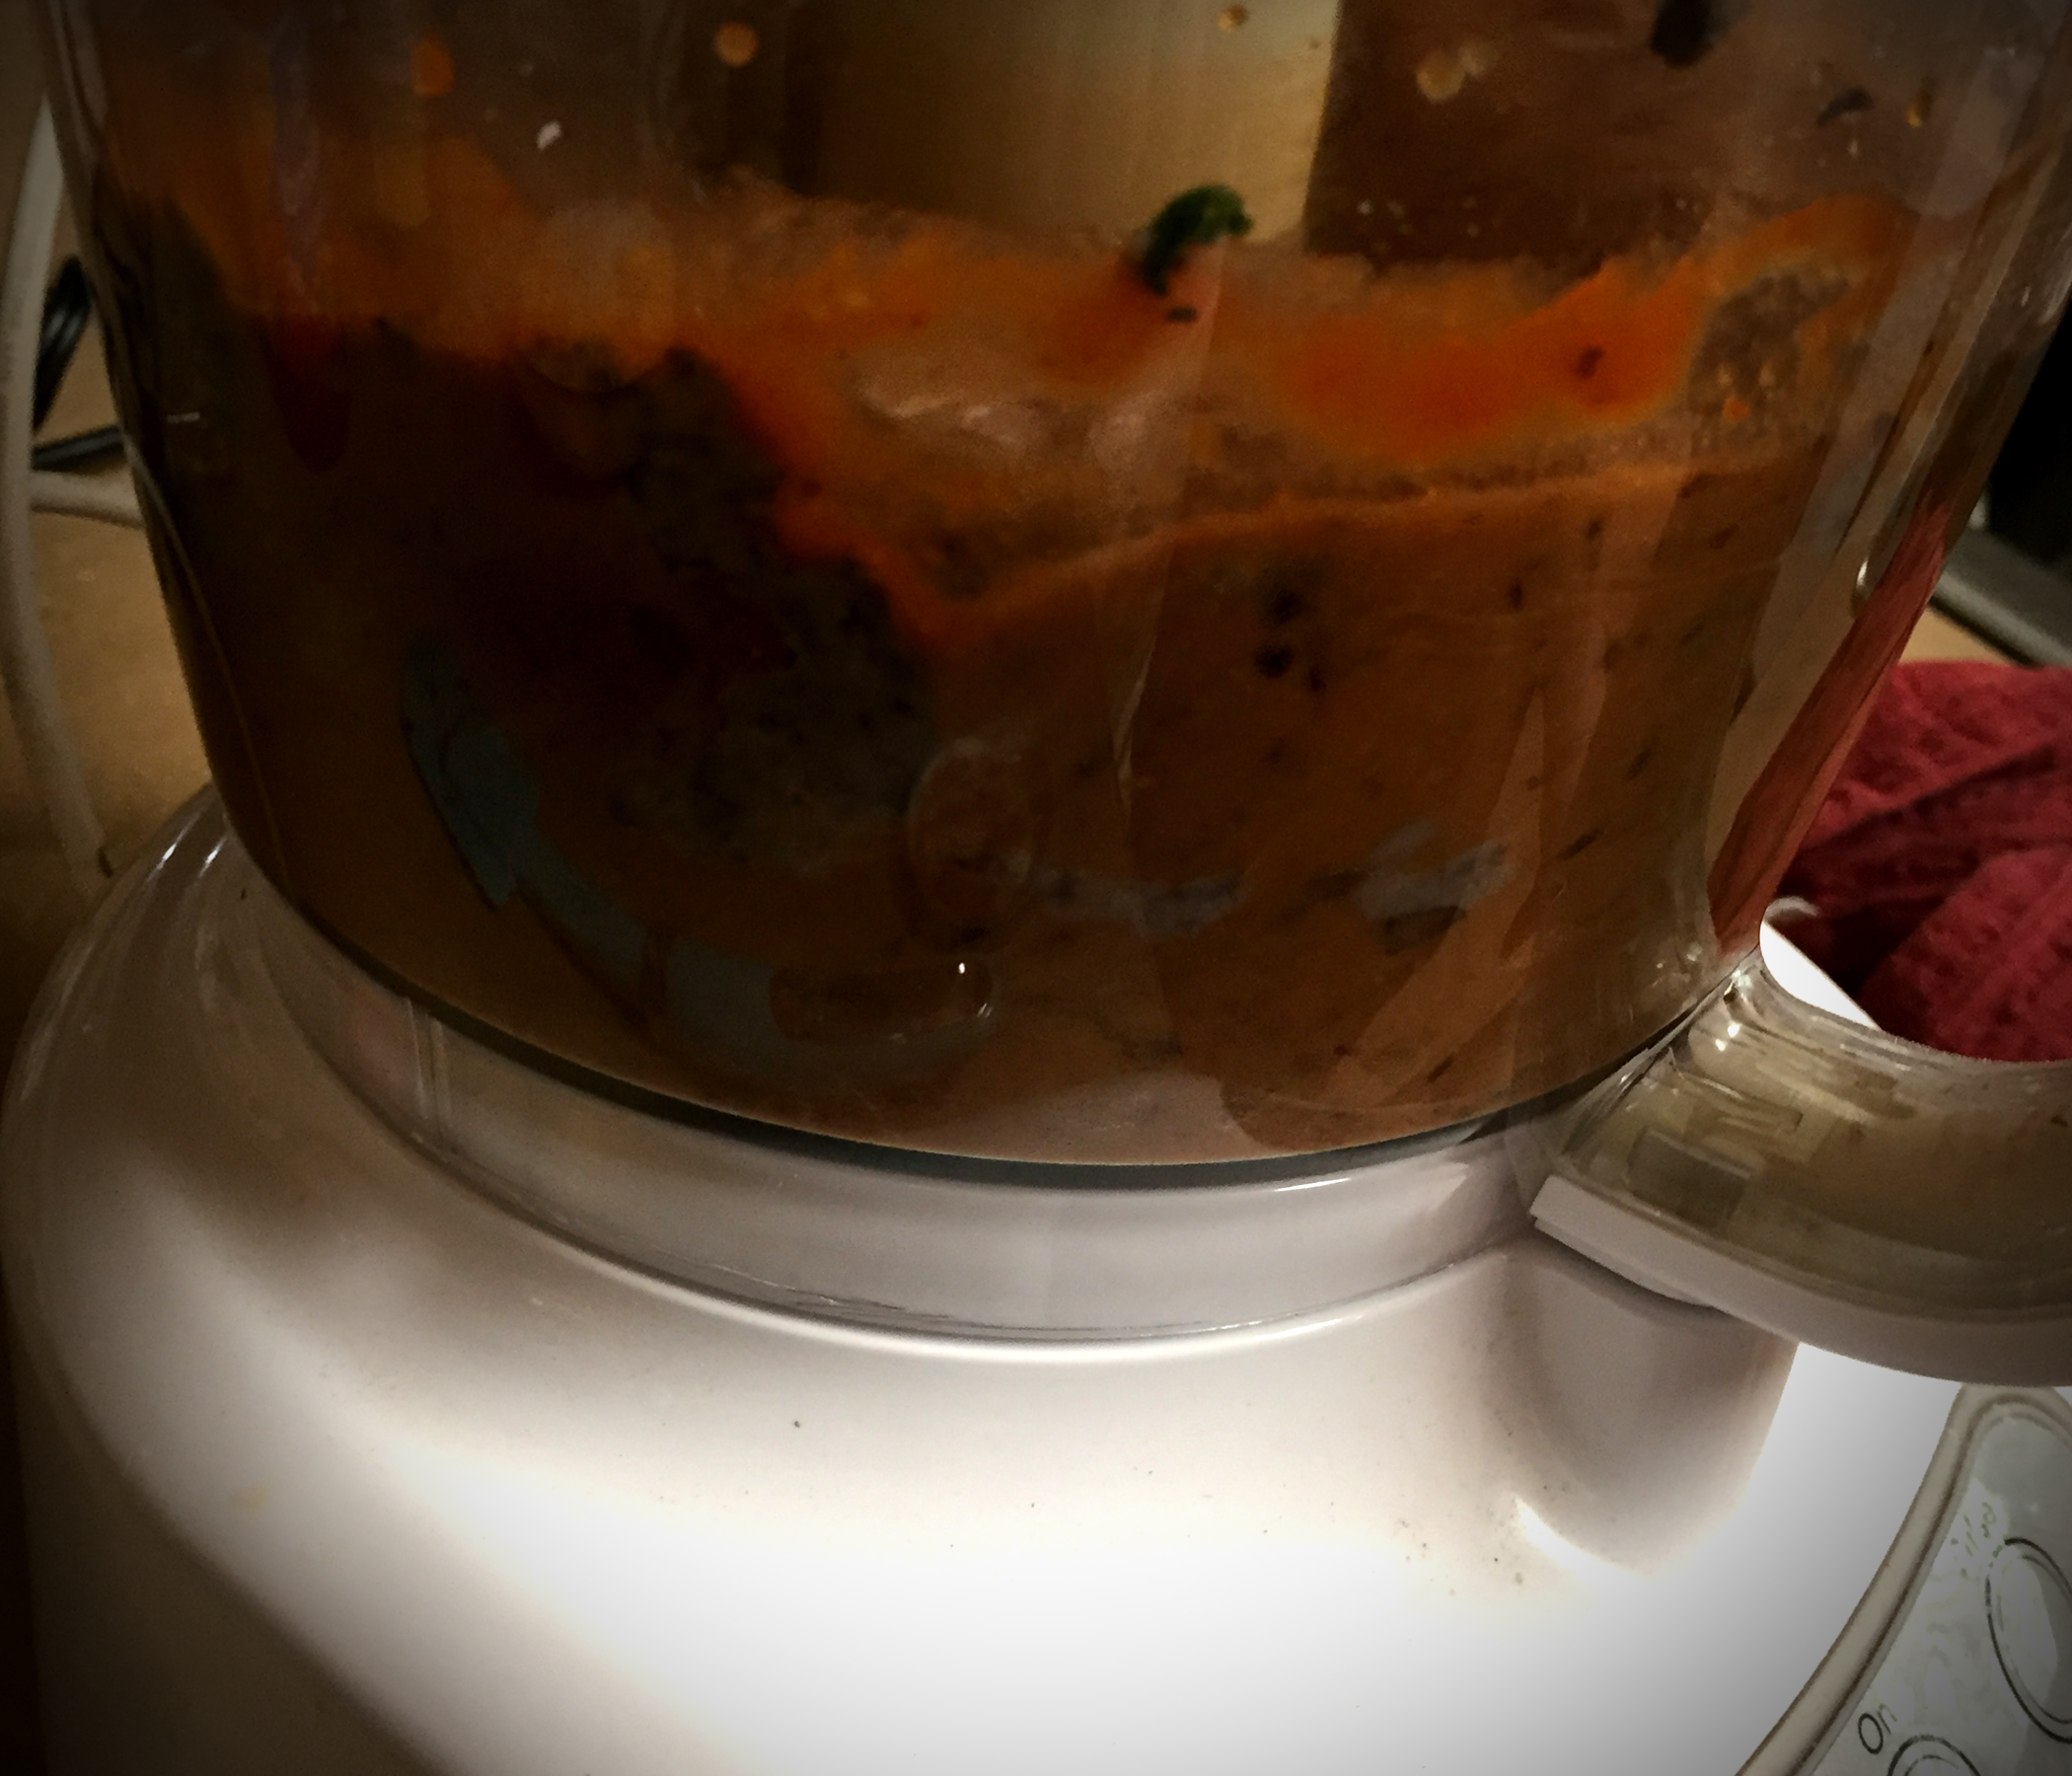
add pasta sauce and process a bit smoother.

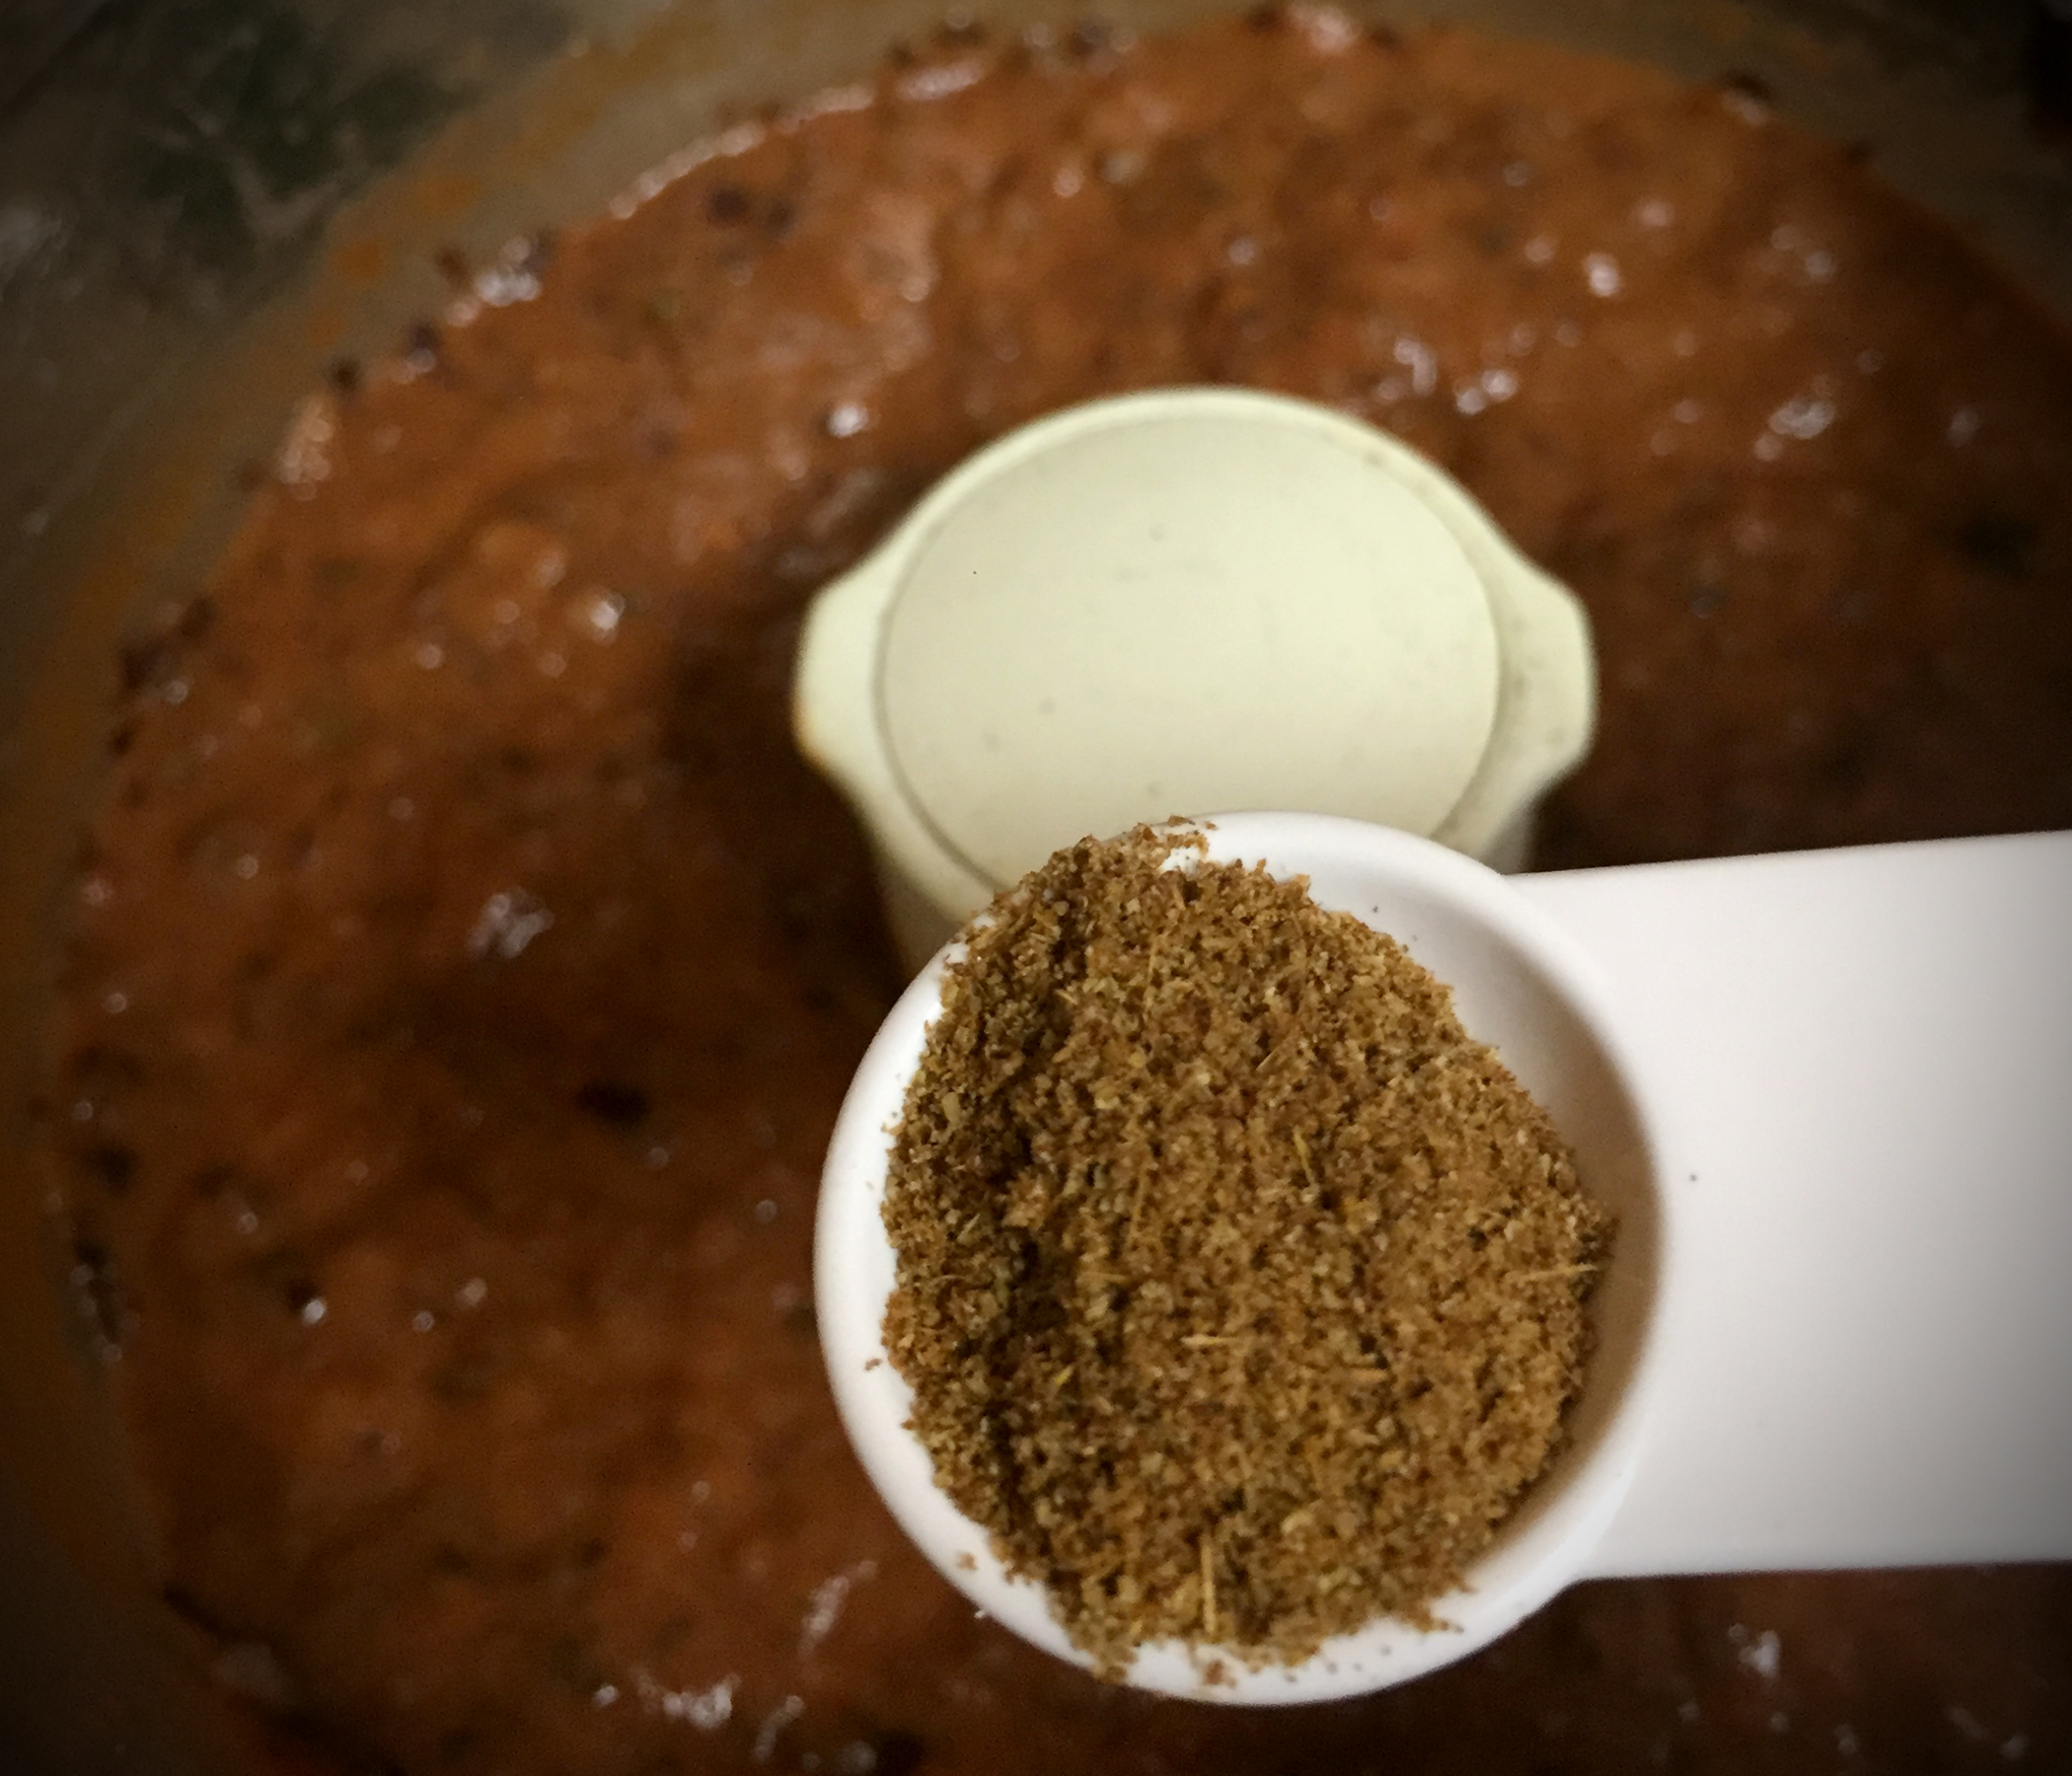
Add cumin and mix.

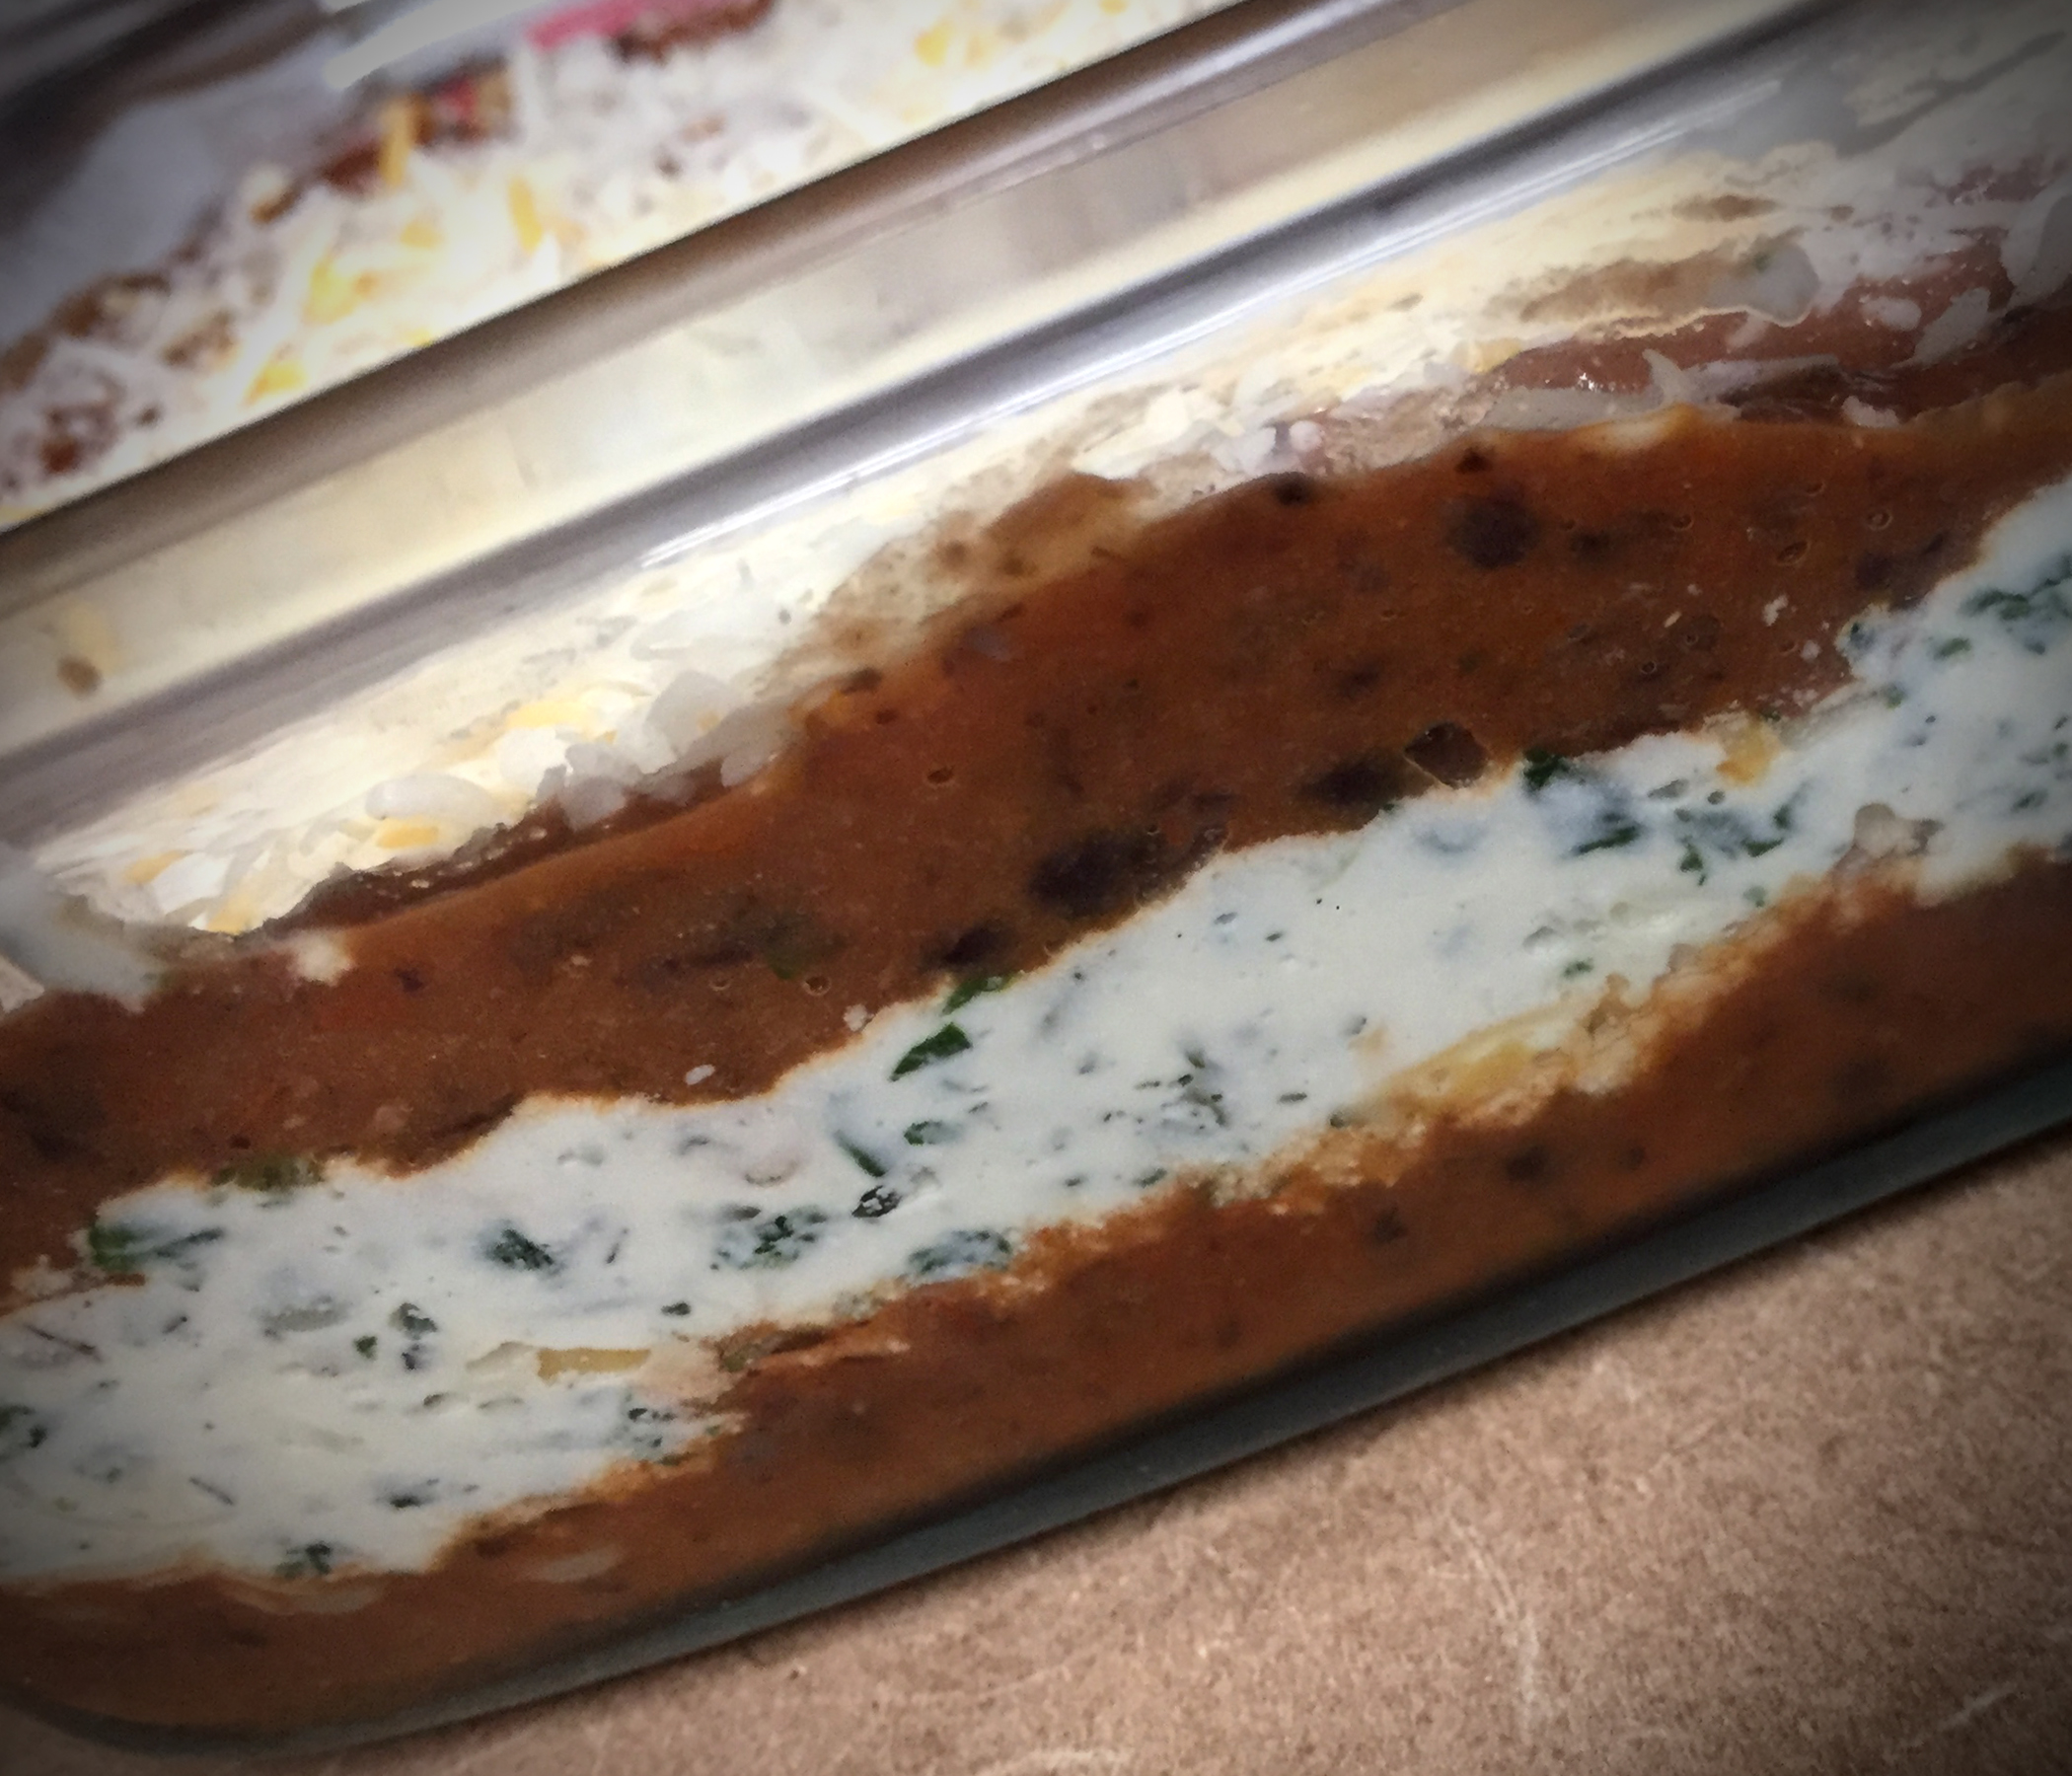
Get ready to layer. Layering is in, after all.

Scoop in some black bean mixture and smooth,

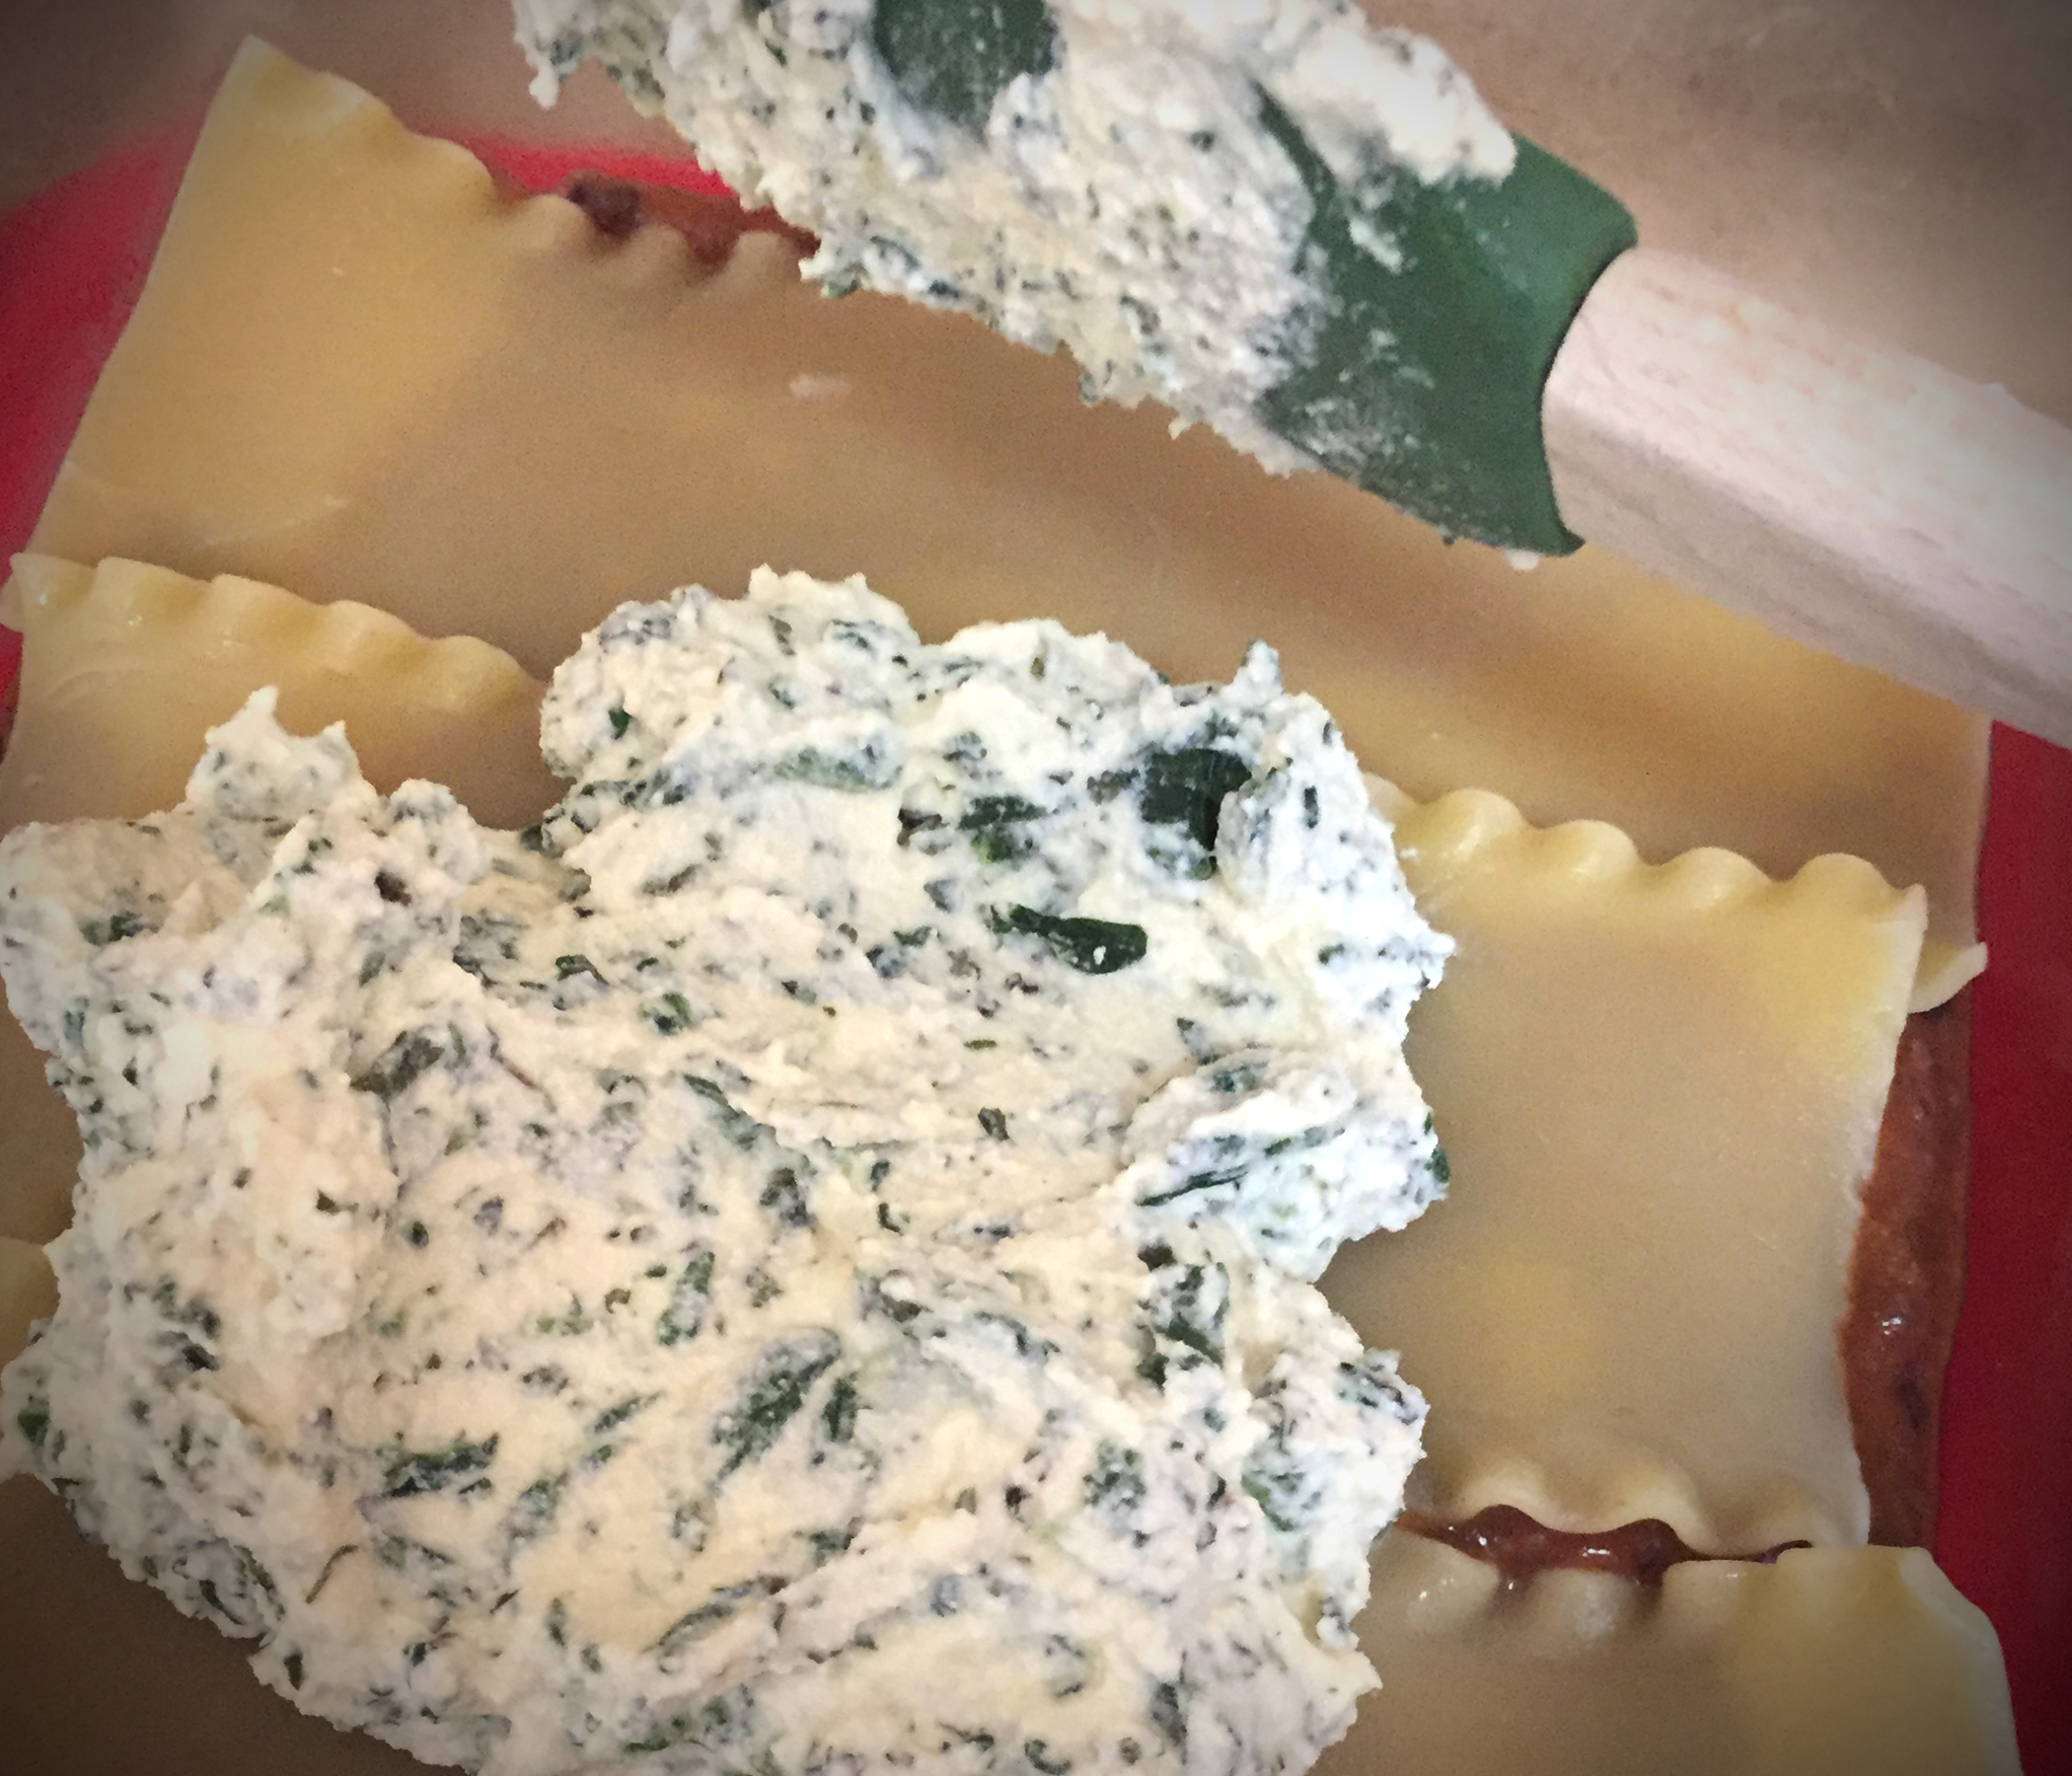
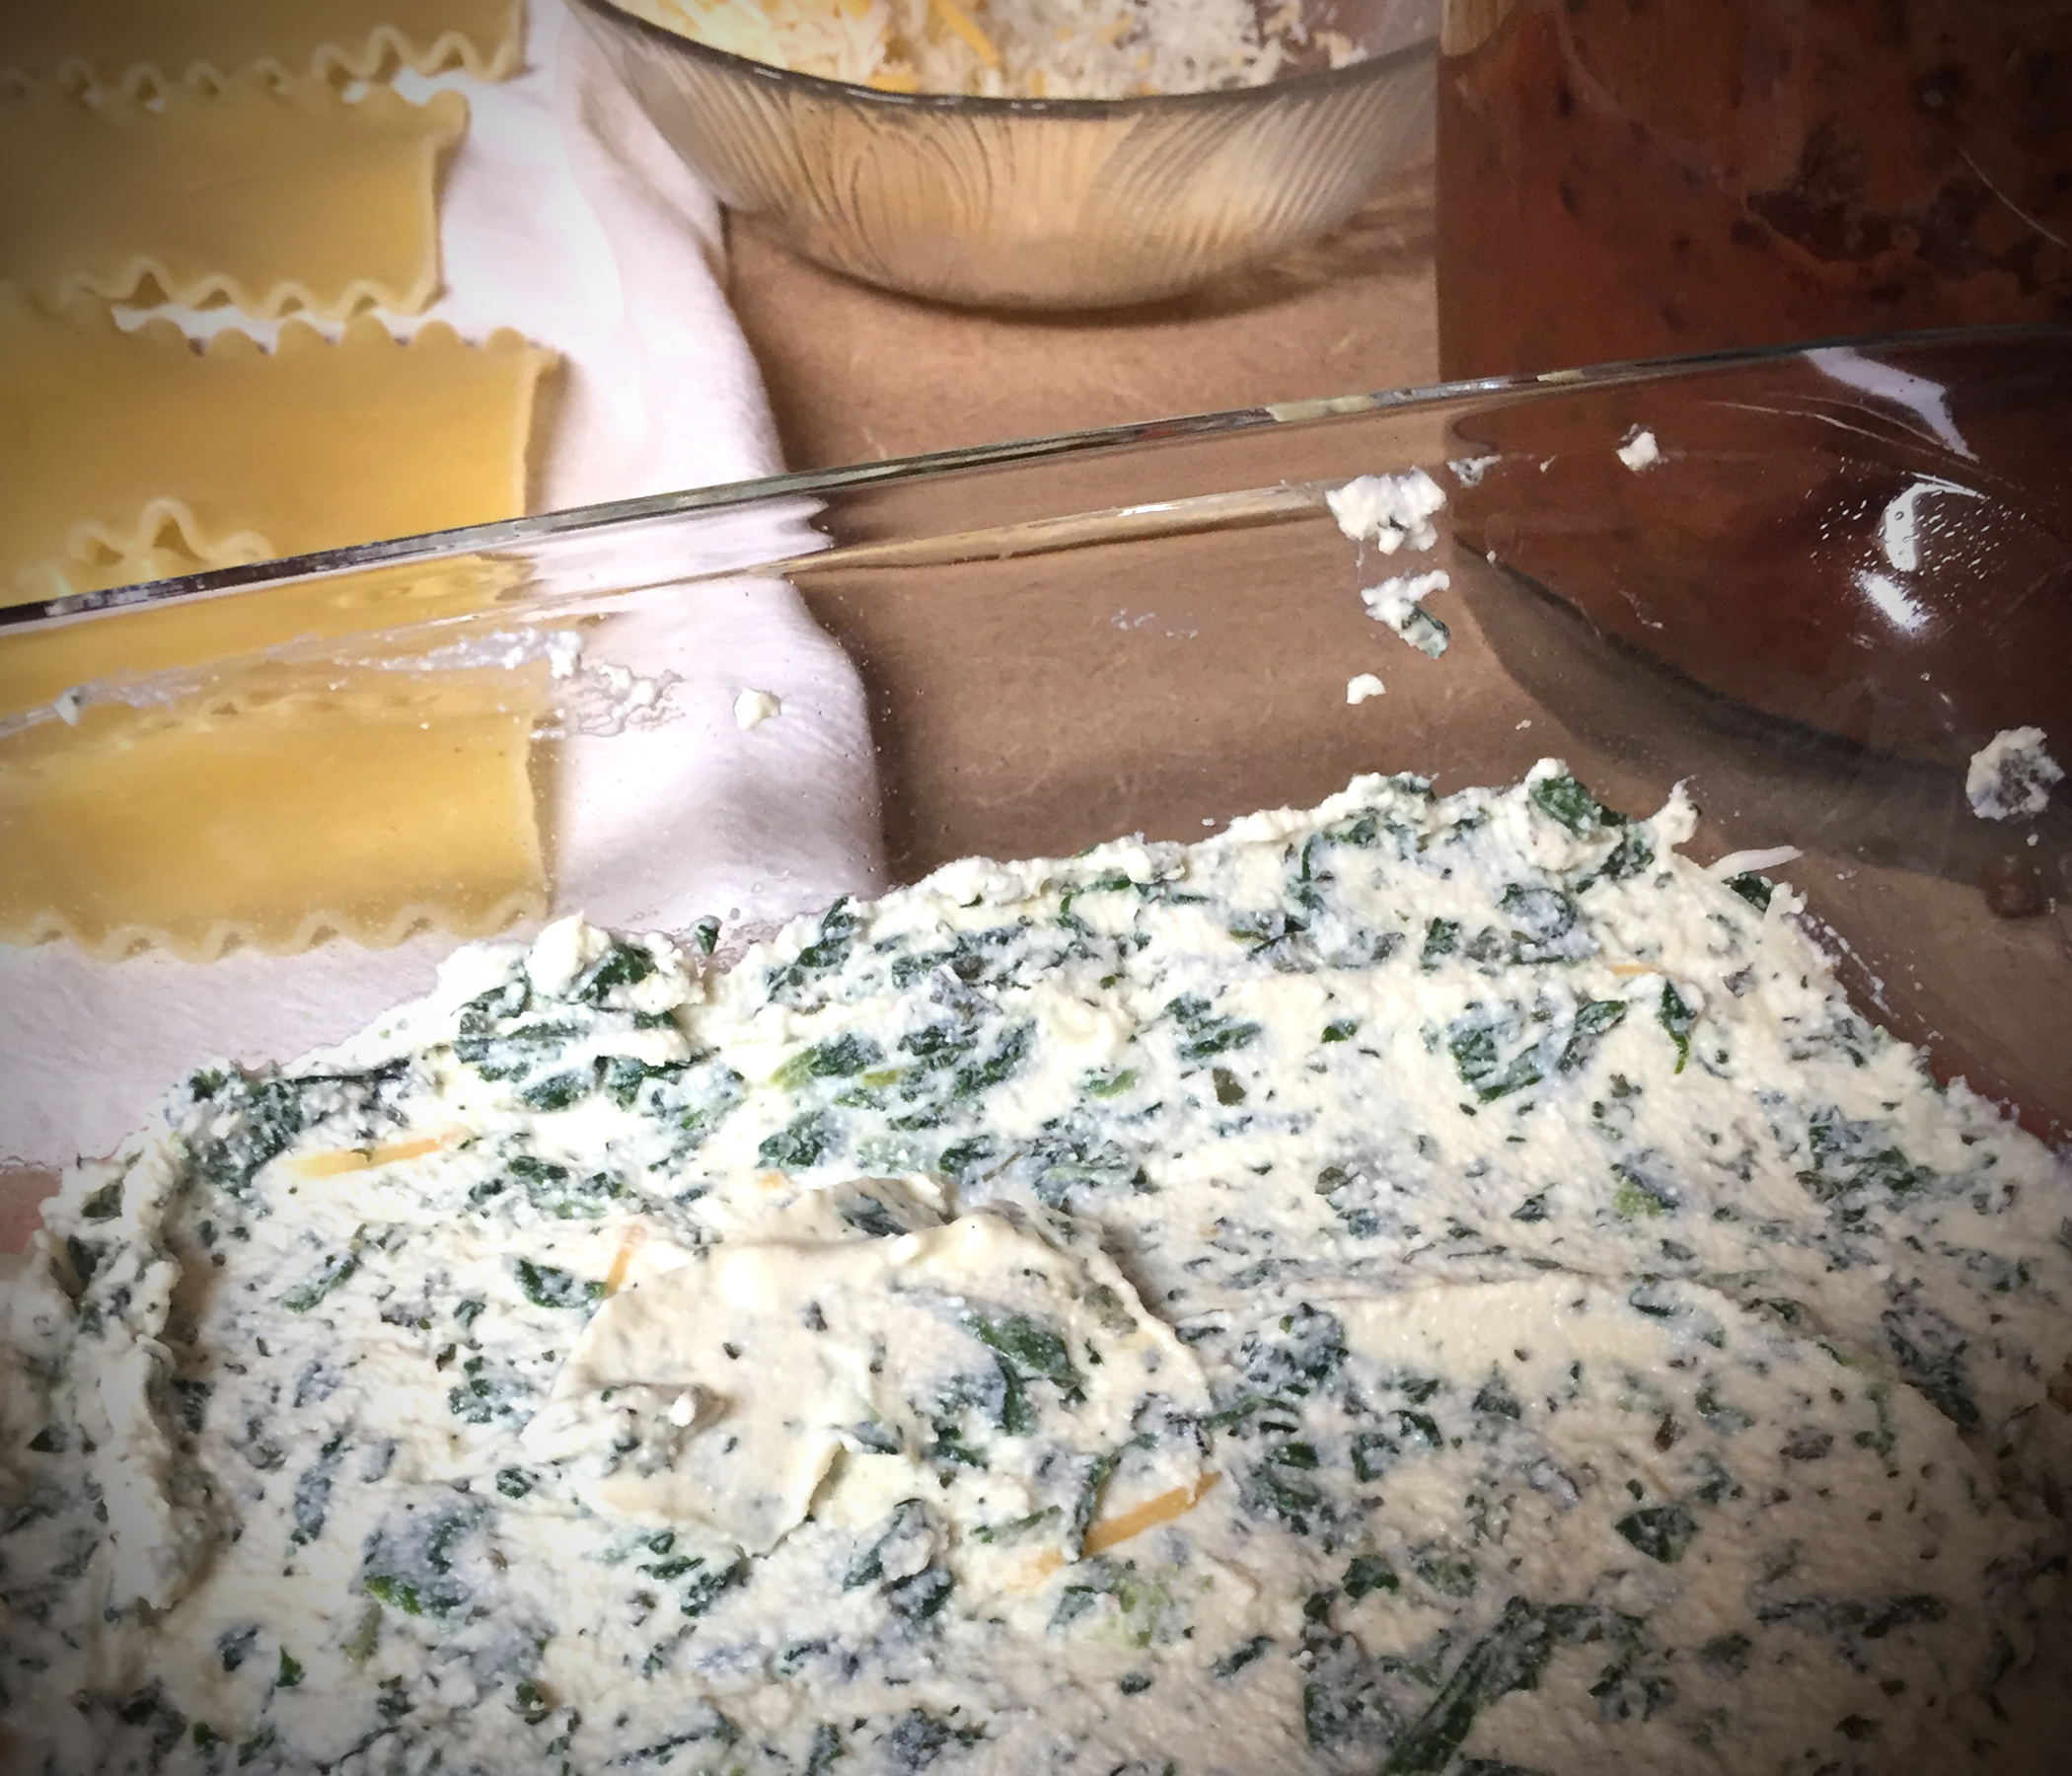
Layer on noodles and ricotta mixture,

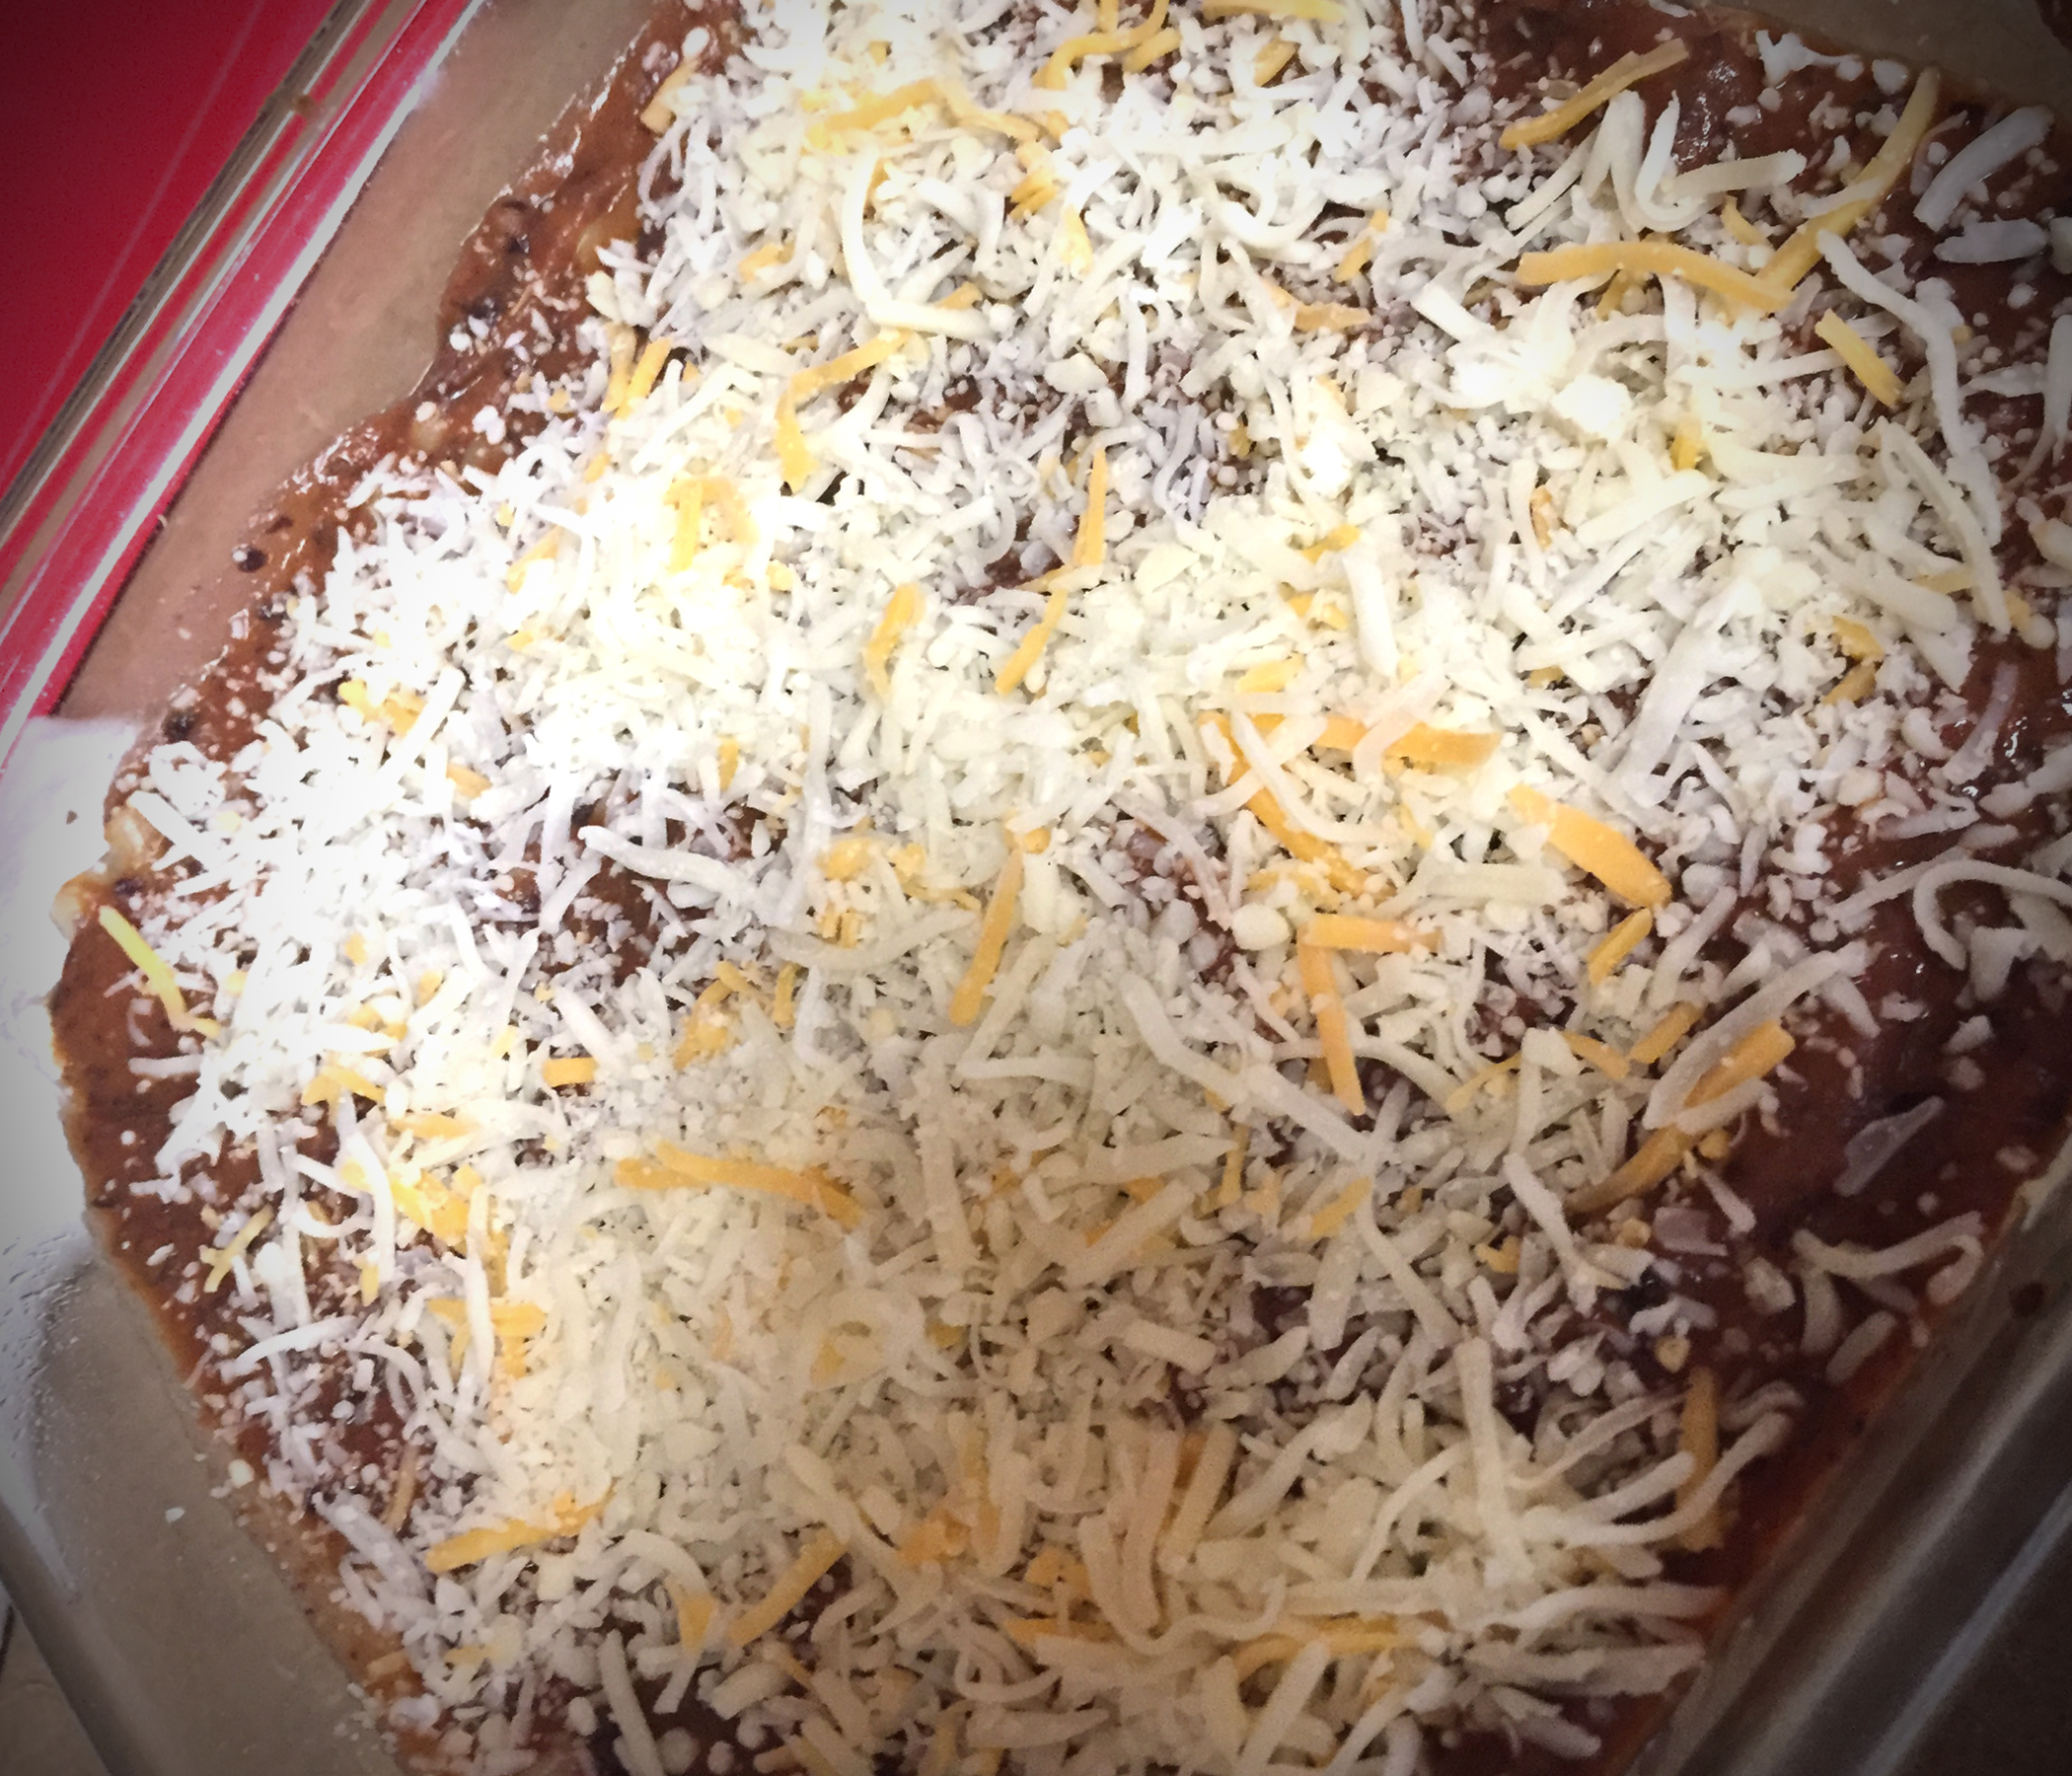
And smooth. Add cheese and keep layering.

Cover this with foil and place in 350 degree oven for 25-30 minutes. Uncover and bake 5-10 minutes more (just to melt that cheesy goodness on top).

Eat. Like I had to tell you the final step.

Spinach and Black Bean Lasagna

Ingredients:
29 oz. black beans, drained, rinsed and mashed
26 oz. pasta sauce
1/2 tsp. cumin
15 oz. container ricotta cheese
10-12 oz. (whatever size bag you get) frozen chopped spinach, thawed and well drained
2 eggs, beaten
1/2 cup chopped fresh cilantro
9 lasagna noodles
2 cups shredded pepper jack cheese

Directions:
Boil noodles (unless using the non-boil type) for 8 minutes in salted water.
Drain on towel when done.
Combine mashed beans, pasta sauce and cumin.
Combine ricotta, spinach, eggs and cilantro.
Spoon 1/3 of bean mixture into bottom of pan.
Arrange 3 noodles over beans.
Spoon 1/2 spinach mixture over noodles.
Scatter 1 cup cheese over spinach mixture.
Spread remaining spinach mixture over cheese.
Layer 3 more noodles.
Spread half the remaining bean mixture over noodles.
Layer 3 more noodles.
Top with remaining bean mixture.
Top with remaining cheese.
Bake covered at 350 degrees for 25-30 minutes.
Uncover, bake an additional 5 minutes.

Make 9×13 dish

For catering:
Double or triple recipe depending on which size aluminum food service pan you’re using.
Increase baking time to 40-50 minutes so that the center gets good and melty!

Sit back and wait for compliments.

Gravy is Tops – Poppy Seed Chicken

Poppy Seed Chicken

2 (10-oz. cans) cream of chicken soup
8 oz. cream cheese
1/3 cup chicken broth
6 cups chicken, chopped or shredded
3/4 tsp. black pepper
3 Tbs. poppy seeds
1 stick (1/2 cup) butter, melted
1 1/2 sleeves Ritz crackers, crushed

Heat cream of chicken soup, cream cheese and chicken broth in large saucepan over medium heat, whisking to prevent sticking.
Mix melted butter with crackers.
Place rice in 9×13 greased pan.
Put 3 cups cooked rice in bottom of pan (If using rice instead of noodles. If using noodles, bake the chicken and layer on cooked noodles.)
Layer chicken onto rice.
Pour gravy over chicken.
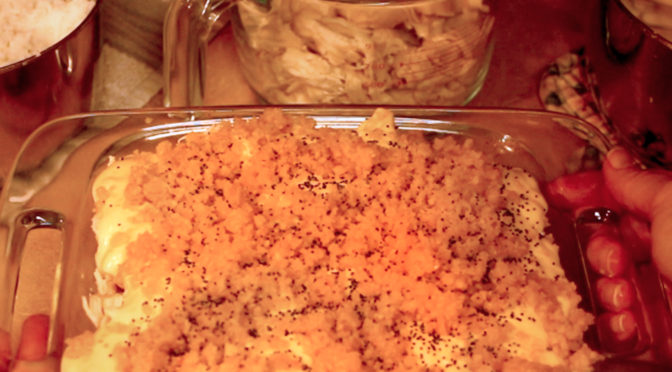
Top with cracker mixture.
Sprinkle with poppy seeds.
Bake at 350 degrees for 20-30 minutes.


How we got so poppy:
The previous owner did have some excellent recipes. Some of which had come about from trial and error; and some from a sweet lady that had worked for him. She’d formerly worked in some facet for the test kitchens of a major magazine.
So, as we kept churning out new recipes, new requests, new mistakes …. we kept steady with the old tried and true favorites. Several customers had been asking about a chicken dish with gravy. You just can’t go wrong with gravy. I believe it is a Southern staple. You could serve stale bread or some meat surprise, and as long as gravy sits atop, folks would lap it up. … Well, maybe not. But gravy is a dish picker-upper.
JoAnne knew they must be talking about Poppy Seed Chicken. So the very day we made this and e-mailed it to our customers on the daily menu, we sold out within the hour.
Added bonus: This dish has no onion chunks in it, so I liked it too.

Healthy Option – Chicken Salad

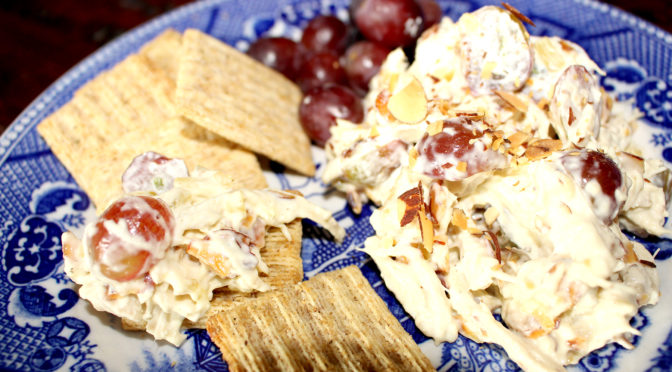
Chicken Salad
3 cups chopped cooked chicken
1 cup mayo
1 cup chopped celery
1/4 cup sweet relish
1 cup sliced grapes
1/2 cup toasted sliced almonds
1/4 tsp. salt
1/8 tsp. pepper

Mix together and keep refrigerated.

How chicken salad worked us to death

We could not make enough chicken salad!
We slow-roasted 40-80 pounds of chicken breast overnight, every night. And we used about 20-40 pounds of that in our chicken salad each day. It was good, delicious in fact, don’t get me wrong. But we made the stuff twice a day at least and it still wasn’t enough. And yes, we did increase our roasting and making of chicken salad as demand grew. All 4 of us – Rebecca, Joanne, Sue, and myself – could make a quadruple batch of the stuff in our sleep.
The recipe came about due to some customers of the former owner requesting healthier options. Seeing as how a lot of his recipes and ours contained cream and butter and cheese and creamy soups, I can understand why folks started putting on a little weight eating with us.
So JoAnne, a healthy eater herself, formulated the concoction on the fly one day, just remembering how she’d whipped up some for her family; and using what the owner had on hand.
We had this in our refrigerator from the first day we opened due to how “easy” it was to whip up and how much a quadruple batch would make for the case. We’d make half with celery. We’d fill at least 2 shelves with one-pound packages and it’d be gone before noon, either from customers stopping by to grab it on their way to work or people e-mailing a request that we save them a pound or two for when they could stop by. We had a dedicated refrigetor bay for “holds”. I’d begun typing up a daily offering of what we had and e-mailing that each morning to all our customers who requested to be on the list. They’d then e-mail or call with requests to hold a certain dish or two. It was simple and worked well, except for the times I forgot to check the e-mail around 4 (super busy time of day). Those who’d waited until later to let us know to hold food thought I was to check it routinely so their food would be ready and waiting. (Yes, I should’ve.) They’d arrive to pick up their dish and it wouldn’t be there as we sold out of things pretty quickly. But being the awesome group of customers they typically were, they’d find something else to grab for dinner.
One day, a new customer came in and walked right to the chicken salad without even looking at anything else. Rebecca happened to be out front arranging shelves and said hello to the lady, asking if she could help her.
They lady replied, (I must say in a condescending, smirky way), “ Oh no. I’ve just been hearing about how good your chicken salad is.”
Rebecca smiled and said, “It is good. We sell out every day.”
The lady was eyeing the package and said, “Well, it doesn’t look that special.”
Rebecca blinked and her smile grew tighter. I mean, what a thing to say!
Rebecca replied, “Well, it’s our most popular item.”
And walked to the counter to check the lady out.
She set the package on the counter and said, “Oh, I’m just buying it so I can figure out how to make it myself. This is expensive.”
We sold a full pound (yes, we weighed every package) for $3.99. And that wasn’t leaving much room for profit because we used quality ingredients and a lot of them.
Now, Rebecca was a super nice person. Very calm and forgiving and very rarely had any showing of a temper of any kind. She always went out of her way to make others feel comfortable and was never argumentative or aiming to have the last word. She wasn’t a confrontational person. But this lady had just hit one of her last frazzled nerves from a long week of aggravation.
She picked up the salad and didn’t ring the lady up. As she held the pound of deliciousness, she smiled sweetly and said, “Well, let me just tell you how to make it.”
The lady looked super surprised.
Rebecca continued, “You slow cook your chicken for 6-8 hours. That’s important because you want it to be easy to shred and that’s what makes it just melt in your mouth. Each pound of chicken salad has 1.5-2 chicken breasts in it. And while you’re chopping or shredding it, make sure you get out any of those gross grisly or fatty chicken pieces that are on the chicken breast. You get high quality mayonaise, you’ll need a half-cup of that, and sweet relish, about 1/8 cup. It just tastes better. Buy sliced almonds. Not whole ones because just chopping them is harder and just doesn’t give the right bite. You’ll need 1/4 cup of those and then toast those in a single layer on about 325-350 degrees for 4-5 minutes. Then shake them around so they evenly toast on the ends and other side. Continue toasting another 4-5 minutues. Chop up 1 cup of celery if you like it in there. Buy seedless red grapes and hand slice 1/2 cup of those in half. Now, don’t chop those or they get all squishy in the salad and it does affect the taste. Add salt and pepper and you’re done. Now, I’m guesstimating on those amounts because we make those big silver bowls (she was pointing) full of it about 3 times a day and package those 15 pounds up in single pounds so our customers can just enjoy it without all that hassle.” Then she smiled sweetly.
JoAnne, Sue, and I downed our heads and tried not to laugh. That’s as sarcastic and “mean” as Rebecca ever got.
The lady was standing and blinking, literally with her mouth open. She opened her purse and said, “Go ahead and ring me up. I think it might be easier just to buy it.”
Rebecca rang her up and wished her a good day.
That lady also became a regular customer. The thing she bought most? Chicken salad.


For a crowd: (Makes 15 pounds)
30 cups chopped cooked chicken
6 cups mayo
12 cups chopped celery
2 1/2 cup sweet relish
9 cups sliced grapes
5 cup toasted sliced almonds
2 1/2 tsp. salt
1 1/4 tsp. pepper

Now We’re Cookin’ – Beans and Cornbread

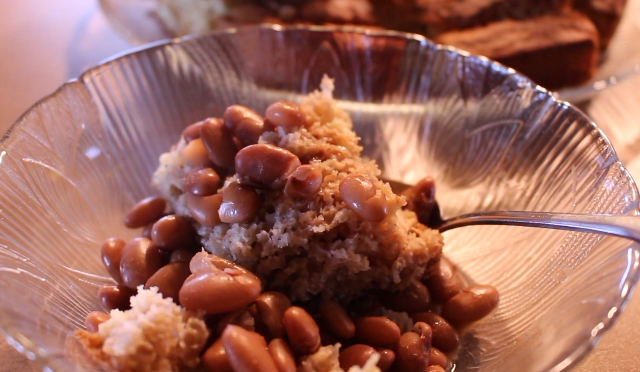
Pinto Beans and Cornbread
Beans: (feeds 8-10)
8 cups water
1 lb dry beans
1/2 Tbs. Salt
1/2 Tbs. chili powder
1/2 Tbs. garlic (paste or minced)
1 Tbs. olive, canola or vegetable oil (bacon grease if you have it)
Optional: 1/2 onion or 1 jalapeno, slit
Directions:
Look through beans and cull out any small rocks or bad-looking beans
Put into stock pot with 8 cups water (enough to cover with about 2” above top of beans)
Bring to boil on medium heat.
Remove from heat and rinse.
Refill pot with another 8 cups water and place on low-medium heat.
Add seasoning and oil.
Simmer 1-1 1/2 hours.
Check to see if more water needed so no scorching occurs or if more seasoning is needed.
Turn heat lower and simmer another hour or two.

Buttermilk Cornbread: (feeds 10-12, 9×13 pan)
1/4 cup oil
2 cups cornmeal
2 cup AP flour
1/4 cup sugar
2 Tbs. baking powder
2 tsp. salt
1 tsp. baking soda
3 cups buttermilk (3 Tbs. lemon juice and add milk to 3 cup mark)
2 eggs
Directions:
Preheat oven to 425 degrees
Pour oil on 9×13 pan to coat and heat in oven.
Combine dry ingredients and mix well.
Add eggs and buttermilk.
Mix well.
Pour into hot pan, spreading evenly.
Bake 20-30 min., until golden brown.

Story behind this dish

Our first day of official work (but the day before our official opening) began at 6:30 a.m. with a quick trip to the grocery store to purchase forgotten items needed for the catering gig we’d landed. Yes, I’d gone the night before (after I’d left “work” at 6:30), purchased a shopping cart full of stuff, and brought it back for the next morning. But, of course, I’d forgotten one or two things.
Anywho, JoAnne was already hard at work on the carrot cake. She routinely got up at 5 a.m. to run 5 miles and would then go on into work. She really was a godsend.
Rebecca arrived as I did and we both rolled up our sleeves and got to work.
Now, I’ll tell ya, making anything at home doesn’t seem to take all that long. But when cooking for a crowd of 45, it seemed to take forever. And we weren’t dilly-dallying. All 3 of us were hurrying.
We had beans simmering, salad and dressings made, cornbread cut and packaged, paper goods boxed and ready, and the cake iced, cut and packaged.
Rebecca was making 4 gallons of tea and JoAnne was finishing the chicken n dumplins as our state health department inspector waltzed in. She was supposed to come in the afternoon. But here she was, catching us cooking for a luncheon in our uninspected kitchen.
I recognized her. She’d taken the ServSafe course with me. (A course that certifies you know kitchen requirements). This could go either way. Either she’d know I knew what I was doing and go easy or she’d know I was supposed to know better and write us up.
She asked when we were opening and I answered honestly. Rebecca and JoAnne were both friendly but kept their heads in their jobs and let me do the answering. She then asked if we were just doing prep work for it, although she could see we were full-blown cooking. Again, honesty:  I smiled, “Well, we had a pharmaceutical rep call and request a lunch for today. So we went ahead and did it. I hope that’s okay.”
She was checking our temperatures in cold storage. She just smiled. I followed her around our small kitchen checking our oven and stove temperatures, since we had them going. She observed our washing and sanitizing stations and checked our grease trap (glad we’d cleaned that out!).
“You are cleared to cook,” she said as she handed me a copy of the report she’d turn in. She smiled and wished us luck.
“Thank you,” I said as she left.
I turned to Rebecca and JoAnne.
“Glad that’s over. I was afraid she’d shut us down just for getting our cart before our horse,” I said.
Rebecca looked up from packaging the tea in our carrier, “Me too. I was nervous about that….”
As we launched into a conversation about that big stress being past us, JoAnne reminded us, “Yes, but right now we need to get this meal to 45 people on the other side of town and we are 10 minutes late.”
JoAnne would prove to be our much-needed time keeper and “reminderer”.
Cooking on a schedule was proving harder than it looked.

For a crowd: (feeds 32-40 as main dish)
Beans
1.5-2 gallons water
4 lb dry beans
2 Tbs. Salt
2 Tbs. chili powder
2 Tbs. garlic (paste or minced)
4 Tbs. olive, canola or vegetable oil (bacon grease if you have it)
Optional: 2 onions or 3 jalapenos, slit
Directions:
Look through beans and cull out any small rocks or bad-looking beans
Put into large stock pot with water (enough to cover with about 2” above top of beans)
Bring to boil on medium heat.
Remove from heat and rinse.
Refill pot with more water and place on low-medium heat.
Add seasoning and oil.
Simmer 1 1/2 – 2 hours.
Check to see if more water needed so no scorching occurs or if more seasoning is needed.
Turn heat lower and simmer another hour or two.

Buttermilk Cornbread: (feeds 40-48, 2 large steam trays)
1 cup oil
8 cups cornmeal
8 cup AP flour
1 cup sugar
8 Tbs. baking powder
8 tsp. salt
6 tsp. baking soda
12 cups buttermilk (3 Tbs. lemon juice and add milk to 3 cup mark)
8 eggs
Directions:
Preheat oven to 425 degrees
Pour 1/2 cup oil into each 9×13 pan to coat and heat in oven.
Combine dry ingredients and mix well.
Add eggs and buttermilk.
Mix well.
Pour into hot pans, spreading evenly.
Bake 30-45 min., until golden brown.