Category Archives: Canning

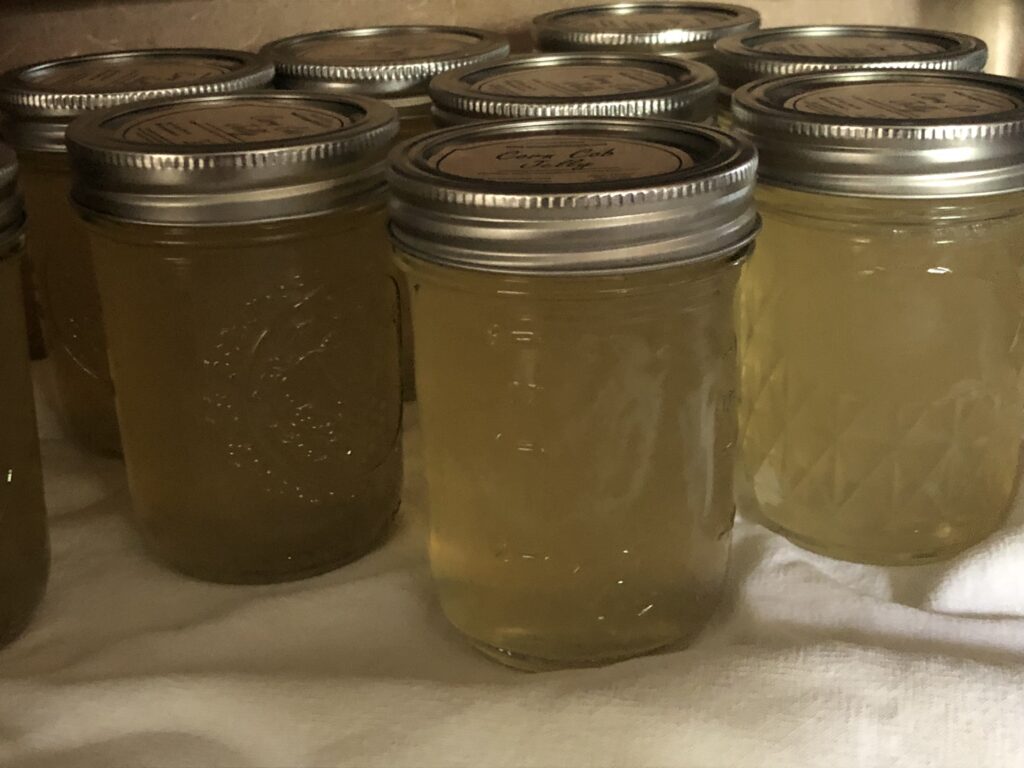
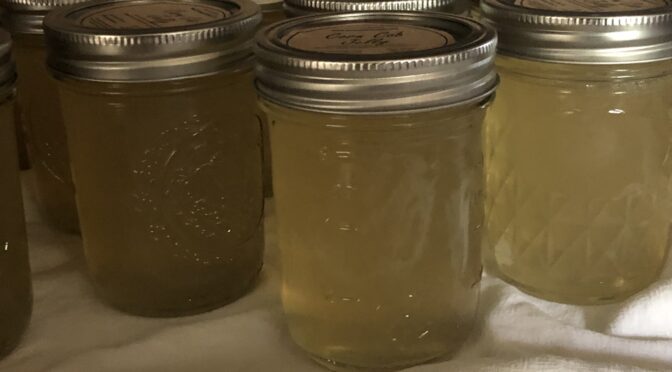
Corn Cob Jelly

Sweet uses for corn cobs
You will need:
12 corn cobs (not ones you’ve eaten off of, but ones you’ve cut the kernels from for cream corn)
2 qt water (enough to cover the corn cobs)

Place corn cobs in large pot of water over medium heat.
Make sure water just covers corn cobs.
Boil for 10-15 min to release whatever milk and sugar is left.
Strain that liquid through fine mesh strainer or cheese cloth.
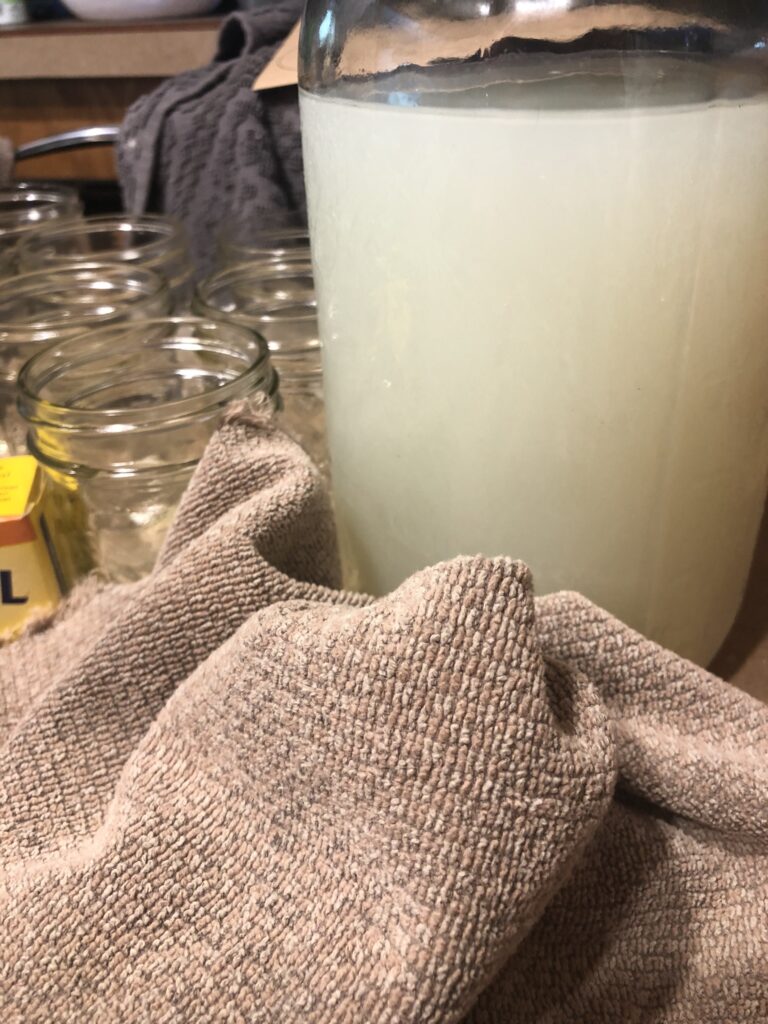
3 cups liquid
(If you have more than 3 cups liquid, freeze in cup portions and add to soups instead of chicken broth. It gives a great flavor. If you don’t have quite 3 cups, add a little water.)
3 cups sugar
1 box pectin (Sure-Jell)

Fill one large heavy bottom pot with water and place on stove over medium high heat.
Put corn liquid in another large heavy bottom pot and place on stove over medium high heat.
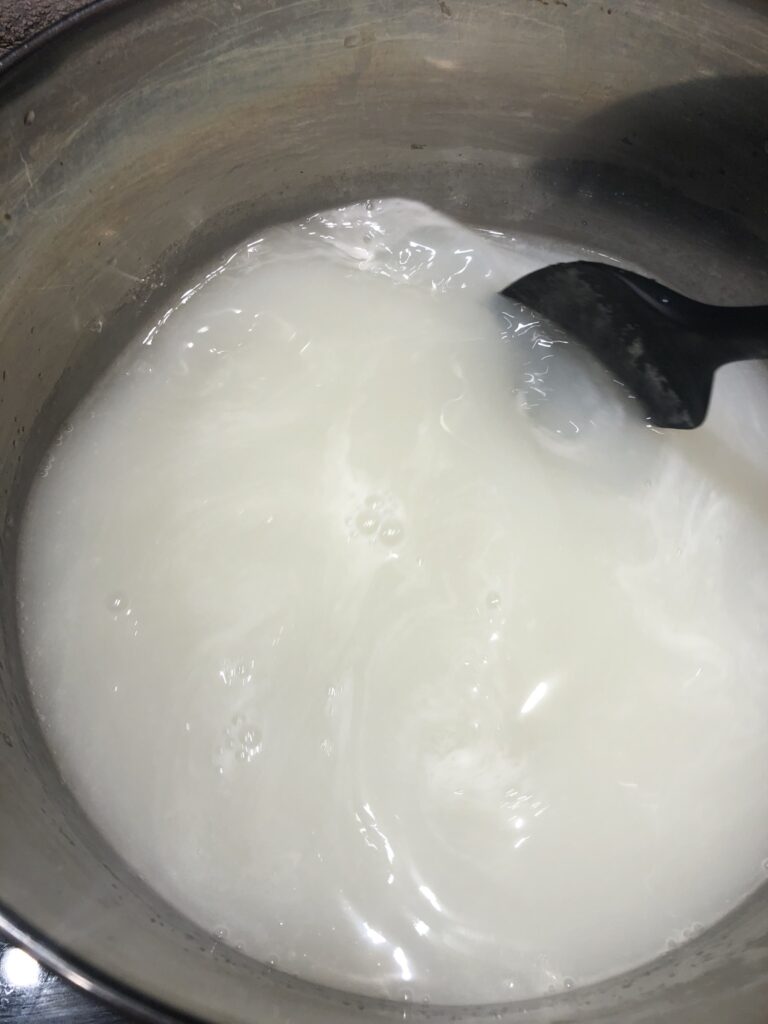

Stir pectin into corn liquid. Allow to heat, stirring occasionally.
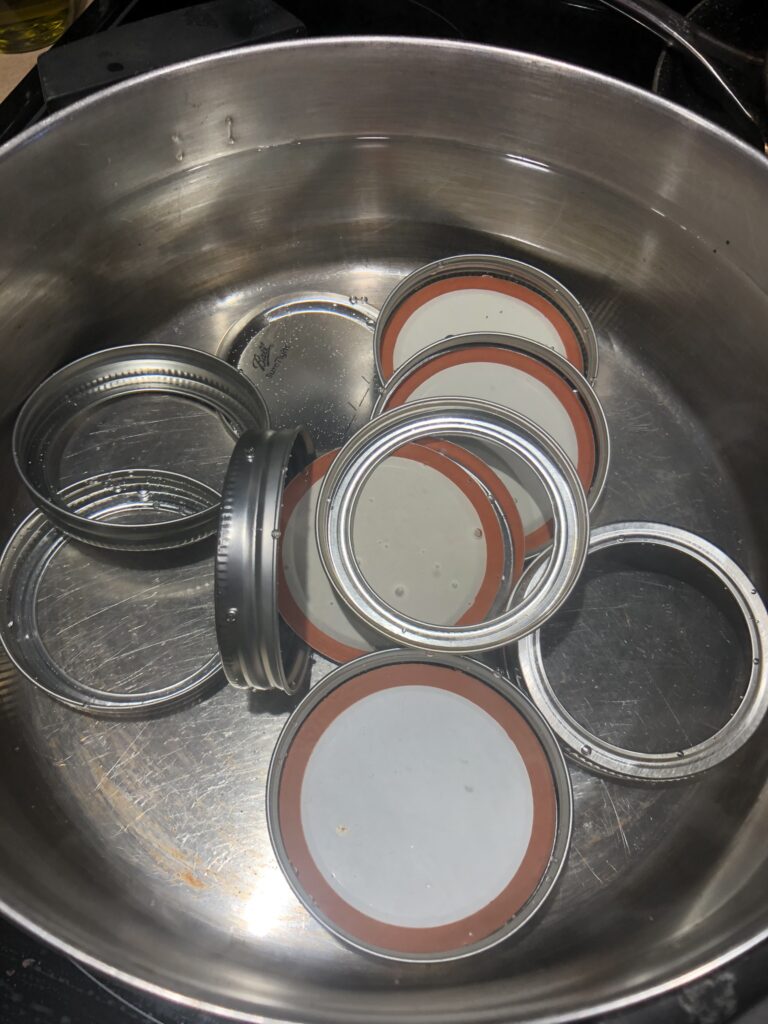

In the water pot, put your jar lids. Boil these so they are sanitized and hot which aids in sealing.
Have jars clean and ready. I don’t have them hot as the jelly heats the jar and the lid is heated.
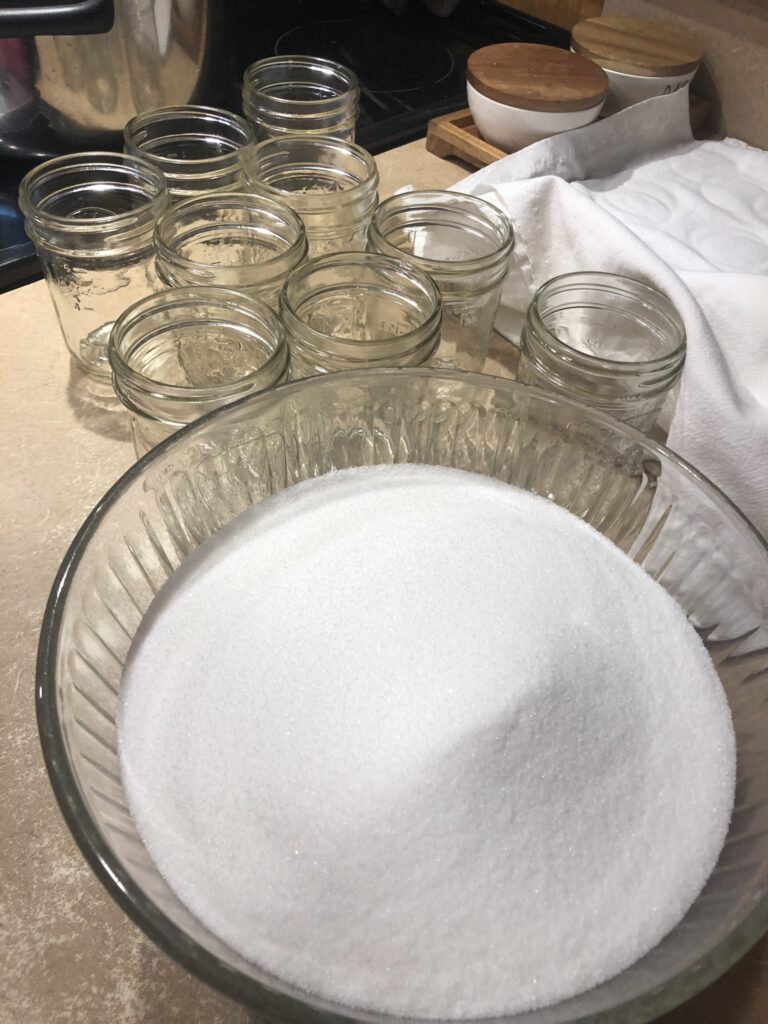

Have a bowl ready with 3 cups sugar measured out.
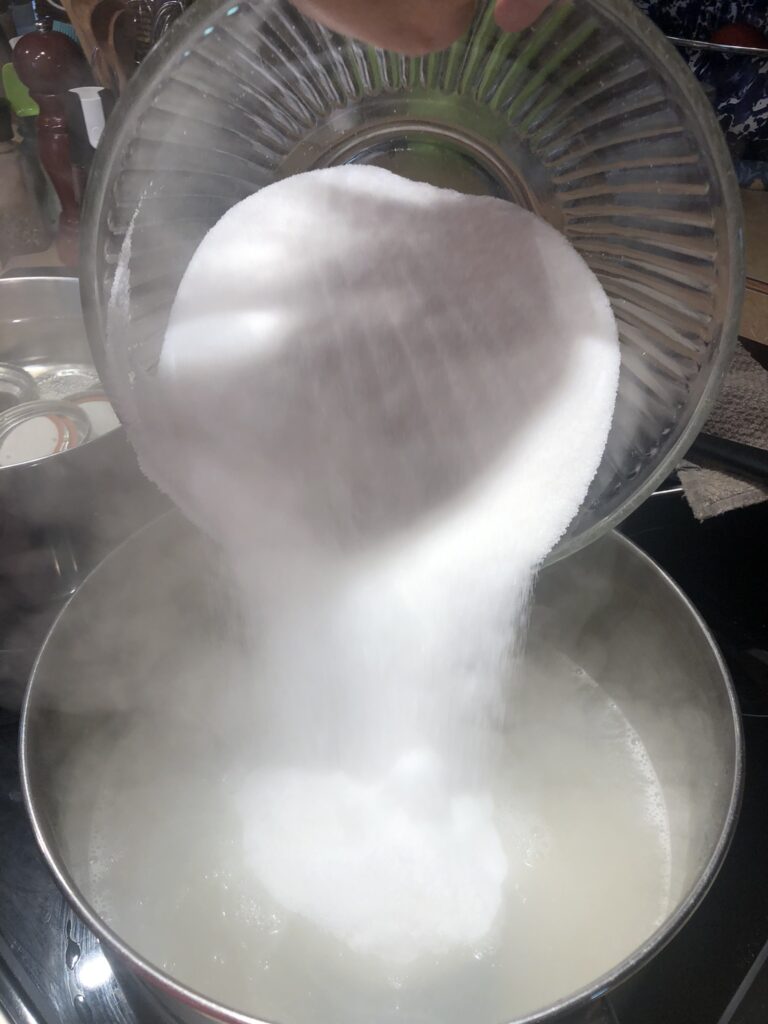
When corn liquid comes to boil, stir in sugar. Stir this frequently as the sugar can cause the mixture to scorch.
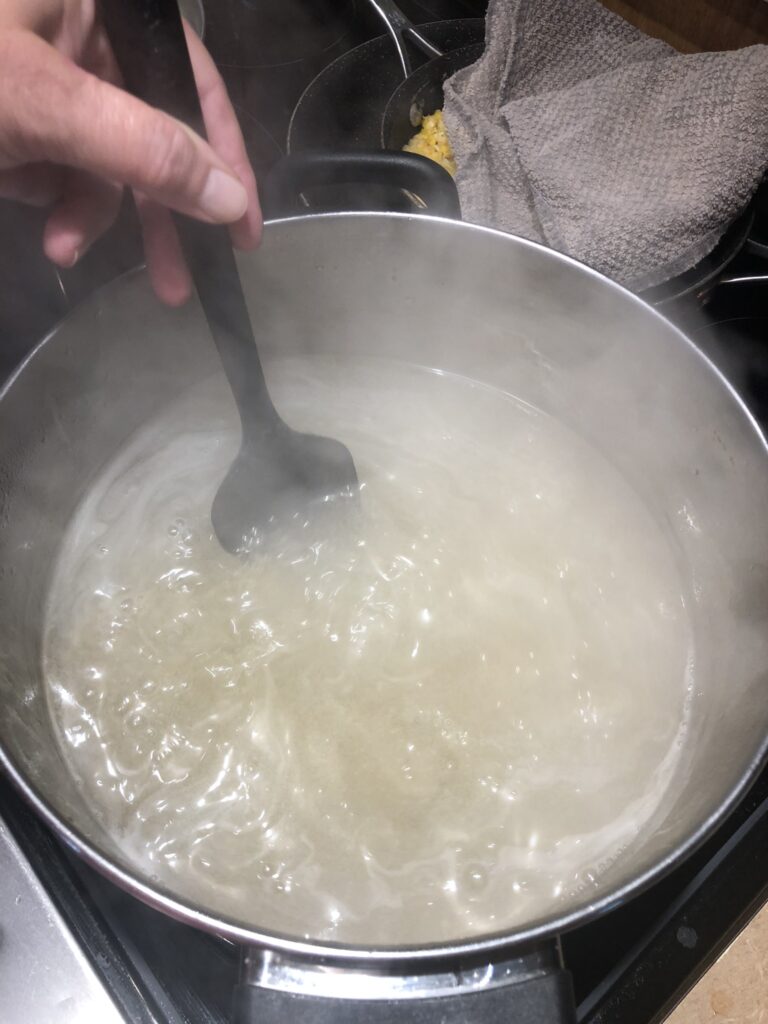

When it comes to rolling boil (a boil that doesn’t stop when you stir), stir constantly for 5 minutes.
Remove from heat and stir to get foam absorbed back into mixture. If it doesn’t all absorb, you can skim it off now or when you put into jars.
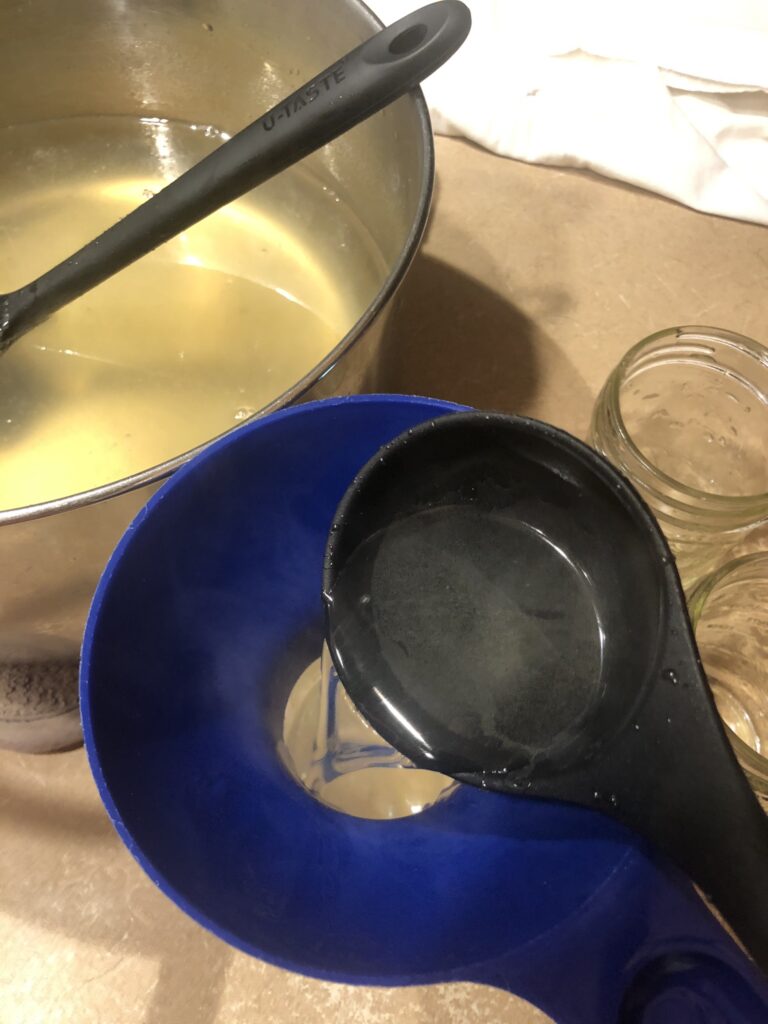

Ladle liquid into jars. If foam is there, skim off.
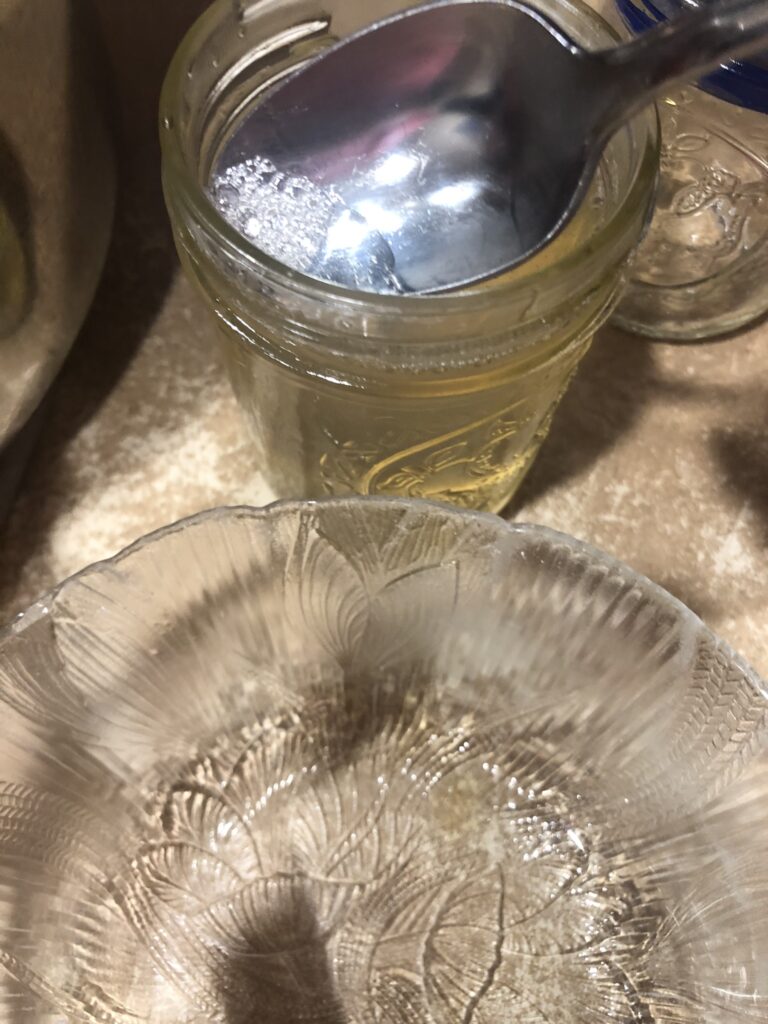

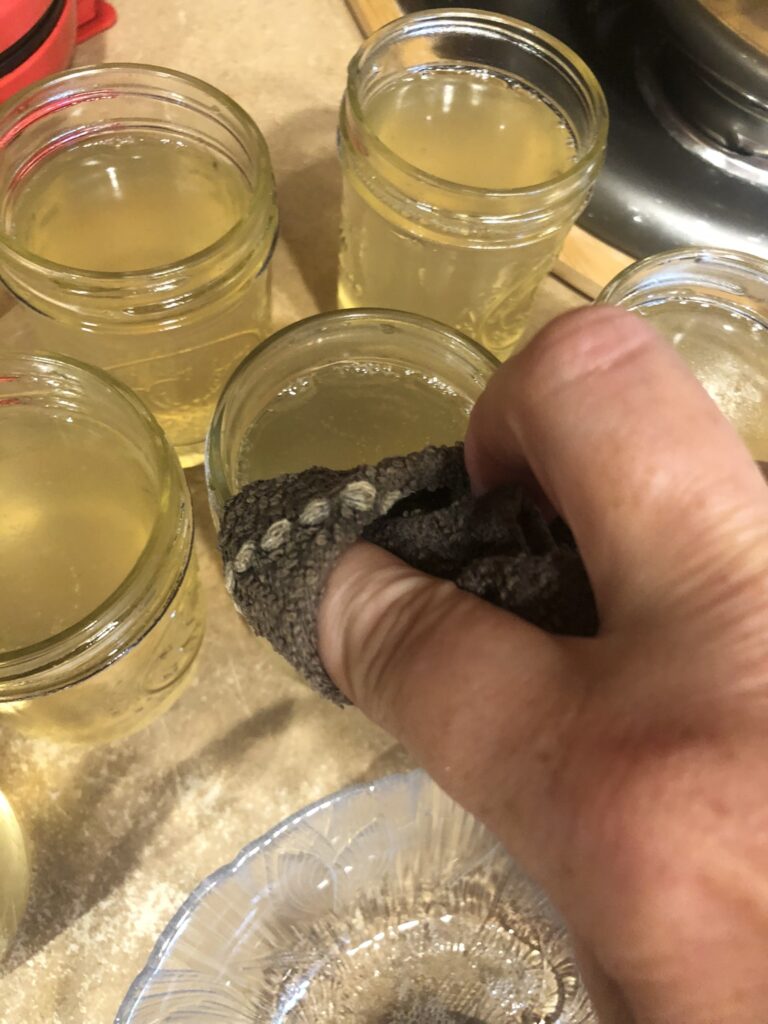
Wipe jar tops with hot towel to remove any liquid as this can affect sealing or not allow the jar to open easily due to jelly cementing the two surfaces together.
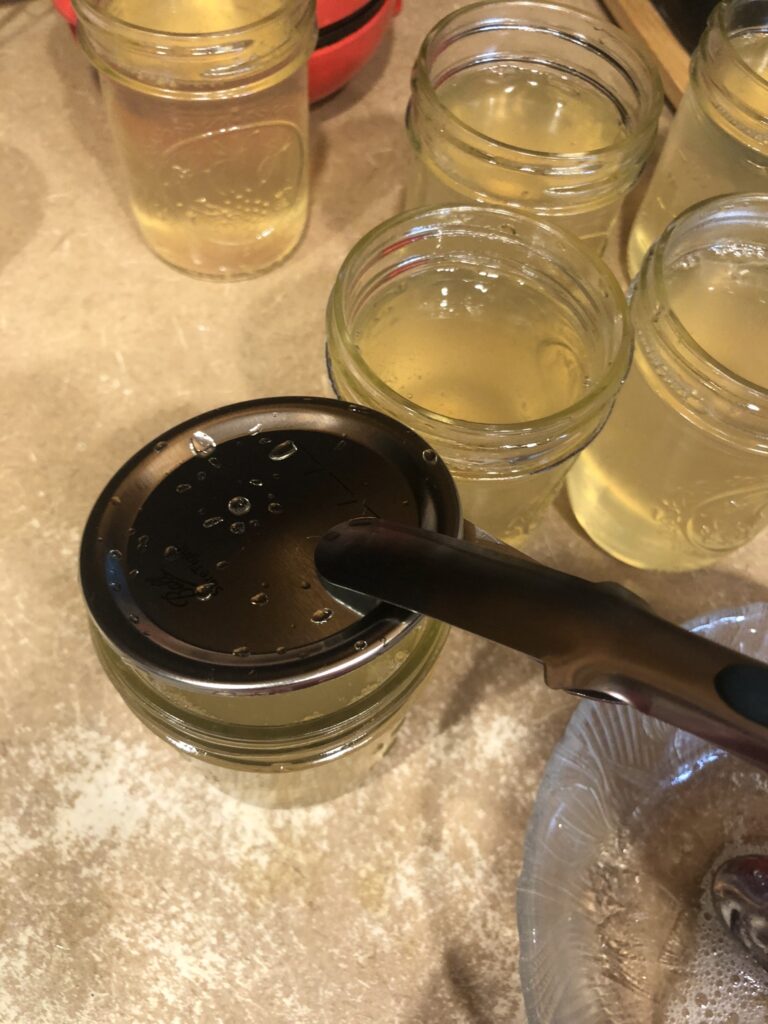
Place hot lids on jars. Screw bands on finger tight (don’t crank down on it).
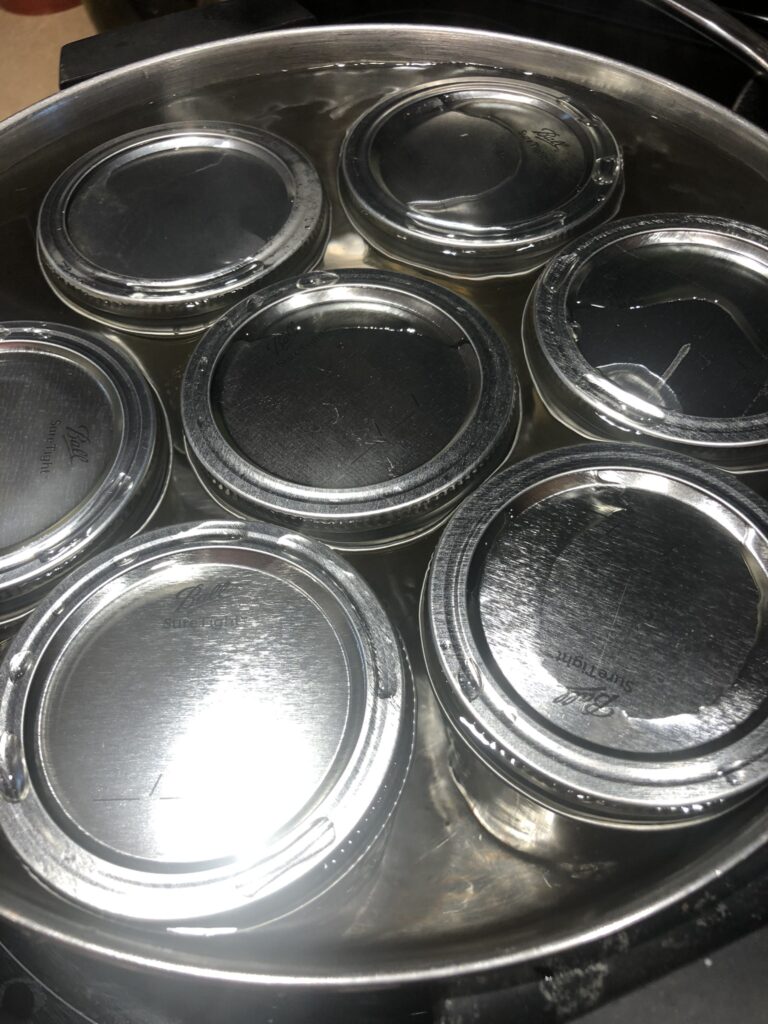

In the large pot the lids were pulled from, place your jars into that water and make sure water is to top of jars or ideally covering them slightly.
Water bath on medium high heat for 15 minutes. (When the water begins a gentle boil, time 15 minutes.)
Remove from water and place on towel on counter top. Top with another towel to keep heat in and this aids in sealing.

The story:

My parents were raised by parents who’d been through the Great Depression. And they were raised like they were in one because for a lot of folks in the South and elsewhere, the Depression did not end in 1939. Hard times were felt much later. So they were taught to never waste anything. In keeping with that mentality, I give you corn cob jelly. Now, my foremothers did not make this, and I am surprised that they didn’t. It could be because the corn cobs they discarded were put to use for better things … like corn cob fights.
Picture a snowball fight, but with rough corn cobs. My Dad Charles has told me about this particular brand of “fun”. The goal was to wallop one another with them around the head and back as this seemed to pack the most punch. You’d seek out corn cobs that had been given to the cows as these were then soaked in rain … and cow urine. This made them particularly hard and gross. If you could find one slathered in cow pie (manure), that was even better.
He remembers vividly a particular battle in a field strewn with cow patties with a neighbor boy when he was about 10. They were walking together home from school and decided they needed to have a little fun. As they hurtled these homegrown missiles at one another, the competition grew. This friend had found the best, stinkiest corn cob and launched it right between my Dad’s shoulder blades as he ran. It knocked him flat on his face right next to a pretty freshly laid cow pie. He looked back to see this friend doubled over laughing. So he grabbed a big handful of that manure and ran towards his friend who was still laughing and so didn’t see Dad coming until he was within reach. He turned to run and as he did, Dad smashed that manure onto the side of his head. Yes, it did go into his ear and all into his hair and down his neck. I asked Dad if they got in a real fight then. He said no, they just walked together up to his house and my grandmother Lorene dug the manure out of his friend’s ear, cleaned him up, and sent him on home.
No grudge was held. No self pity or lashing out at everyone because you got hit with a corn cob or had manure spread onto you. And parents didn’t intervene unless it was extremely serious. Kids learned to handle themselves, be tough, be fair, be beat at something. They learned to run fast, aim well, and dodge better. All valuable life lessons.
Personally, I prefer to use corn cobs for sweeter purposes so I give you my recipe for corn cob jelly.

Cut-Off Corn

(or Skillet Corn or Cream Style Corn)

Sweet cut-off corn

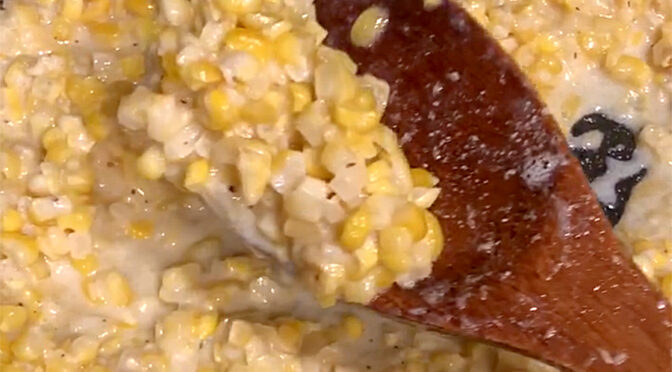
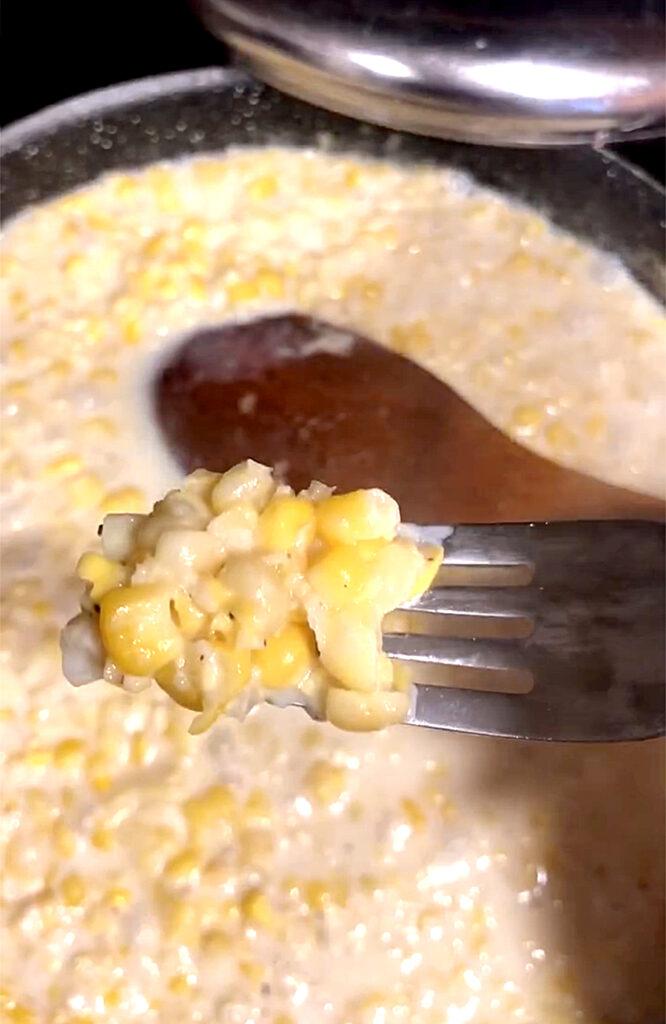
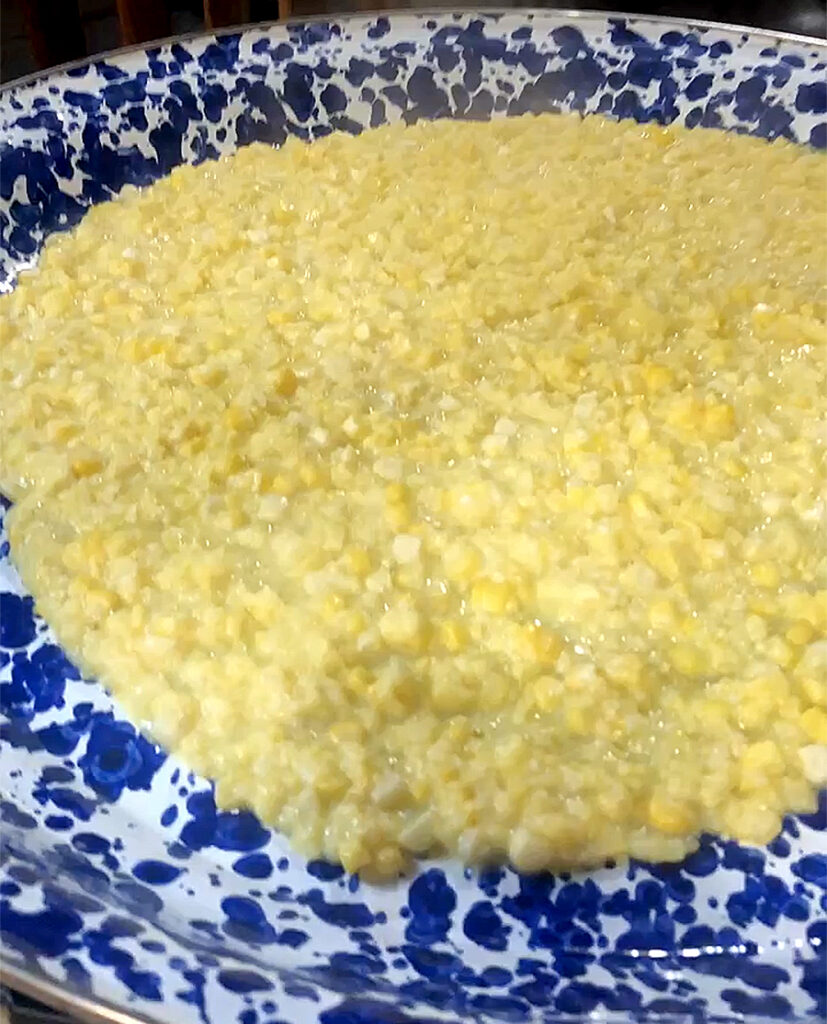
Here’s an easy recipe for cut-off corn deliciousness:
1 qt. bag cut-off corn
1 heaping Tbs bacon grease
4 Tbs butter
1/4-1/2 cup cream or whole milk
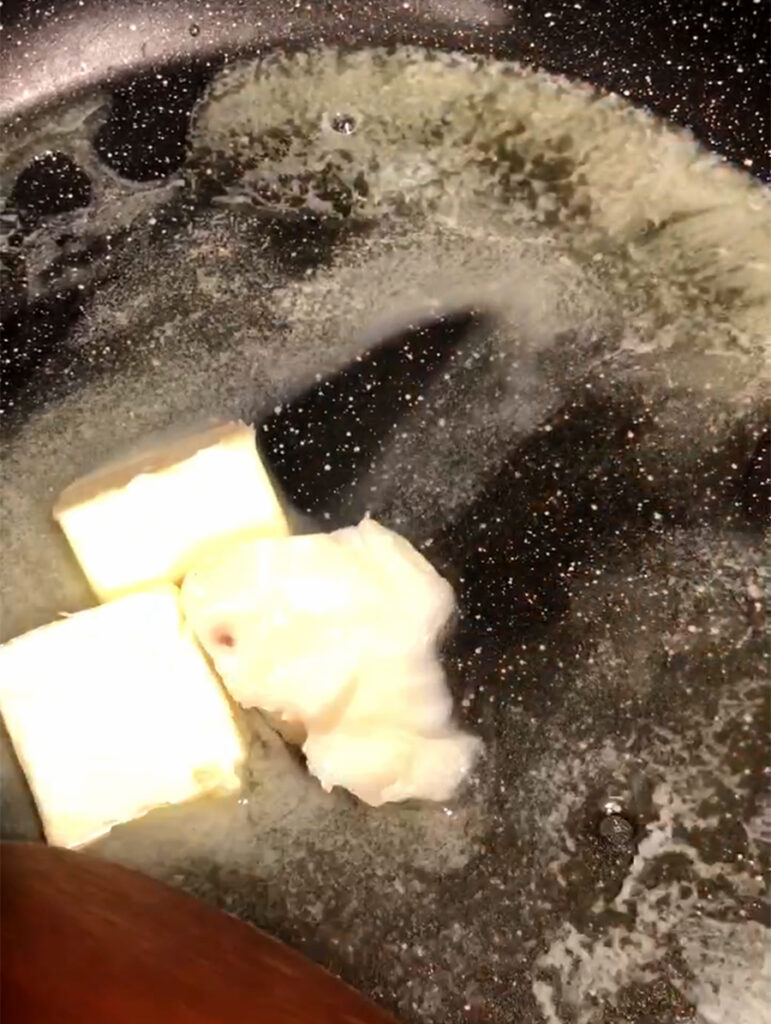
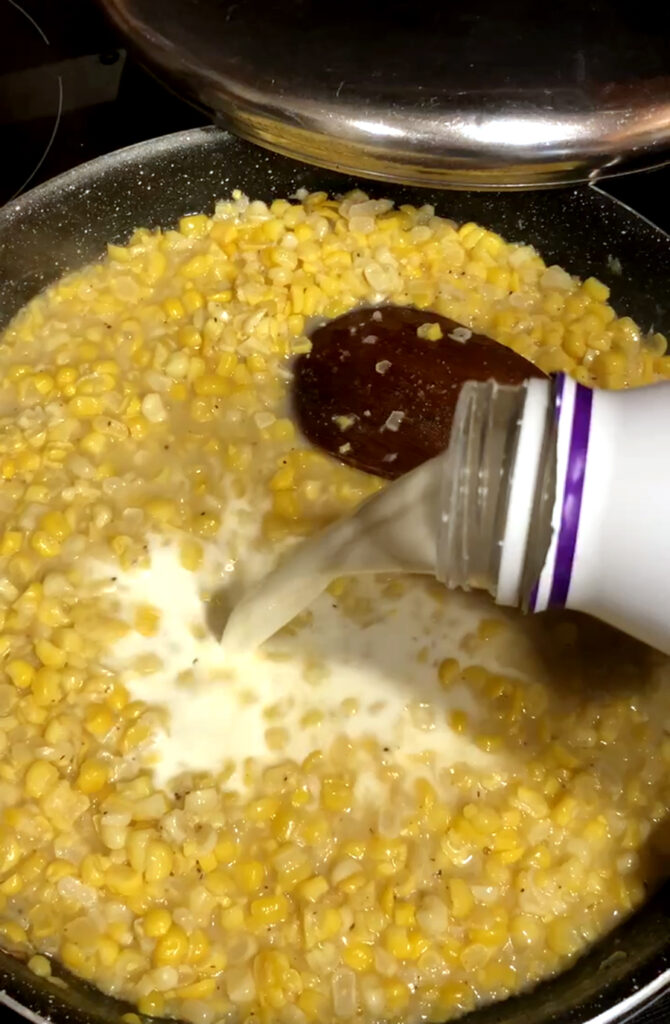
Place nonstick skillet on medium-high heat and add bacon grease and butter.


Allow that to melt together and then add your thawed corn.
(Or forget to thaw it, get it in the skillet as best you can, and cover with a lid to allow to steam and melt, stirring occasionally.)
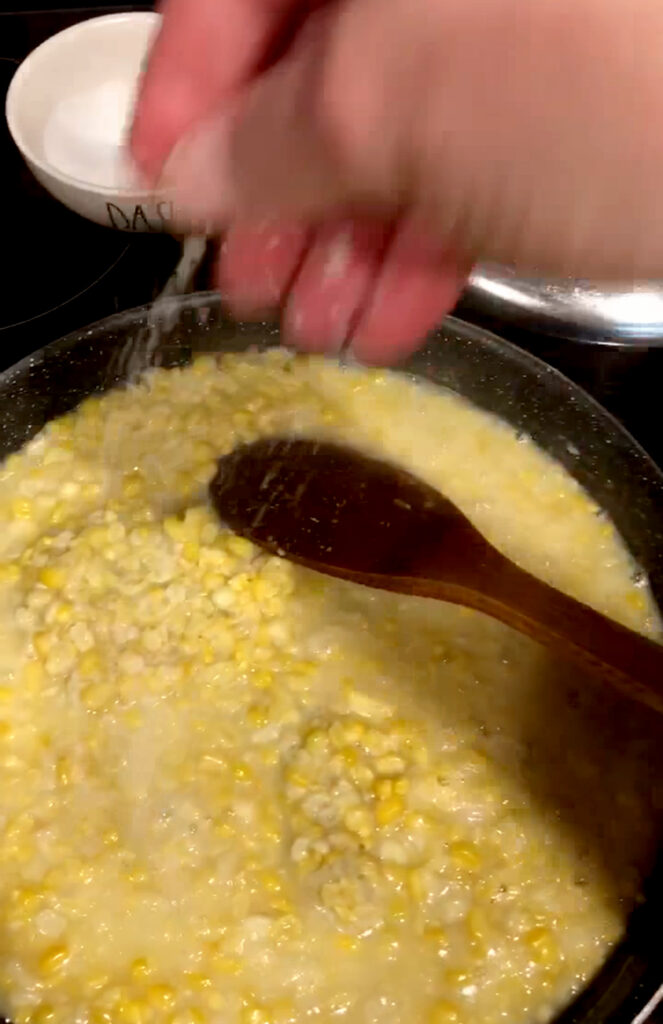
Season with salt and pepper to taste (optional: a pinch of sugar if your corn isn’t as sweet)


Stir it all together and allow to cook for 5 minute.

Adding a little cream or milk to get it to the consistency you like.

The story:

My mom Juanita learned how to make cut-off corn, as we call it, from my grandmother Josie Ward, who learned to make it from her mama. Josie only added butter, bacon grease, cream, and salt and pepper. Simple ingredients because it is what she had on hand. But those ingredients made a treat out of the ordinary.


They used field corn that had been planted for themselves and their livestock and began the harvest in late summer when the tassels on the corn dried out and started turning brown. They’d pull back the shuck from the top of the ear and see if the kernels were formed and plump. The best ears were considered those that had the least amount of worms or worm tracks and the juiciest, plumpest kernels; and that was saved for the family. These were shucked, silked, and had all the bad spots cut off. Josie would take fresh corn and cut off the kernels (thus the name) and scrape the milky sweetness from the cob. This would be a treat for supper the night of “a pickin”. Those meals with fresh-from-the-field, cut-off corn were the best. Almost equally as good, was the corn she preserved in jars with this same method, adding the extra few steps (about a day’s time) to jar and process it in a pressure canner. There were no freezers back then so corn was jarred and canned for winter. Lorene, my dad’s mom, did not have her own pressure canner so she used the local cannery. This was a building down on West 5th St. in Waldron, Arkansas. It was set up specifically for those who needed to get their food preserved by the pressure canning method. She would gather up her vegetables, fruits, jars, rings, flats, whatever other canning ingredients she needed, and her two little boys and go wait her turn to use the canners.


Some of the harvest would be cut off and taken to the local grist mill, down in the area of East 5th and Featherston Streets, which was run by Old Man Smith, as he was called. This made a superior cornmeal that turned out a deep yellow color with a strong, sweet earthy scent. You could stand and watch your corn ground and be handed back to you for the year’s cornbread supply.

Some of the corn would be used for hominy and grits, but that’s a whole other story.


The largest portion of the corn was taken inside the cellar or smokehouse and hung up with shucks intact to preserve it longer. The rest was kept in the corn crib in the barn. Sometimes, before it completely dried out, they’d grab a few of the plumpest ears left in the crib and take it inside to soak. This plumped up the kernels enough to make it fit to eat for corn on the cob.


What wasn’t gleaned for the family was fed to a variety of farm animals. It’d be shucked in the field with shucks left to compost on the ground. Two ears were rubbed together so that the kernels fell off and that was thrown to the chickens. Others were shucked and the whole ears thrown to cows and hogs. The cobs were left in the field to be trampled, peed on, and rolled in cow patties by the animals living there. These were then perfect for corn cob fights. Yes, it was a thing. Kids then did not have their thumbs on a phone screen and toys galore so they amused themselves by walloping each other with corn cobs. It was kind of like a snowball fight behind snow forts except you were behind whatever was available and throwing hard cobs. And my dad says, yes, they hurt. They’d dig for the nastiest corn cobs that had been soaked with animal urine, or better yet, one that had found its way into a cow patty. Not only did those hurt the worst and raise a big whelp, but they were the grossest thing to be hit with. And they aimed for the head. You wanted to see a big, cow patty-smeared whelp on your opponent’s head. And nobody ran crying to tell on anybody. They just went and found a worse corn cob and chased their attacker down. According to dad, this served a two-fold purpose. One, you learned to aim well and dodge better. And two, you got tough pretty quick. His quote, “Sissies were few and far between.”
So, yes, bruises were plenty. Pain was real. Toughness was learned. And fun was where you found it. Sometimes, it was found in a corn cob.

Preserving Sweet Corn

Shuck and save for later

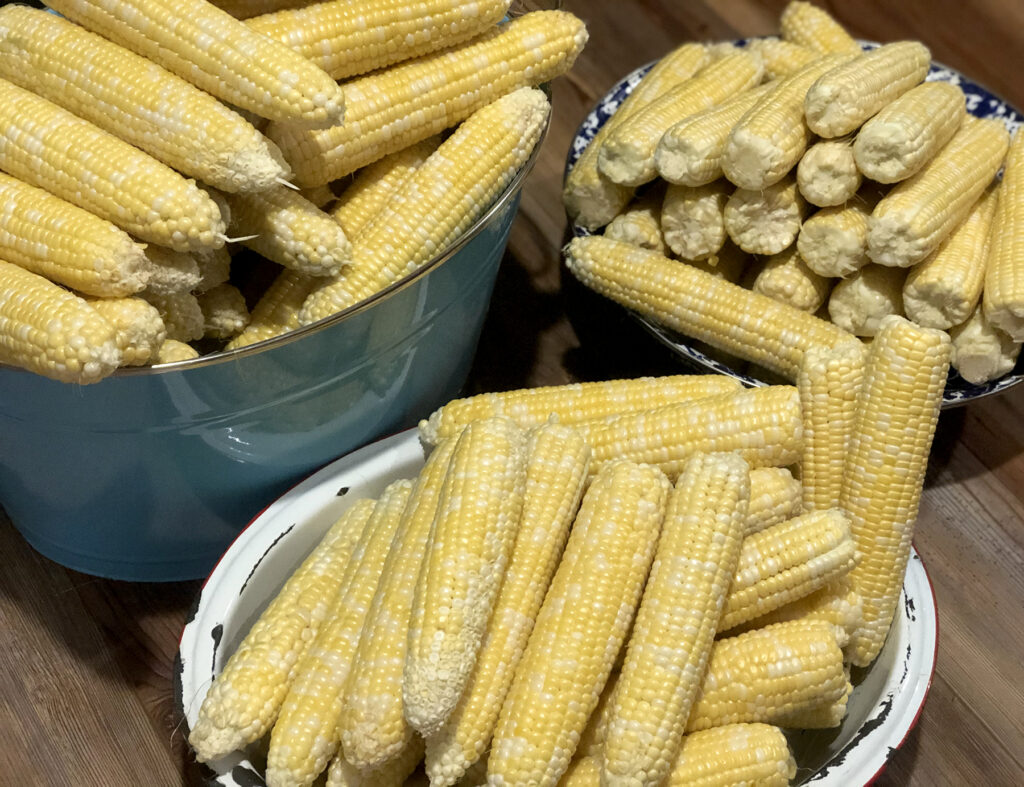
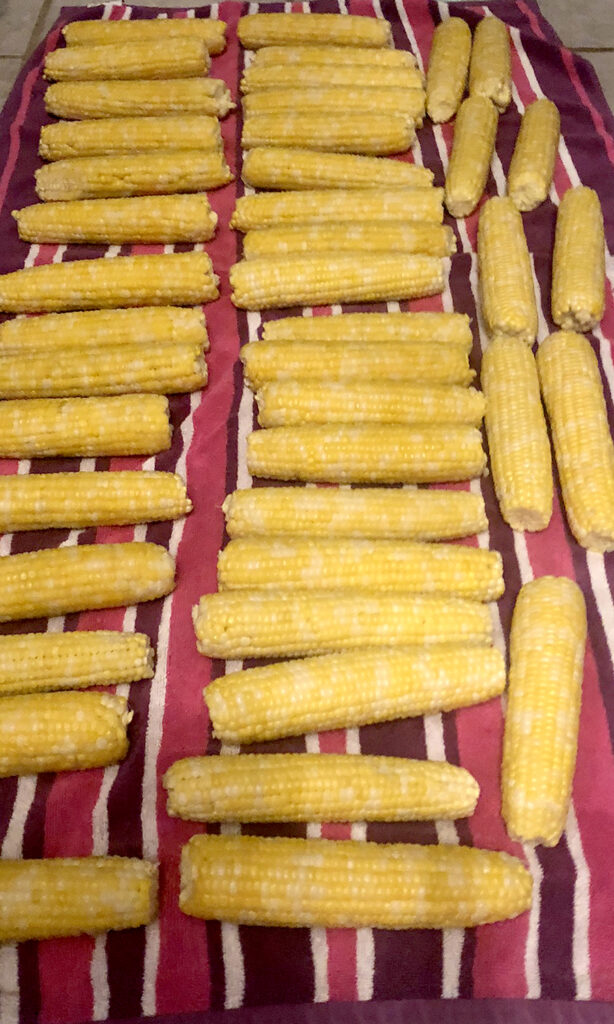
Fresh sweet corn on the cob ready for the freezer

The smell of cut-off corn cooking is a memory trigger. All good memories, except for the time it took to pick, shuck, trim, cut it off, and package for the freezer. But it tastes so good fresh from the freezer in the wintertime that all that work is forgotten, mostly. If you’ve ever smelled fresh corn straight from a farmer’s field cooking and tasted it, you know what I mean. If you haven’t, bless your heart.


That particularly sweet aroma flips a switch and turns on a memory of shucking corn with my parents on their deck back when I was a kid. Calloused hands moving at twice the speed of mine pulling silks and shucks off almost in one fell swoop and then rapidly trimming ends and spots with a paring knife. Then, I hated sitting in that heat swatting the flies that swarmed around the shucks and silks. I remember thinking “My friends don’t have to do this. All they do is lay around the house all summer. Why do I have to learn any of this?” But now I’m so glad I did. It took patience on their part with an extra helping from my mom who then taught my sisters and I how to par-cook it, cool it, and package it so we’d have the most delicious fresh corn all winter. I had no idea at the time how fortunate I was to be taught those things. If you were never taught, truly, bless your heart. It’s not too late and I hope this little tutorial and video help.


To have fresh corn takes a little effort. You can just go to Kroger or Walmart or wherever you shop and get it there, unshucked if you want the “real” corn cooking experience, or shucked and packaged on one of those neat little Styrofoam trays, which is still good and still requires you to cook it. So yes, you are cooking fresh corn that way as well. It is an okay stand-in for bona fide straight from the farmer corn. But if you have the opportunity to buy fresh from a farmer or “produce guy” on the side of the road, you really should. If you don’t know where to find one of those, bless your heart.


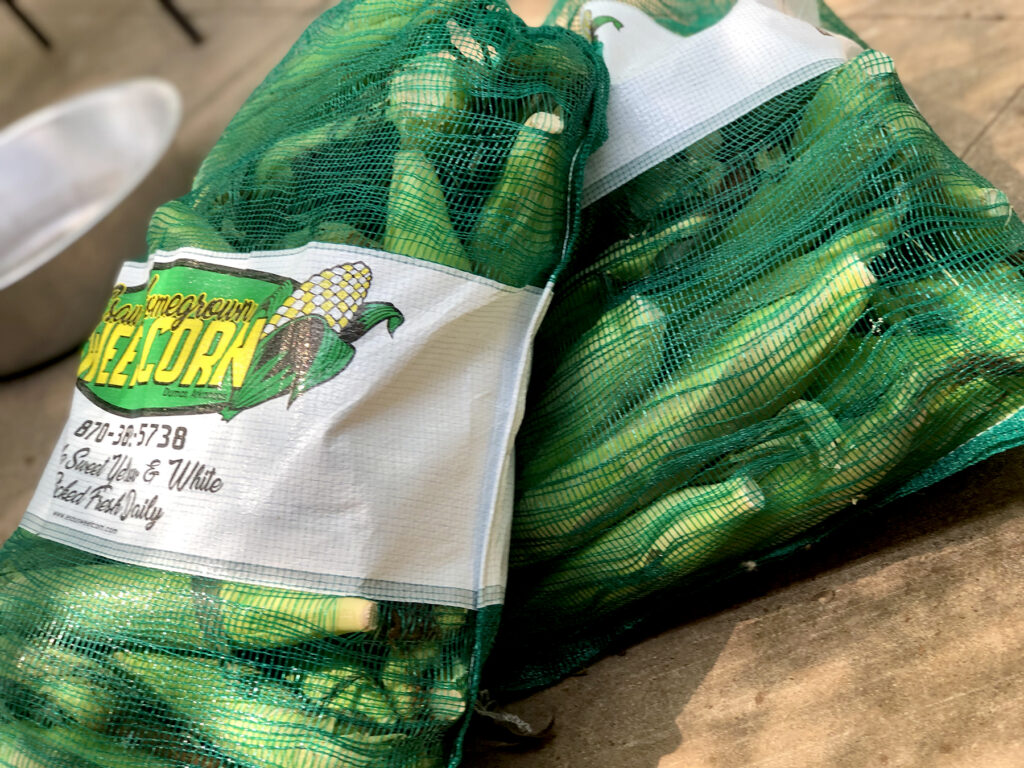
Every year, I buy at least 2-3 (50 lb.) sacks of Esau’s Corn from my produce guy. He gets it to me freshly picked and I process it as quickly as I can. Here’s why: It’s generally picked in hot weather and when it sets off the plant in the heat for too long, it begins to sweat and will lend a “soured” taste to the corn. It also will begin to get waxy and a bit rubbery. If it is kept in a cool environment (in your house or a refrigerated area), it will keep fresher longer. However, once picked, it can only retain all the juicy sweet goodness locked in the kernels and cob for so long. This usually takes a day and a half to process fully. Bless my heart.

Par-cook and freeze your corn in whole cobs or make cut-off corn (aka skillet corn or creamed corn). There are lots of ways to do this. This is not the only way. However, it is how I was taught so that’s what I’m going with.

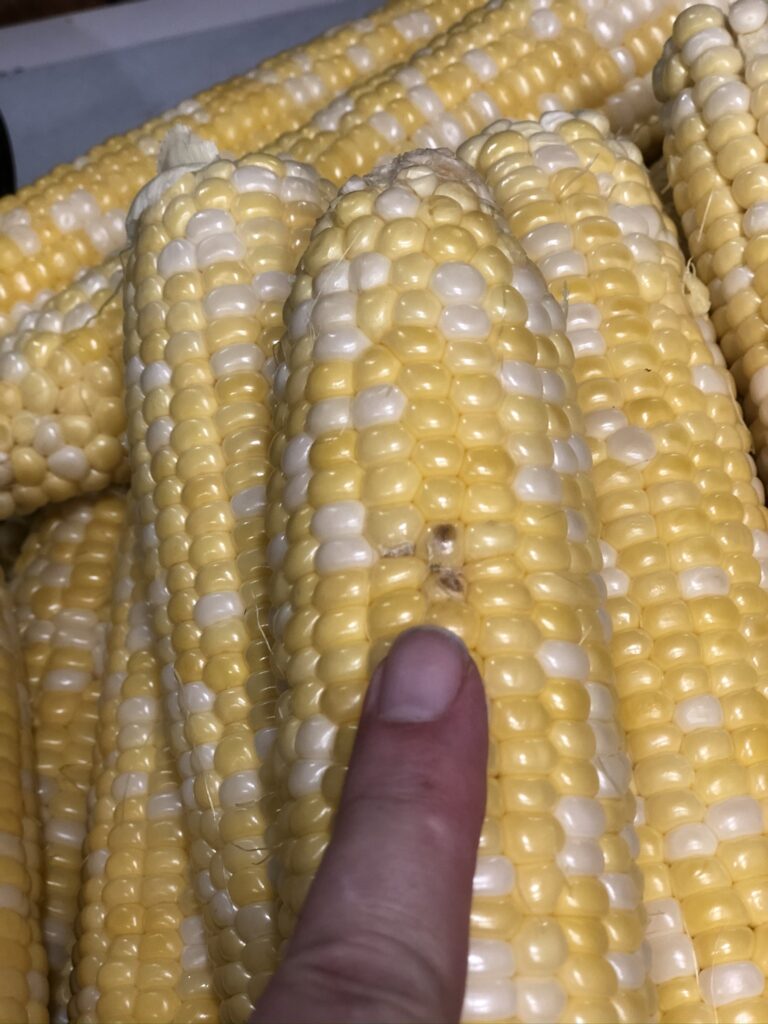
Shuck your corn and silk it (remove the silks as much as you can)
Cut off any bad spots on the cob as they can ruin that cob or others


For whole corn on the cob:
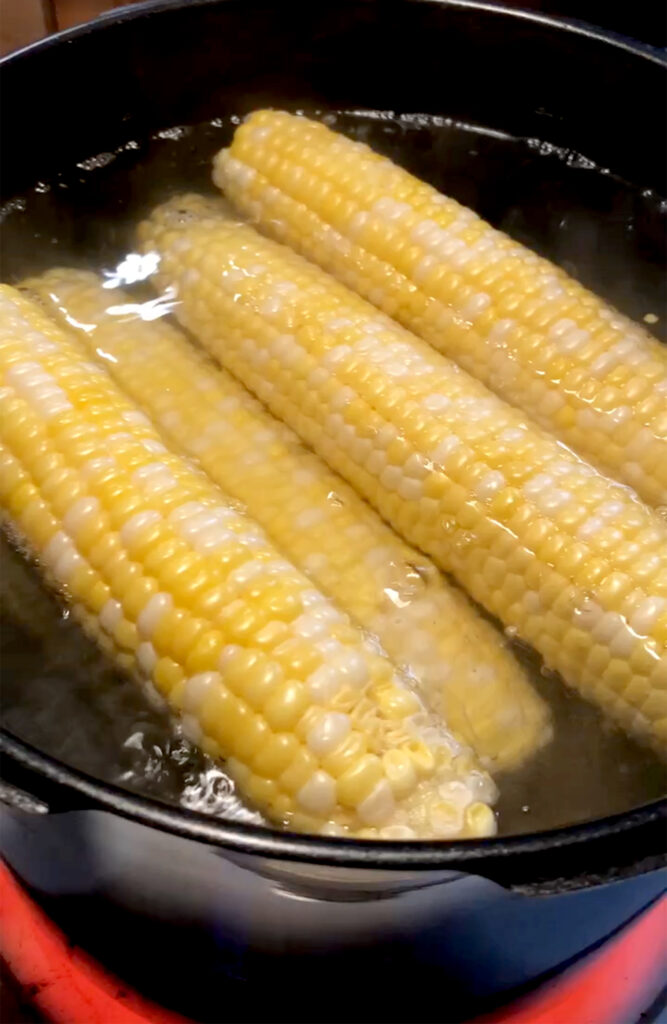
Place cobs in large pot of water and bring to gentle boil.
Make sure all the cobs are submerged, rotating them as needed.


Allow to bubble for 3-4 minutes and remove.
Lay in single layer on towel in a cool location. (Do not lay on a stained or painted table as the sugars and steam can ruin a finish. My mom learned this the hard way.)


When completely cool, package in bags and remove as much air as possible to freeze.


For cut-off corn:
Cut your kernels off the cob using one the fancy new corn cutter gadgets or just use a knife.
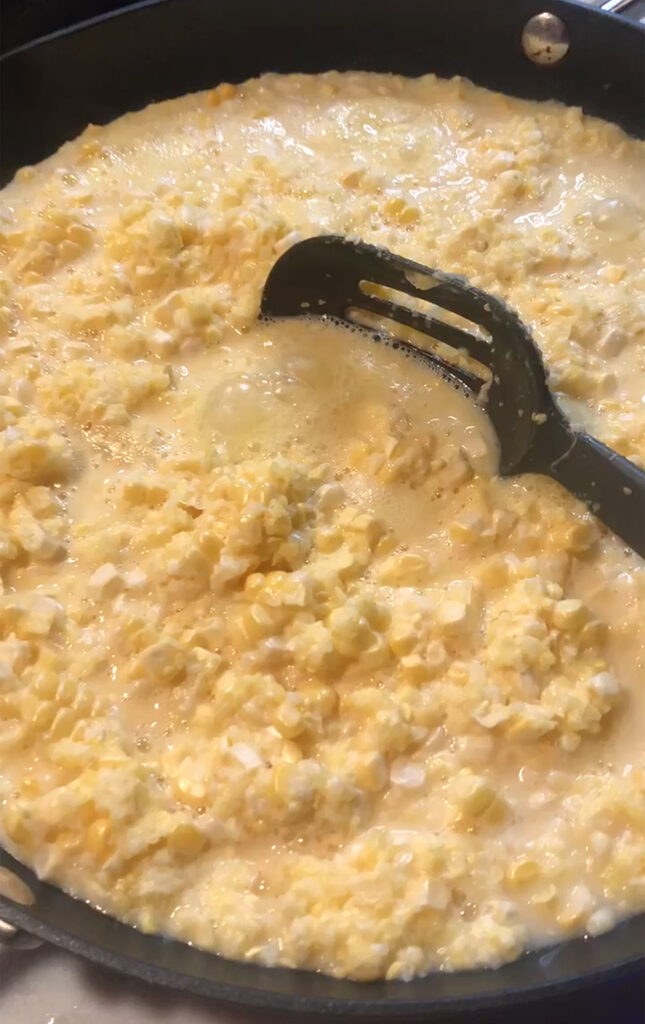
When you’ve got it removed, place a large nonstick skillet on medium-high heat.
Put just a little water in the pan (about 1 Tbs. per 2 cups of corn)


Cook, stirring to keep from sticking (the sugars in the corn will make it stick)
(Do not season if doing this to freeze.)
Cook for 5-6 minutes and remove to large tray so you can spread it out evenly.


Stir it around occasionally to let all the corn cool at the same rate.
When completely cool, package in bags (removing as much air as possible) for freezing.

To cook your corn after thawing or before freezing, you have to use bacon grease and butter and a little cream if you have it. Well, you don’t HAVE to. If you want sub par-tasting corn, go ahead and leave all that out. But you’ll regret it.


Here’s an easy recipe for cut-off corn deliciousness: (https://www.scrappylittlecook.com/cut-off-corn/)
1 qt. bag cut-off corn
1 heaping Tbs bacon grease
4 Tbs butter
1/4-1/2 cup cream or whole milk
Place nonstick skillet on medium-high heat and add bacon grease and butter.
Allow that to melt together and then add your thawed corn.
(Or forget to thaw it and put it in the skillet, covering with a lid and stirring occasionally to allow to steam and melt.)
Season with salt and pepper to taste (optional: a pinch of sugar if your corn isn’t as sweet)
Stir it all together and allow to cook for 6-10 minutes, adding a little cream or milk to get it to the consistency you like.

For corn on the cob:
1 qt. bag frozen corn on the cob
Salt
Place large stew pot of water on medium high heat.
Add salt to taste (I add 1-2 tsp.)
Place cobs in water and make sure they are submerged.
Allow to come to boil.
Boil gently for 5-6 minutes.
Remove from water into bowl and place butter on top to melt for extra flavor and calories.

Lasting Flavor – How to Add it to Life or a Bowl of Beans

There are a lot of things my mama and daddy taught me.
Mom taught me from a young age how to cook and can even though she could’ve gotten it done way quicker if she’d done it herself. And that in itself was a lesson in patience and love.
She and my dad made us help in the garden and taught us how to work. And I am grateful they did. At the time I would’ve rather been sitting on the couch watching one of the three TV channels we were able to receive. (Yes, only 3, and that’s with someone turning the antenna so you could catch the signal – can you imagine?)
But now, thanks to them, I know how to garden and how to preserve that food for winter. Knowing these “old ways” is a privilege to me. Knowing how to “make do”, how to not waste, how to be mindful of being prepared are all gifts they gave. They took the time to teach – by example and by patiently showing my sisters and I how to do things.
Both were raised “poor” as some would call it – not much money in either household in the midst of a rural community still recovering from a depression ten plus years later. But what got them through was their work ethic and their parents love and their knowledge of how to make use of anything and everything to not only survive, but make things taste good.
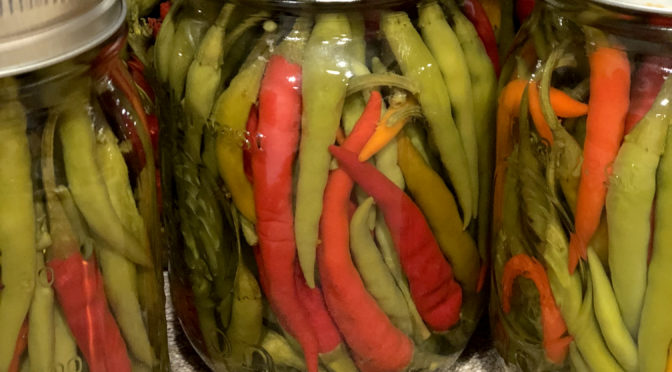
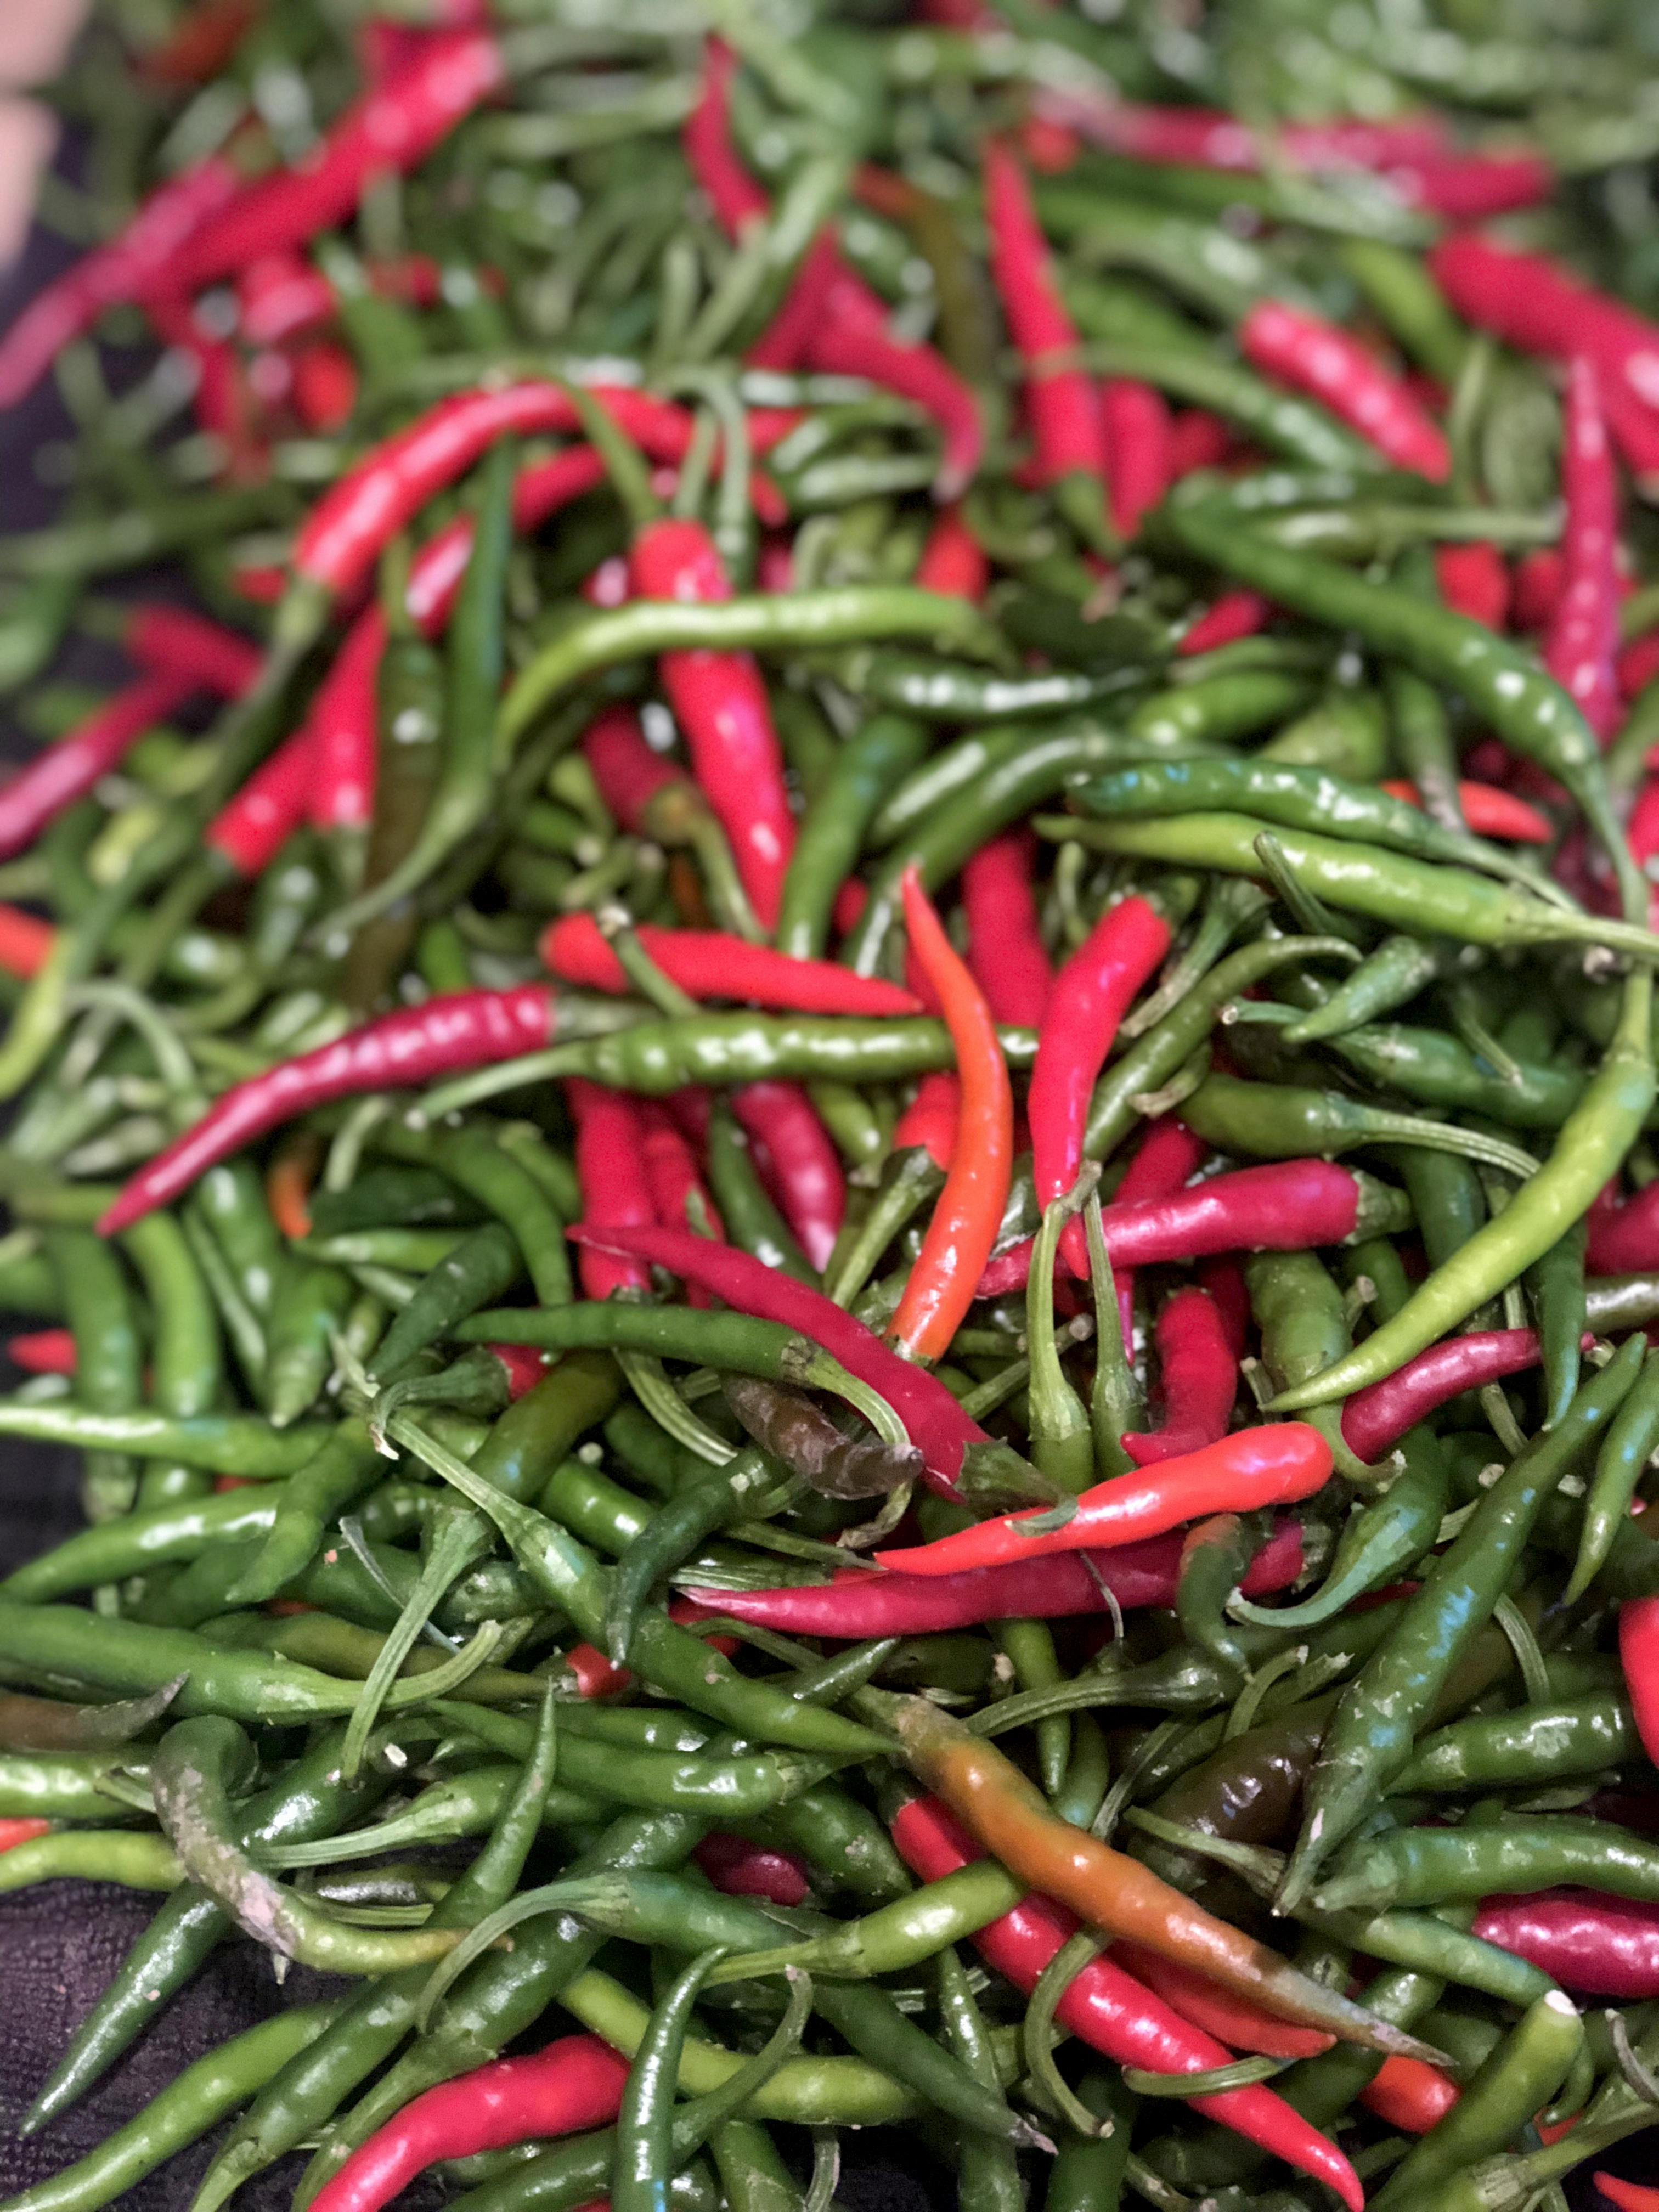
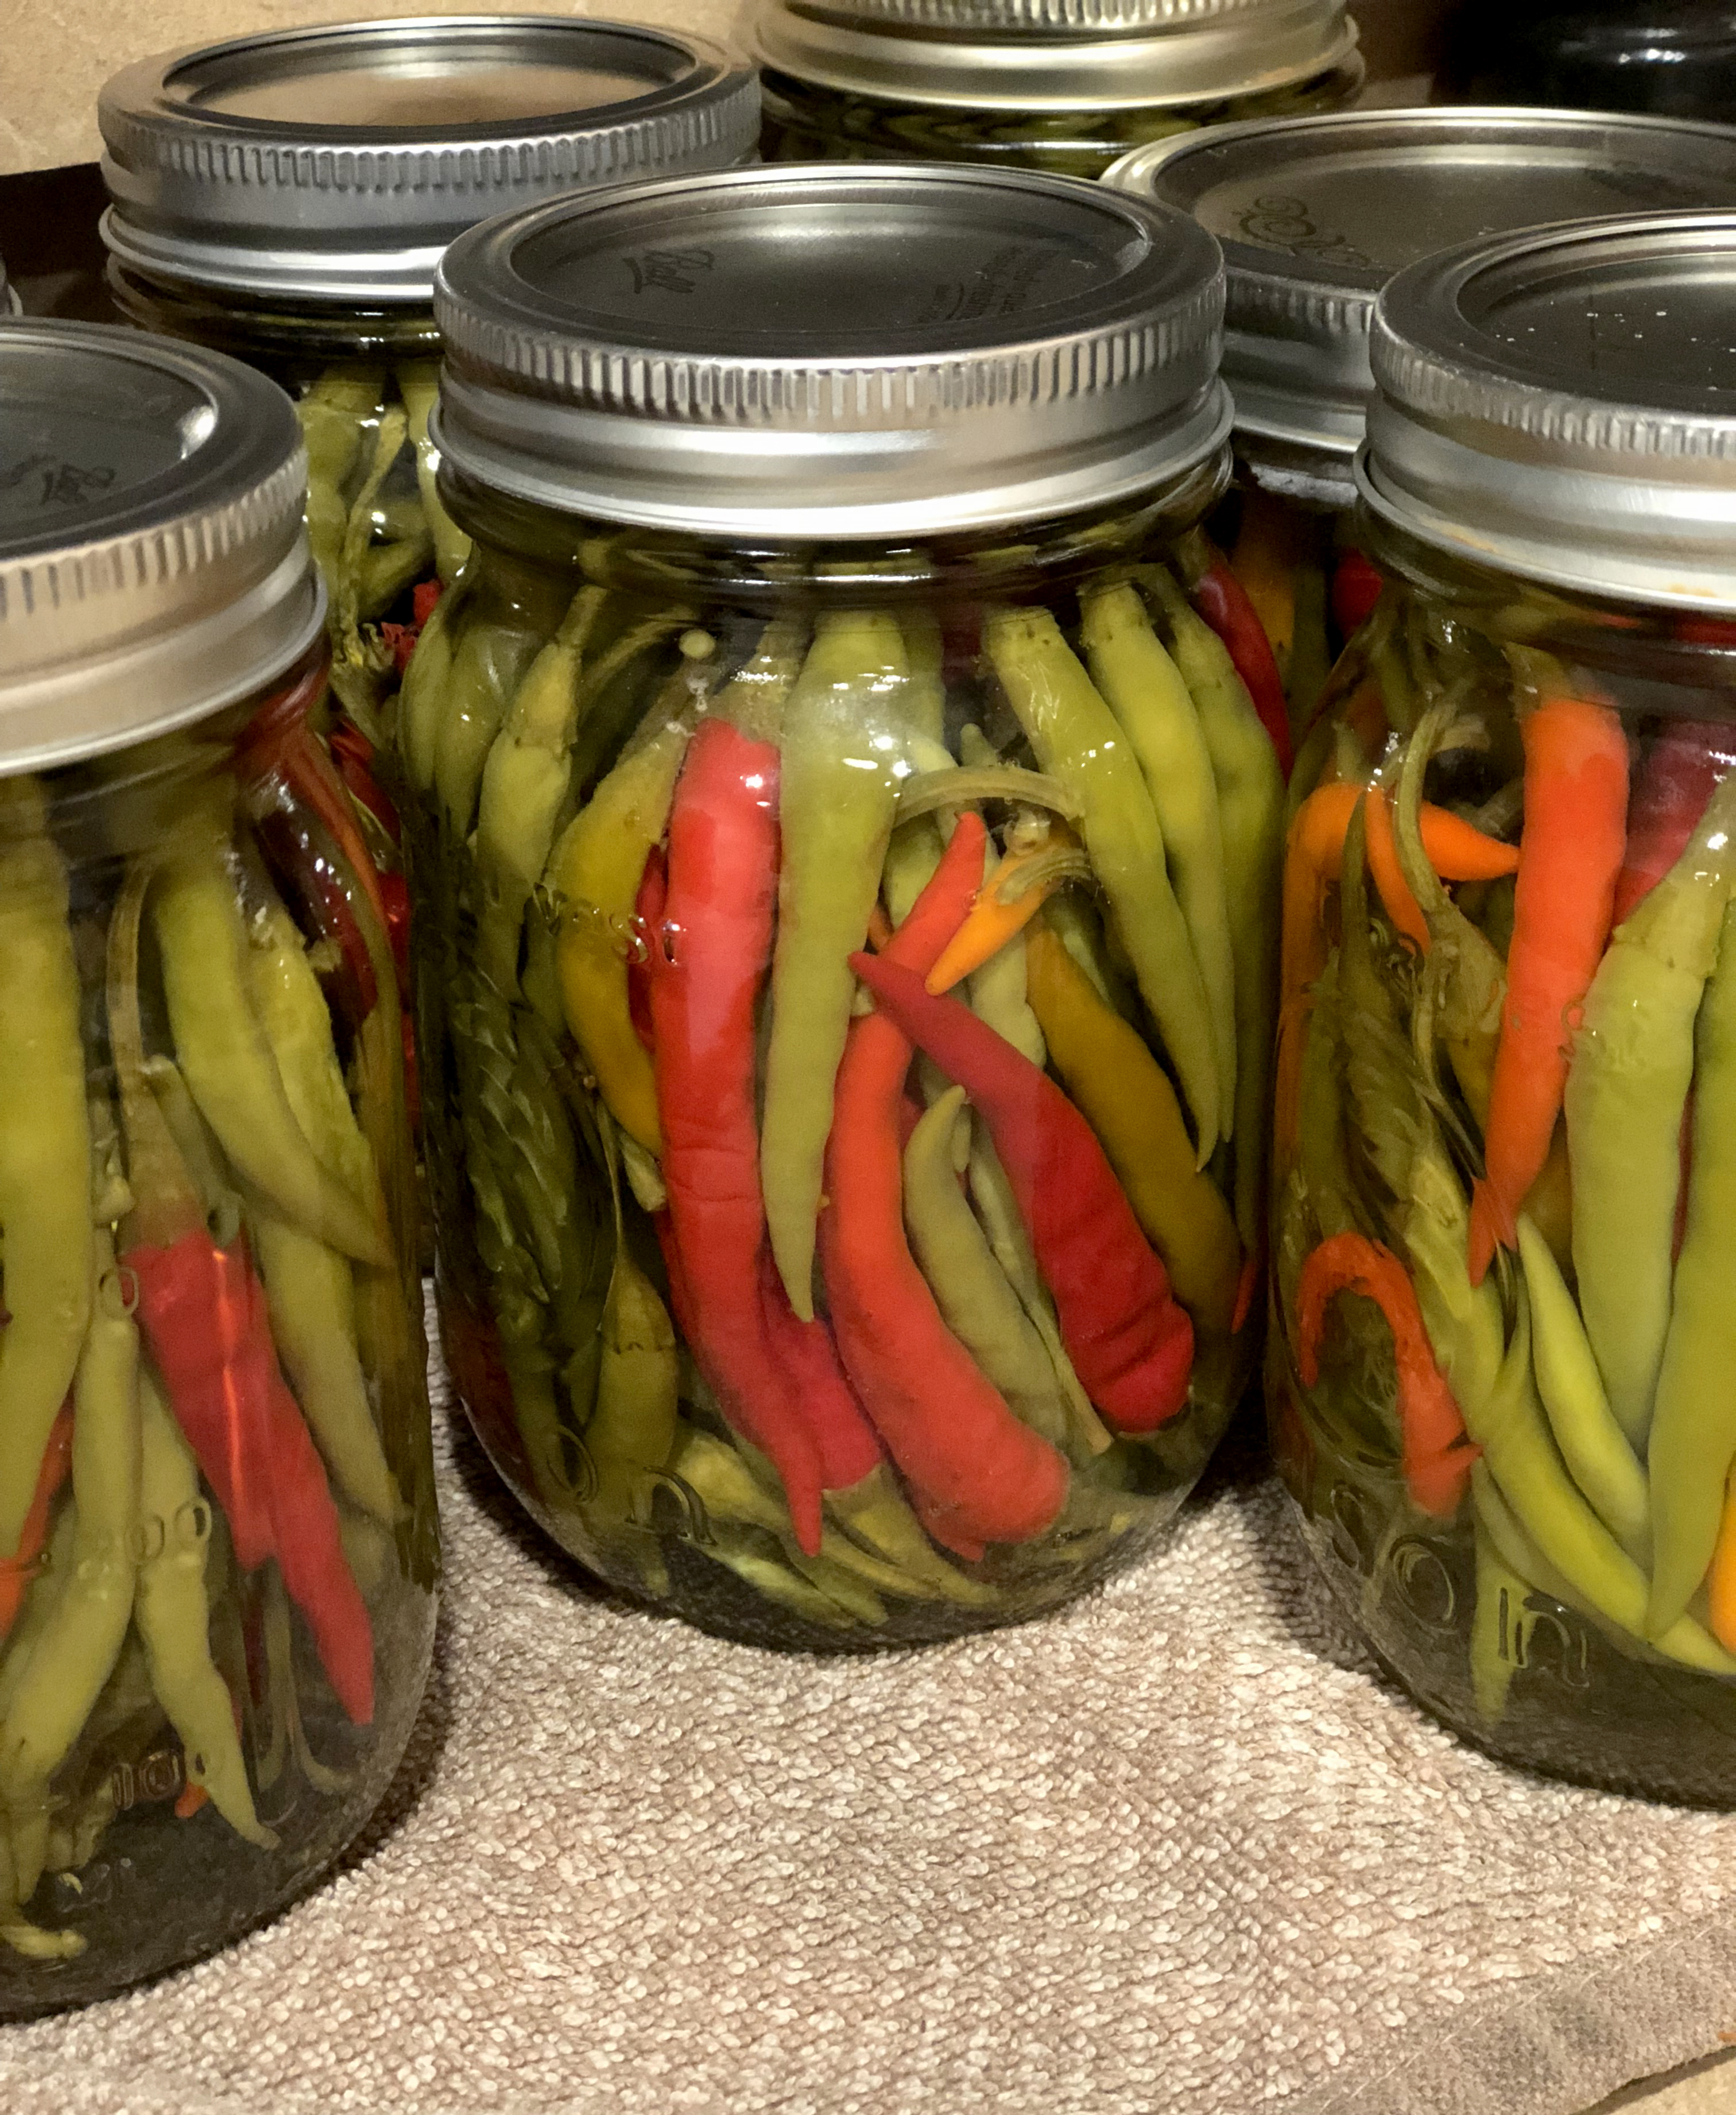
This recipe is for pepper sauce. As soon as peppers (mostly cayenne) begin to grow in early summer, they can be jarred as pepper sauce. But it is a great way to use up excess peppers at the end of the growing season so that all those peppers aren’t lost to the first frost.
It adds a little something extra to an ordinary bowl of black eyed peas, pinto beans, or any bean really. I also use a couple tablespoons in my meat marinades for a spicy flavor without tongue-burning heat.

Pepper Sauce
Use any kind you grew and make however many jars you want. For this recipe, I used 6-7 cups of cayenne to make 7 pints of pepper sauce.

6-7 cups cayenne peppers, washed and left whole
7 pint jars with lids
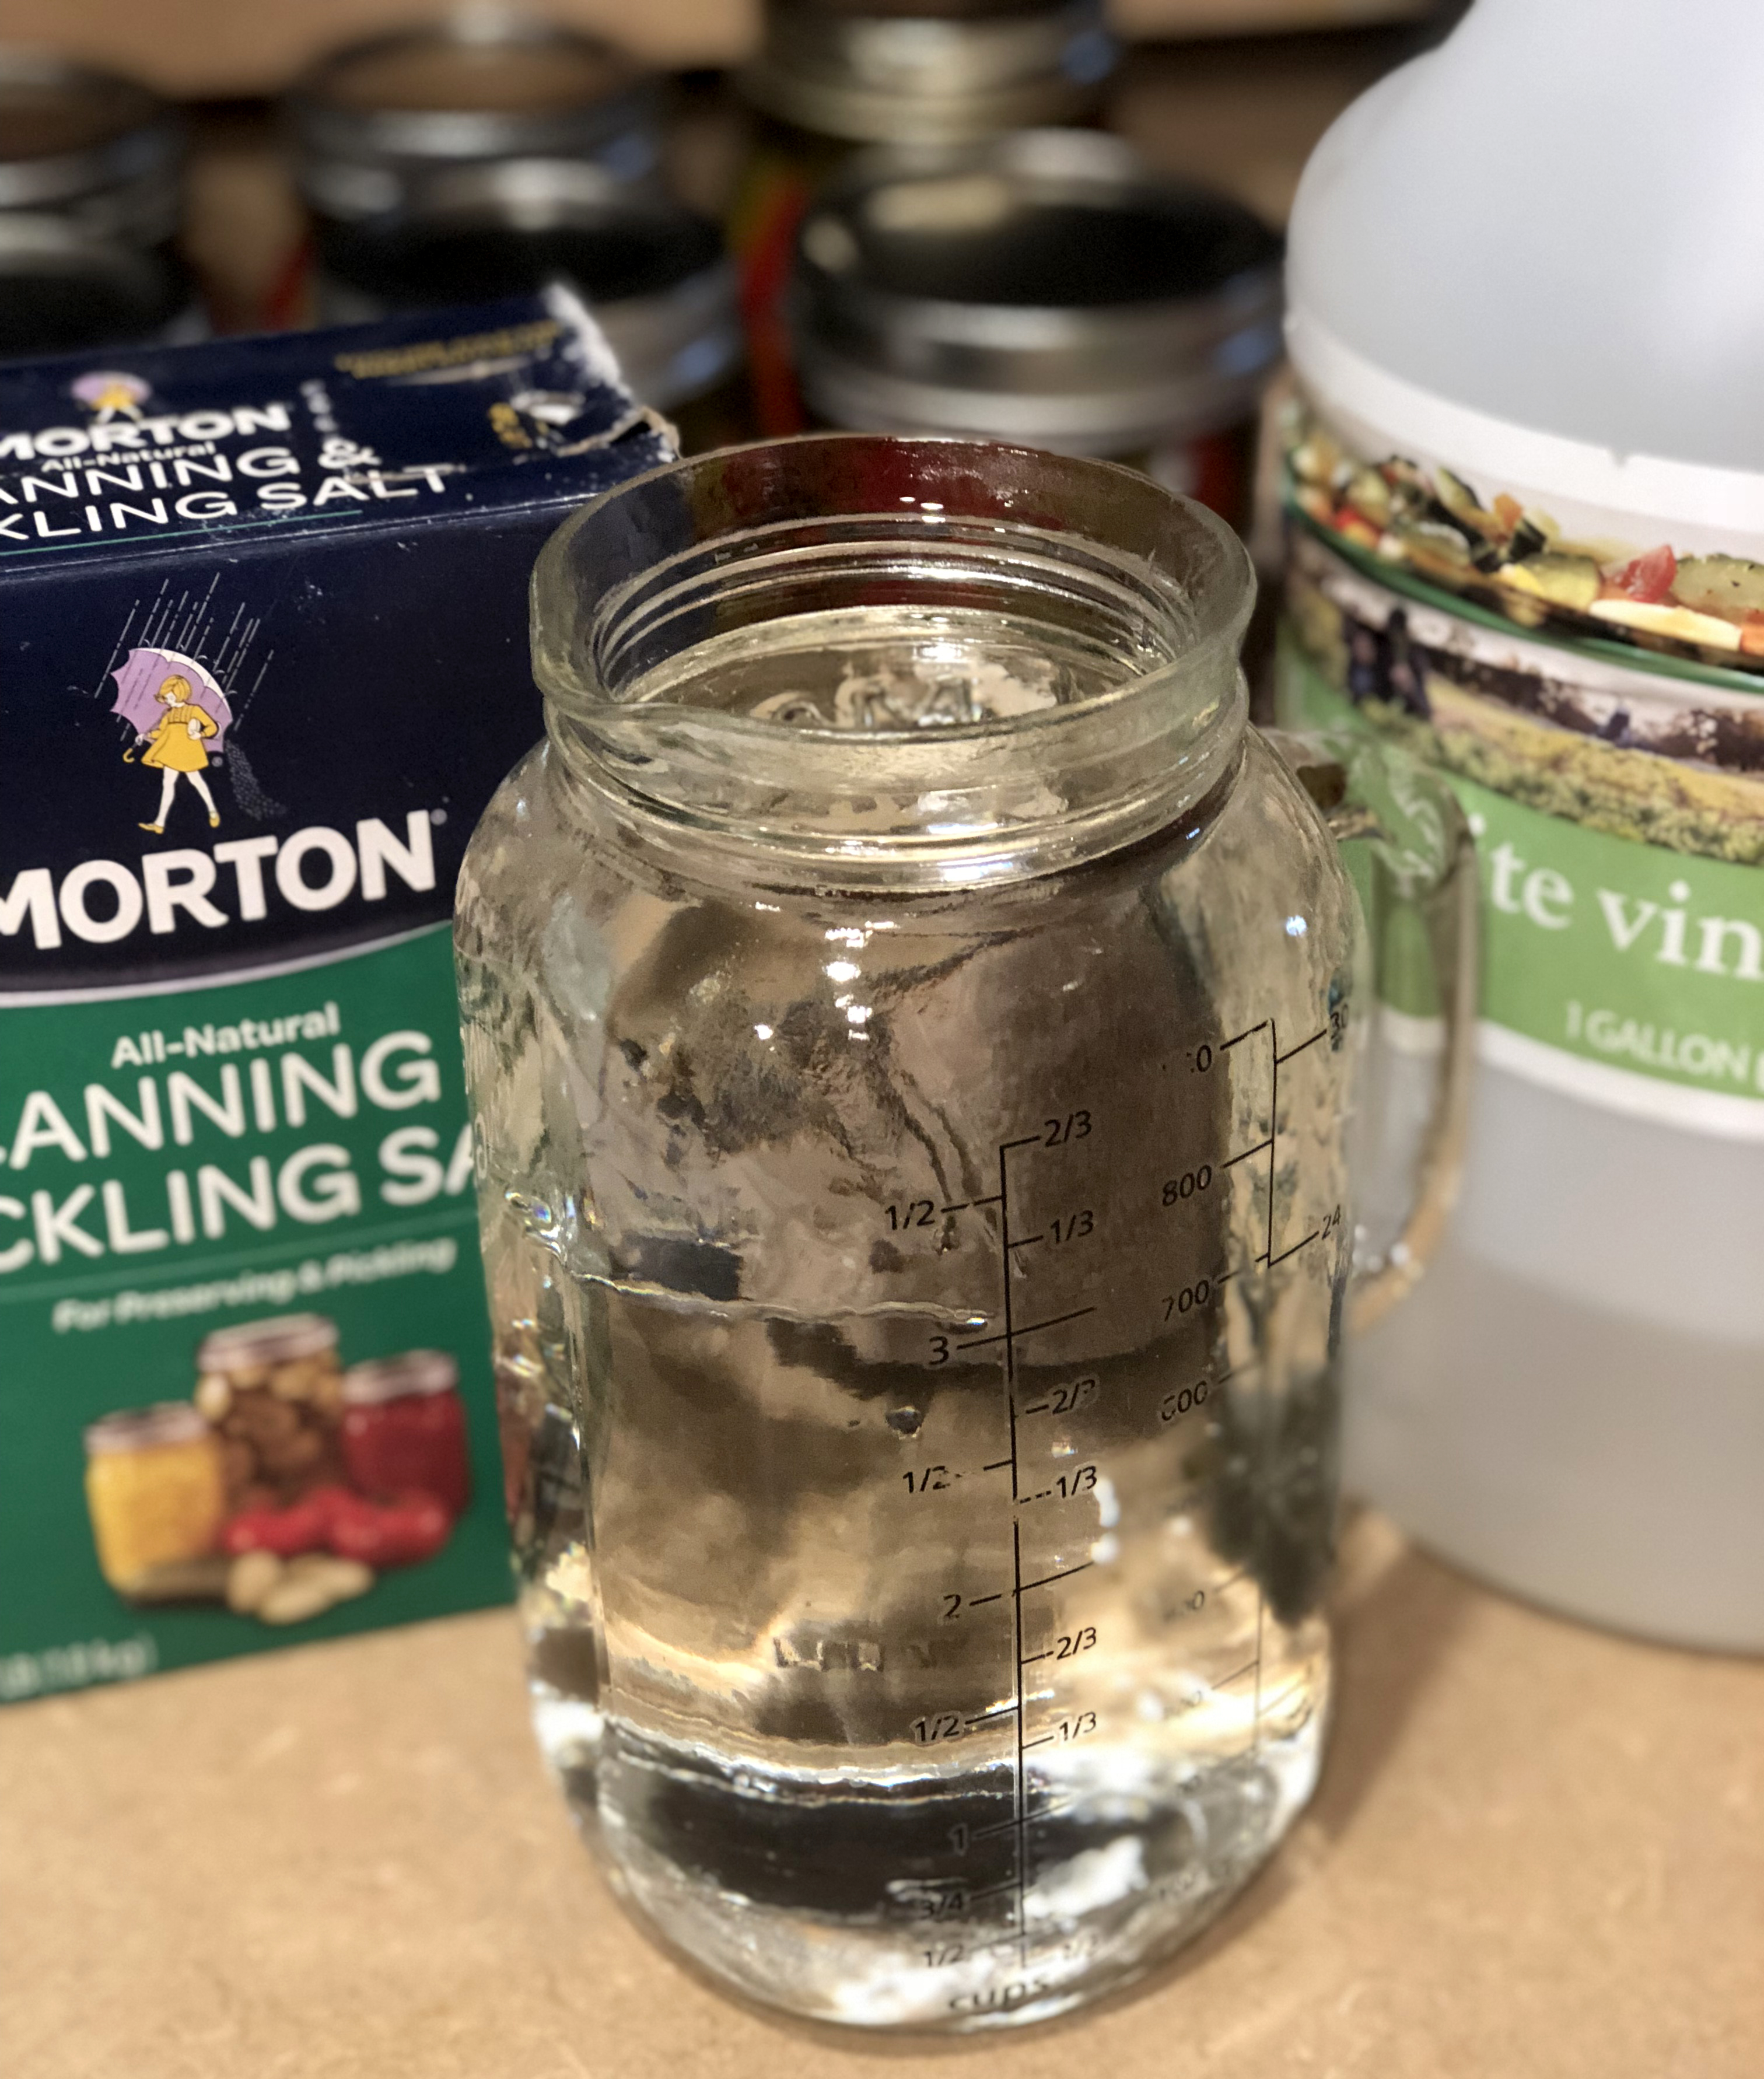
2 quarts water
1 quart white vinegar, 5% acidity
1 cup canning salt (NOT iodized or sea or kosher)
Large pot for boiling liquid and small one for boiling lids.

Pick your peppers and wash them.
Place jar rings and flats into small pan of water and heat at medium high heat to boiling.

Pour water, vinegar, and salt into large pot and heat at high heat to boiling.
While this is coming to a boil, pack your peppers into jars. You can pack them tightly or loosely – the more peppers, the hotter the sauce will be.

When the liquid has boiled, pour over the peppers and immediately place jar flat and ring onto jar.
Repeat until all jars have liquid and lids.

Hot water bath the jars. This is how:
Fill a large pot about halfway with water and place jars into pot.
Heat on medium heat until the water starts to boil.
Let the jars sit in the bubbling water for about 6 minutes.
Remove from heat and sit on a clean towel.
Cover the tops with a second clean towel and allow to sit 24-48 hours undisturbed while the jars seal. You’ll hear them sealing and popping. If one doesn’t seal (the little circle in the middle stays up), simply use that jar first (within 3 months) or refrigerate.

You can also slice jalapenos and jar them for a hotter sauce.