Category Archives: Basic Cooking Skills

Beef Roast

Add a dab of your own flavor. It will be delicious.
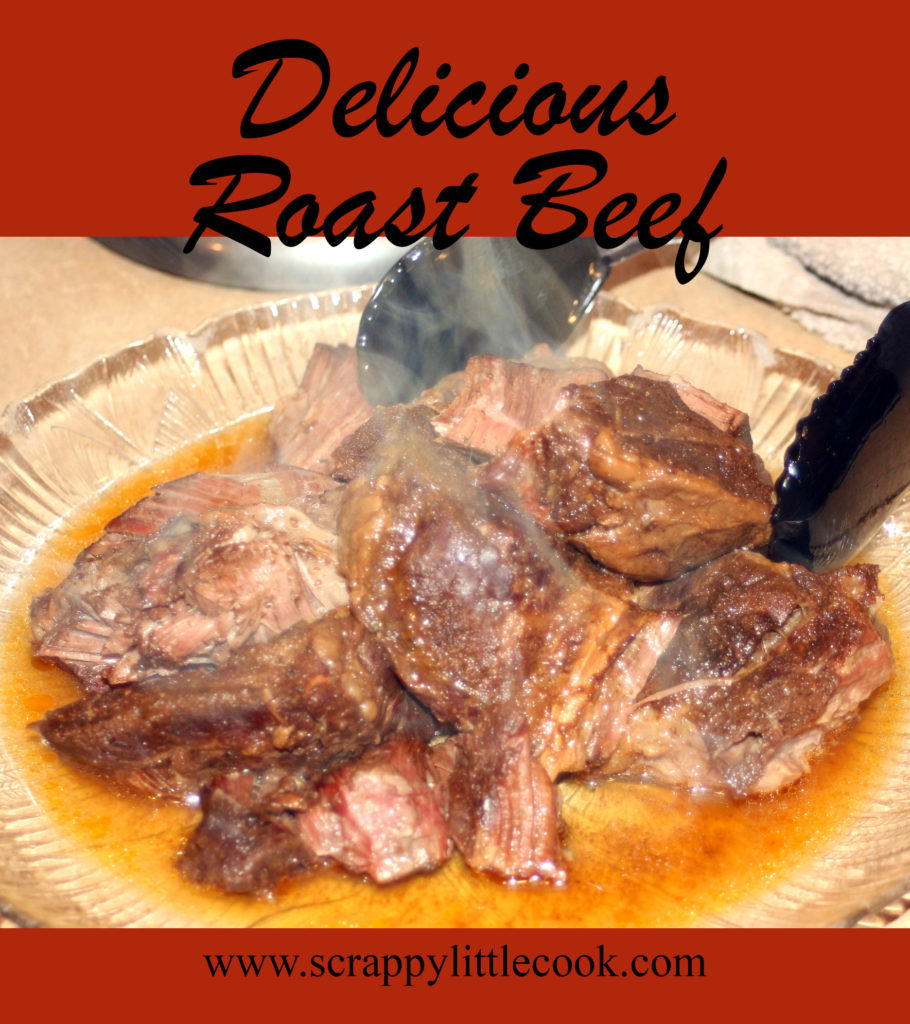
Beef Roast
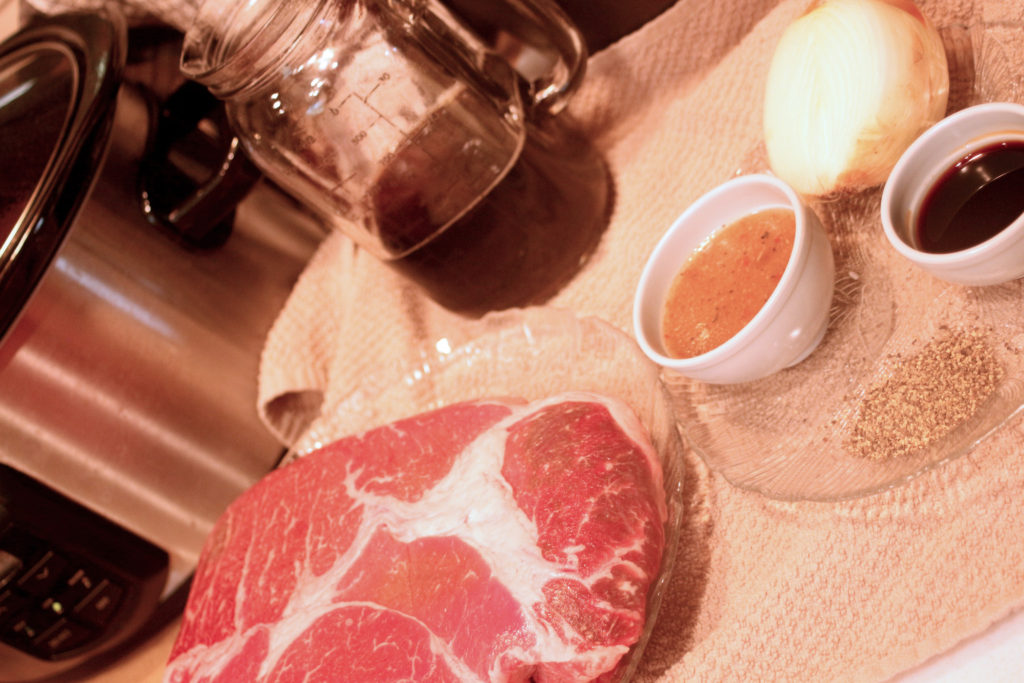
(3-4 lb. chuck or “English”)


1/2 cup Italian dressing (or packet dry Italian dressing mix)
1/4 cup soy sauce (or healthy dose of salt)
1/2 medium onion, peeled and chunked
1-2 Tbs. coarse black pepper (depends on your taste)
1/2-1 cup coke (not the Southern “any soda is coke,” but coca-cola)
Water to cover the roast
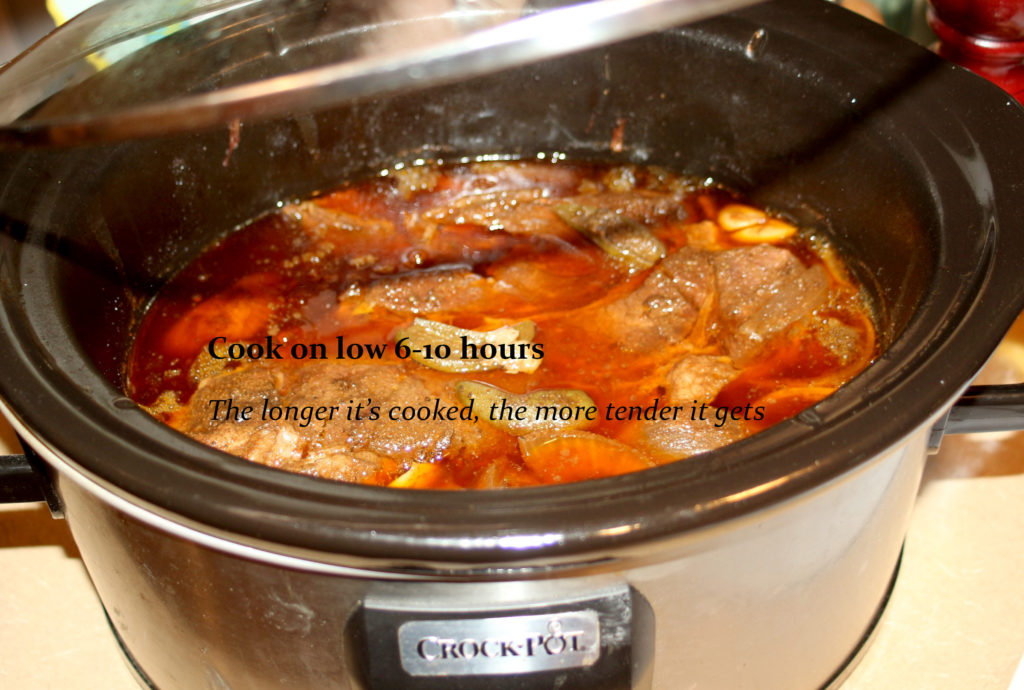
Use your crockpot for this recipe. Or use a casserole dish in the oven.
Add the ingredients I’ve listed and whatever you like. Throw in a hot pepper or two if you like a little heat. Add in mushrooms or cream of mushroom soup for a different flavor.
Just don’t go overboard and cook a couple days! It will dry out. 😉 If you decide to cook this in the oven in a casserole dish, just cover with lid or foil and cook for 3-4 hours at 350 degrees.
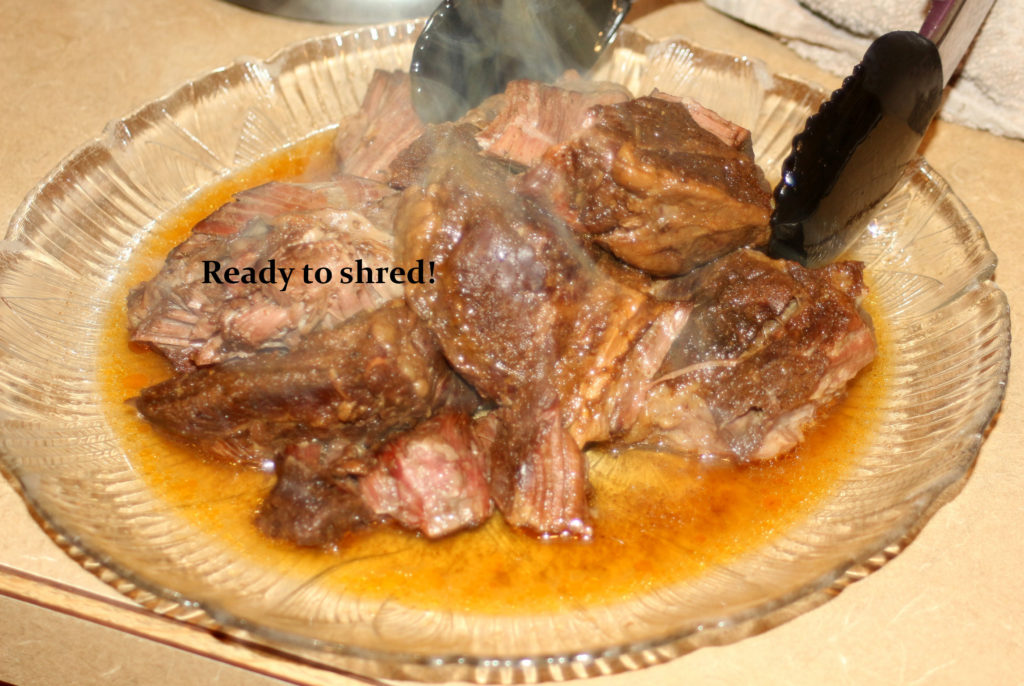
Pull those delicious hunks of tender happiness out of the crockpot.
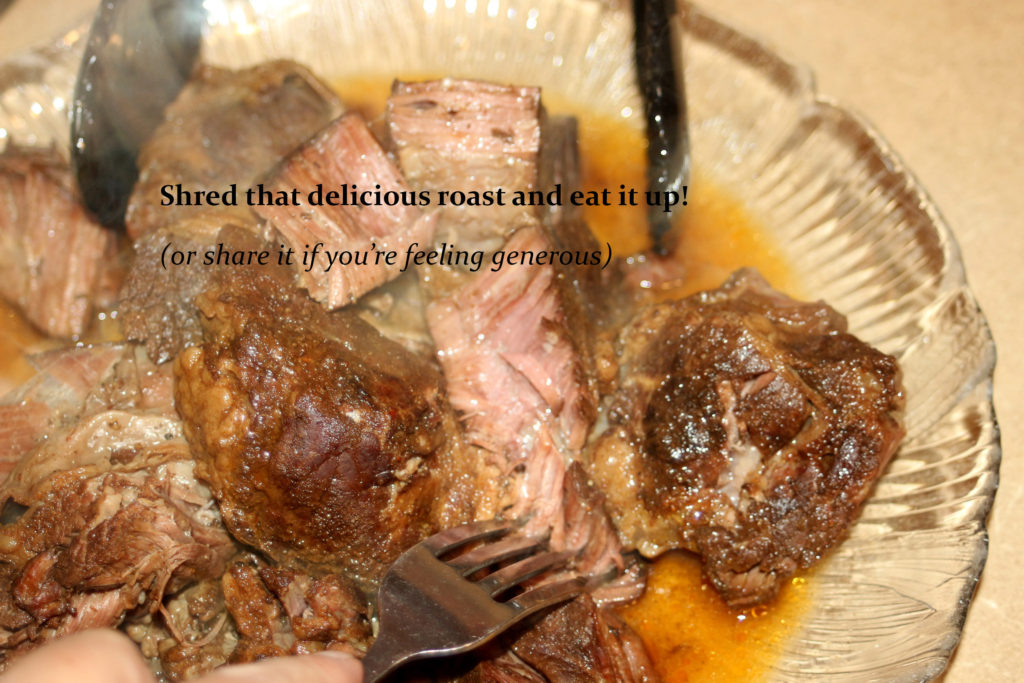
Shred it and eat it on sandwiches, over mashed potatoes, with a side of potatoes and carrots, or in tacos with salsa and fixins!

The story behind the recipe:

It is handwritten on a green Stuart Hall spiral bound pocket notebook. Written there because she knows things don’t have to be fancy to be good. And that is probably what she had at home in her stash of new notebooks, cards, and such that she keeps to give as small gifts or for her own writing. She writes too, and better than I, about glimpses of life from her perspective; about memories from her childhood. Memories of the good times in a less-than-idyllic upbringing. She writes a lot about her mom, my grandmother, who held it all together while her dad, a good man but with a hearty taste for rotgut whiskey, seemed bent at times on ripping it all apart.


My piece of her memories is in this notebook: Recipes that she used; ones she knew I didn’t like, but that other normal folks would (i.e. anything with onions); recipes my grandmother passed down; and many I should’ve known, but didn’t.

She gave it to me as one of my wedding gifts, alongside some blue willow dishes that had been my great aunt’s and ones to match the treasured set my mom had given me.


This little book also contains my grandma’s secret donut recipe (use canned biscuits), the family salty dill pickle recipe, the foods she knew I’d love (fudge brownies), and ones she knew my husband would like (Pork Chop Casserole). It has cookies, brownies, cinnamon rolls, easy cobblers, punch, and even headache and bee sting remedies – all that and they don’t even fill the 100 page capacity.


This little map of cooking is much like the lady who wrote it – full of love and humor. Always there and ready to help, but content to sit on the shelf until I have sense enough to seek it out. My aunt Kathy has always been there when I needed her. She has helped guide me and provided comfort when I didn’t even know I needed it.


She was there when my mom battled a rare bladder disease for more than 10 years. She drove my mom to the doctor visits and hospital stays those times my dad had to stay home and work as he was the lone provider. She was there to celebrate and assist with graduations and weddings and anniversaries. She was one of the first to be there when someone in our community or congregation died and the family needed a shoulder or a casserole.

She was able to throw things together quickly and make it good. This is because she never measured. I must remember to thank her for the exact measurements in this book – a dab of this and a spoon of that. Confusing at times, but it taught me to stop and think about what would taste good and to add my own flavor. I think she did this on purpose.


I referred to it the first time I decided to cook a roast after I got married. This is one of those things I should’ve known, as I’d watched my mom cook delicious beef roasts my whole life. I’d bought a roast and got it home and then stood with the roast on my kitchen counter, realizing I hadn’t the foggiest notion of how to cook this hunk of meat properly. My mom had used an electric skillet. She’d sear it in the skillet first, season it with salt and pepper, and cook on low in that skillet with onions and a little water to steam it and make it tender. It was delicious. I had no electric skillet, so I guessed cooking this thing would be impossible – because there’s only the one way, right?


I’d previously leafed through my little green spiral bound book of gold just to see what it held, and I remembered something about a roast. Sure enough, there in her half-print/half-script writing was a recipe simply titled “Roast”. It had a Crockpot method and an oven method and used simple ingredients; and was written as if she was standing next to me, telling me just what to do. Her recipe used Lipton onion soup mix, which I had on hand, and was delicious, as well.


Now I use a combination of their methods and add my own touch, my own flavor. And every time I cook a roast, I think of my mom over her electric skillet and my Aunt Kathy writing this book for me. Small dabs of delicious memories. What’s a dab? That’s up to you.

One recipe she included that has served me well:
Love your enemies – It drives ’em crazy.

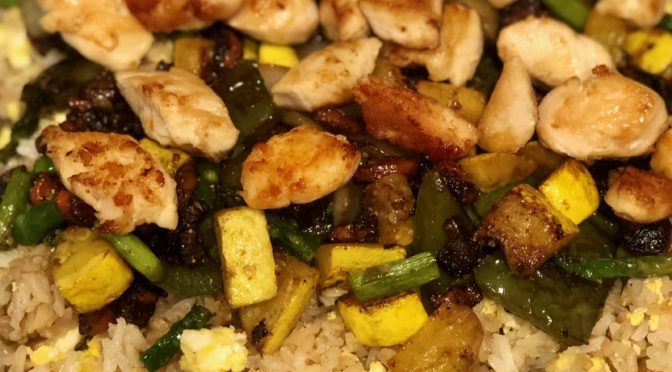
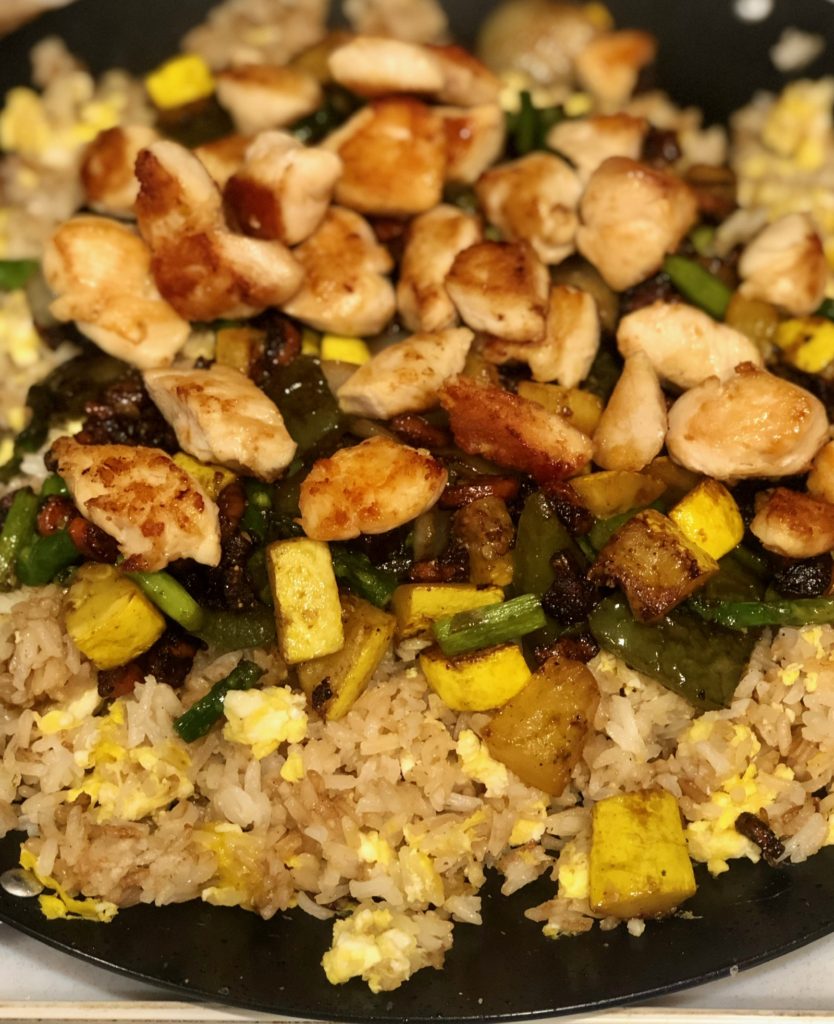
Chicken Stir Fried Rice

A fancy meal at a strip mall hibachi grill prompts this easy, at-home recipe.

Chicken Stir Fried Rice

How-to video below
Makes about 6-8 servings, (depending how much of a serving you take 🙂

The players:
Chicken, cut into 1-2” pieces (you can use steak or shrimp or all 3 if you’re fancy)

Olive oil

Butter, lots of it

Garlic salt

Soy sauce

Soybean sauce, if you have it. If not, just use soy sauce

Sesame oil, if you have it

White wine vinegar (or apple cider vinegar, or white vinegar, or lemon juice)

Veggies (your choice), cut into small bite size pieces (not big “I’m starving” bites, but tiny, dainty bites): carrots, asparagus, bell pepper, onion, broccoli, squash, peas, zucchini, mushrooms, whatever you like

1 cup cooked rice (white, brown, wild – your choice)

3-4 eggs, cracked and ready in a bowl

How to cook your rice, my way:

Put 1 Tbs. butter and 2 tsp oil in bottom of small pan over medium high heat. Let melt.

Meanwhile, heat just under 2 cups water or chicken broth to almost boiling in microwave, (about 2 min.).

Pour rice in pan with butter/oil and stir. You want to coat the rice in the butter/oil and toast slightly.

Add in 2 tsp garlic salt or 1 tsp salt and 1 tsp garlic powder.

Stir rice until it is coated and glistening with a buttery sheen (about 2 min.)

Keep it stirred, or it will scorch – and you don’t want that.

Add in liquid and it will begin to bubble immediately. If it doesn’t, don’t panic. Just keep heating it until it does. But if you get your liquid hot before you add it to the rice, this helps keep the rice from getting mushy as it cooks.

Cover with tight-fitting lid and turn to low. 

Let cook 15-20 min. (or however long your rice package says to cook it).

Meanwhile, on another burner, get this happening:

Take a nonstick pan or wok and put a pat of butter (tsp. – ish) in it along with 1 Tbs. sesame or olive oil.

Heat to slight bubbliness on medium-high heat.

Add chicken or steak or shrimp and cook to done, turning to brown evenly. 

Sprinkle on a little sesame oil to get some flavor here, if you have it.

While that cooks, chop your veggies. Or if you really planned ahead and have those already chopped, take a small dance break here.

Remove from pan.

Add another pat of butter.

Reduce heat to medium low.

Put in your toughest veggies first. (Carrots, broccoli, you be the judge)

Let those cook a couple minutes while stirring occasionally and sprinkling on some garlic salt goodness.

Add some more veggies (onions, bell peppers – in large chunks so you don’t accidentally bite into a piece if you hate them like I do, but add them anyway because they do add flavor and your husband loves them).

Cook a couple minutes adding a sprinkle of pepper and maybe more butter or oil if it needs it.

Add more veggies (squash, zucchini).

Cook a couple minutes and add some soybean sauce.

Add last veggies (peas, mushrooms, asparagus).

Cook 1 minute or so and add splash of vinegar or lemon juice to brighten up the flavors.

If your pan is big enough, add your rice to this now. If it will spill over sides, take veggies out and put rice in pan to heat and fry a bit in the butter and oil you that may or may not add. 🙂

Add a little soy sauce and black pepper at this point to flavor the rice even more.

Push rice or rice and veggies to the side and pour your cracked eggs into pan. 

They will begin to cook immediately so start scrambling them. They will spill into your rice, don’t worry. They’ll get cooked.

Keep stirring until eggs are cooked and then mix in to rice. 

Add veggies/meat back in and take off heat. Eat!

Just watch how easy this is …

The story behind the recipe: 


I am from a small town in Arkansas and so we didn’t come in contact with ethic foods or really, anything other than down home cooking (you know, the good stuff) when I was growing up. If we went to the big city to shop (Fort Smith), we ate at McDonald’s or Bonanza or somewhere that had the “normal” food we picky eaters were used to. My mom was more adventurous, she tried Chinese food once! And liked it! 


Anyway, when I got married and moved to another big city (Hot Springs), my husband took me out with friends to the new hibachi grill that had just taken over a space in a strip mall. It was fancy! It had pillows on the floor (who can eat like that?), and Asian inspired bi-fold doors, and fake bamboo plants. We sat around the big fry surface with a bunch of folks we didn’t know – your typical high-class stuff. So Jason knew I was out of my comfort zone and ordered for me. The soup comes. Not actual soup like tomato or potato, but clear stuff with green onions floating on top. Nope, I wouldn’t even try it. (Update: Now I like it.) The salad arrived with a dressing that was not Ranch or Italian and that blew my mind. That just ain’t right …. but it was pretty good.

The chicken and steak Jason chose for me was being cooked while the veggies took a space next to it (and they seemed to use plenty of butter too, by the way). Then as the cook yelled things I didn’t understand and beat his spatula against the fry-top rim, he did acrobatics with an egg. It was impressive and I worked up an appetite dodging the whirling egg and the flames from the onion tower.

The chef mixed the cooked eggs into some cooked rice and gave us each a helping followed by the veggies and meat. My first bite was taken very daintily – like I was a lady or something. But successive bites were larger and by the end, I actually liked the meal.

So I decided I could make this at home with some modifications (maybe use bacon grease????).

So here is my recipe. It’s easy … you can make this too.

 Did I also try to do egg acrobatics? Yes. Can I do that too? Nope. I would recommend not trying that at home.

Plain Ole Vanilla – Flavoring That Is

Vanilla beans, 3-5 or more for a larger jar (I use Madagascar vanilla beans)
8 oz. Alcohol of choice (vodka has the most neutral flavor and an expensive vodka is not needed. Just a mid-grade one will do. Or get adventurous and use bourbon, brandy, or rum. These yield a stronger flavor.)
Clean jar or bottle
Sharp knife and cutting board

Split the vanilla beans, leaving the ends intact to expose the inside or chop into pieces if you like.
Place in clean jar or bottle.
Pour alcohol over beans making sure they are completely submerged.
Place airtight lid on container and give a little shake.
Let sit for a month in cool, dark place. You can shake it from time to time. You can use more beans to speed the process. Or allow it to sit for 2 months for stronger flavor.
You can use a coffee filter to strain your finished extract if you want a clear vanilla. I, however, like the little vanilla bits in there.
Top off the bottle as you use the extract to get all that flavor out.
I discard my beans after 3 or 4 refills (adding a new bean here and there) because those beans will eventually lose their flavor infusing ability.

Black Beans – Easy Peasy

The bean story
Simple and delicious, these stars of the side dish/ingredient world are easy to prepare. Once you know how to make them yourself, you’ll probably only use the canned version in a pinch.
A lot of folks don’t know how easy it is. Take, for example, one of our young customers. In her defense, her mother wasn’t a cook (she divulged this information) and she was trying to learn how. She’d come pick up a meal and ask us how to make it herself. We gladly shared most recipes with people. And we offered easy suggestions for them to try at home.
One day we had a large pot of black beans sitting on our prep table – using them to add to a recipe. She was watching intently as she stood at the cash register.
“Why do you pour the beans in the pot first?”
I was putting her purchased items in a sack.
“Well, we put them in there to cook them.”
She looked confused, “Why not just use them directly from the can?”
Then something dawned on her, “Are you supposed to cook the ones in the can? I thought they were already cooked and you just warmed them up.”
I stared at her for a moment and then realized what she meant. “No, you don’t have to cook the canned beans. But you do have to cook them if they are dry.”
She looked confused.
I continued, “You can buy dry beans in sacks in the store. They are usually beside the rice.” I spoke watching her face to make sure I hadn’t misunderstood and was now being condescending. Nope. She hadn’t noticed the dry beans. So I continued, “You buy those and look through them to make sure there aren’t rocks from when they were packaged. Then you just put them with plenty of water and seasonings in a large pot and cook them. You can use them in recipes or freeze for later.”
Joanne was the one assembling the recipe. She piped up, “And they’re better for you to cook them this way.” She picked up that huge pot and brought it to the counter so our customer could see (and smell) how delicious they were.
Our sweet unenlightened customer shook her head slightly and said, “I did not know you could cook beans like that yourself. I just always got them in the can.”
We didn’t want to make her feel badly. I said, “You can absolutely use the ones in the can. We sometimes do if we don’t have time to cook a pot.”
Joanne added, “We just like to add our own seasonings to the beans as they cook. It makes them taste better. Do you want me to write down how to make them yourself?”
Sweet customer smiled so wide you’d have thought we gave her money. “Yes, please.”
As she left she thanked us and said, “I’m gonna tell my mom about this. She’ll flip.”
We just smiled and waved.
So don’t be afraid to make your own pot of beans. If that chick can do it, anybody can.

I do not soak my beans the night before as the package and many others suggest. Mostly, it’s because I forget. But this method works great and doesn’t affect the taste at all.

black beans, how to cook beans, cooking dry beans
Black Beans
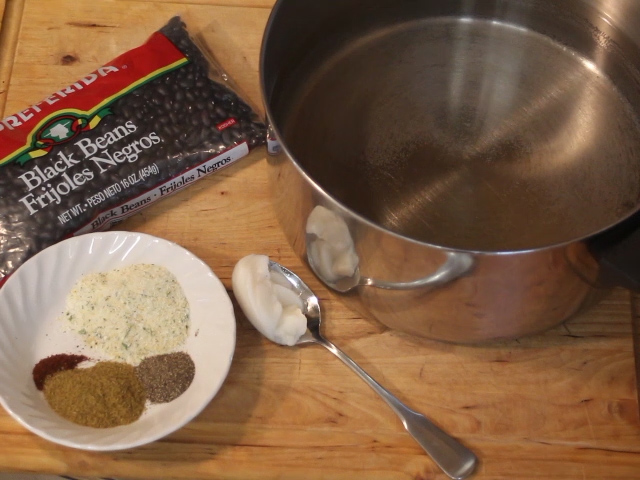
16 oz. bag of black beans
2 Tbs. Lawry’s Garlic Salt
1 Tbs. Ground Cumin
1 tsp. black pepper
1 tsp. chili powder
Spoonful of bacon grease (yes, it makes a difference in taste)
8 cups water
Large pot
One cayenne pepper pod (optional)

cooking beans, how to cook black beans, cooking dry beans
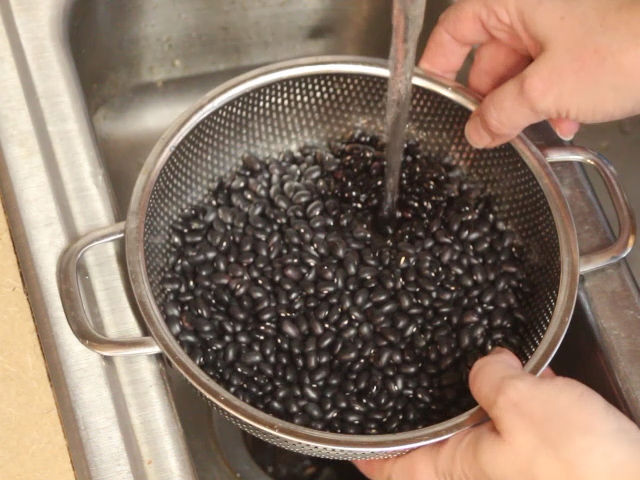
Look and wash the beans.
black beans, cooking black beans
Add water to pot.
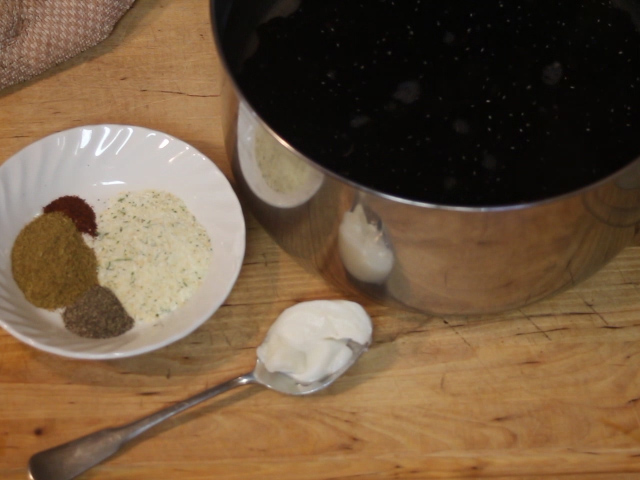
Add beans and seasonings.
black beans, how to cook black beans, how to cook beans
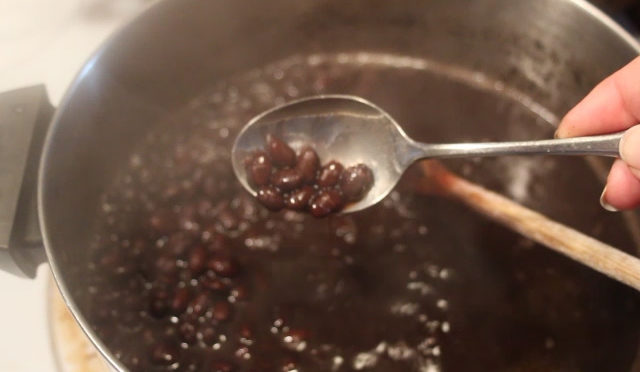
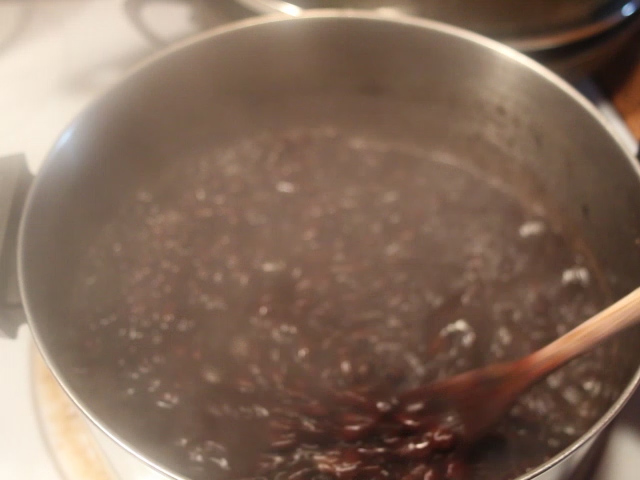
Cook over medium-high heat for 4 hours, stirring occasionally.
black beans, how to cook dry beans
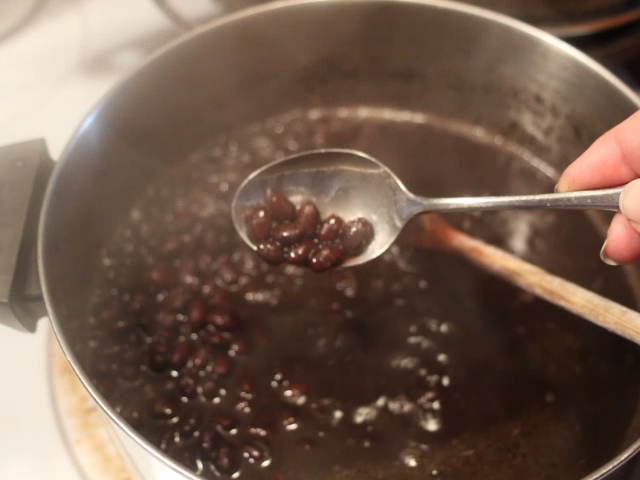
Taste for needed salt or other spices you might like and add that.
Make sure beans are soft. If not, cook a little longer!

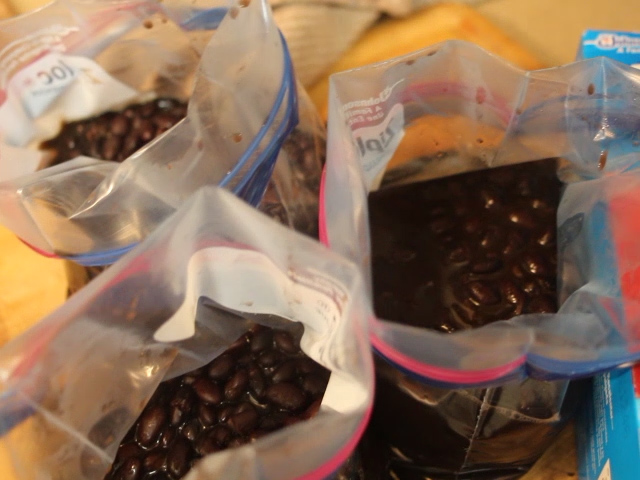
Eat immediately, add to recipes or freeze in bags for up to 3 months.
(I freeze in 2 cups portions as that is the amount I usually need in recipes.)

For a crowd: (Makes enough for a small army or 8 recipes of Caribbean Chicken Enchiladas)
Multiply all amounts by 4.

Pinto Beans – Cook a Pot Today

All about the beans:

One of the easiest things to cook, although a bit time consuming, is beans. The time spent cooking up a big batch of these lovely legumes is well worth it. Served with cornbread (and maybe some fried potatoes) or slightly mashed with Mexican food are just two of the many ways this cheap and easy dish (not to be confused with some of the girls in my high school – get it, cheap and easy?). Anyway, back to beans. Besides being an excellent source of protein, beans offer complex carbs and fiber. They contain a powerhouse of nutrients including antioxidants, and vitamins and minerals, such as copper, folate, iron, magnesium, manganese, phosphorous, potassium and zinc. They’re just good for you.
So learning to cook up a big pot will serve you well. You can absolutely use the canned version as a side dish or in recipes. Those work just fine. But it will be better for you to cook them fresh and freeze some of what you cook for future recipes.

I do not soak my beans the night before as the package and many others suggest. Mostly, it’s because I forget. But this method works great and doesn’t affect the taste at all.

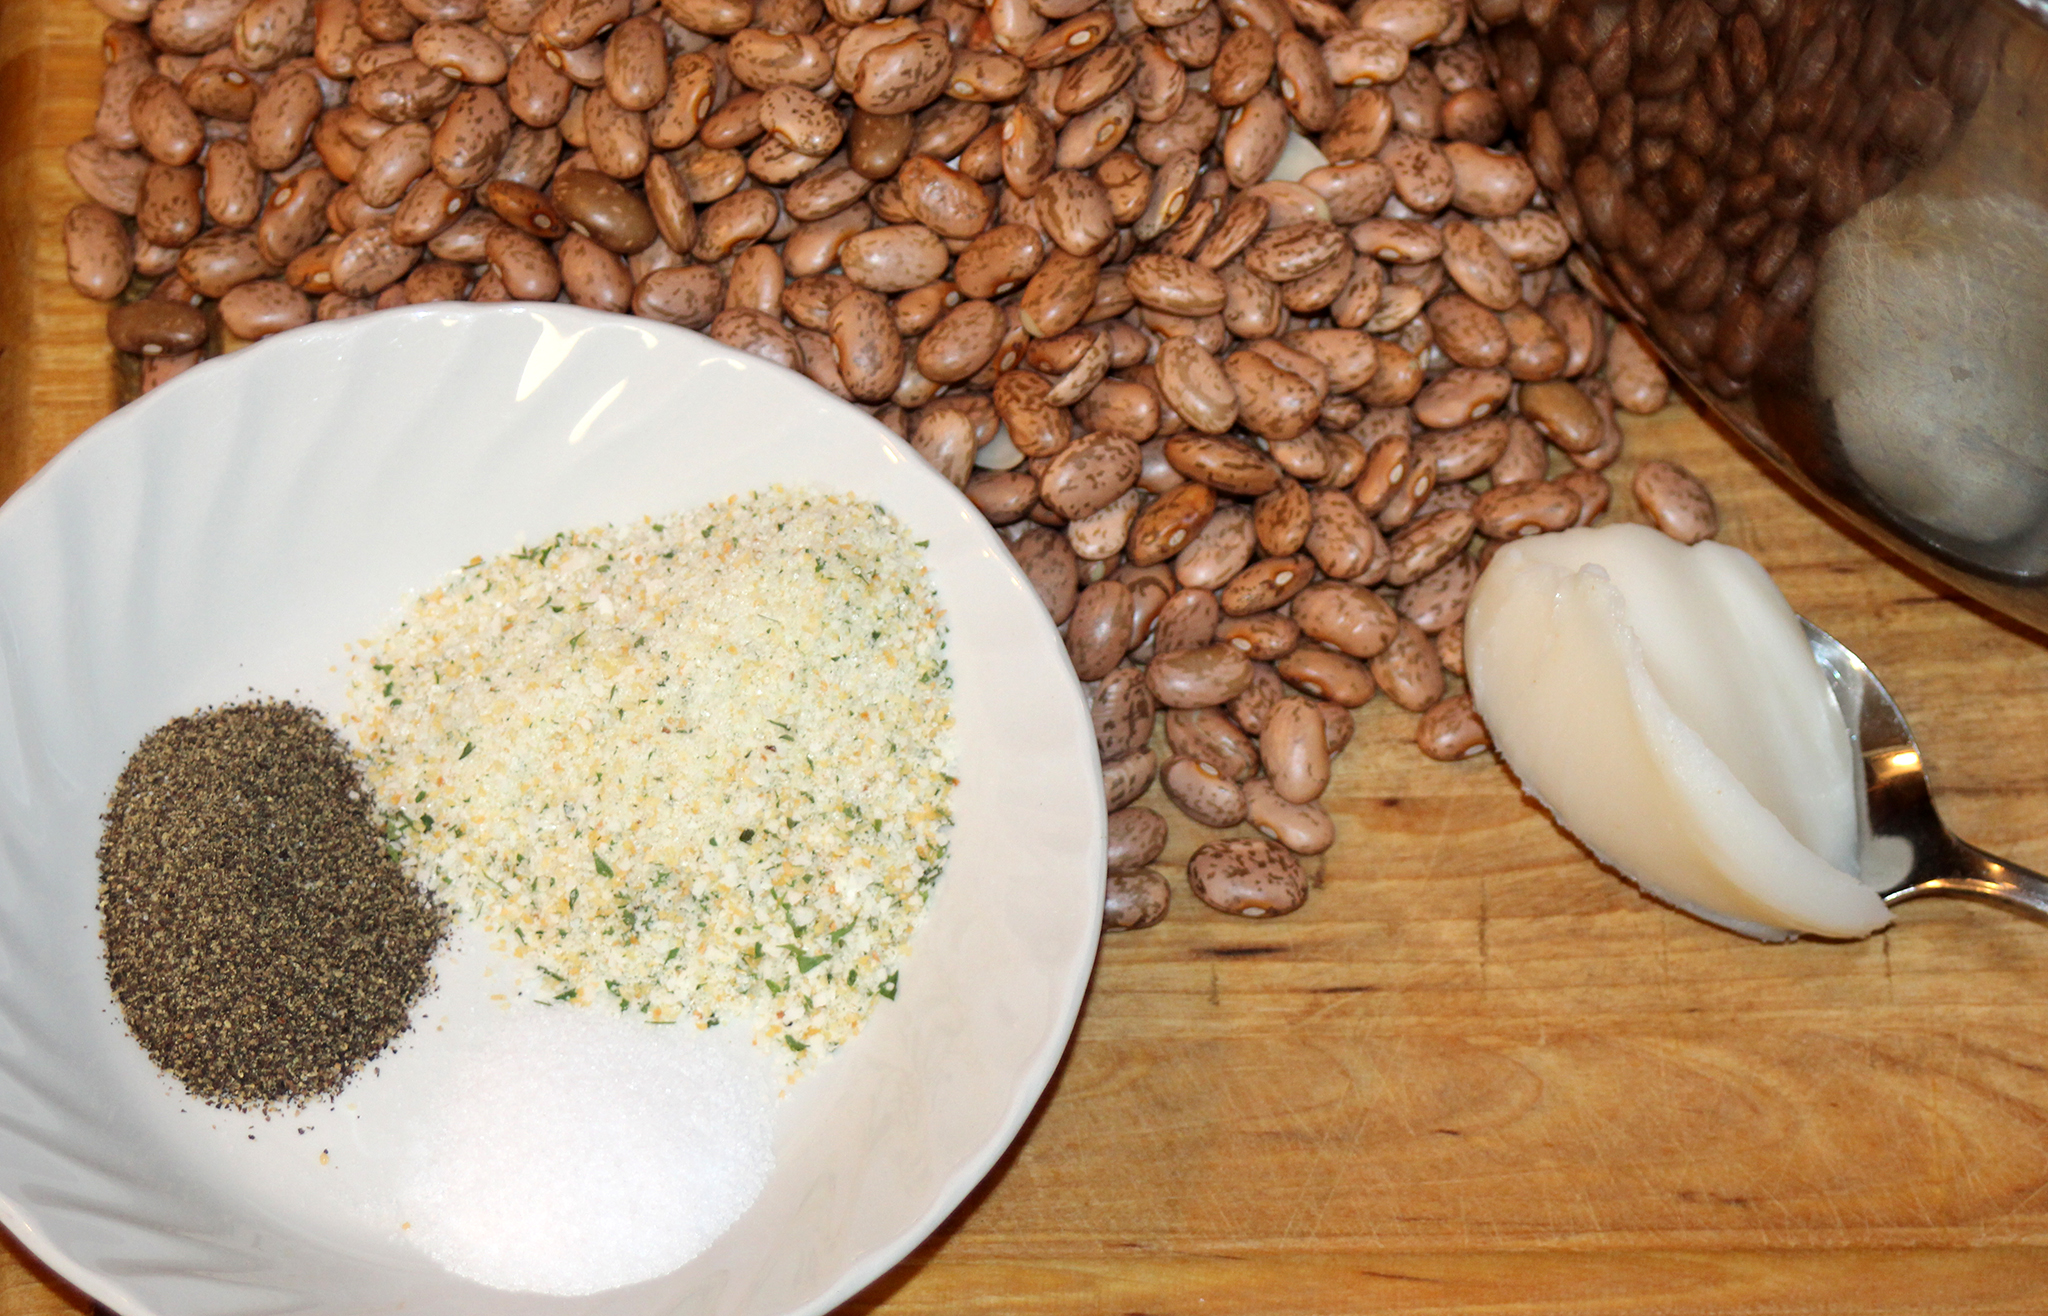
2 lb. bag of pinto beans
16 cups water
Large heavy bottom pot
1 Tbs. garlic salt
2 tsp. salt
1/2 tsp. pepper
1 Tbs. bacon grease
(Optional: 1 tsp. cumin or chili powder or both)

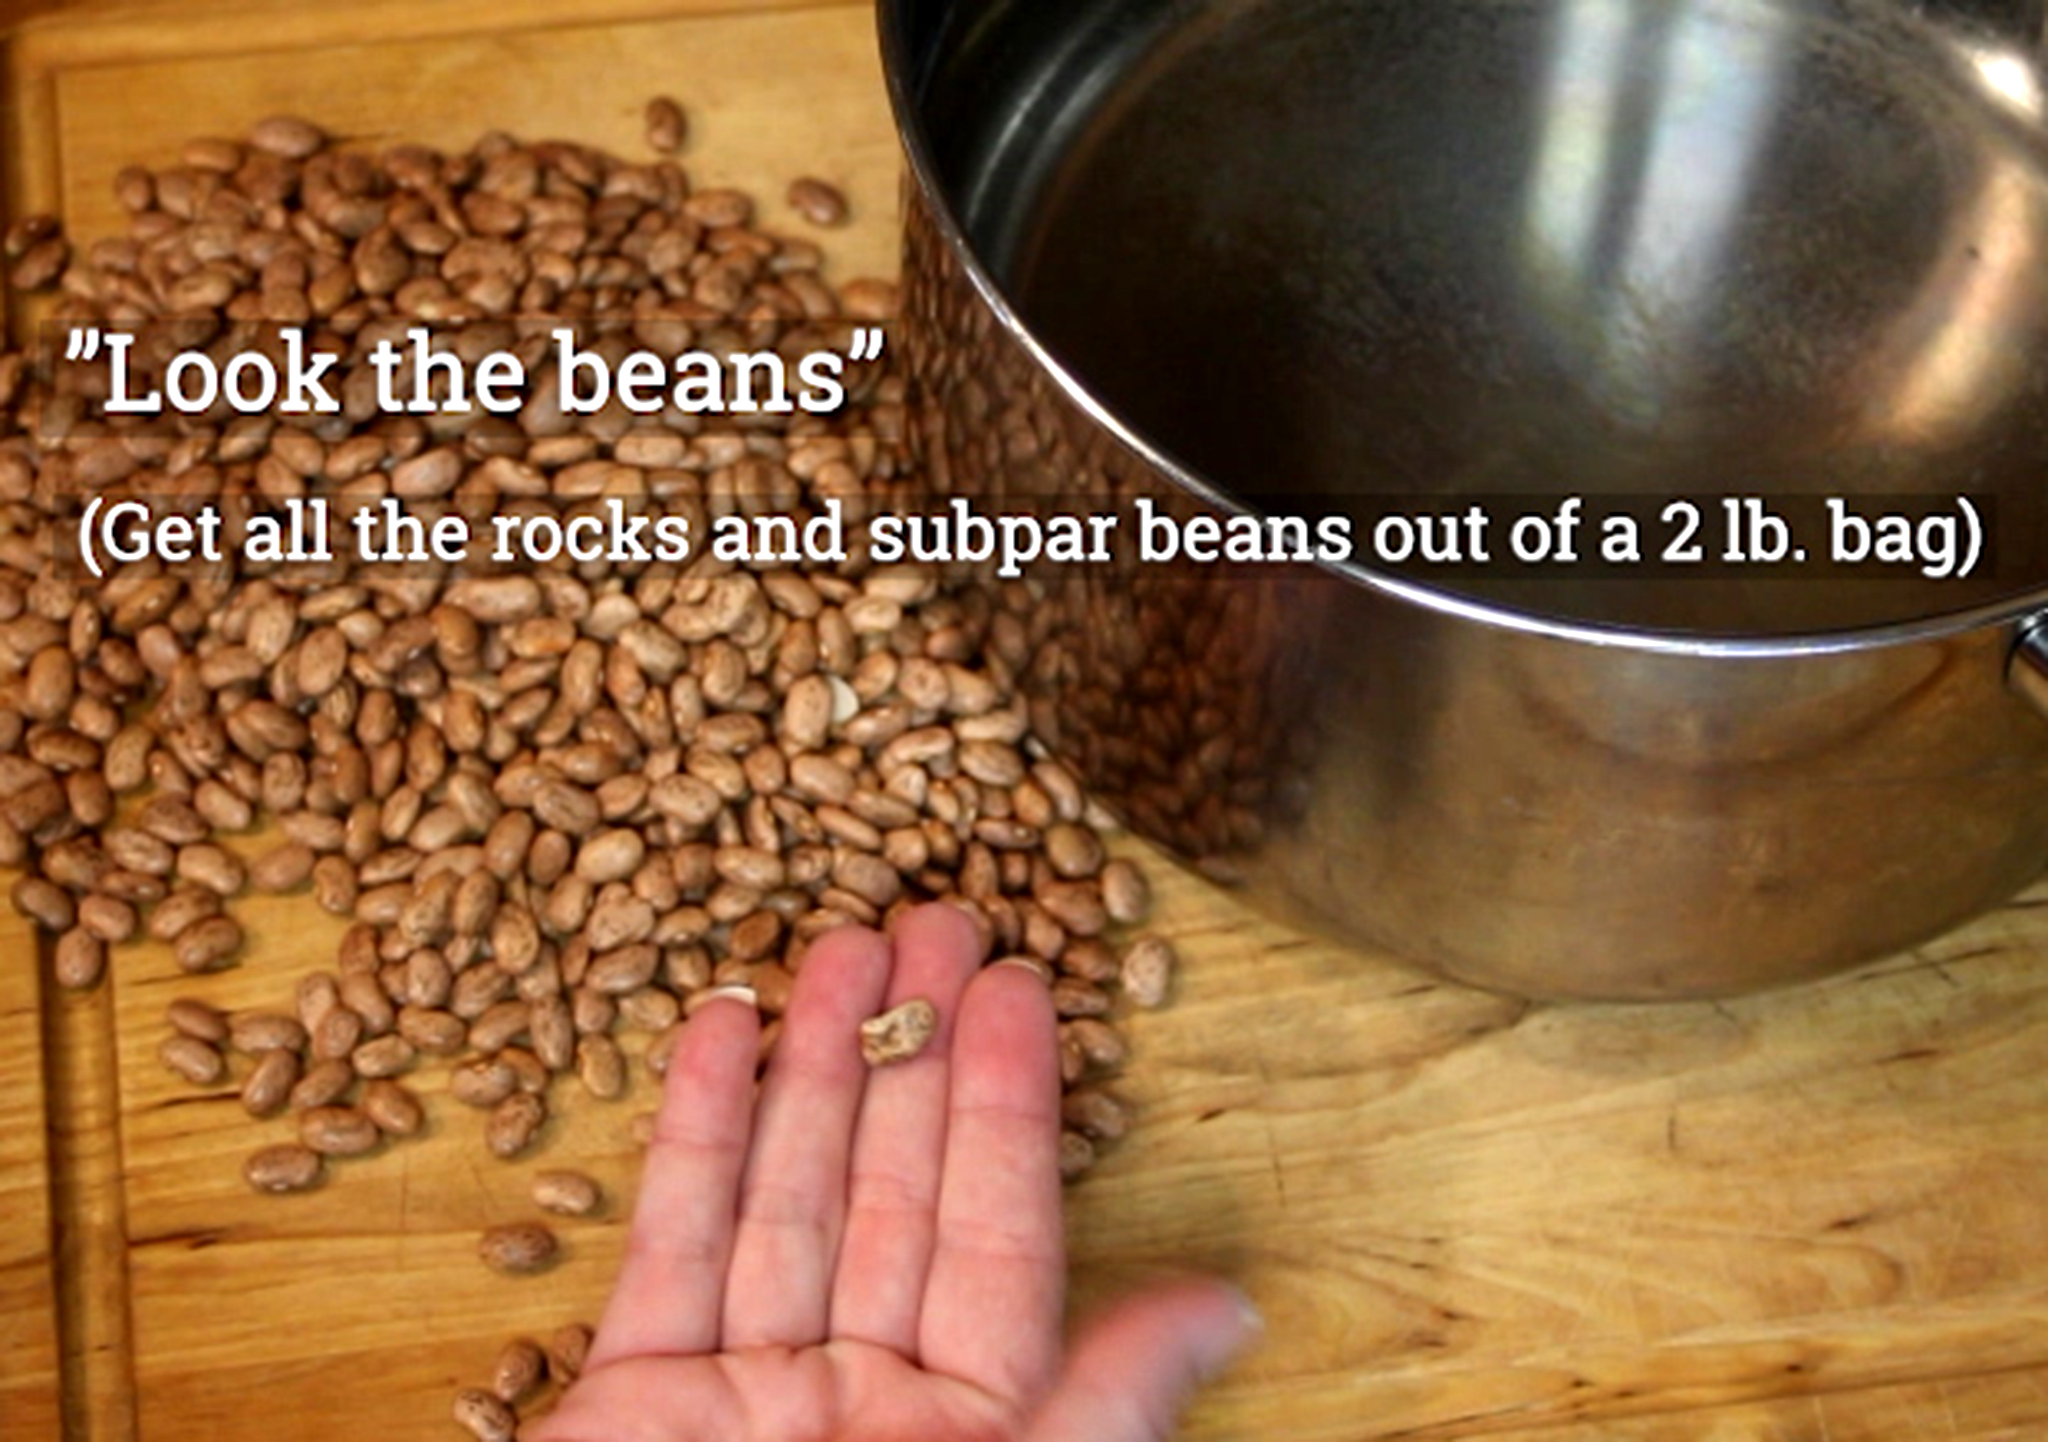
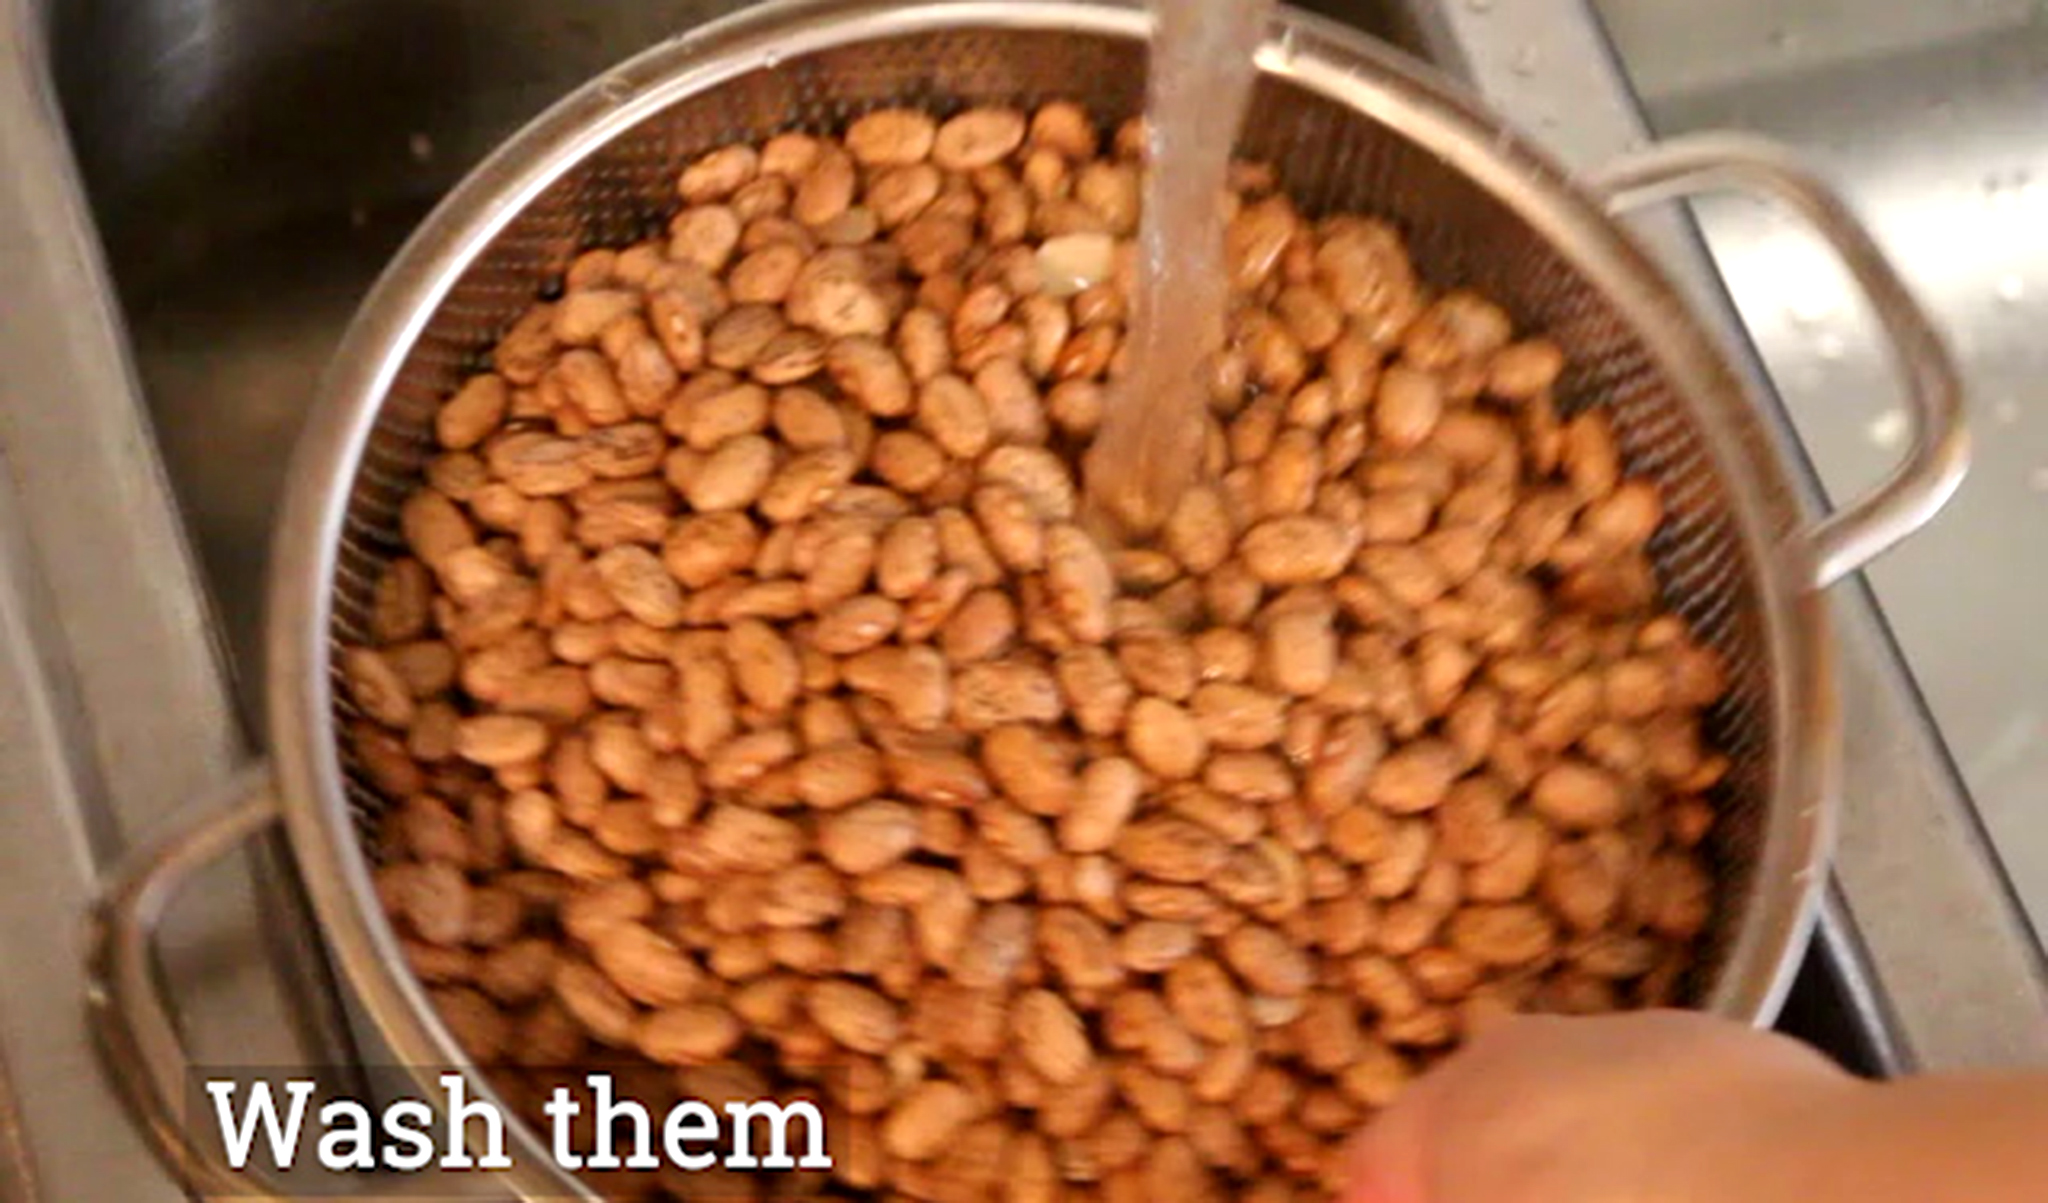
“Look” your beans. You don’t want to bite down on any rocks. Sometimes little rocks gets packaged right along with the dry beans from the gathering process.

Put them in strainer and wash them. They sometimes also have grit you probably wouldn’t find very appetizing.

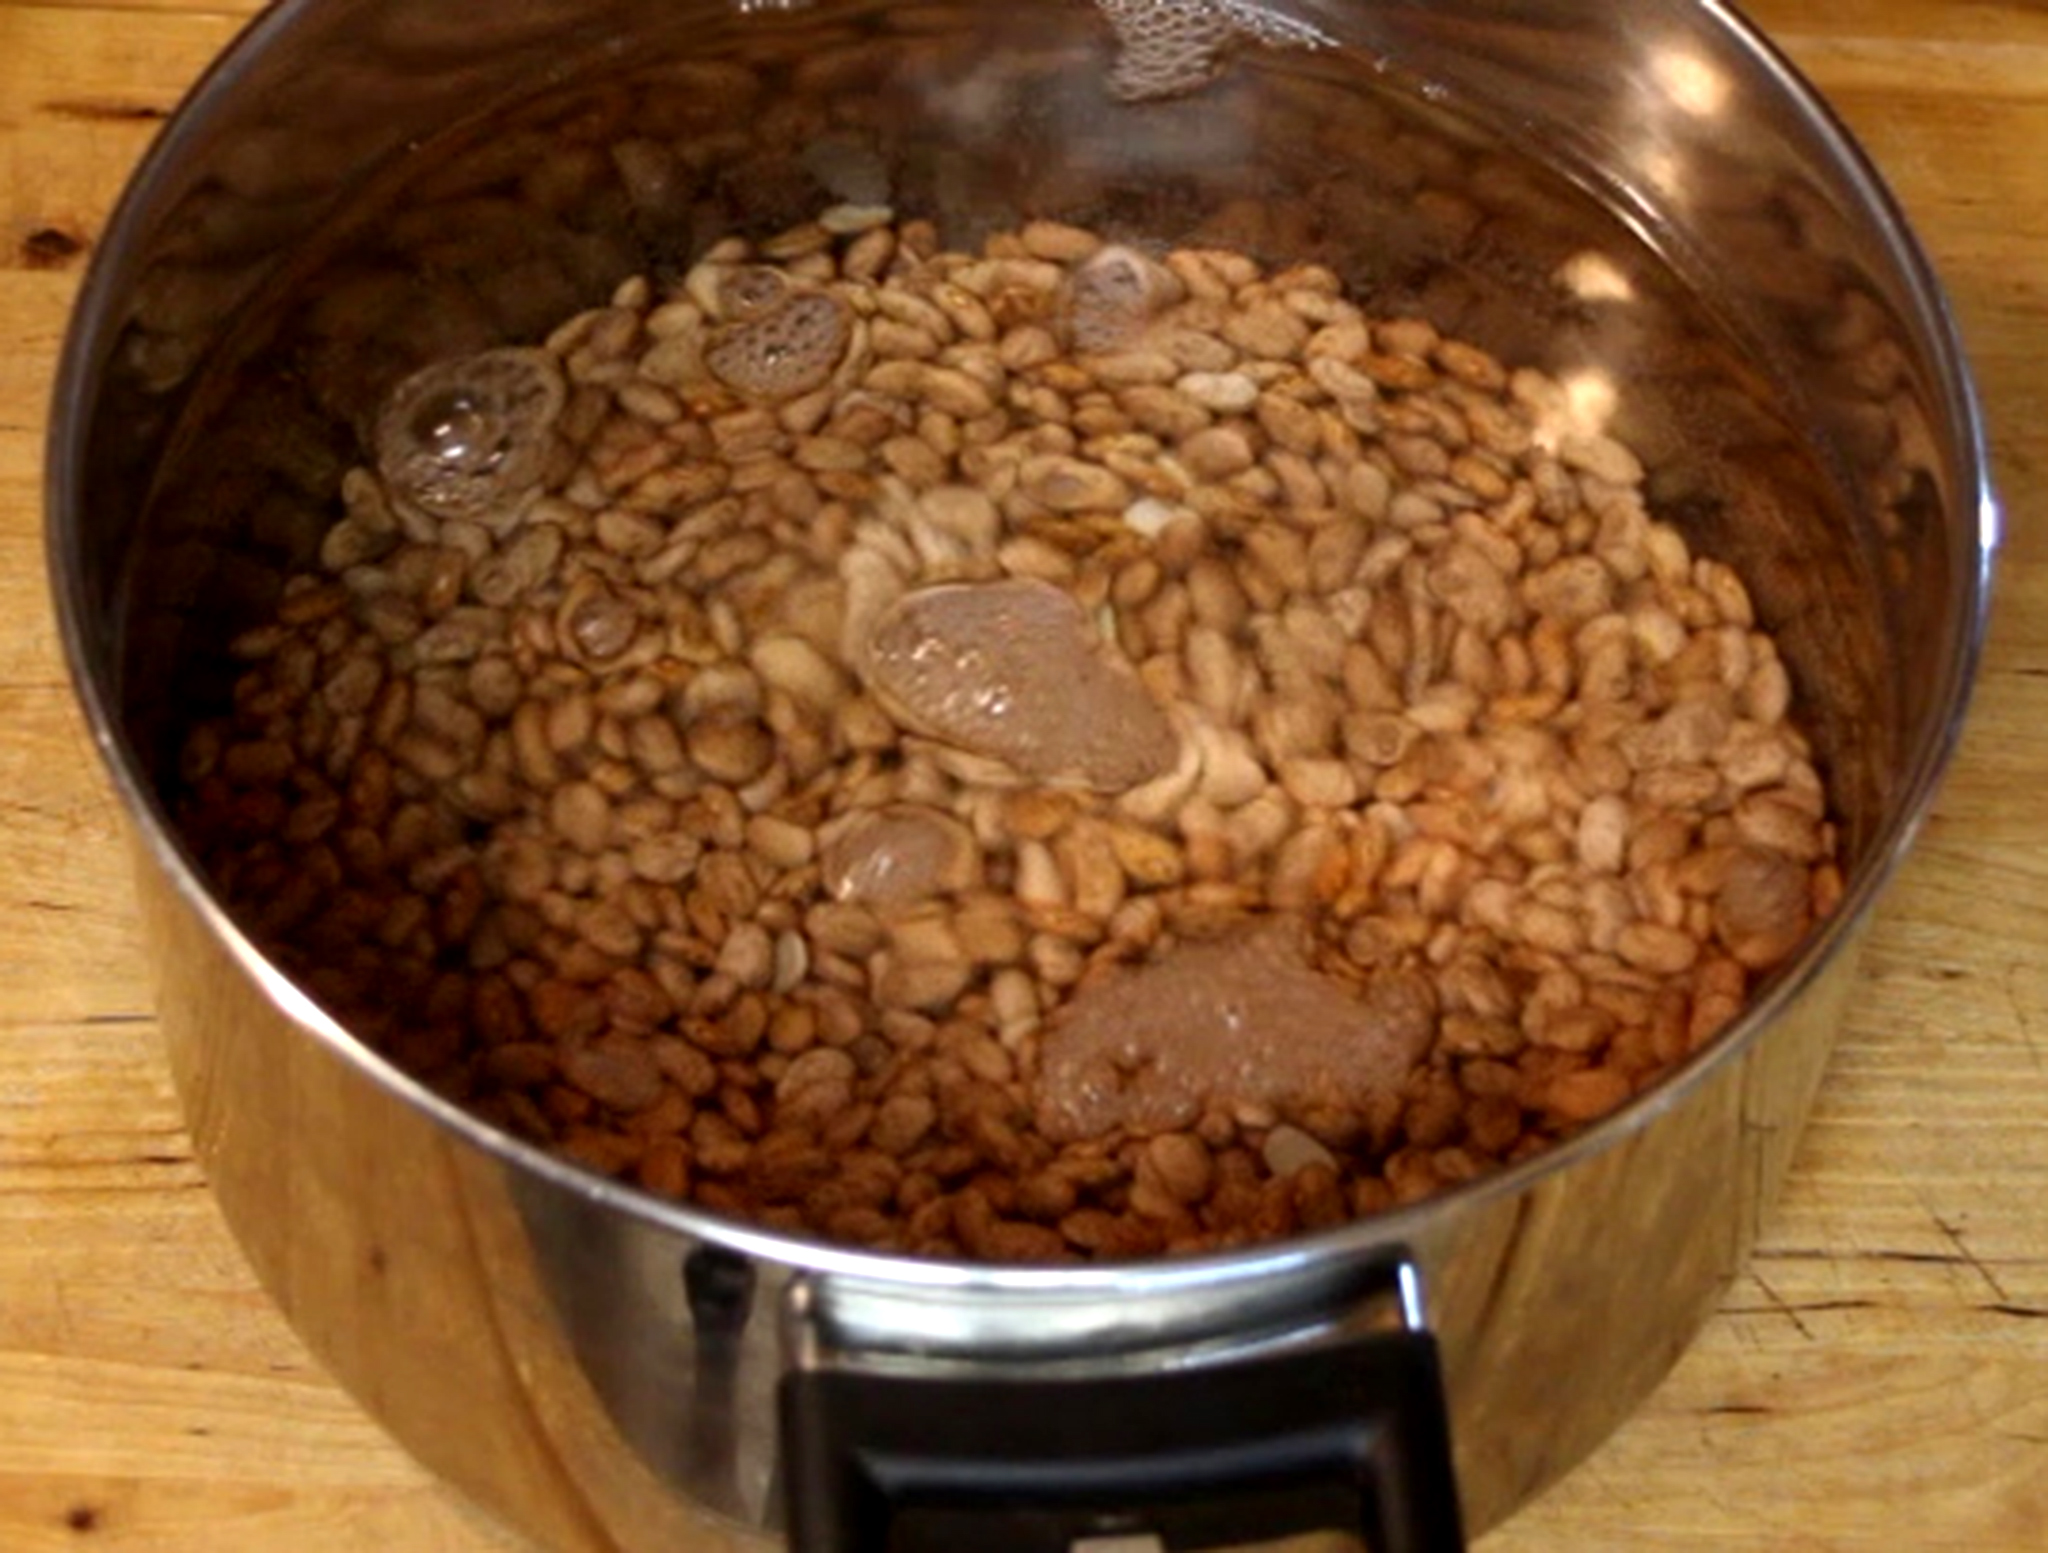
Pour them into pot filled with the water.

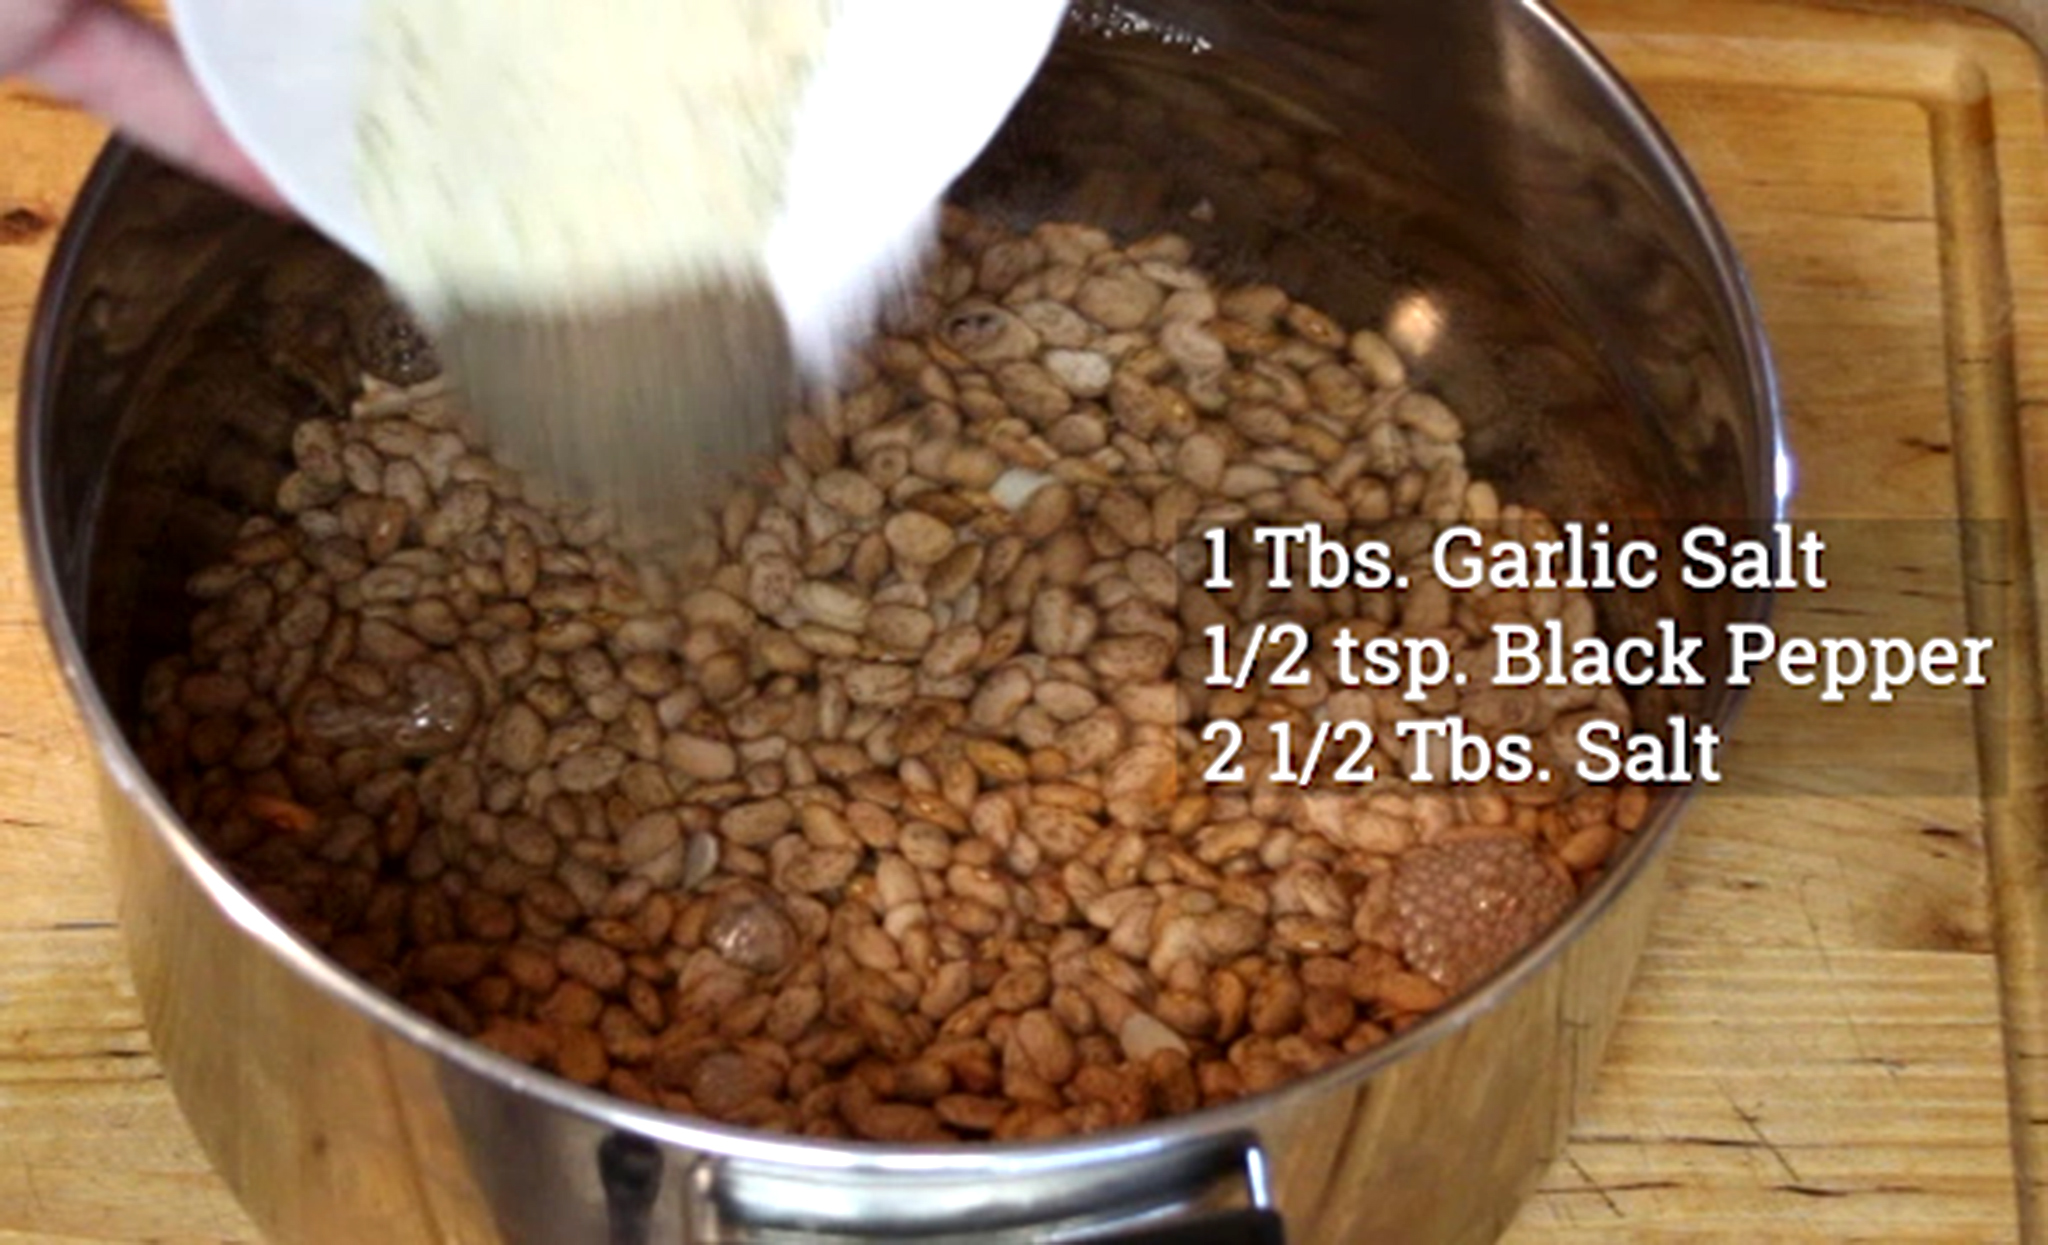
Add the spices and bacon grease. (Unless you are trying to be super healthy – then add just a little olive oil or coconut oil)

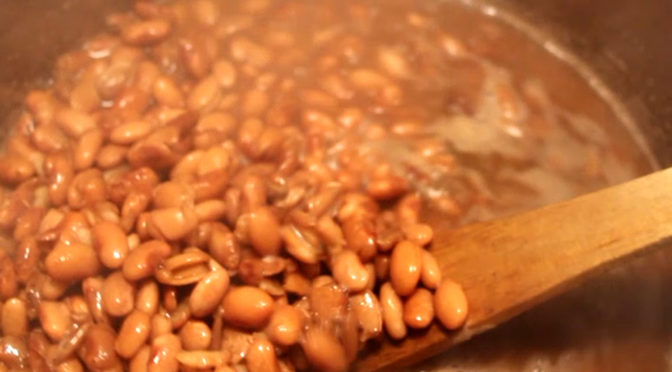
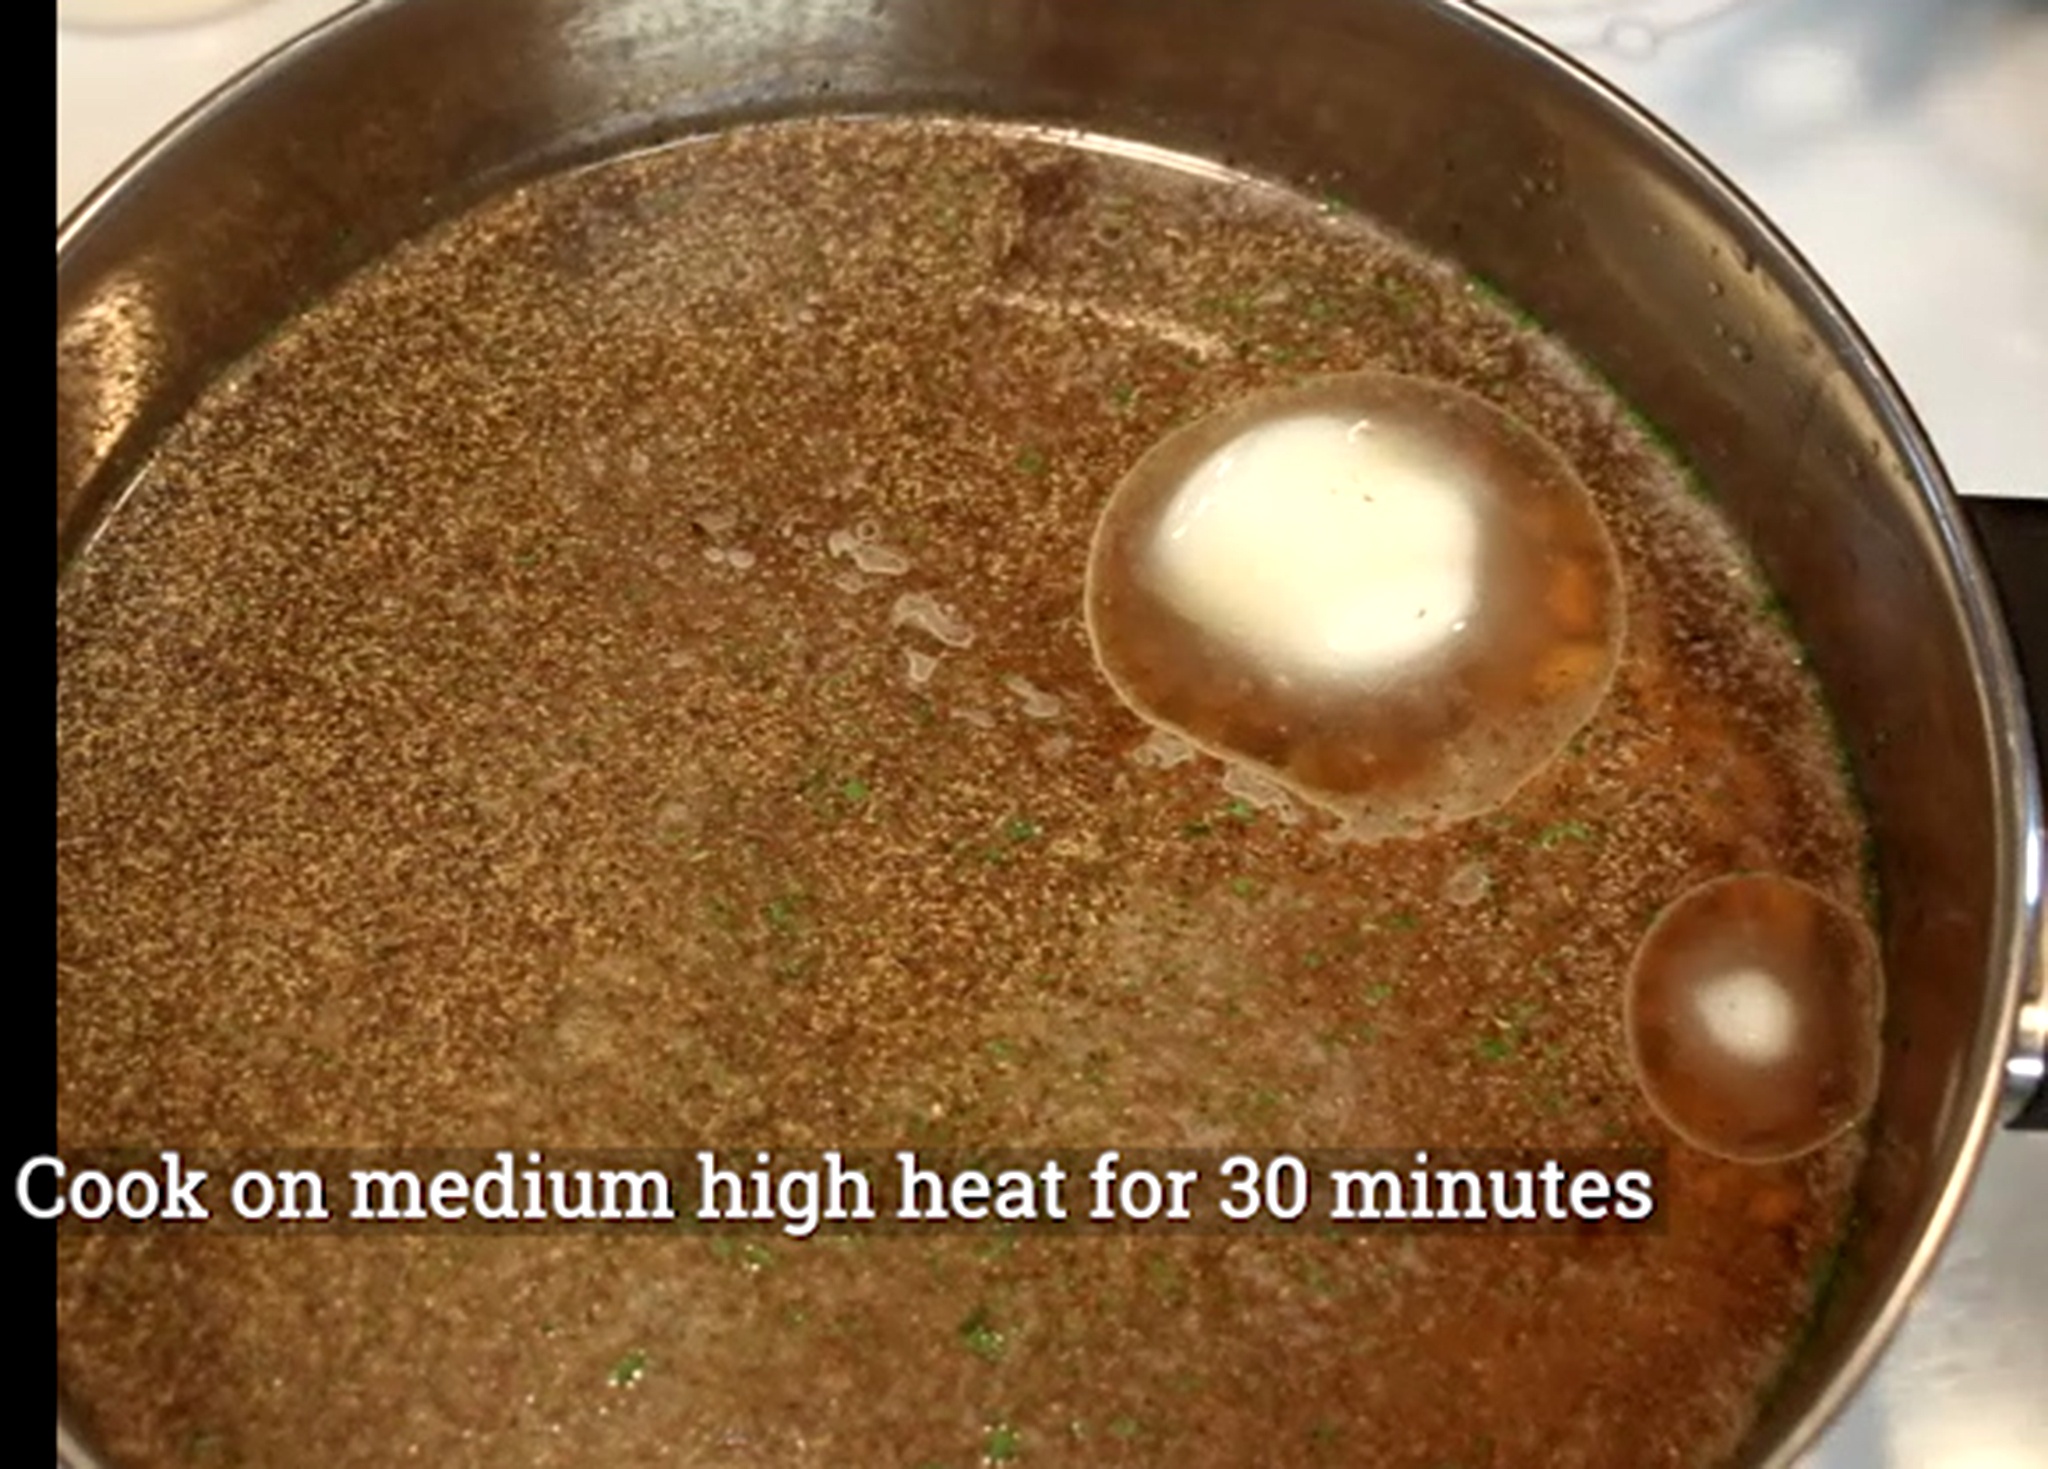
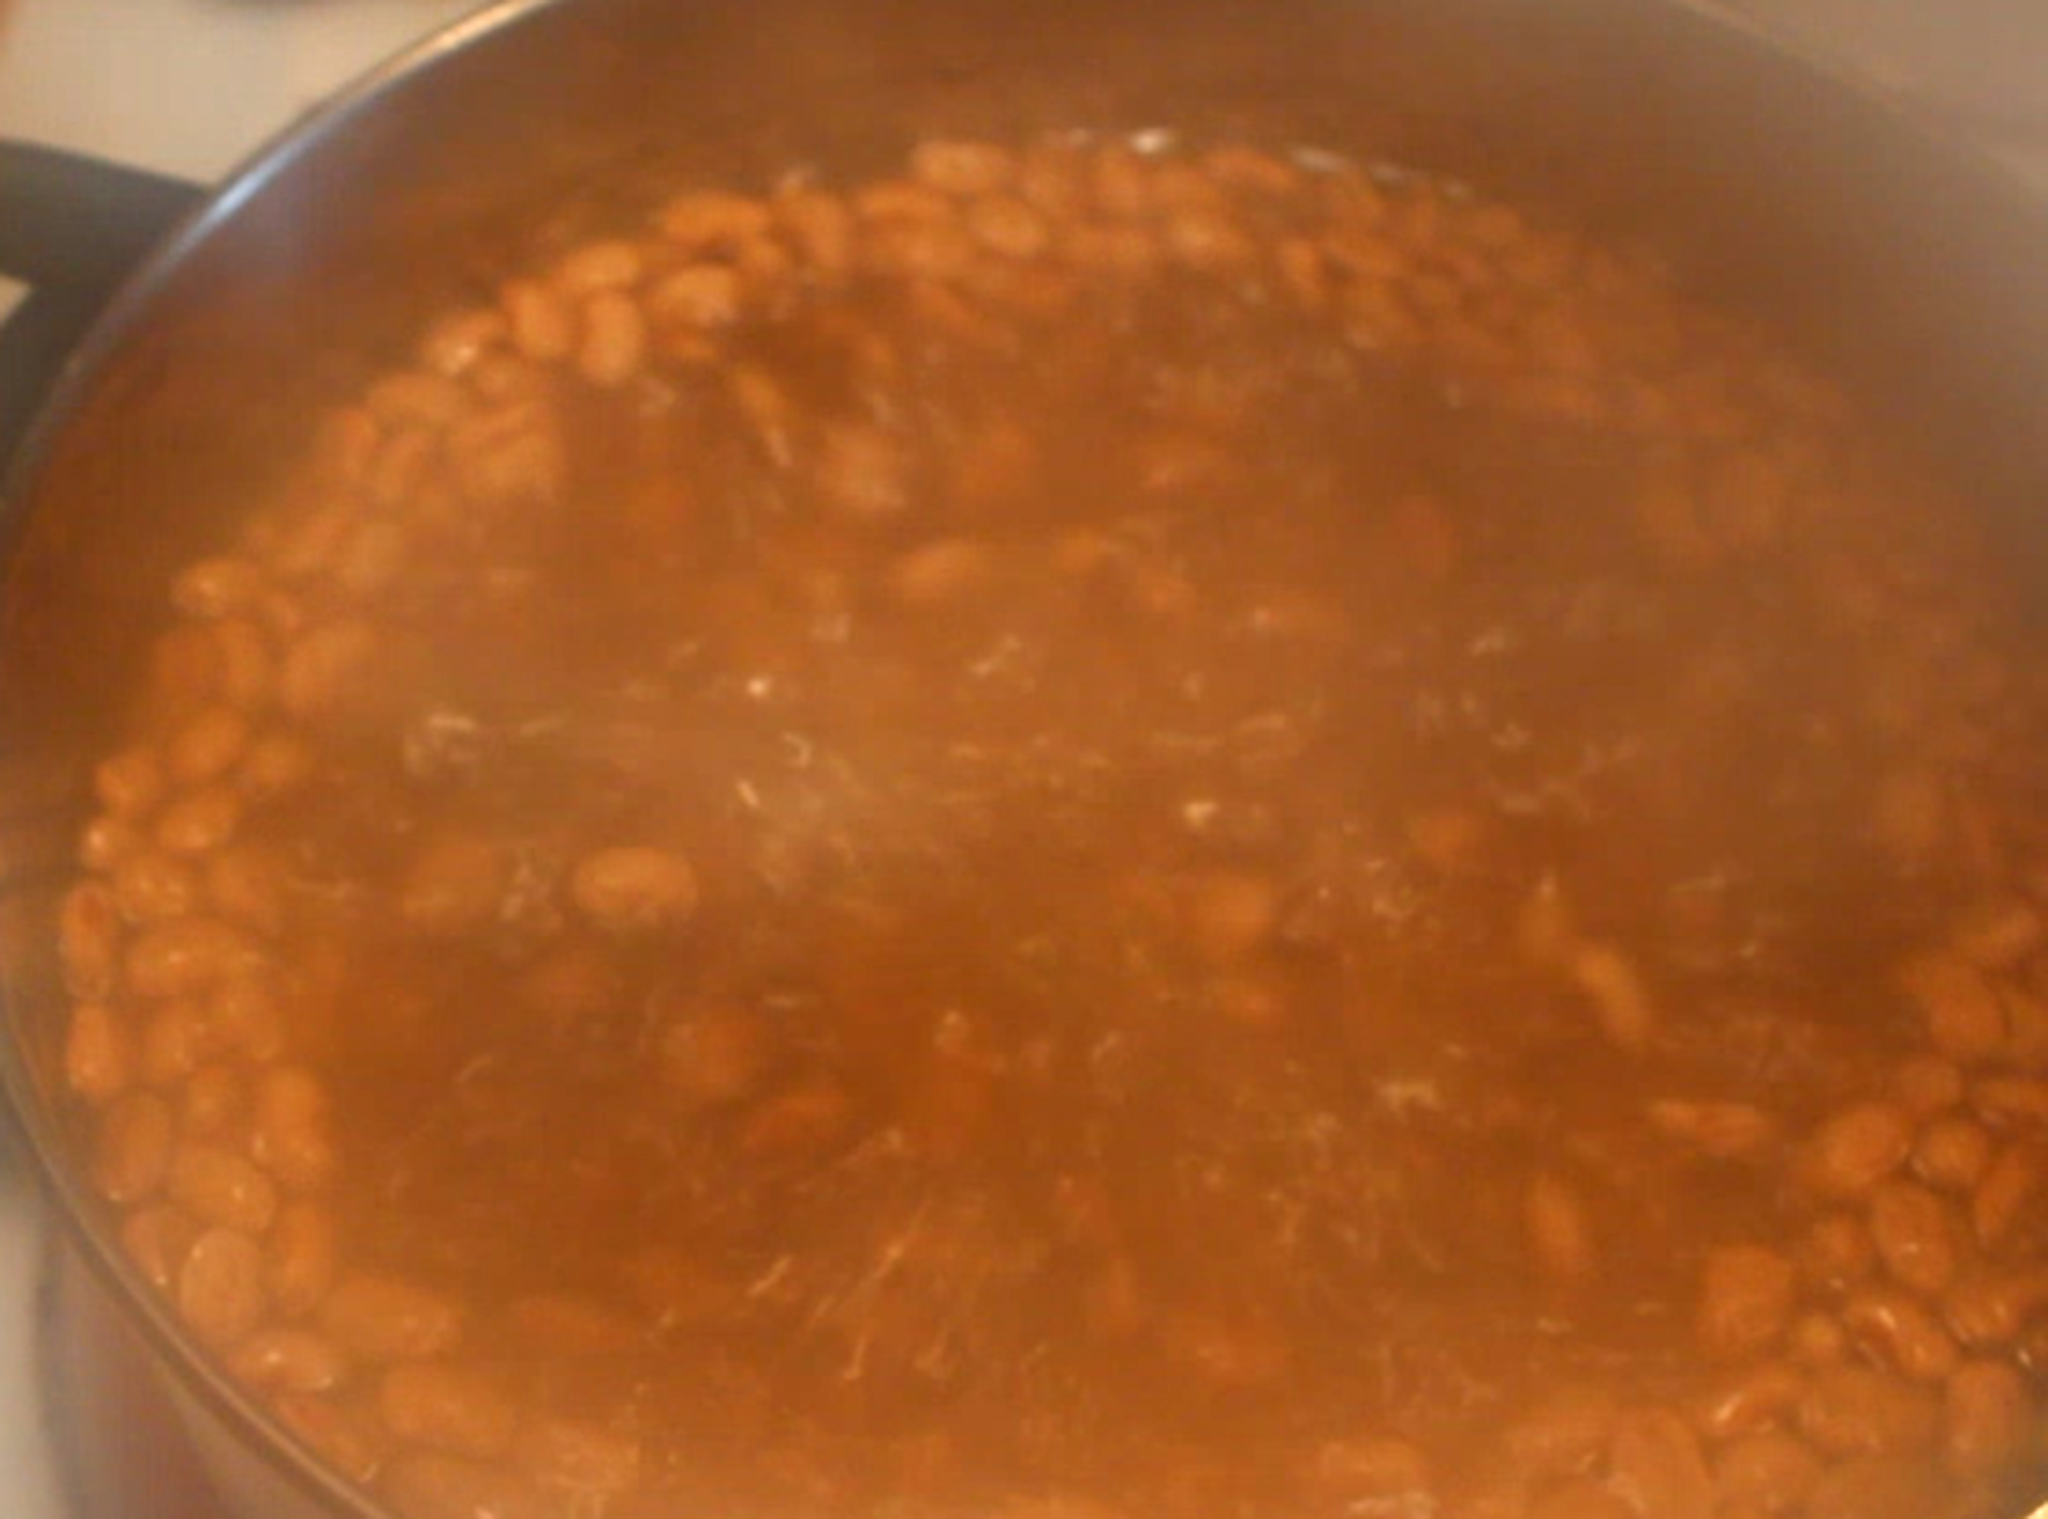
Cook on medium-high heat for 30 minutes, stirring occasionally.

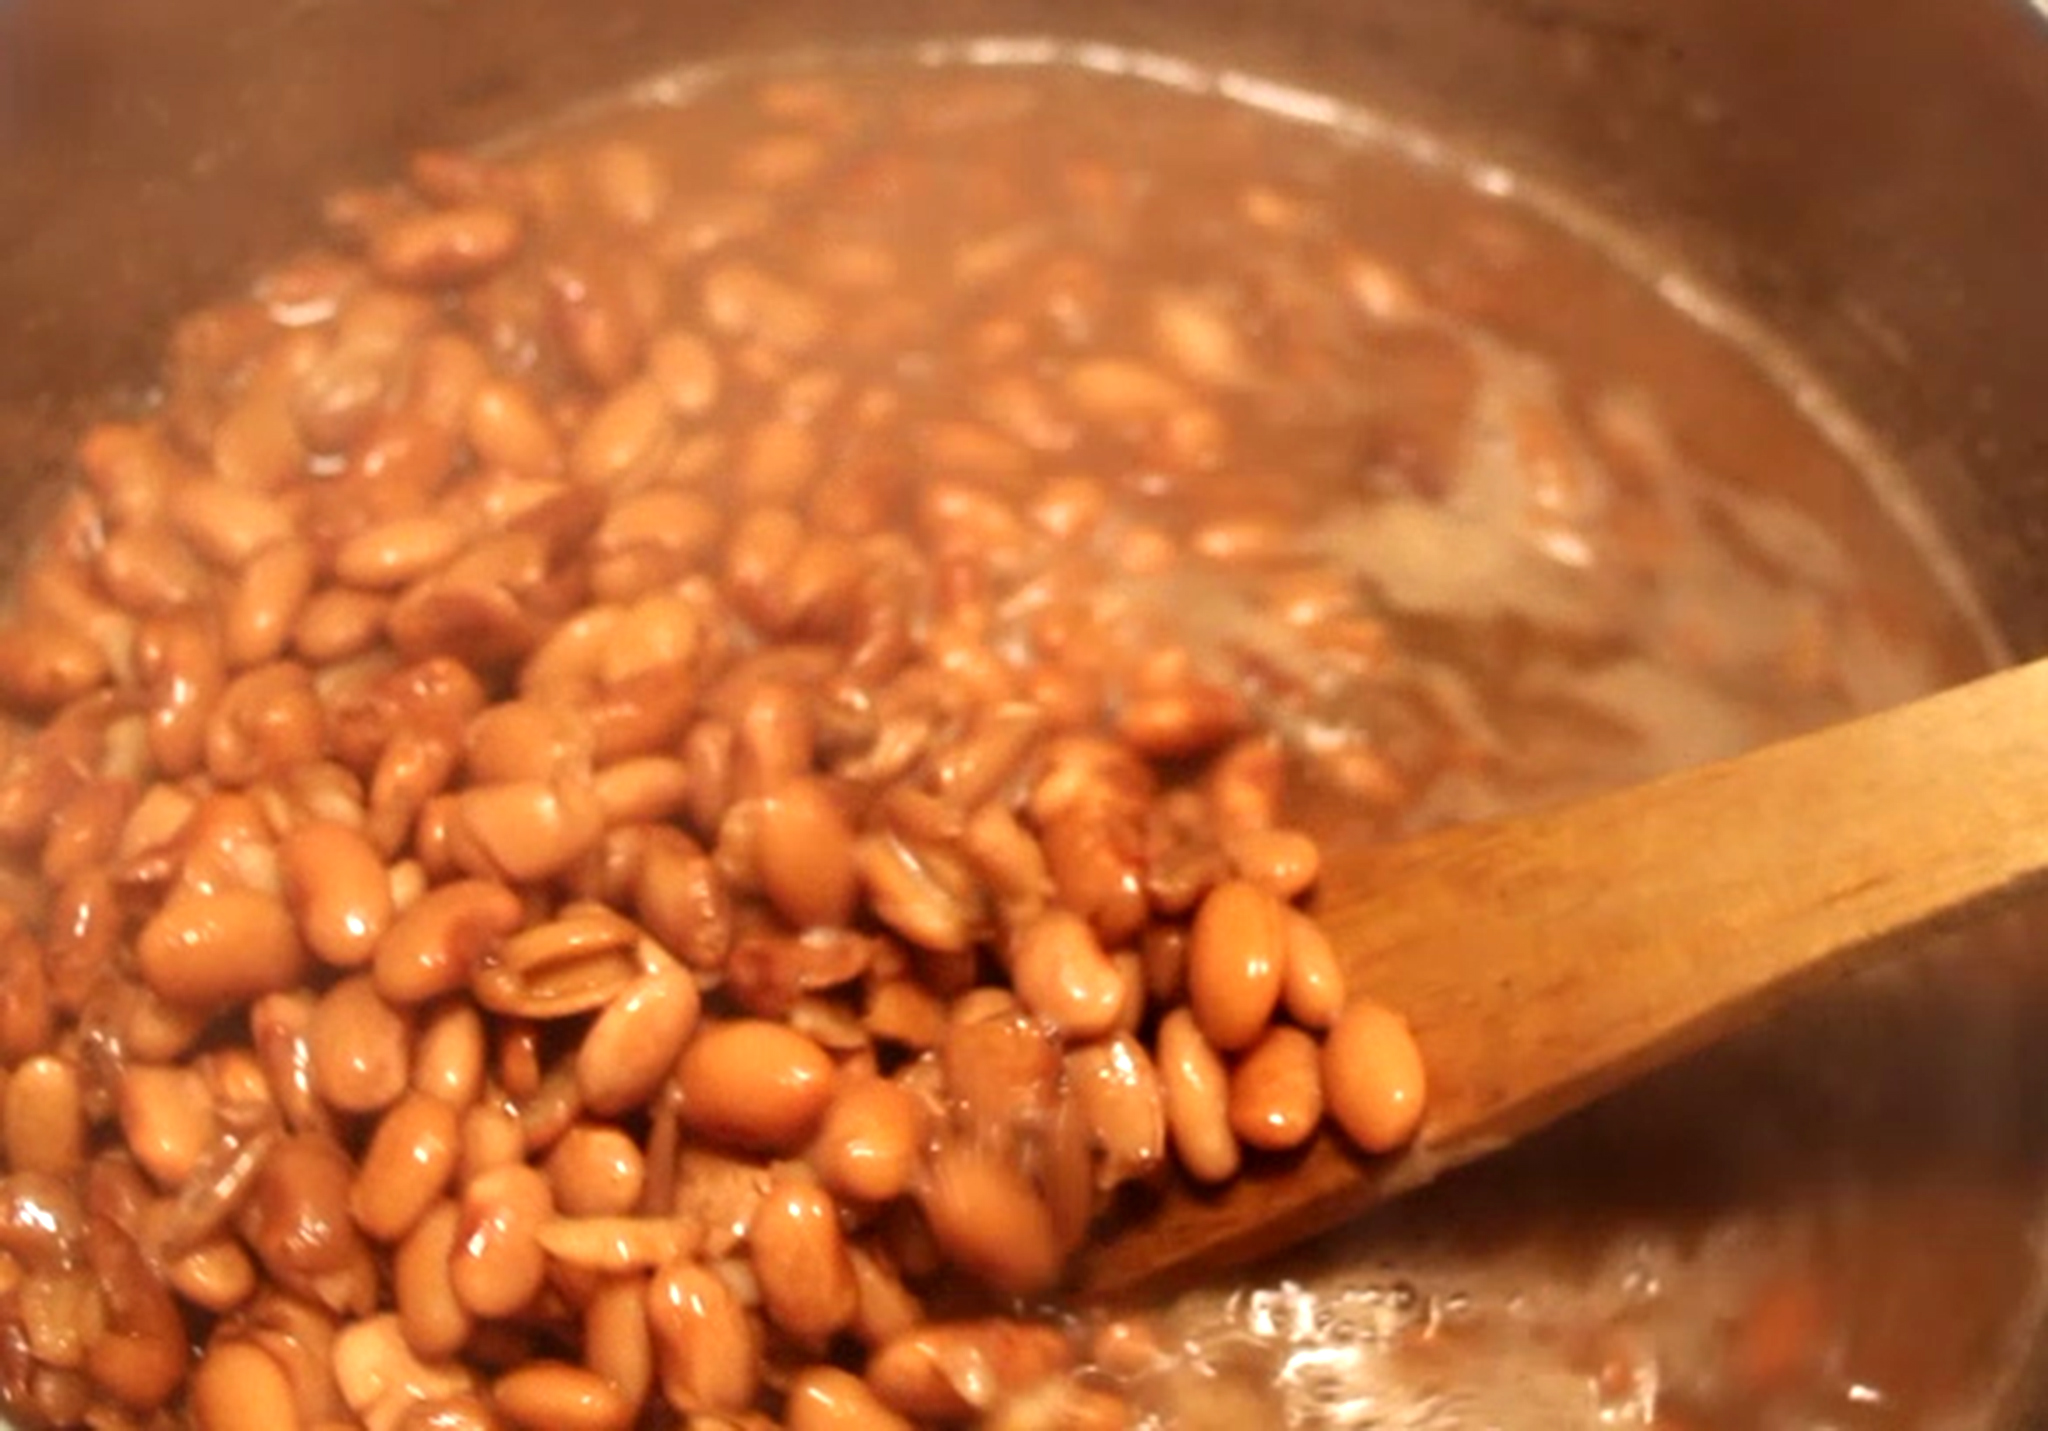
Nice and steamy. Reduce heat to low-medium and cook 3-3.5 hours longer, stirring occasionally.

I don’t add a lot of salt at the beginning because you can’t take salt out, but you can add more now.
So test those beans and if you think they need salt or any other spice, go for it!

Package 2 or 3 quart bags or containers and freeze. Enjoy the rest with a nice big pan of cornbread right now. Go on – enjoy!

Basic skills – Cooking and Shredding Chicken

Cooking and Shredding Chicken

1-2 lb. chicken (breast, bone-in split breasts, boneless breasts, thighs)
Water
Large stew pot
Salt
Pepper
Lawry’s Garlic Salt
Wawatusa Village Seasoning (or celery seed or celery salt)
Heat source – duh!

Turn heat to low-medium heat.
Add water to stew pot and lay chicken in.
Add more water to cover and sprinkle on spices.
Cover and let slow cook for an hour to and hour and a half.
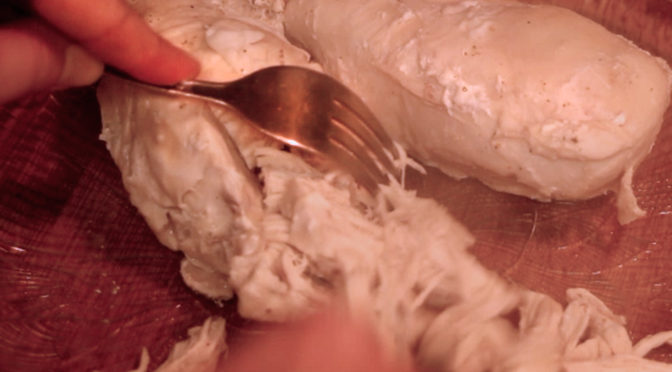
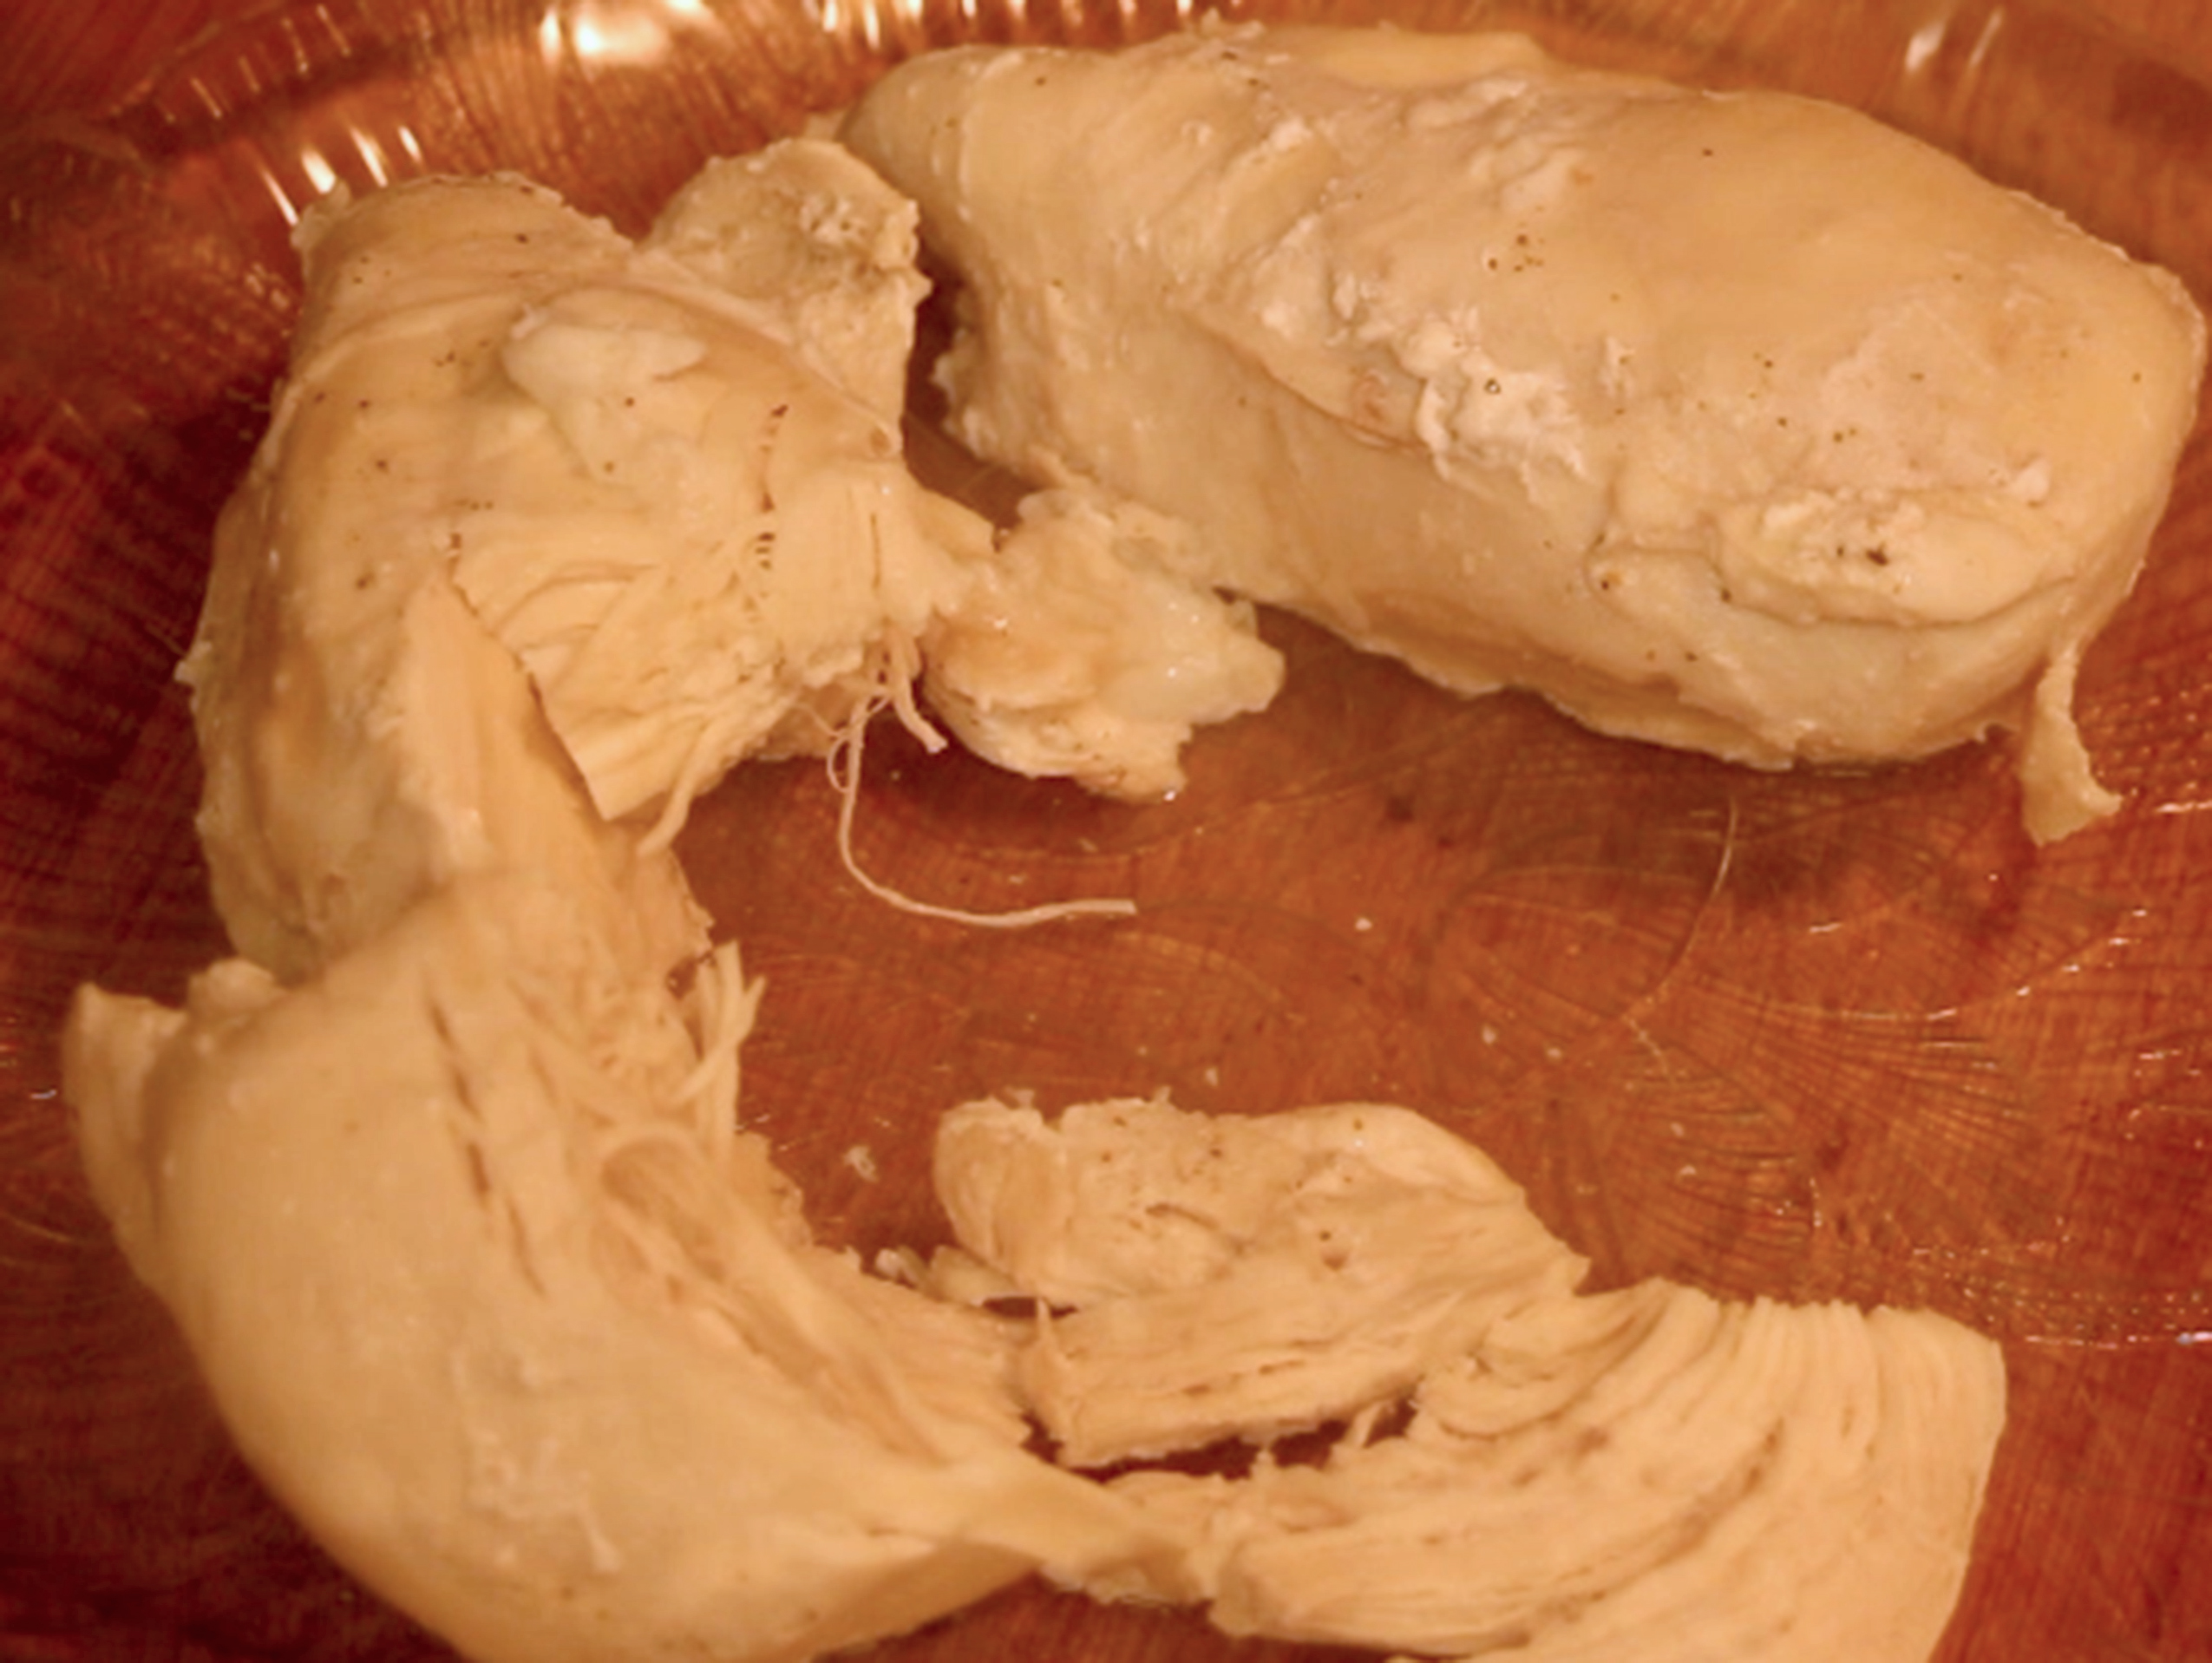
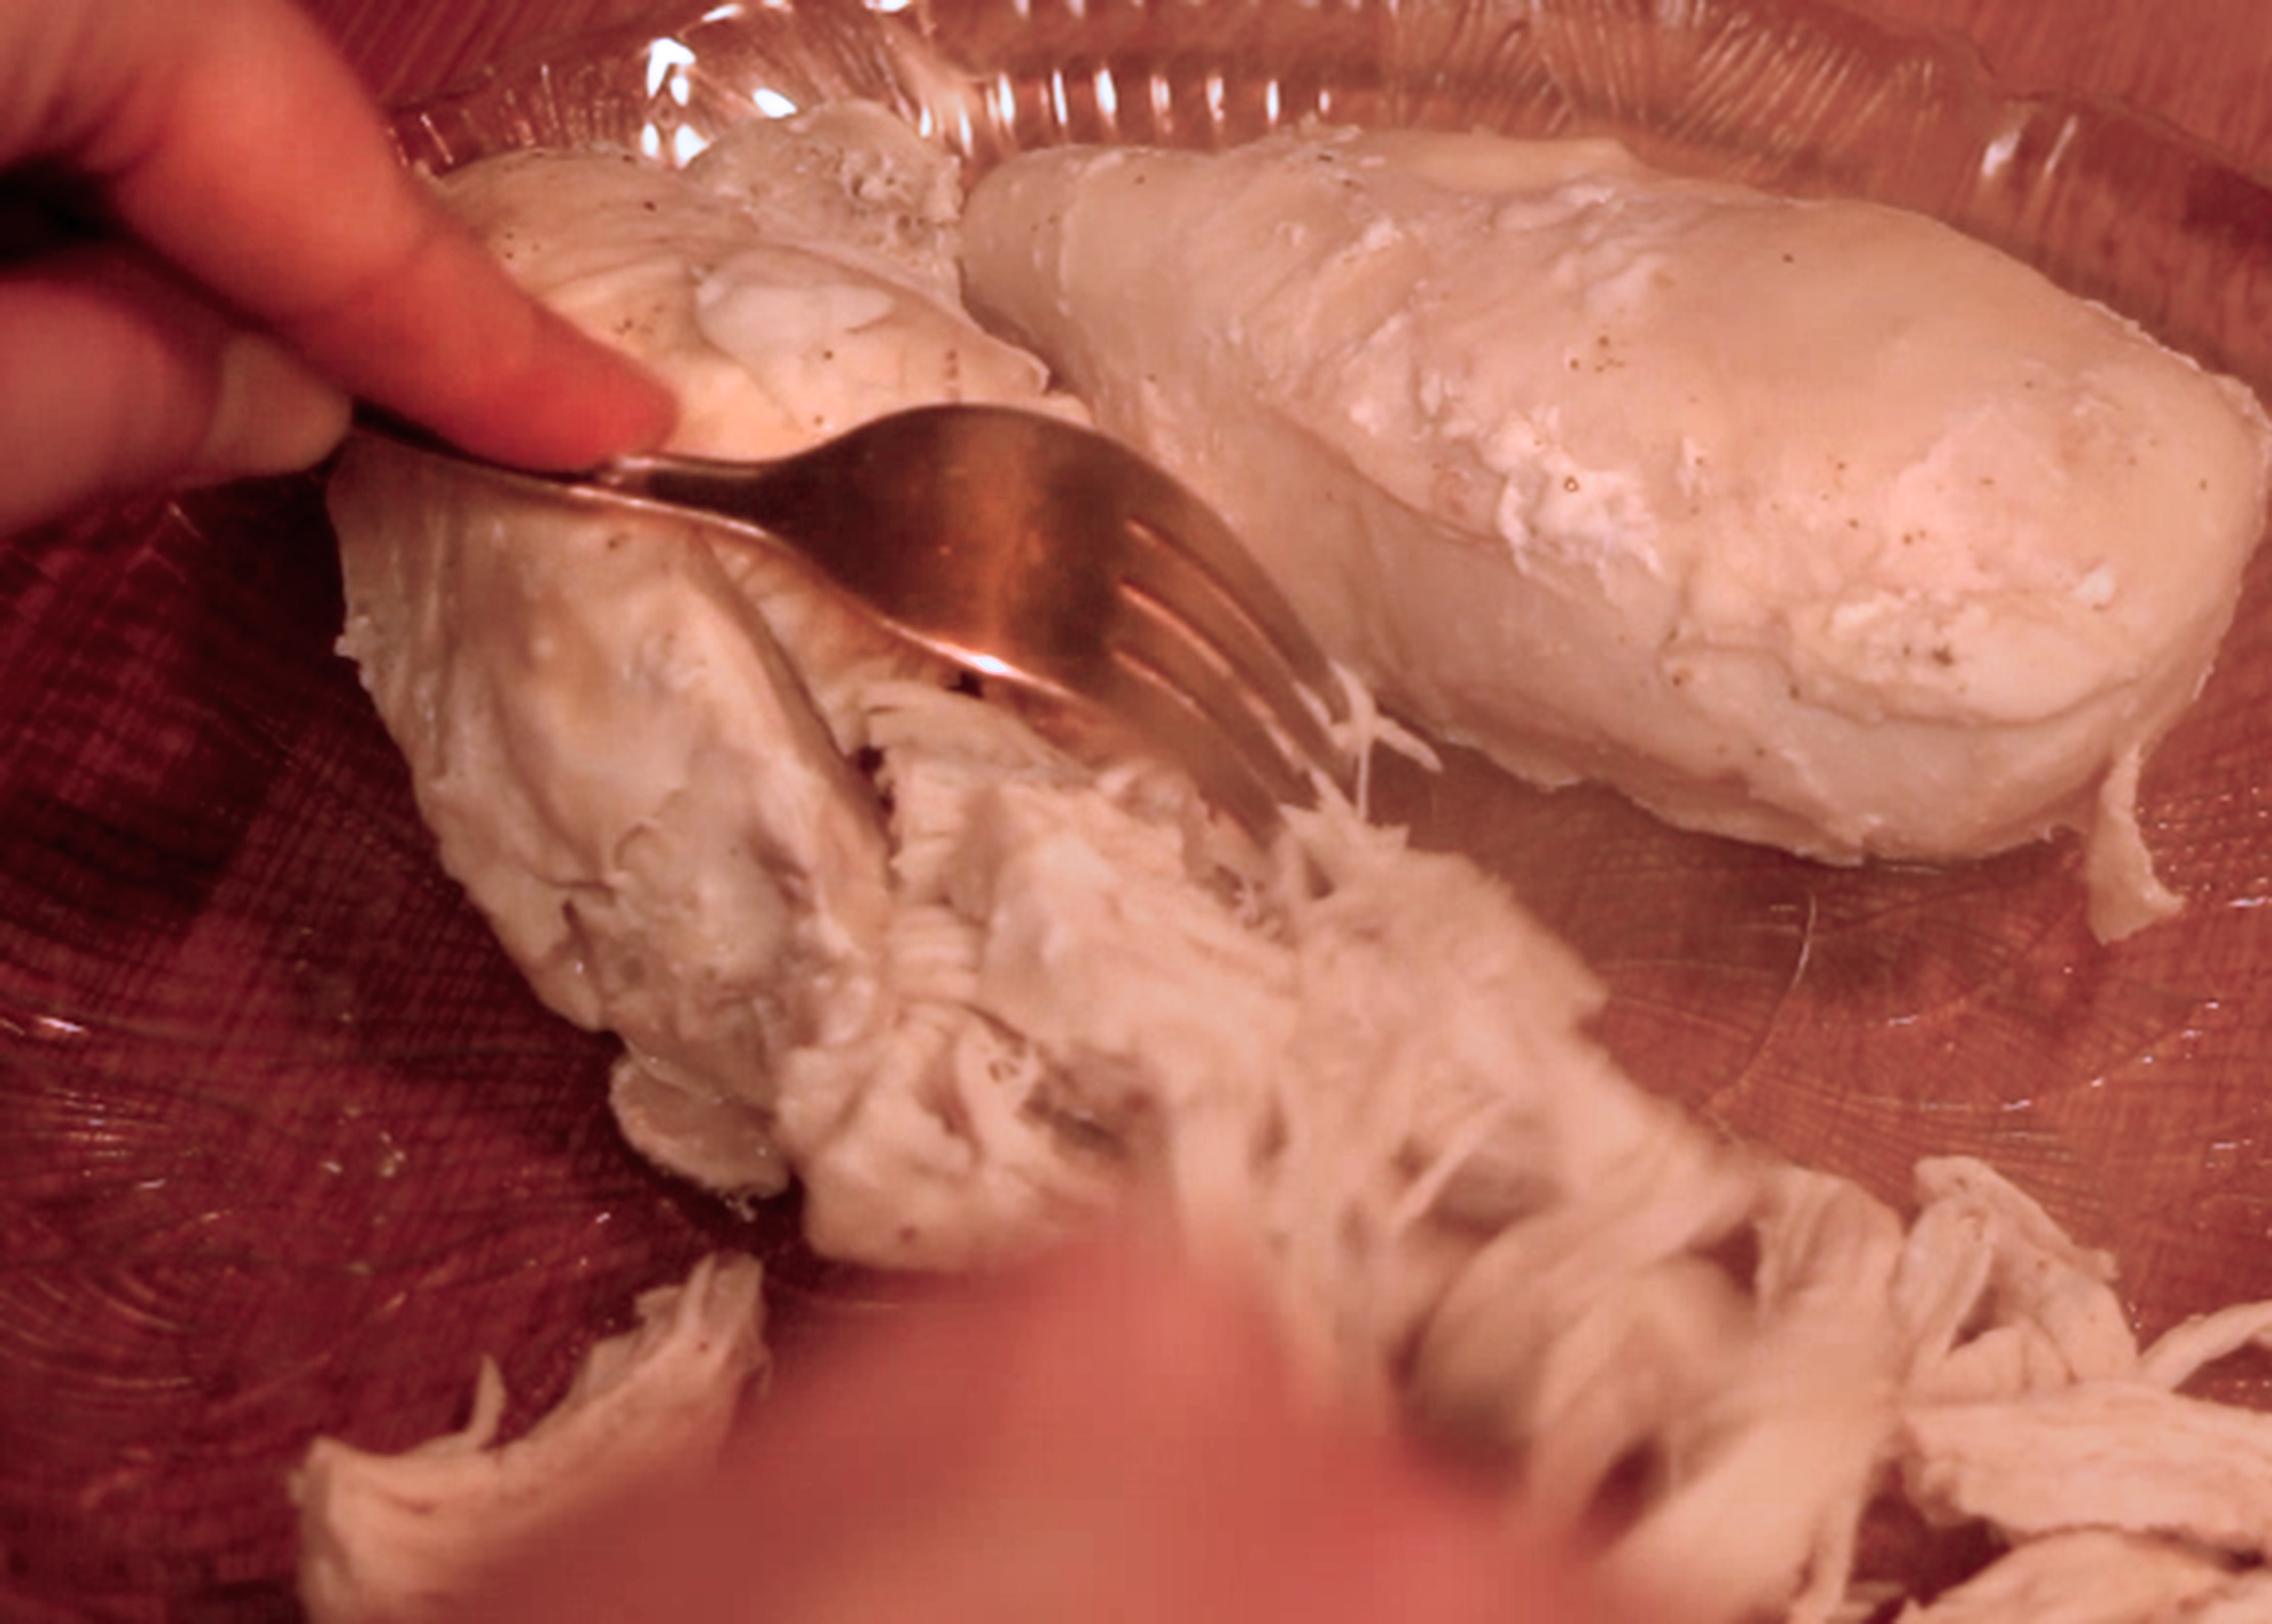
Remove chicken from broth and let cool for 10 min. Shred for recipes.
Strain broth for recipes.

Note: You can add taco, fajita, or barbecue seasonings into the pot depending on the use of the shredded chicken.

It was always amazing to me how a lot of our customers didn’t know how to do basic things in the kitchen. I even had a friend who messed up jello. Jello!!! She made one batch that remained water, essentially; and one batch that set up like concrete. …. She did the same thing both times. Go figure.
Then I think, wait a minute, I didn’t know how to do a few basic things before beginning this catering adventure. And I promptly stopped laughing at everyone else – mostly.
For example: cooking chicken. Not baking or grilling, but cooking to shred for recipes. Easy, yes. But my family had never eaten much chicken and we didn’t make casseroles and such so this was largely uncharted territory for me. And cooking it so that it remained tender and not rubbery – that’s the key.
Cook it slow. There’s the secret. If you don’t have time to let a few pounds of chicken cook overnight or all day in a crockpot or slow cooker, you can boil it rather quickly (about an hour for a couple pounds). But even then, cook on lower heat so that the meat doesn’t get tough. If you are cooking more than a pound or two, up your time a little bit. You’ll know when it’s done. Poke a knife or fork in after about and hour and if it falls apart or the implement of choice slices in super easy, it’s done. (Or just cut it and make sure there’s no pink.)