All posts by scootergin

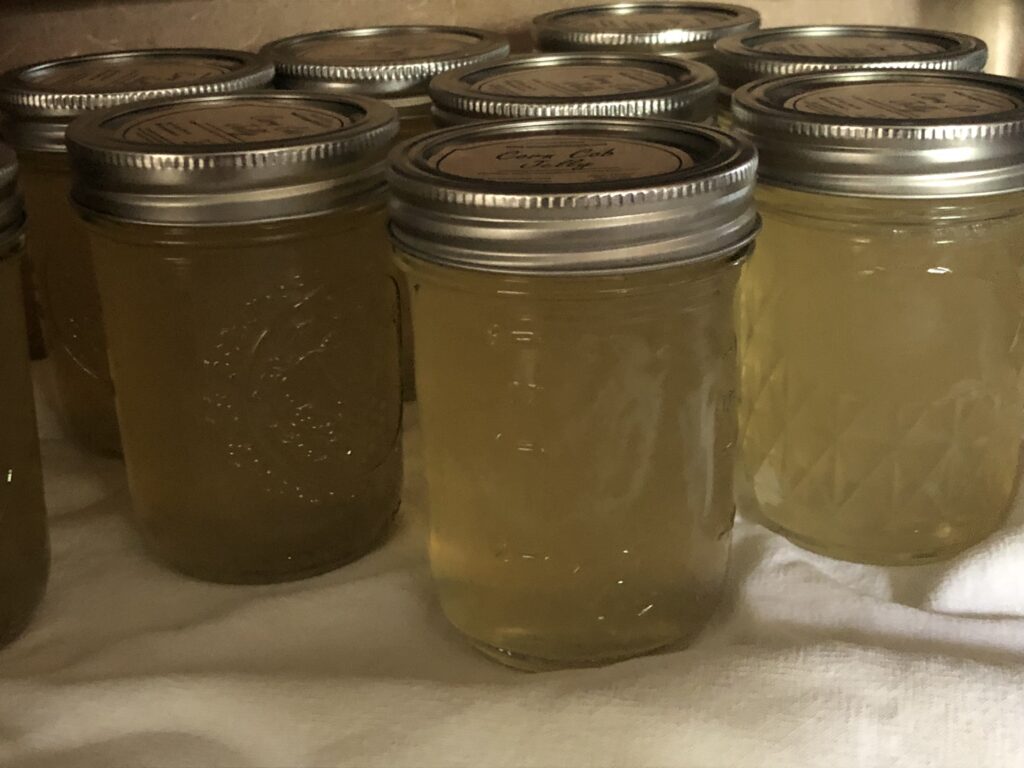
Corn Cob Jelly

Sweet uses for corn cobs
You will need:
12 corn cobs (not ones you’ve eaten off of, but ones you’ve cut the kernels from for cream corn)
2 qt water (enough to cover the corn cobs)

Place corn cobs in large pot of water over medium heat.
Make sure water just covers corn cobs.
Boil for 10-15 min to release whatever milk and sugar is left.
Strain that liquid through fine mesh strainer or cheese cloth.
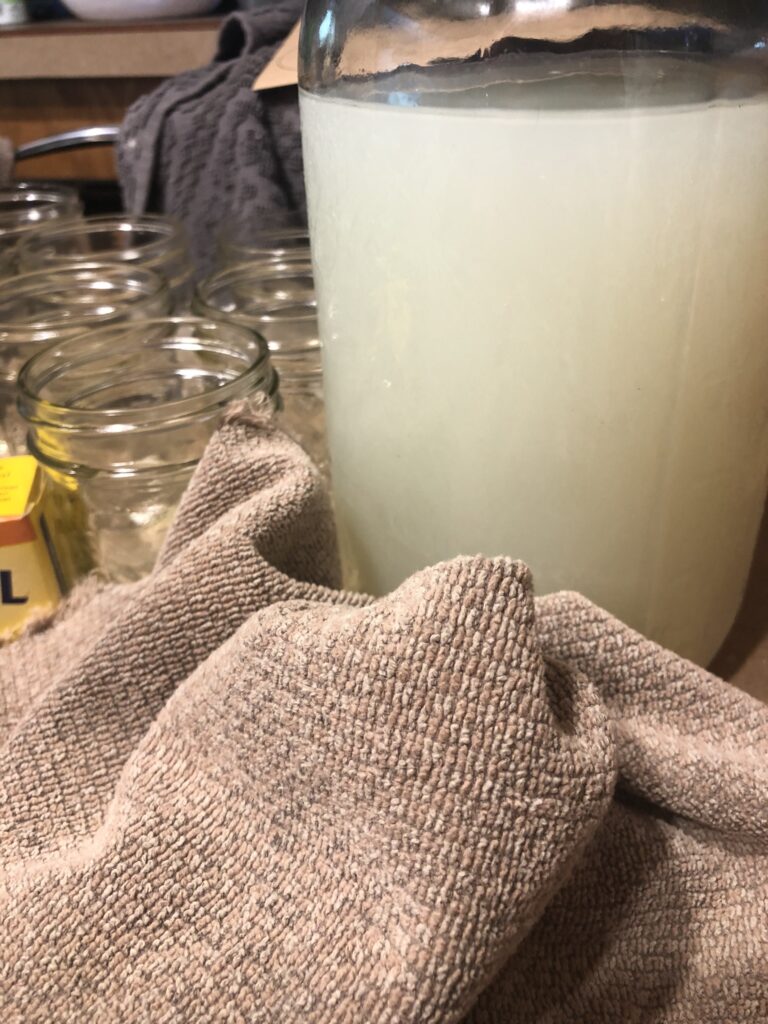
3 cups liquid
(If you have more than 3 cups liquid, freeze in cup portions and add to soups instead of chicken broth. It gives a great flavor. If you don’t have quite 3 cups, add a little water.)
3 cups sugar
1 box pectin (Sure-Jell)

Fill one large heavy bottom pot with water and place on stove over medium high heat.
Put corn liquid in another large heavy bottom pot and place on stove over medium high heat.
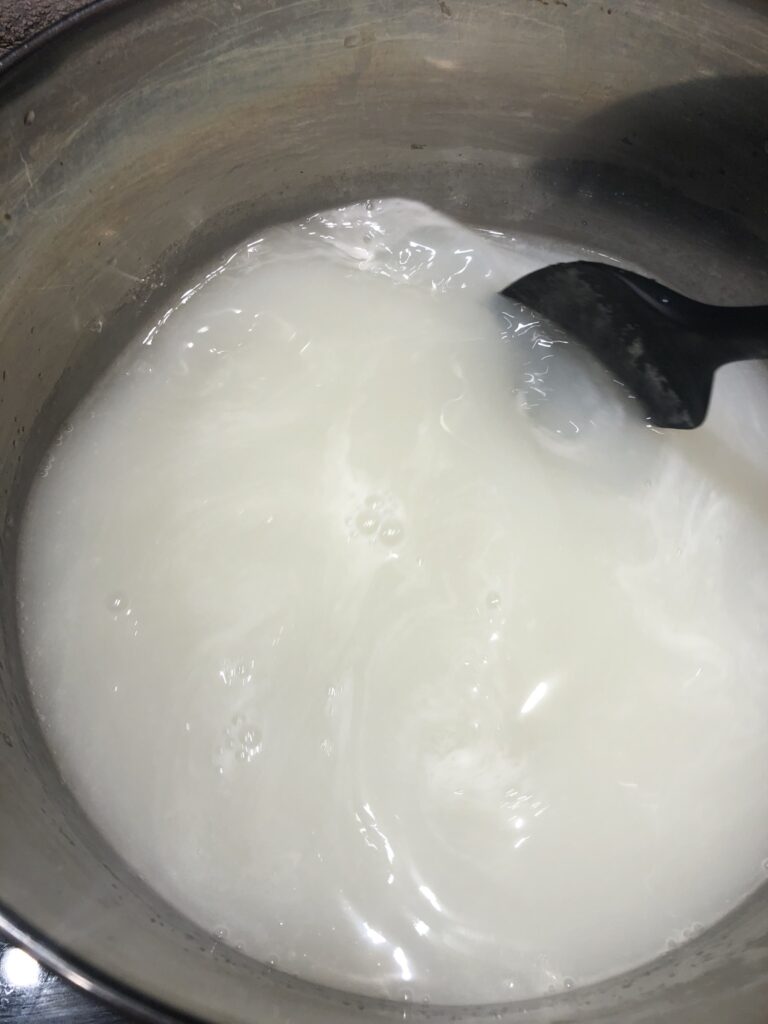

Stir pectin into corn liquid. Allow to heat, stirring occasionally.
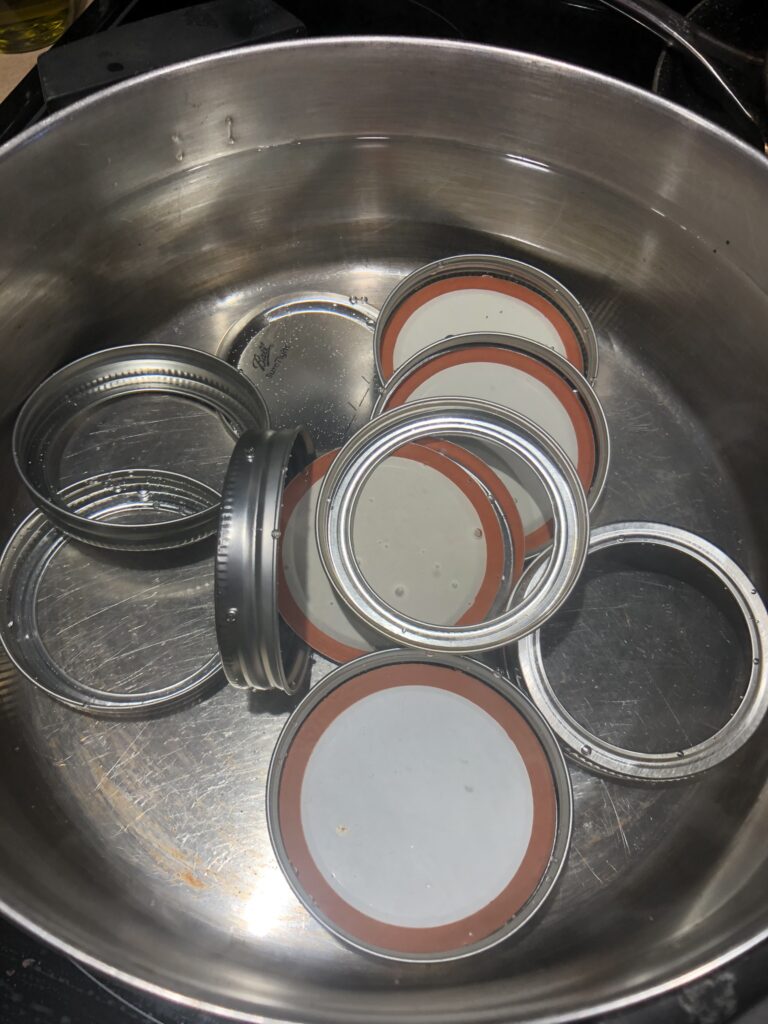

In the water pot, put your jar lids. Boil these so they are sanitized and hot which aids in sealing.
Have jars clean and ready. I don’t have them hot as the jelly heats the jar and the lid is heated.
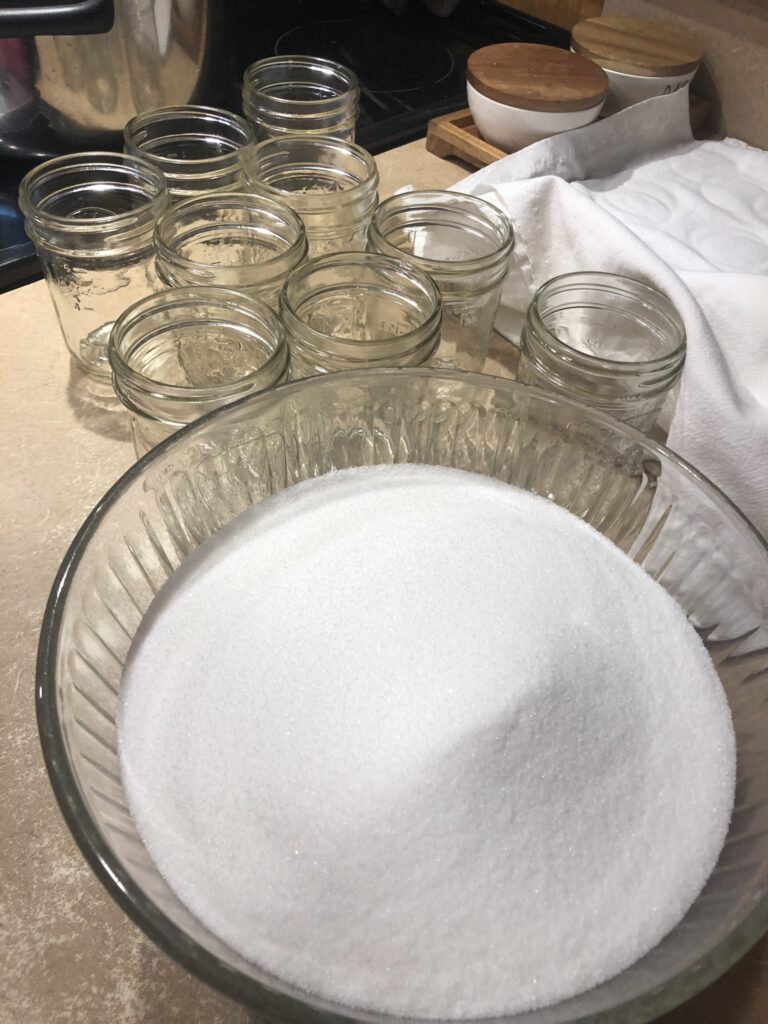

Have a bowl ready with 3 cups sugar measured out.
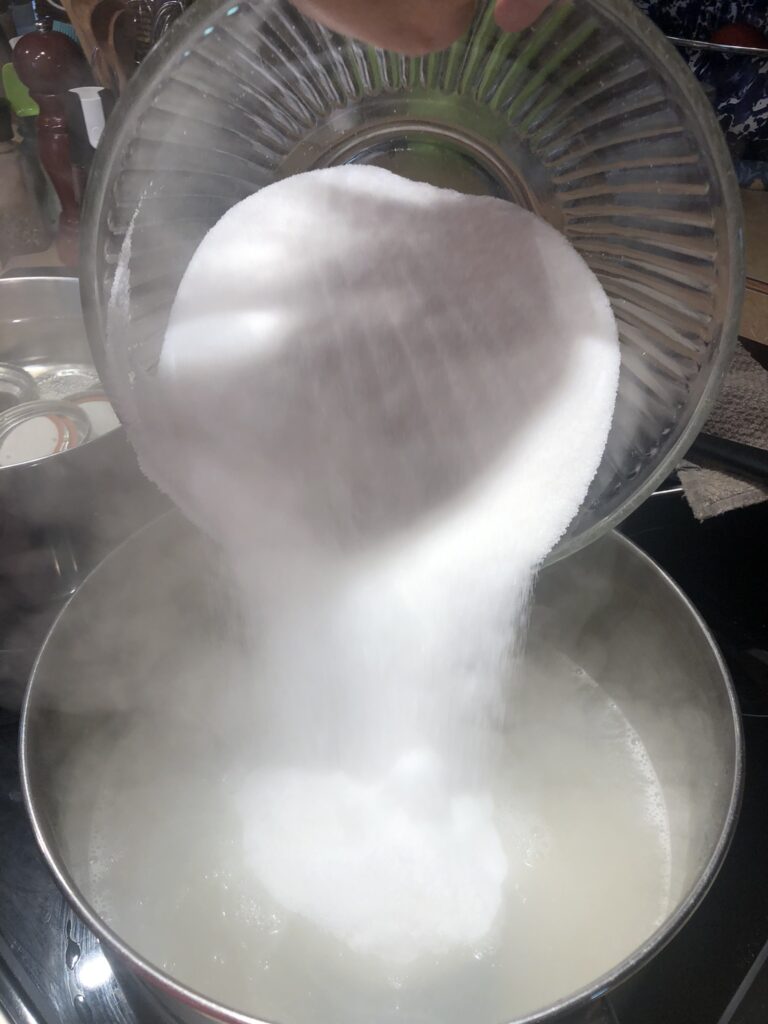
When corn liquid comes to boil, stir in sugar. Stir this frequently as the sugar can cause the mixture to scorch.
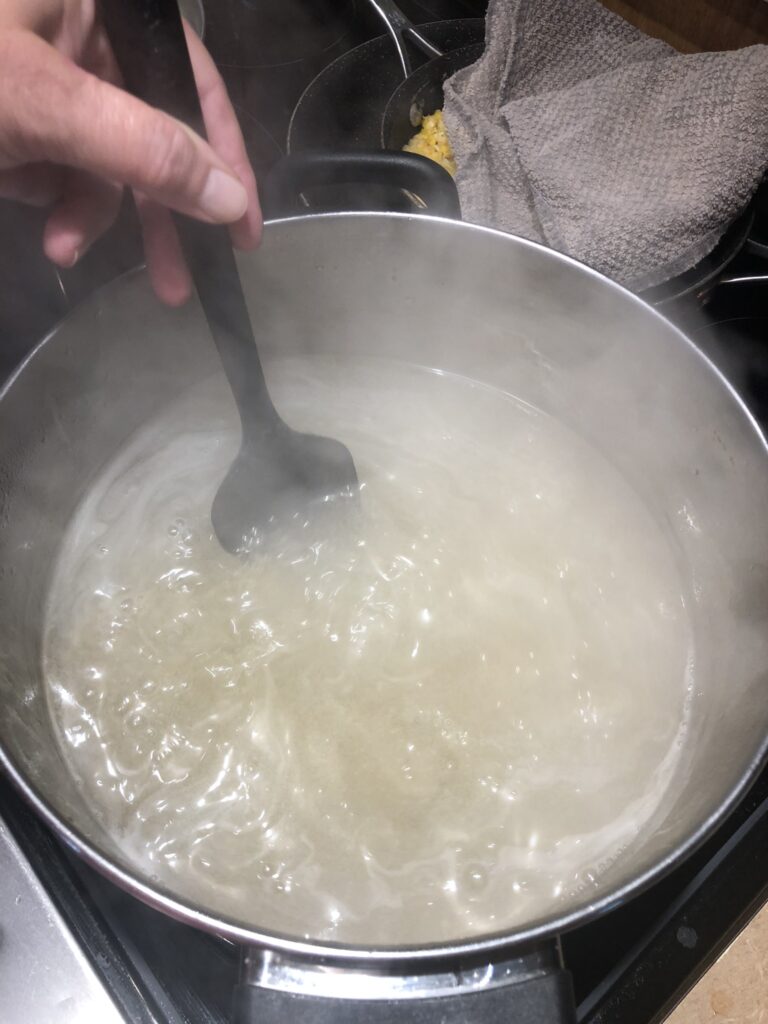

When it comes to rolling boil (a boil that doesn’t stop when you stir), stir constantly for 5 minutes.
Remove from heat and stir to get foam absorbed back into mixture. If it doesn’t all absorb, you can skim it off now or when you put into jars.
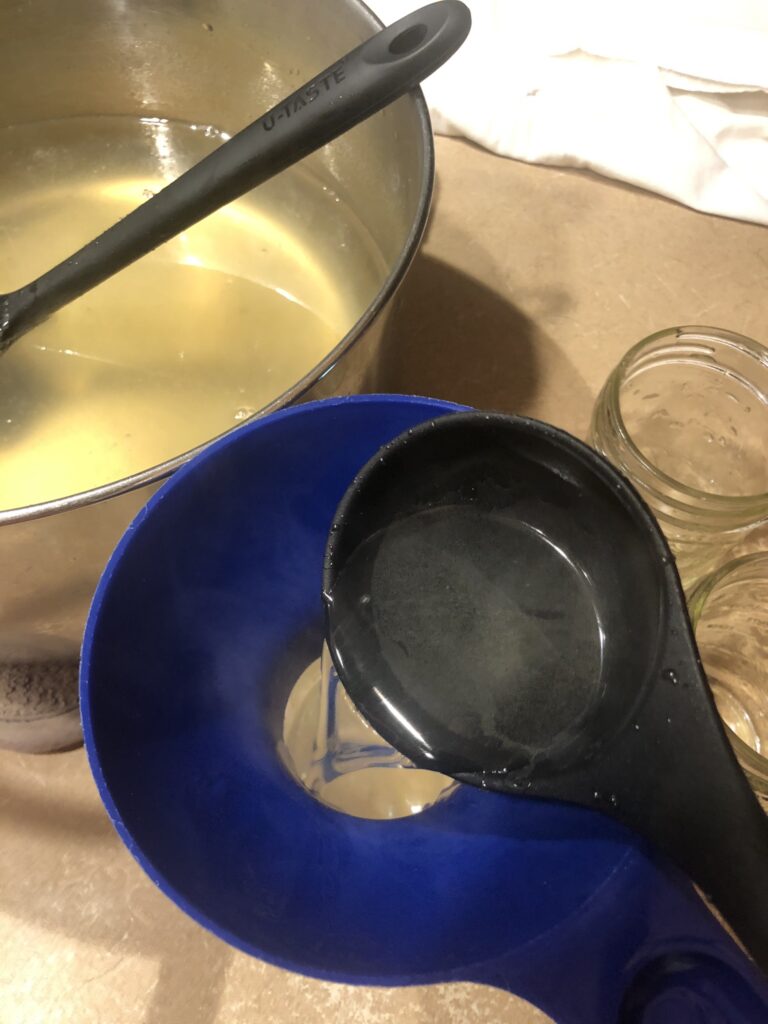

Ladle liquid into jars. If foam is there, skim off.
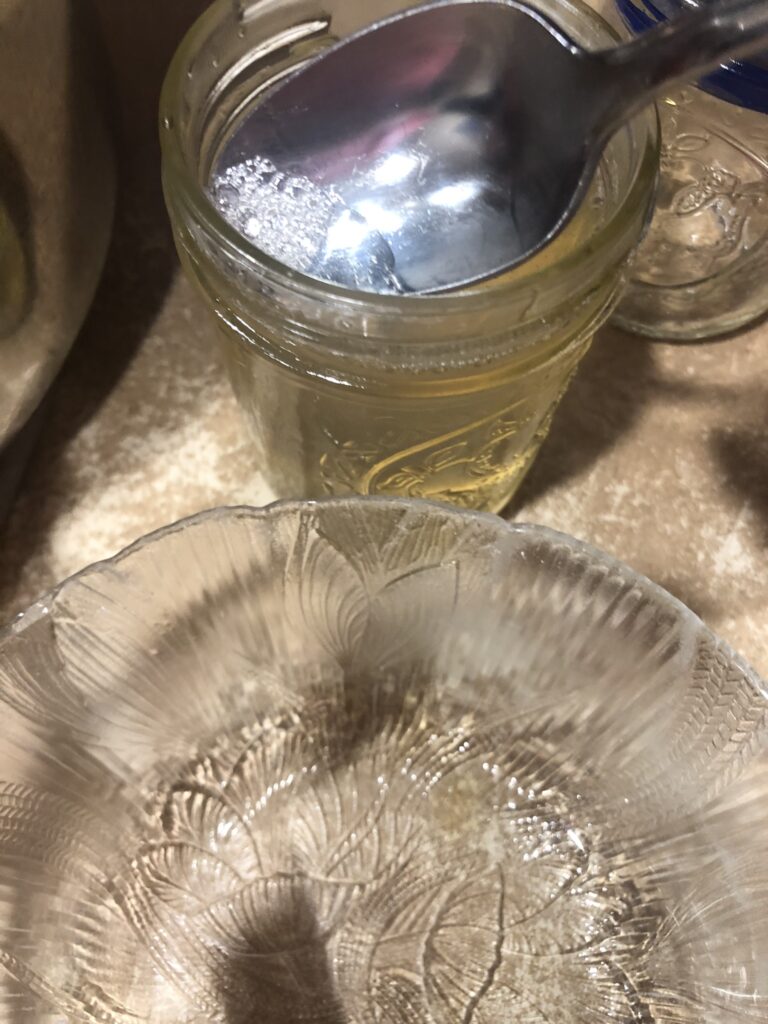

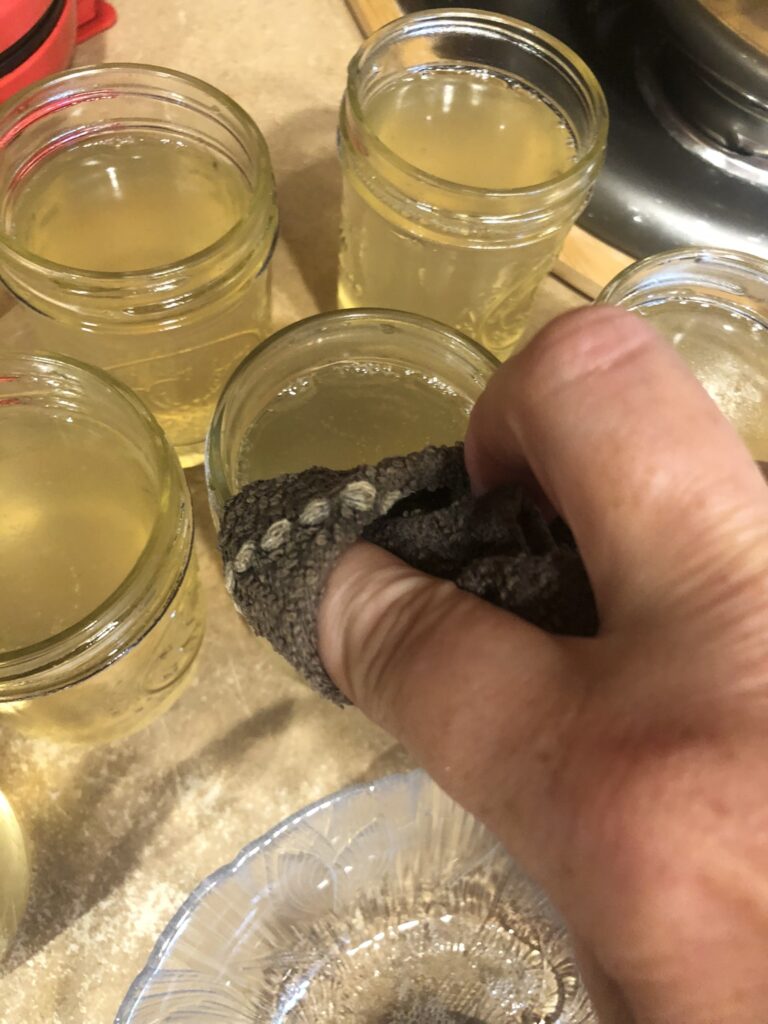
Wipe jar tops with hot towel to remove any liquid as this can affect sealing or not allow the jar to open easily due to jelly cementing the two surfaces together.
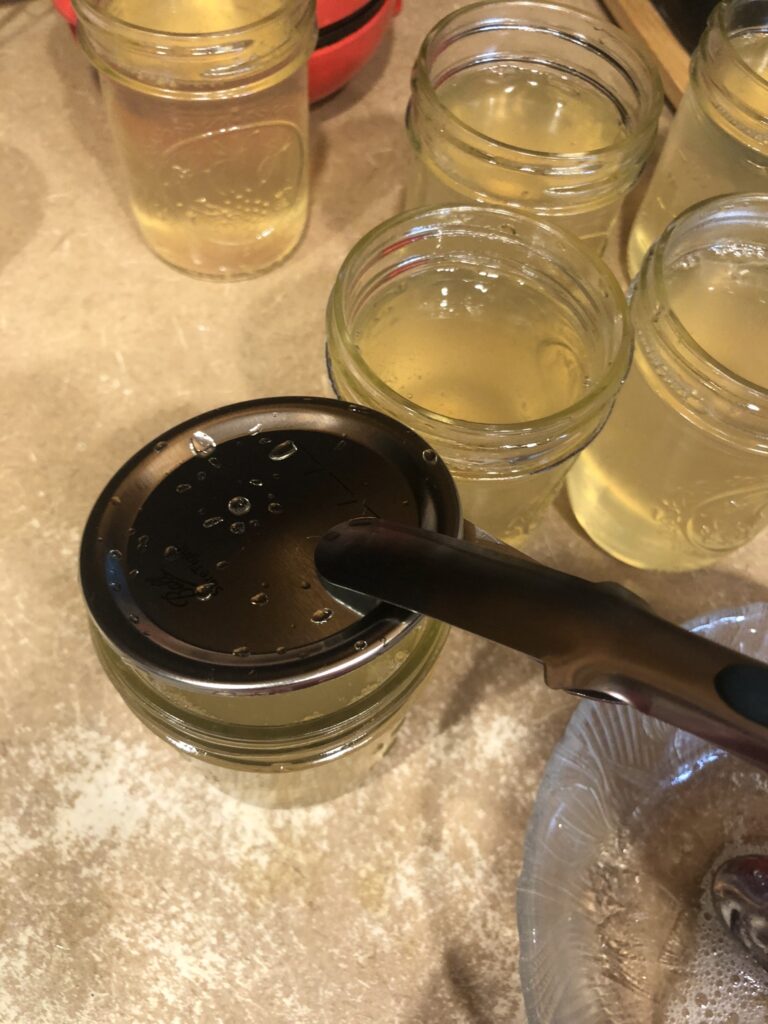
Place hot lids on jars. Screw bands on finger tight (don’t crank down on it).
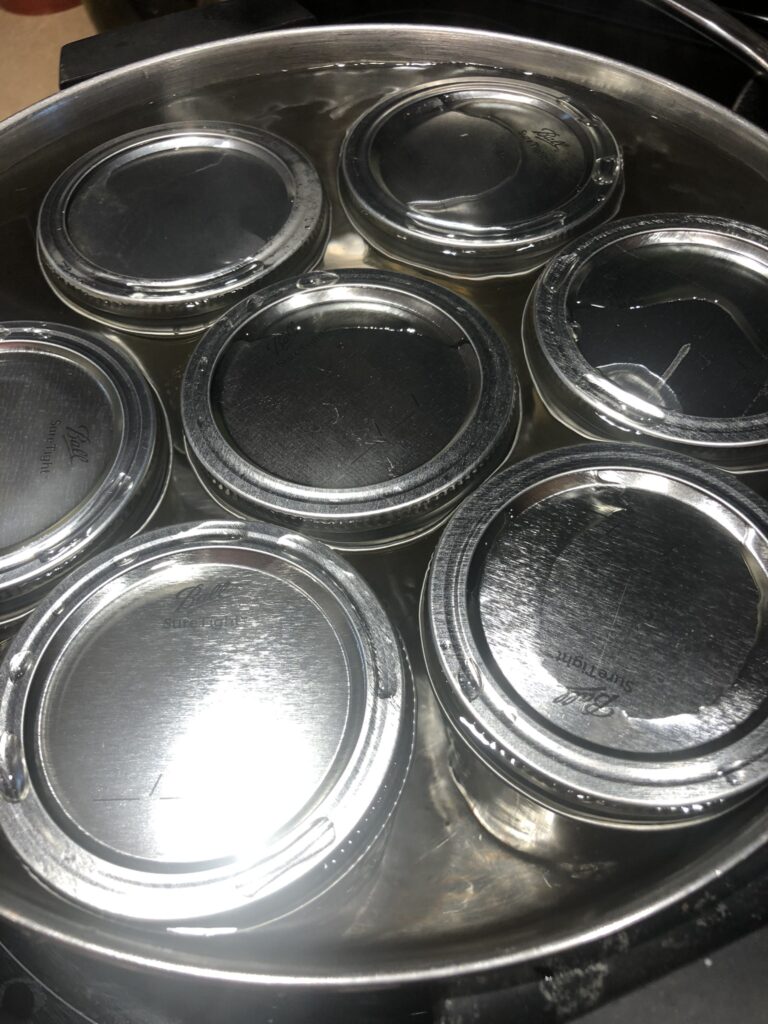

In the large pot the lids were pulled from, place your jars into that water and make sure water is to top of jars or ideally covering them slightly.
Water bath on medium high heat for 15 minutes. (When the water begins a gentle boil, time 15 minutes.)
Remove from water and place on towel on counter top. Top with another towel to keep heat in and this aids in sealing.

The story:

My parents were raised by parents who’d been through the Great Depression. And they were raised like they were in one because for a lot of folks in the South and elsewhere, the Depression did not end in 1939. Hard times were felt much later. So they were taught to never waste anything. In keeping with that mentality, I give you corn cob jelly. Now, my foremothers did not make this, and I am surprised that they didn’t. It could be because the corn cobs they discarded were put to use for better things … like corn cob fights.
Picture a snowball fight, but with rough corn cobs. My Dad Charles has told me about this particular brand of “fun”. The goal was to wallop one another with them around the head and back as this seemed to pack the most punch. You’d seek out corn cobs that had been given to the cows as these were then soaked in rain … and cow urine. This made them particularly hard and gross. If you could find one slathered in cow pie (manure), that was even better.
He remembers vividly a particular battle in a field strewn with cow patties with a neighbor boy when he was about 10. They were walking together home from school and decided they needed to have a little fun. As they hurtled these homegrown missiles at one another, the competition grew. This friend had found the best, stinkiest corn cob and launched it right between my Dad’s shoulder blades as he ran. It knocked him flat on his face right next to a pretty freshly laid cow pie. He looked back to see this friend doubled over laughing. So he grabbed a big handful of that manure and ran towards his friend who was still laughing and so didn’t see Dad coming until he was within reach. He turned to run and as he did, Dad smashed that manure onto the side of his head. Yes, it did go into his ear and all into his hair and down his neck. I asked Dad if they got in a real fight then. He said no, they just walked together up to his house and my grandmother Lorene dug the manure out of his friend’s ear, cleaned him up, and sent him on home.
No grudge was held. No self pity or lashing out at everyone because you got hit with a corn cob or had manure spread onto you. And parents didn’t intervene unless it was extremely serious. Kids learned to handle themselves, be tough, be fair, be beat at something. They learned to run fast, aim well, and dodge better. All valuable life lessons.
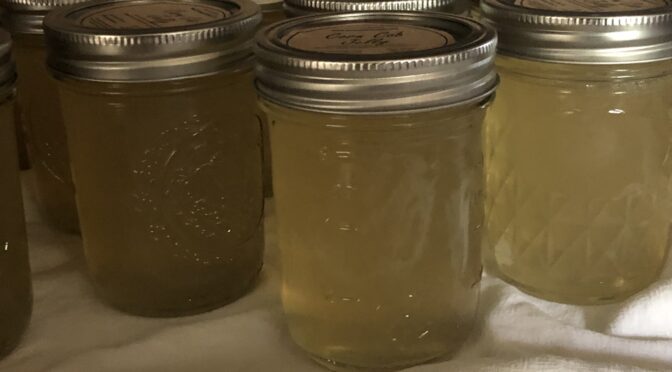
Personally, I prefer to use corn cobs for sweeter purposes so I give you my recipe for corn cob jelly.

Sweet Sweet Sourdough

Easy to make sourdough bread

Sourdough Bread Recipe

1/2 cup active sourdough starter (it has doubled, is bubbly and even may be starting to shrink back)
1 1/4 cup filtered water
1/2-1 TBS honey (optional)
2 tsp salt (I use Kosher, but use what you have)
2- 2 1/2 cups unbleached AP flour, bread flour, wheat flour (again, use what you have. Even if it’s bleached flour, it has worked for me)

Bowl for mixing (some use square container so they can see a rise better)
Stirring instrument (use your fancy flat whisk if you have one)
Clean towel
Round or oblong bowl (or fancy banneton basket)
Dutch oven (or you can “open bake” on a cookie sheet)

In bowl, mix active starter and water until incorporated.
Add in 1 1/2 cups flour and mix well.
Add salt and honey (if using). Mix well.
Add in rest of flour 1/2 cup at a time until shaggy dough forms.
Cover with towel and allow to sit 30 min.
Uncover and stretch dough and fold back over itself all around the bowl or container of choice.
Cover and sit 30 min. (Do this 3 times using the coil fold method on the last 2 or 3).
Dough should be smooth and wetter looking now.
Cover and allow to sit for 6-12 hours at room temp. This is bulk fermentation.
Watch the dough as different environments have different effects on fermentation time.
Dough should double. This is not like a yeast roll doubling. In a bowl, it stretching to fill in bottom area and then slightly rise is considered doubling. (This is why some use a rectangular or see through container so they can mark it and see the growth.)
It will be jiggly and possibly have air bubbles under surface. (If it doesn’t look like this, don’t stress. Bake it anyway. Again, our foremothers didn’t have thermometers to test dough or time to babysit dough and there’s turned out okay.)
Flour your countertop lightly, pour out your dough and stretch to large rectangle. (At this point, add inclusions if you want.)
Fold it down and into a ball.
Work that ball toward you a few times pulling at the bottom and tucking as you move across the countertop.
Place your towel in your bowl. (Or use a flour dusted banneton basket)
Dust your towel lightly with flour and place dough in there.
Cover and allow to sit in refrigerator overnight or up to 3 days. (Or bake right away if you wish)

Bring oven to 450 degrees.
Turn dough onto parchment paper and score the top if you want.
Place parchment and dough in dutch oven (or on sheet pan if doing “open bake” method)
Put ice cube or 2 between parchment and dutch oven side or place small pan of ice cubes in oven if using sheet pan method.
Cover if using dutch oven and place in oven for 30 min. Place sheet pan in oven above pan of ice cubes.
(I place a sheet pan under my dutch oven to reduce a super crusty sourdough base).
After 30 min., take lid off dutch oven. Remove pan of water if you did the “open bake” method.
Reduce heat to 425 and bake 15 min.
Place on cooling rack for an hour to cool.

Sourdough Starter
Get starter from a friend or make your own. There are many tutorials on how to do that. But basically, put 2 Tbs unbleached AP flour in a clean jar and add 2 Tbs filtered water. Mix well (it should look like thick pancake batter). Cover with jar lid flat and screw band on very lightly. Allow to sit 24 hours. The next day, you have about 1/4 cup starter, so add 1/4 cup flour of choice (use white, wheat, rye, etc. – I added different kinds different days to give it something extra) and 1/4 cup water. Cover and let sit 24 hours. Now you can discard the amount down to 1/4 cup and throw the rest away and add 1/4 cup flour and 1/4 cup water. Repeat this process for 10-14 days throwing the discarded starter away as bad bacteria can be in it and make you sick.
Along about day 14, start saving your discard in a separate jar for recipes using sourdough discard.
Your starter should be bubbling somewhat and growing in your jar. I mark my jar with a dry erase marker, but you can use a rubber band or whatever you have.
When it is doubling consistently (3 days in a row), you can bake with it.
Place your starter in the fridge now between bakes to cut down on chance of mold growth.
When you want to bake, take starter out, feed 1:1:1 ratio (1/4 cup starter to 1/4 cup flour and 1/4 cup water) or 1:2:2 ratio (1/4 cup starter to 1/2 cup flour and 1/2 cup water). Allow to sit 6-12 hours at room temp covered with lid.
Your starter should be bubbling and ready to use. Whatever is left over from your recipe, add to discard jar or back to starter jar for next time.

Bread is the best.
Comforting, delicious, by itself slathered with butter, or made into a whole new product (think bread pudding), it’s just the best.
And lord help those on low-carb diets who cut bread out. I’ve tried it, it just makes me mad and mean. So I keep eating bread for my own sake and for the happiness of those around me – you’re welcome.
I’m new to sourdough bread. I was taught to make cathead biscuits, yeast rolls, cornbread, etc., but never sourdough because my mom’s family didn’t make it. It was fancy bread to them.
Mom has told me that when her family would go pick cotton in Eastern Arkansas while they waited for their own fields to be ready for a second and third picking, they would be excited to have “fancy bread”. This was good old white bread and the family would have the rare treat of eating this pre-packaged bread while living in whatever cotton-pickin’ town they happened to be in. They’d go to the local store and get bread, peanut butter, and boxed cereals. They thought it was such a treat because these were once-per-year purchases. The rest of the year, they ate regular old home-canned beans, peas, corn, beets, potatoes, and pickles. And the bread they had to eat was freshly baked daily, sweet milk cornbread and fluffy biscuits. I say “had to” because they did not appreciate at the time what they had. They were eating the best and given the best right at home and while they loved their mama’s cooking, it was just ordinary to them.
I don’t know when sourdough first came to Arkansas or when my parents first had it. I’m thinking if their moms had been introduced to this bread made from starter that required such attention, they’d have rejected it quickly. They both had enough on their schedules just helping keep their family’s heads above water.
But as I grew up, Mom would buy a loaf of sourdough from the store from time to time. My dad loves it and so she’d get it for him. I remember there only being a loaf or two in the store. It didn’t occupy a whole shelf like Wonder bread did.
Fast forward to Covid and being at home all the time and people taking up baking and making sourdough. I waited until Covid was well past to see if this ancient bread-making process was just a passing fad. Turns out, it’s ancient and ongoing for a reason. And it’s good.
So here’s the recipe I use for sourdough. I don’t weigh my ingredients as I assume the women and men of yesteryear did not have food scales, fancy flat whisks, banneton baskets, bread thermometers, and specialized scoring tools on the Oregon trail or backwoods kitchens. If anyone else has these things and uses them, more power to you.
I do this whole sourdough thing the way my overworked grandmothers would’ve. I use what I have, eyeball it, and if it turns out less than great, turn it into something else.

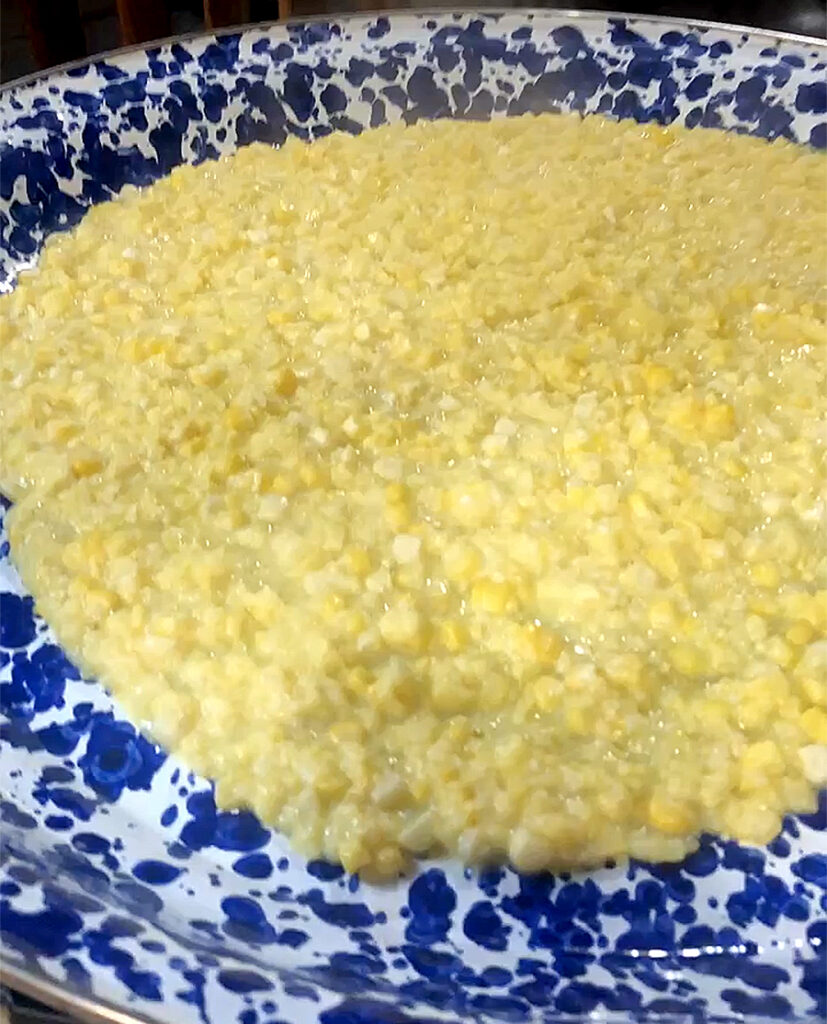
Cut-Off Corn

(or Skillet Corn or Cream Style Corn)

Sweet cut-off corn

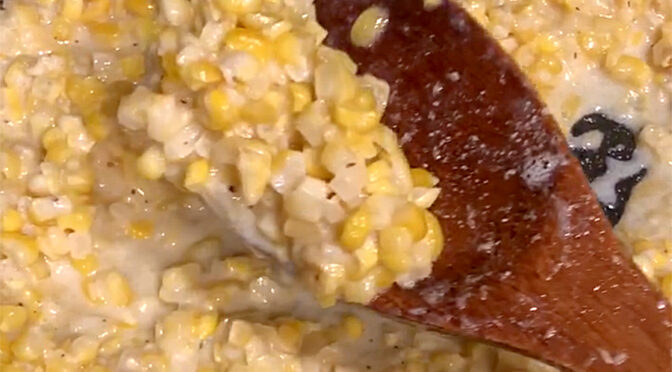
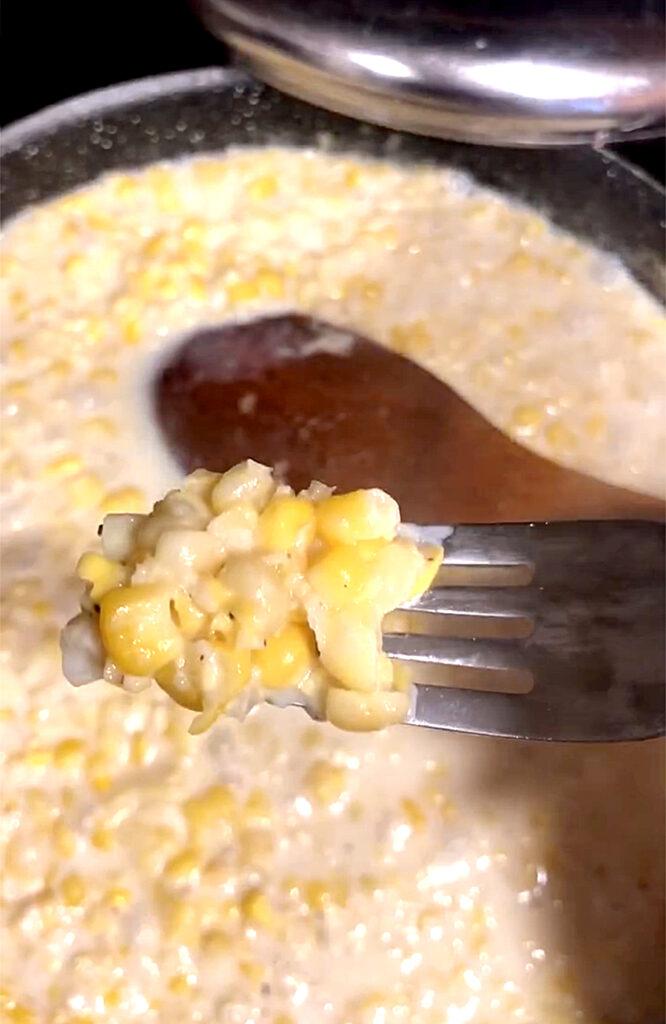
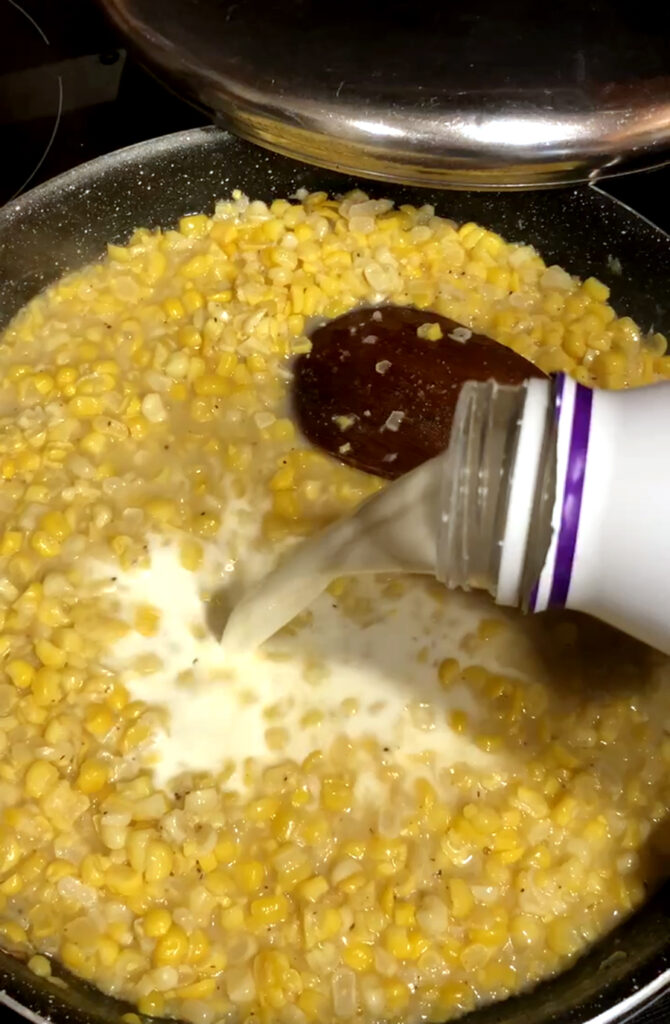
Here’s an easy recipe for cut-off corn deliciousness:
1 qt. bag cut-off corn
1 heaping Tbs bacon grease
4 Tbs butter
1/4-1/2 cup cream or whole milk
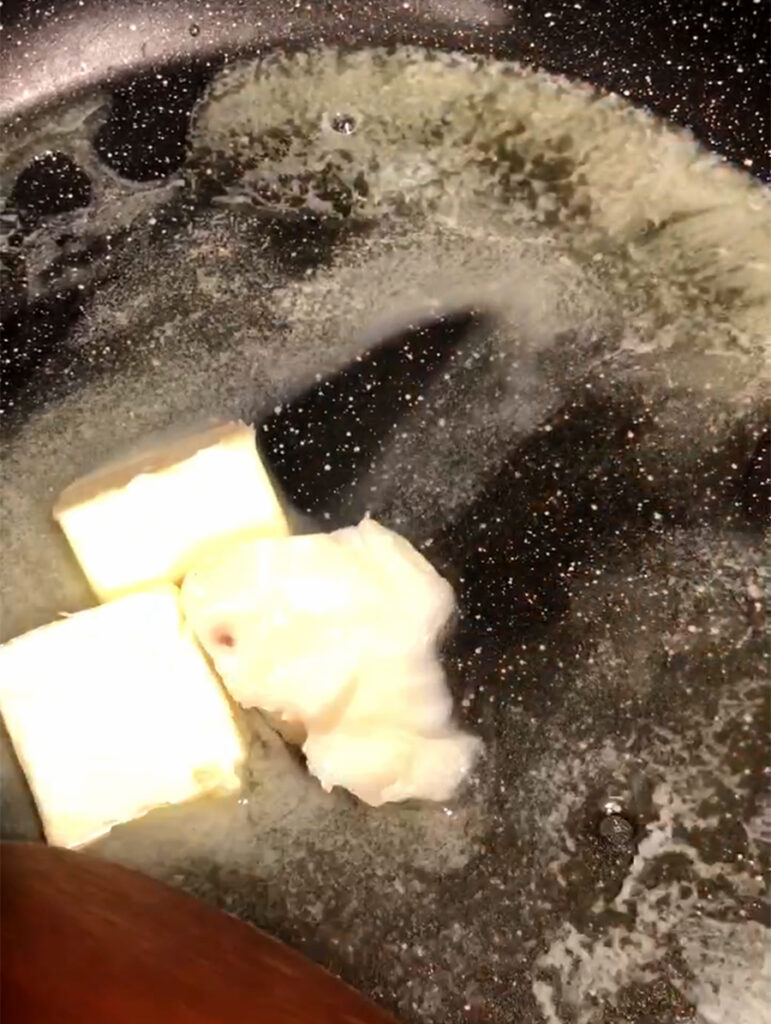
Place nonstick skillet on medium-high heat and add bacon grease and butter.


Allow that to melt together and then add your thawed corn.
(Or forget to thaw it, get it in the skillet as best you can, and cover with a lid to allow to steam and melt, stirring occasionally.)
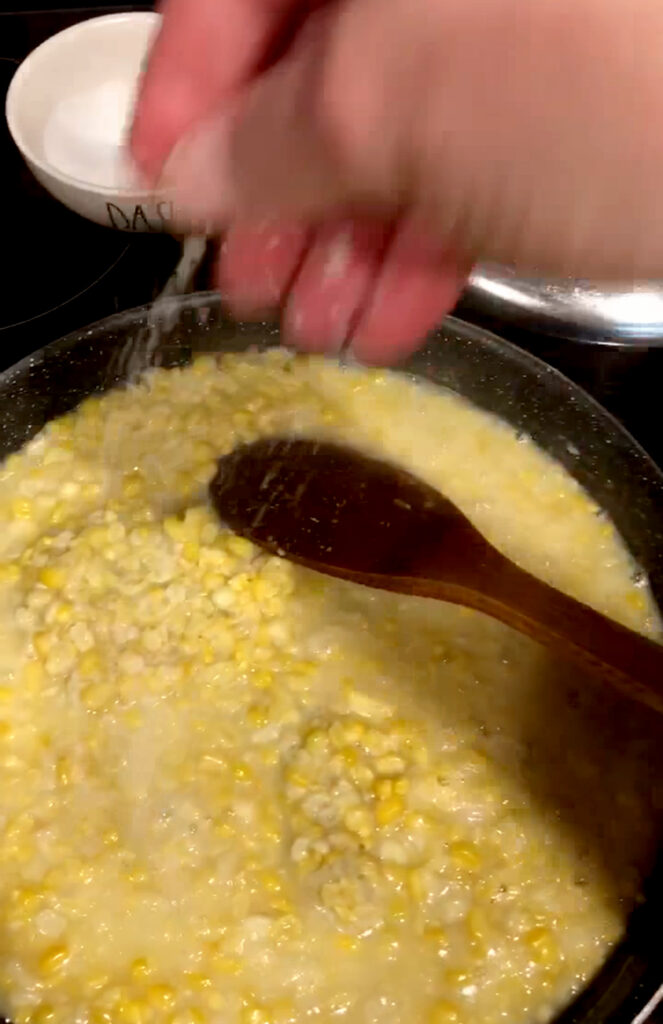
Season with salt and pepper to taste (optional: a pinch of sugar if your corn isn’t as sweet)


Stir it all together and allow to cook for 5 minute.

Adding a little cream or milk to get it to the consistency you like.

The story:

My mom Juanita learned how to make cut-off corn, as we call it, from my grandmother Josie Ward, who learned to make it from her mama. Josie only added butter, bacon grease, cream, and salt and pepper. Simple ingredients because it is what she had on hand. But those ingredients made a treat out of the ordinary.


They used field corn that had been planted for themselves and their livestock and began the harvest in late summer when the tassels on the corn dried out and started turning brown. They’d pull back the shuck from the top of the ear and see if the kernels were formed and plump. The best ears were considered those that had the least amount of worms or worm tracks and the juiciest, plumpest kernels; and that was saved for the family. These were shucked, silked, and had all the bad spots cut off. Josie would take fresh corn and cut off the kernels (thus the name) and scrape the milky sweetness from the cob. This would be a treat for supper the night of “a pickin”. Those meals with fresh-from-the-field, cut-off corn were the best. Almost equally as good, was the corn she preserved in jars with this same method, adding the extra few steps (about a day’s time) to jar and process it in a pressure canner. There were no freezers back then so corn was jarred and canned for winter. Lorene, my dad’s mom, did not have her own pressure canner so she used the local cannery. This was a building down on West 5th St. in Waldron, Arkansas. It was set up specifically for those who needed to get their food preserved by the pressure canning method. She would gather up her vegetables, fruits, jars, rings, flats, whatever other canning ingredients she needed, and her two little boys and go wait her turn to use the canners.


Some of the harvest would be cut off and taken to the local grist mill, down in the area of East 5th and Featherston Streets, which was run by Old Man Smith, as he was called. This made a superior cornmeal that turned out a deep yellow color with a strong, sweet earthy scent. You could stand and watch your corn ground and be handed back to you for the year’s cornbread supply.

Some of the corn would be used for hominy and grits, but that’s a whole other story.


The largest portion of the corn was taken inside the cellar or smokehouse and hung up with shucks intact to preserve it longer. The rest was kept in the corn crib in the barn. Sometimes, before it completely dried out, they’d grab a few of the plumpest ears left in the crib and take it inside to soak. This plumped up the kernels enough to make it fit to eat for corn on the cob.


What wasn’t gleaned for the family was fed to a variety of farm animals. It’d be shucked in the field with shucks left to compost on the ground. Two ears were rubbed together so that the kernels fell off and that was thrown to the chickens. Others were shucked and the whole ears thrown to cows and hogs. The cobs were left in the field to be trampled, peed on, and rolled in cow patties by the animals living there. These were then perfect for corn cob fights. Yes, it was a thing. Kids then did not have their thumbs on a phone screen and toys galore so they amused themselves by walloping each other with corn cobs. It was kind of like a snowball fight behind snow forts except you were behind whatever was available and throwing hard cobs. And my dad says, yes, they hurt. They’d dig for the nastiest corn cobs that had been soaked with animal urine, or better yet, one that had found its way into a cow patty. Not only did those hurt the worst and raise a big whelp, but they were the grossest thing to be hit with. And they aimed for the head. You wanted to see a big, cow patty-smeared whelp on your opponent’s head. And nobody ran crying to tell on anybody. They just went and found a worse corn cob and chased their attacker down. According to dad, this served a two-fold purpose. One, you learned to aim well and dodge better. And two, you got tough pretty quick. His quote, “Sissies were few and far between.”
So, yes, bruises were plenty. Pain was real. Toughness was learned. And fun was where you found it. Sometimes, it was found in a corn cob.

Preserving Sweet Corn

Shuck and save for later

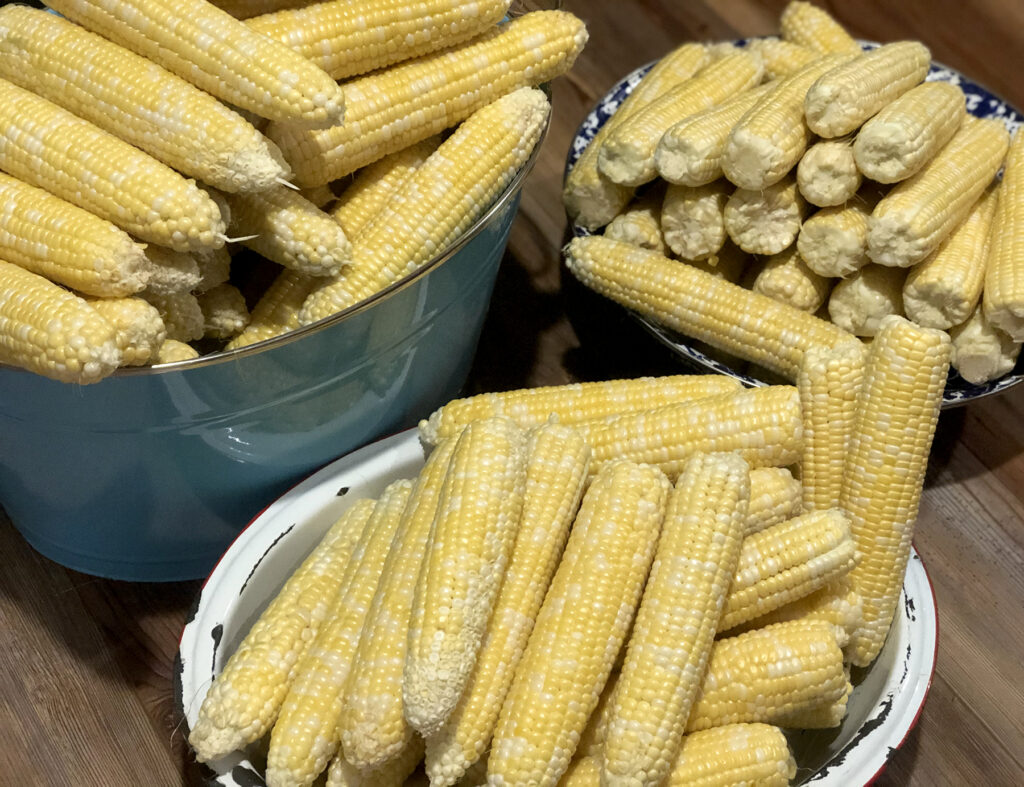
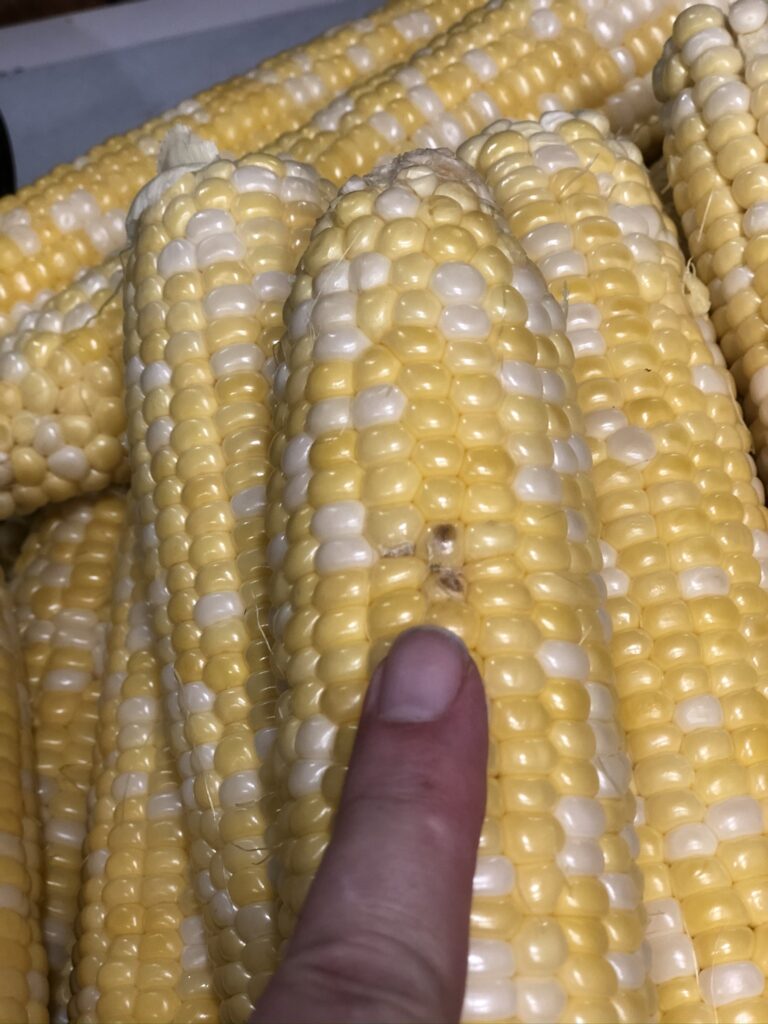
Fresh sweet corn on the cob ready for the freezer

The smell of cut-off corn cooking is a memory trigger. All good memories, except for the time it took to pick, shuck, trim, cut it off, and package for the freezer. But it tastes so good fresh from the freezer in the wintertime that all that work is forgotten, mostly. If you’ve ever smelled fresh corn straight from a farmer’s field cooking and tasted it, you know what I mean. If you haven’t, bless your heart.


That particularly sweet aroma flips a switch and turns on a memory of shucking corn with my parents on their deck back when I was a kid. Calloused hands moving at twice the speed of mine pulling silks and shucks off almost in one fell swoop and then rapidly trimming ends and spots with a paring knife. Then, I hated sitting in that heat swatting the flies that swarmed around the shucks and silks. I remember thinking “My friends don’t have to do this. All they do is lay around the house all summer. Why do I have to learn any of this?” But now I’m so glad I did. It took patience on their part with an extra helping from my mom who then taught my sisters and I how to par-cook it, cool it, and package it so we’d have the most delicious fresh corn all winter. I had no idea at the time how fortunate I was to be taught those things. If you were never taught, truly, bless your heart. It’s not too late and I hope this little tutorial and video help.


To have fresh corn takes a little effort. You can just go to Kroger or Walmart or wherever you shop and get it there, unshucked if you want the “real” corn cooking experience, or shucked and packaged on one of those neat little Styrofoam trays, which is still good and still requires you to cook it. So yes, you are cooking fresh corn that way as well. It is an okay stand-in for bona fide straight from the farmer corn. But if you have the opportunity to buy fresh from a farmer or “produce guy” on the side of the road, you really should. If you don’t know where to find one of those, bless your heart.


Every year, I buy at least 2-3 (50 lb.) sacks of Esau’s Corn from my produce guy. He gets it to me freshly picked and I process it as quickly as I can. Here’s why: It’s generally picked in hot weather and when it sets off the plant in the heat for too long, it begins to sweat and will lend a “soured” taste to the corn. It also will begin to get waxy and a bit rubbery. If it is kept in a cool environment (in your house or a refrigerated area), it will keep fresher longer. However, once picked, it can only retain all the juicy sweet goodness locked in the kernels and cob for so long. This usually takes a day and a half to process fully. Bless my heart.

Par-cook and freeze your corn in whole cobs or make cut-off corn (aka skillet corn or creamed corn). There are lots of ways to do this. This is not the only way. However, it is how I was taught so that’s what I’m going with.

Shuck your corn and silk it (remove the silks as much as you can)
Cut off any bad spots on the cob as they can ruin that cob or others


For whole corn on the cob:
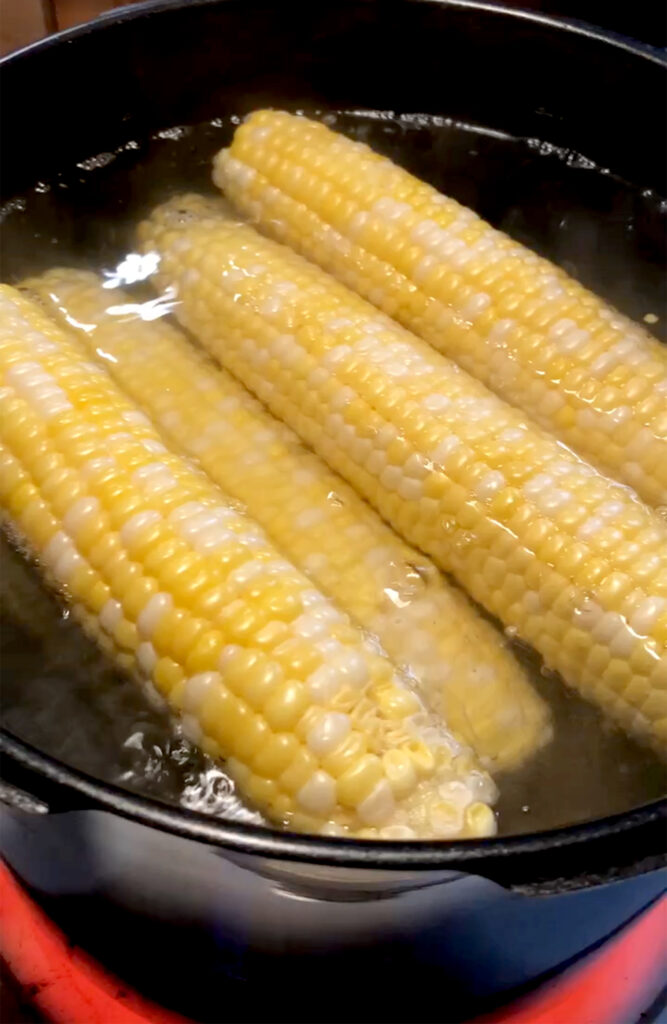
Place cobs in large pot of water and bring to gentle boil.
Make sure all the cobs are submerged, rotating them as needed.


Allow to bubble for 3-4 minutes and remove.
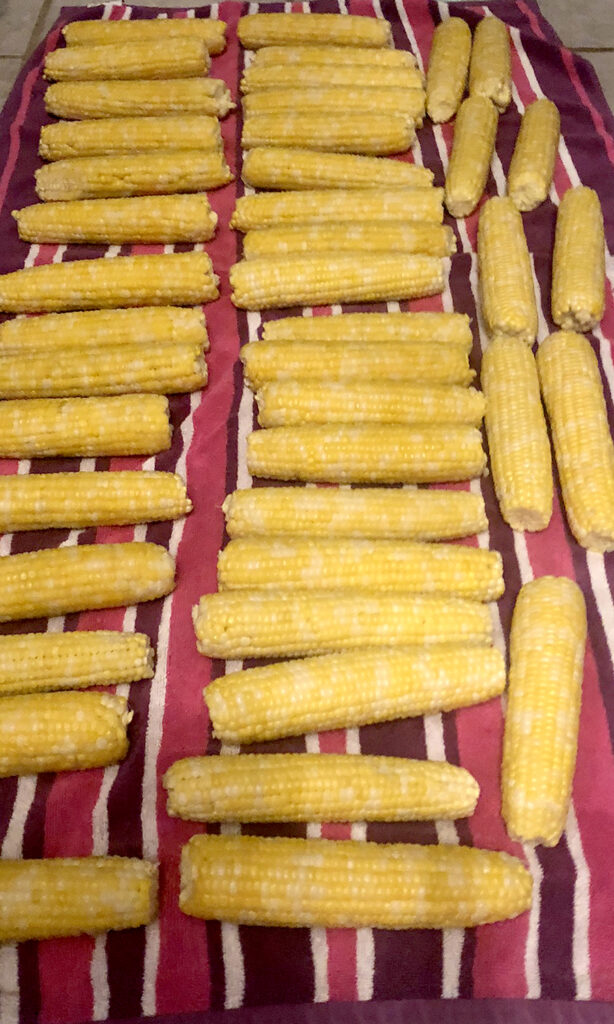
Lay in single layer on towel in a cool location. (Do not lay on a stained or painted table as the sugars and steam can ruin a finish. My mom learned this the hard way.)


When completely cool, package in bags and remove as much air as possible to freeze.


For cut-off corn:
Cut your kernels off the cob using one the fancy new corn cutter gadgets or just use a knife.
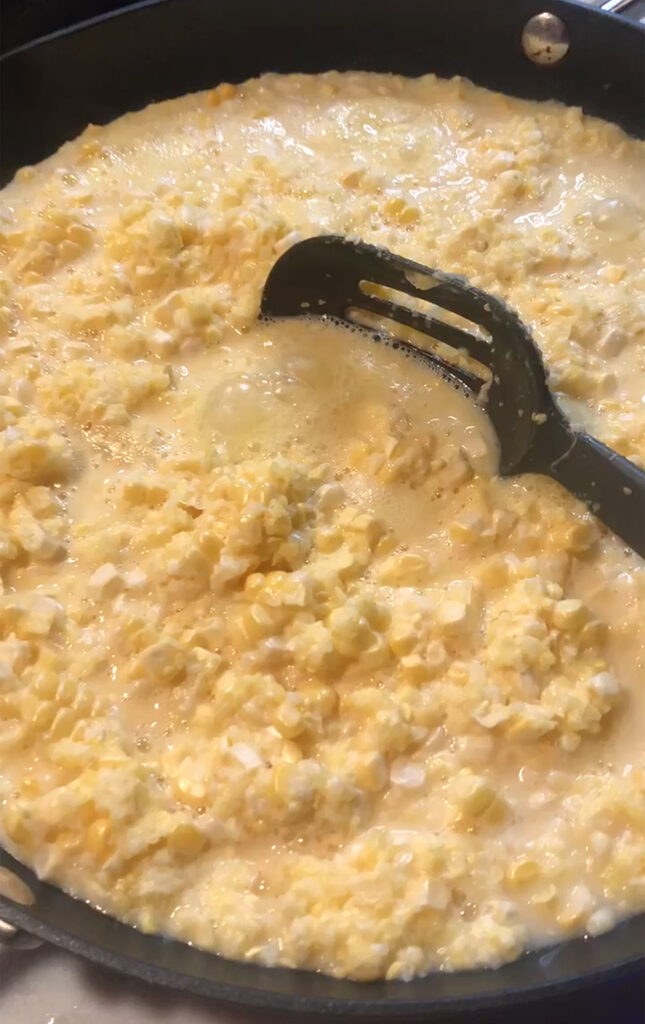
When you’ve got it removed, place a large nonstick skillet on medium-high heat.
Put just a little water in the pan (about 1 Tbs. per 2 cups of corn)


Cook, stirring to keep from sticking (the sugars in the corn will make it stick)
(Do not season if doing this to freeze.)
Cook for 5-6 minutes and remove to large tray so you can spread it out evenly.


Stir it around occasionally to let all the corn cool at the same rate.
When completely cool, package in bags (removing as much air as possible) for freezing.

To cook your corn after thawing or before freezing, you have to use bacon grease and butter and a little cream if you have it. Well, you don’t HAVE to. If you want sub par-tasting corn, go ahead and leave all that out. But you’ll regret it.


Here’s an easy recipe for cut-off corn deliciousness: (https://www.scrappylittlecook.com/cut-off-corn/)
1 qt. bag cut-off corn
1 heaping Tbs bacon grease
4 Tbs butter
1/4-1/2 cup cream or whole milk
Place nonstick skillet on medium-high heat and add bacon grease and butter.
Allow that to melt together and then add your thawed corn.
(Or forget to thaw it and put it in the skillet, covering with a lid and stirring occasionally to allow to steam and melt.)
Season with salt and pepper to taste (optional: a pinch of sugar if your corn isn’t as sweet)
Stir it all together and allow to cook for 6-10 minutes, adding a little cream or milk to get it to the consistency you like.

For corn on the cob:
1 qt. bag frozen corn on the cob
Salt
Place large stew pot of water on medium high heat.
Add salt to taste (I add 1-2 tsp.)
Place cobs in water and make sure they are submerged.
Allow to come to boil.
Boil gently for 5-6 minutes.
Remove from water into bowl and place butter on top to melt for extra flavor and calories.

Easy as Pie

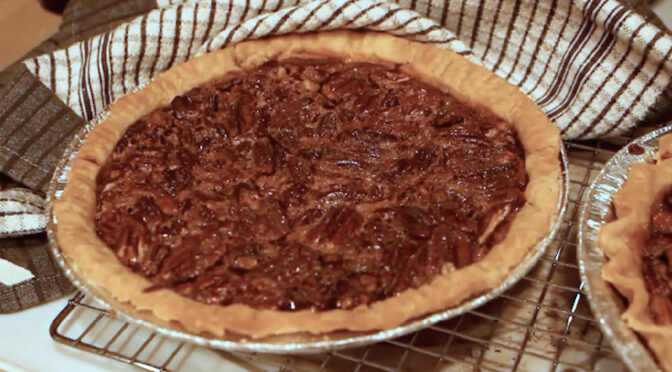
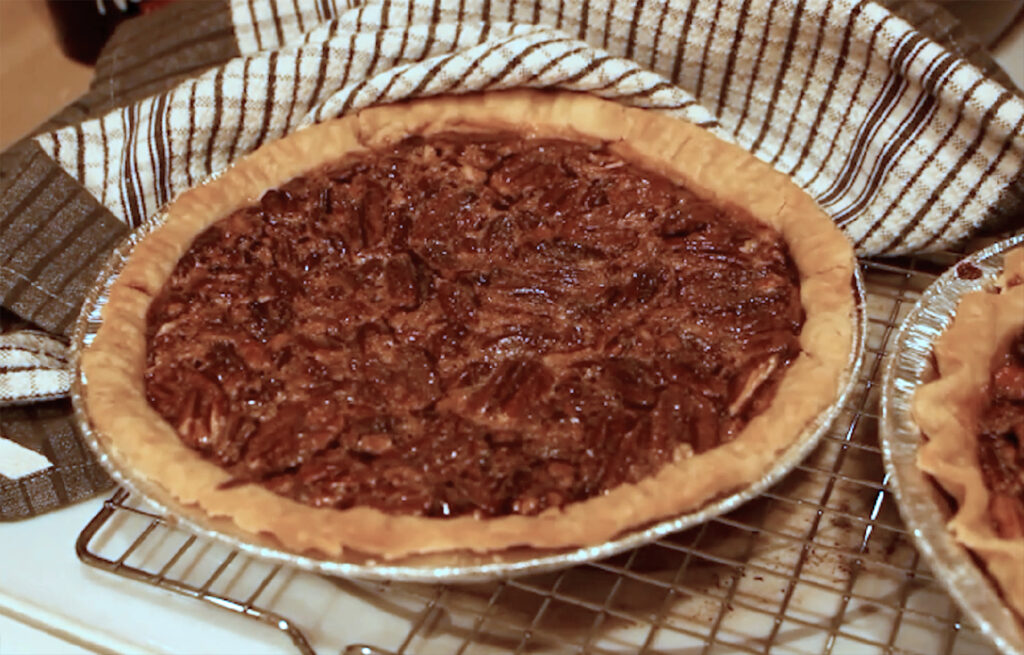
Pecan Pie a classic favorite

Pecan pie is worth the time and effort!

Pie Crust (Classic Crisco Crust)

Single Crust
1 1/2 cups all-purpose flour
1/2 tsp. salt
1/2 cup cold Crisco® All-Vegetable Shortening
1/2 Tbs. white vinegar
3 to 6 Tbs. ice cold water

Double Crust
2 cups all-purpose flour
3/4 tsp. salt
3/4 cups cold Crisco® All-Vegetable Shortening
1 Tbs. white vinegar
4 to 8 Tbs. ice cold water

Deep Dish Double Crust
2 1/2 cups all-purpose flour
1 tsp. salt
1 cup cold Crisco® All-Vegetable Shortening
1 Tbs. white vinegar
6 to 10 Tbs. ice cold water

  1. Add salt to flour and cut in Crisco using pastry cutter or hands.
  2. Add vinegar and cold water and mix just until it all comes together. Do not overmix or you’ll have a tough pie crust.
  3. Form dough into disc/discs and allow to rest for about 5 min.
  4. Flour surface and rolling pin and roll dough out to diameter of pie pan.
  5. Place in pie pan and score bottom of dough with fork to prevent bubbling.
  6. Flute edges however you like.
  7. Bake at 350 degrees for 5 min. just to parbake for cooked pies or at 425 degrees for 15 minutes for premade pie fillings.

Pecan Pie Filling

1 cup Karo Corn Syrup, light or dark
3 eggs, lightly whipped
1 cup sugar
2 tablespoons butter, melted
1 teaspoon pure vanilla extract
1-1/2 cups (6 ounces) pecans
1 (9-inch) unbaked pie crust

  1. Mix all ingredients except pecans using whisk. Make sure the eggs are incorporated.
  2. Place pecans in bottom of pie crust.
  3. Pour filling over the pecans.
  4. Bake in 350 degree oven for an hour (45 min. if on convection setting).
    Center should spring back when touched.
  5. Cool on wire rack until you can’t stand it anymore and must eat it.

The story

Why is there a freezer case in every store with frozen, ready-to-bake pies? Because pie making can be hard. Scratch-made is time consuming and doesn’t always turn out well. Shrunken crusts, gummy crusts, runny pies – anyone else had these things happen? Because I have – and sometimes all at once.
My Granny Ward (mom’s mom) was great at pie making even though she didn’t make them much. They were for special occasions as she really didn’t have time to spend a whole afternoon in the kitchen making crust and fillings. She had cotton to pick, a garden to tend, vegetables to can, clothes to wash, a house to clean, and kids to raise. But, she would make them from time to time and pecan pie was one her children loved. Well, 6 of the 8 liked pecan and 2 liked her “karo pie” (pecan pie without the pecans). Sometimes she made karo pie just because pecans were hard to come by.
She had a talent for what is now called multi-tasking. Then it was just getting things done. And somehow she would get it all done. I can’t imagine the workload she and women like her had. Hard manual labor and housework and gardening and cooking three meals a day on a wood-fired cook stove. And she did it all without griping. I wonder sometimes what she’d think of how much easier her grandchildren have it. I think she’d just be proud that her daughters and granddaughters married good men who do not expect their wives to move heaven and earth to please them. I think she’d be relieved we have an “easier row to hoe” in life. And I think she’d really love ready-made pie crust.

Beef Roast

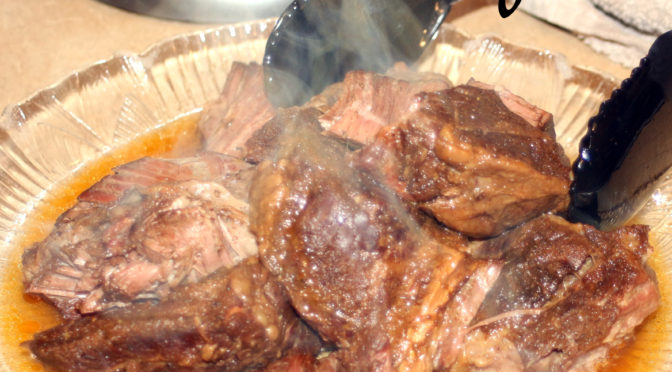
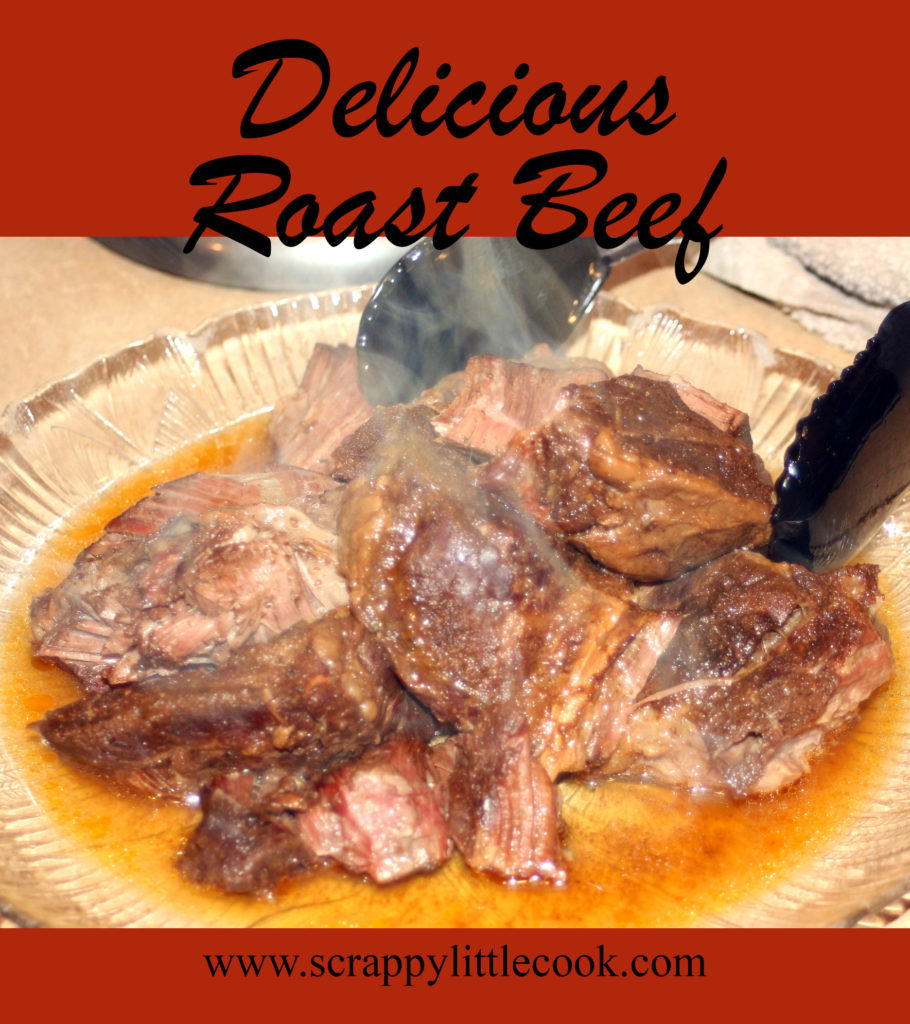
Add a dab of your own flavor. It will be delicious.

Beef Roast
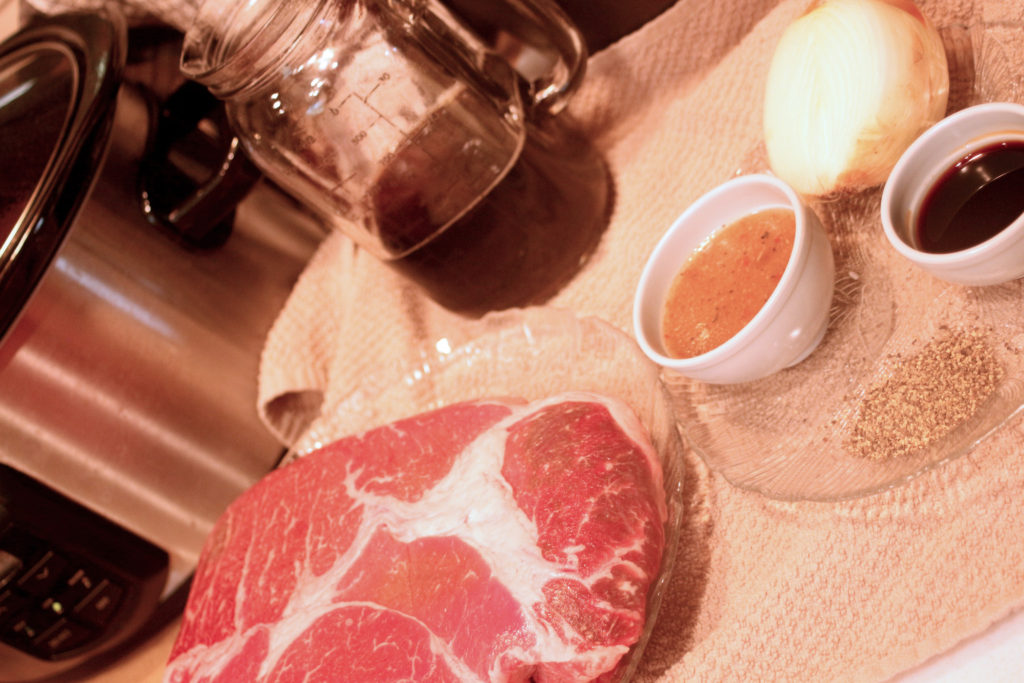
(3-4 lb. chuck or “English”)


1/2 cup Italian dressing (or packet dry Italian dressing mix)
1/4 cup soy sauce (or healthy dose of salt)
1/2 medium onion, peeled and chunked
1-2 Tbs. coarse black pepper (depends on your taste)
1/2-1 cup coke (not the Southern “any soda is coke,” but coca-cola)
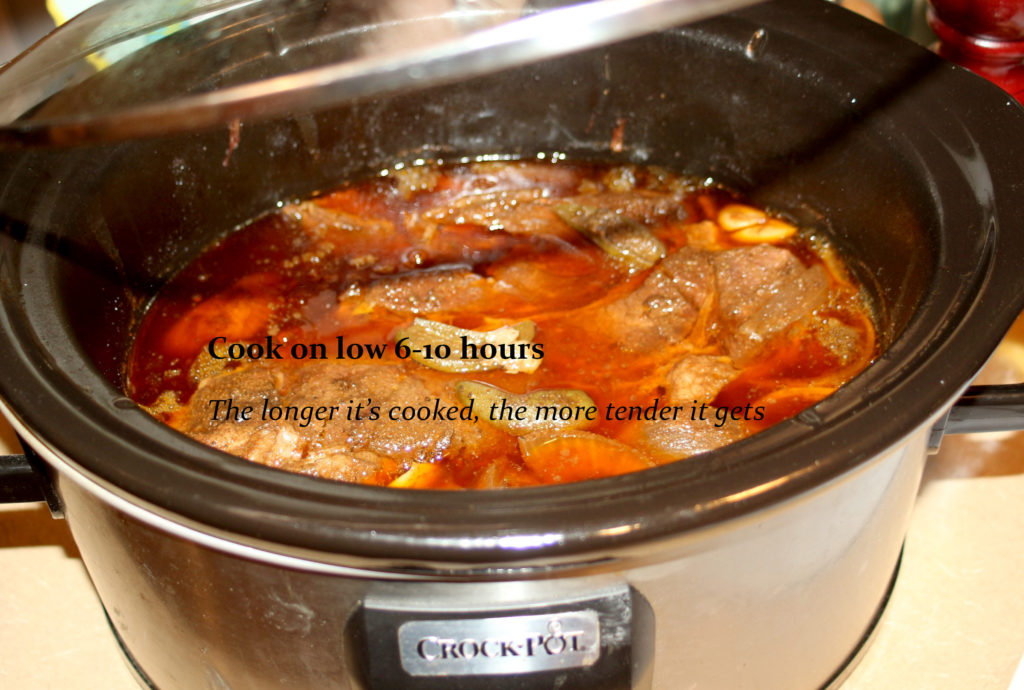
Water to cover the roast

Use your crockpot for this recipe. Or use a casserole dish in the oven.
Add the ingredients I’ve listed and whatever you like. Throw in a hot pepper or two if you like a little heat. Add in mushrooms or cream of mushroom soup for a different flavor.
Just don’t go overboard and cook a couple days! It will dry out. 😉 If you decide to cook this in the oven in a casserole dish, just cover with lid or foil and cook for 3-4 hours at 350 degrees.
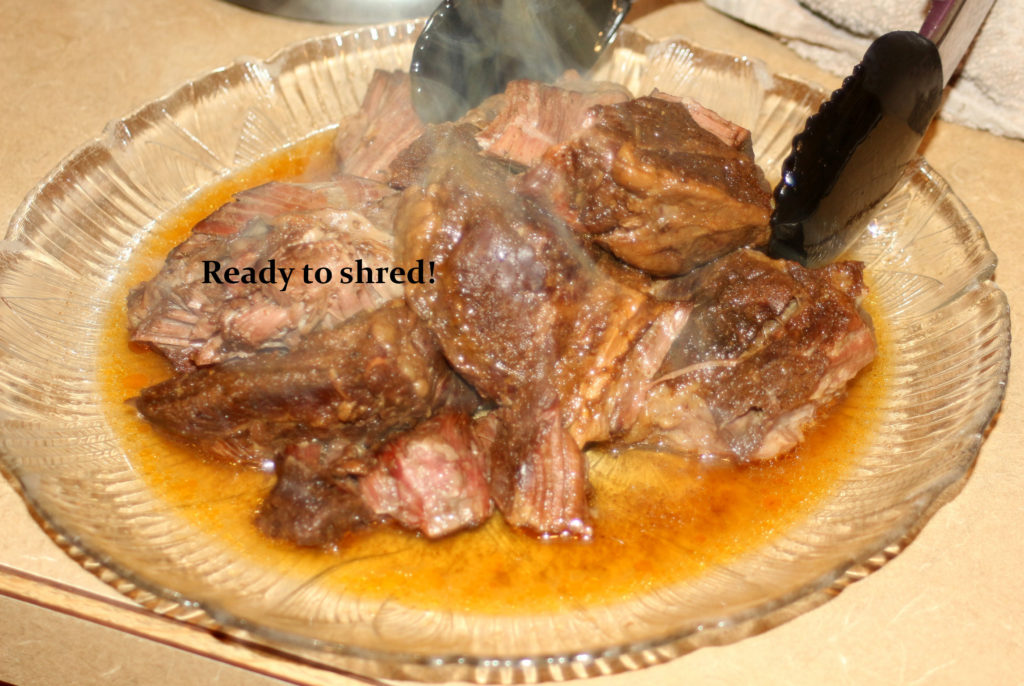
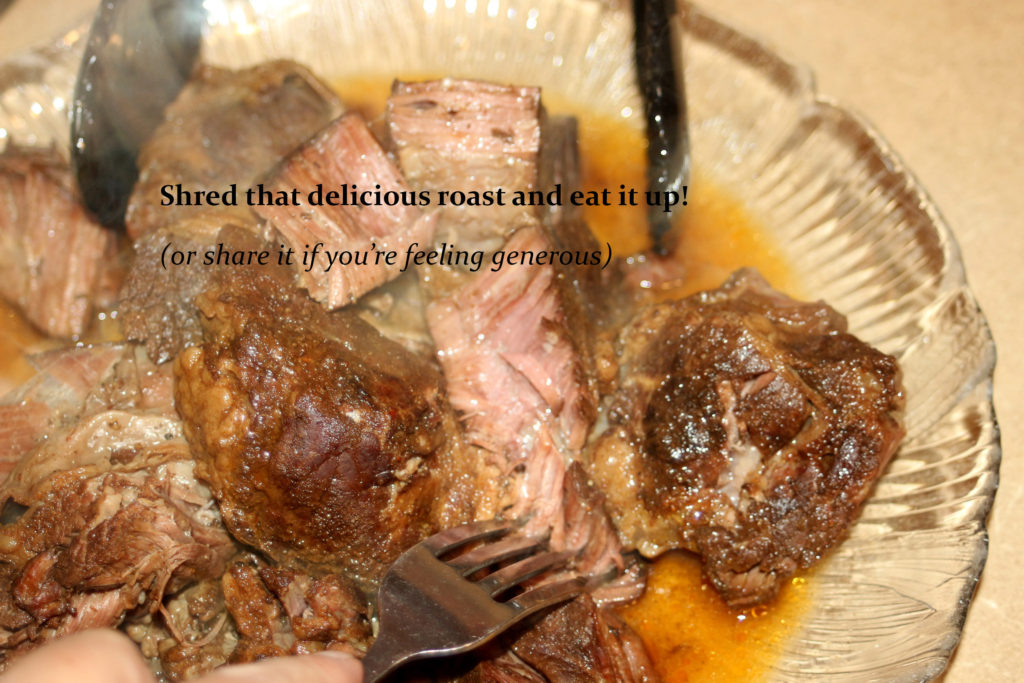
Pull those delicious hunks of tender happiness out of the crockpot.
Shred it and eat it on sandwiches, over mashed potatoes, with a side of potatoes and carrots, or in tacos with salsa and fixins!

The story behind the recipe:

It is handwritten on a green Stuart Hall spiral bound pocket notebook. Written there because she knows things don’t have to be fancy to be good. And that is probably what she had at home in her stash of new notebooks, cards, and such that she keeps to give as small gifts or for her own writing. She writes too, and better than I, about glimpses of life from her perspective; about memories from her childhood. Memories of the good times in a less-than-idyllic upbringing. She writes a lot about her mom, my grandmother, who held it all together while her dad, a good man but with a hearty taste for rotgut whiskey, seemed bent at times on ripping it all apart.


My piece of her memories is in this notebook: Recipes that she used; ones she knew I didn’t like, but that other normal folks would (i.e. anything with onions); recipes my grandmother passed down; and many I should’ve known, but didn’t.

She gave it to me as one of my wedding gifts, alongside some blue willow dishes that had been my great aunt’s and ones to match the treasured set my mom had given me.


This little book also contains my grandma’s secret donut recipe (use canned biscuits), the family salty dill pickle recipe, the foods she knew I’d love (fudge brownies), and ones she knew my husband would like (Pork Chop Casserole). It has cookies, brownies, cinnamon rolls, easy cobblers, punch, and even headache and bee sting remedies – all that and they don’t even fill the 100 page capacity.


This little map of cooking is much like the lady who wrote it – full of love and humor. Always there and ready to help, but content to sit on the shelf until I have sense enough to seek it out. My aunt Kathy has always been there when I needed her. She has helped guide me and provided comfort when I didn’t even know I needed it.


She was there when my mom battled a rare bladder disease for more than 10 years. She drove my mom to the doctor visits and hospital stays those times my dad had to stay home and work as he was the lone provider. She was there to celebrate and assist with graduations and weddings and anniversaries. She was one of the first to be there when someone in our community or congregation died and the family needed a shoulder or a casserole.

She was able to throw things together quickly and make it good. This is because she never measured. I must remember to thank her for the exact measurements in this book – a dab of this and a spoon of that. Confusing at times, but it taught me to stop and think about what would taste good and to add my own flavor. I think she did this on purpose.


I referred to it the first time I decided to cook a roast after I got married. This is one of those things I should’ve known, as I’d watched my mom cook delicious beef roasts my whole life. I’d bought a roast and got it home and then stood with the roast on my kitchen counter, realizing I hadn’t the foggiest notion of how to cook this hunk of meat properly. My mom had used an electric skillet. She’d sear it in the skillet first, season it with salt and pepper, and cook on low in that skillet with onions and a little water to steam it and make it tender. It was delicious. I had no electric skillet, so I guessed cooking this thing would be impossible – because there’s only the one way, right?


I’d previously leafed through my little green spiral bound book of gold just to see what it held, and I remembered something about a roast. Sure enough, there in her half-print/half-script writing was a recipe simply titled “Roast”. It had a Crockpot method and an oven method and used simple ingredients; and was written as if she was standing next to me, telling me just what to do. Her recipe used Lipton onion soup mix, which I had on hand, and was delicious, as well.


Now I use a combination of their methods and add my own touch, my own flavor. And every time I cook a roast, I think of my mom over her electric skillet and my Aunt Kathy writing this book for me. Small dabs of delicious memories. What’s a dab? That’s up to you.

One recipe she included that has served me well:
Love your enemies – It drives ’em crazy.

Chicken Stir Fried Rice

A fancy meal at a strip mall hibachi grill prompts this easy, at-home recipe.

Chicken Stir Fried Rice

How-to video below
Makes about 6-8 servings, (depending how much of a serving you take 🙂

The players:
Chicken, cut into 1-2” pieces (you can use steak or shrimp or all 3 if you’re fancy)

Olive oil

Butter, lots of it

Garlic salt

Soy sauce

Soybean sauce, if you have it. If not, just use soy sauce

Sesame oil, if you have it

White wine vinegar (or apple cider vinegar, or white vinegar, or lemon juice)

Veggies (your choice), cut into small bite size pieces (not big “I’m starving” bites, but tiny, dainty bites): carrots, asparagus, bell pepper, onion, broccoli, squash, peas, zucchini, mushrooms, whatever you like

1 cup cooked rice (white, brown, wild – your choice)

3-4 eggs, cracked and ready in a bowl

How to cook your rice, my way:

Put 1 Tbs. butter and 2 tsp oil in bottom of small pan over medium high heat. Let melt.

Meanwhile, heat just under 2 cups water or chicken broth to almost boiling in microwave, (about 2 min.).

Pour rice in pan with butter/oil and stir. You want to coat the rice in the butter/oil and toast slightly.

Add in 2 tsp garlic salt or 1 tsp salt and 1 tsp garlic powder.

Stir rice until it is coated and glistening with a buttery sheen (about 2 min.)

Keep it stirred, or it will scorch – and you don’t want that.

Add in liquid and it will begin to bubble immediately. If it doesn’t, don’t panic. Just keep heating it until it does. But if you get your liquid hot before you add it to the rice, this helps keep the rice from getting mushy as it cooks.

Cover with tight-fitting lid and turn to low. 

Let cook 15-20 min. (or however long your rice package says to cook it).

Meanwhile, on another burner, get this happening:

Take a nonstick pan or wok and put a pat of butter (tsp. – ish) in it along with 1 Tbs. sesame or olive oil.

Heat to slight bubbliness on medium-high heat.

Add chicken or steak or shrimp and cook to done, turning to brown evenly. 

Sprinkle on a little sesame oil to get some flavor here, if you have it.

While that cooks, chop your veggies. Or if you really planned ahead and have those already chopped, take a small dance break here.

Remove from pan.

Add another pat of butter.

Reduce heat to medium low.

Put in your toughest veggies first. (Carrots, broccoli, you be the judge)

Let those cook a couple minutes while stirring occasionally and sprinkling on some garlic salt goodness.

Add some more veggies (onions, bell peppers – in large chunks so you don’t accidentally bite into a piece if you hate them like I do, but add them anyway because they do add flavor and your husband loves them).

Cook a couple minutes adding a sprinkle of pepper and maybe more butter or oil if it needs it.

Add more veggies (squash, zucchini).

Cook a couple minutes and add some soybean sauce.

Add last veggies (peas, mushrooms, asparagus).

Cook 1 minute or so and add splash of vinegar or lemon juice to brighten up the flavors.

If your pan is big enough, add your rice to this now. If it will spill over sides, take veggies out and put rice in pan to heat and fry a bit in the butter and oil you that may or may not add. 🙂

Add a little soy sauce and black pepper at this point to flavor the rice even more.

Push rice or rice and veggies to the side and pour your cracked eggs into pan. 

They will begin to cook immediately so start scrambling them. They will spill into your rice, don’t worry. They’ll get cooked.

Keep stirring until eggs are cooked and then mix in to rice. 

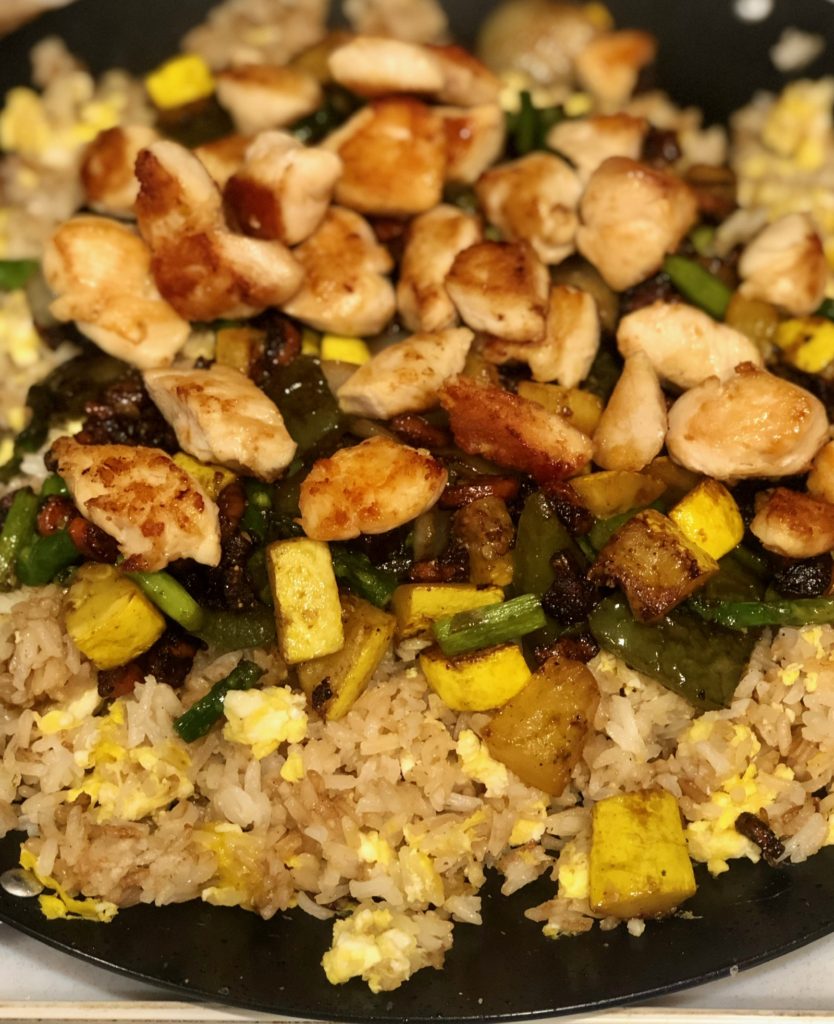
Add veggies/meat back in and take off heat. Eat!

Just watch how easy this is …

The story behind the recipe: 


I am from a small town in Arkansas and so we didn’t come in contact with ethic foods or really, anything other than down home cooking (you know, the good stuff) when I was growing up. If we went to the big city to shop (Fort Smith), we ate at McDonald’s or Bonanza or somewhere that had the “normal” food we picky eaters were used to. My mom was more adventurous, she tried Chinese food once! And liked it! 


Anyway, when I got married and moved to another big city (Hot Springs), my husband took me out with friends to the new hibachi grill that had just taken over a space in a strip mall. It was fancy! It had pillows on the floor (who can eat like that?), and Asian inspired bi-fold doors, and fake bamboo plants. We sat around the big fry surface with a bunch of folks we didn’t know – your typical high-class stuff. So Jason knew I was out of my comfort zone and ordered for me. The soup comes. Not actual soup like tomato or potato, but clear stuff with green onions floating on top. Nope, I wouldn’t even try it. (Update: Now I like it.) The salad arrived with a dressing that was not Ranch or Italian and that blew my mind. That just ain’t right …. but it was pretty good.

The chicken and steak Jason chose for me was being cooked while the veggies took a space next to it (and they seemed to use plenty of butter too, by the way). Then as the cook yelled things I didn’t understand and beat his spatula against the fry-top rim, he did acrobatics with an egg. It was impressive and I worked up an appetite dodging the whirling egg and the flames from the onion tower.

The chef mixed the cooked eggs into some cooked rice and gave us each a helping followed by the veggies and meat. My first bite was taken very daintily – like I was a lady or something. But successive bites were larger and by the end, I actually liked the meal.

So I decided I could make this at home with some modifications (maybe use bacon grease????).

So here is my recipe. It’s easy … you can make this too.

 Did I also try to do egg acrobatics? Yes. Can I do that too? Nope. I would recommend not trying that at home.

Texas Sheet Cake

Simple joys of chocolate cake

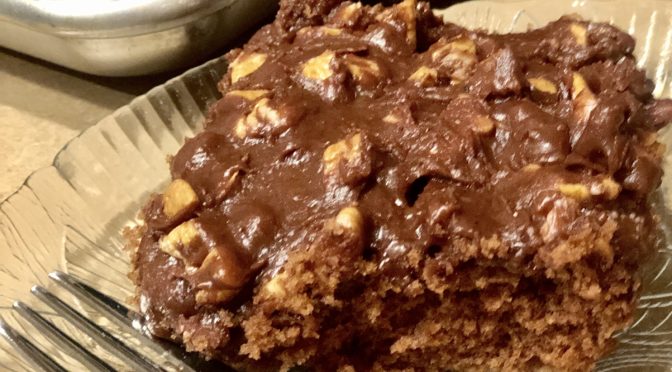
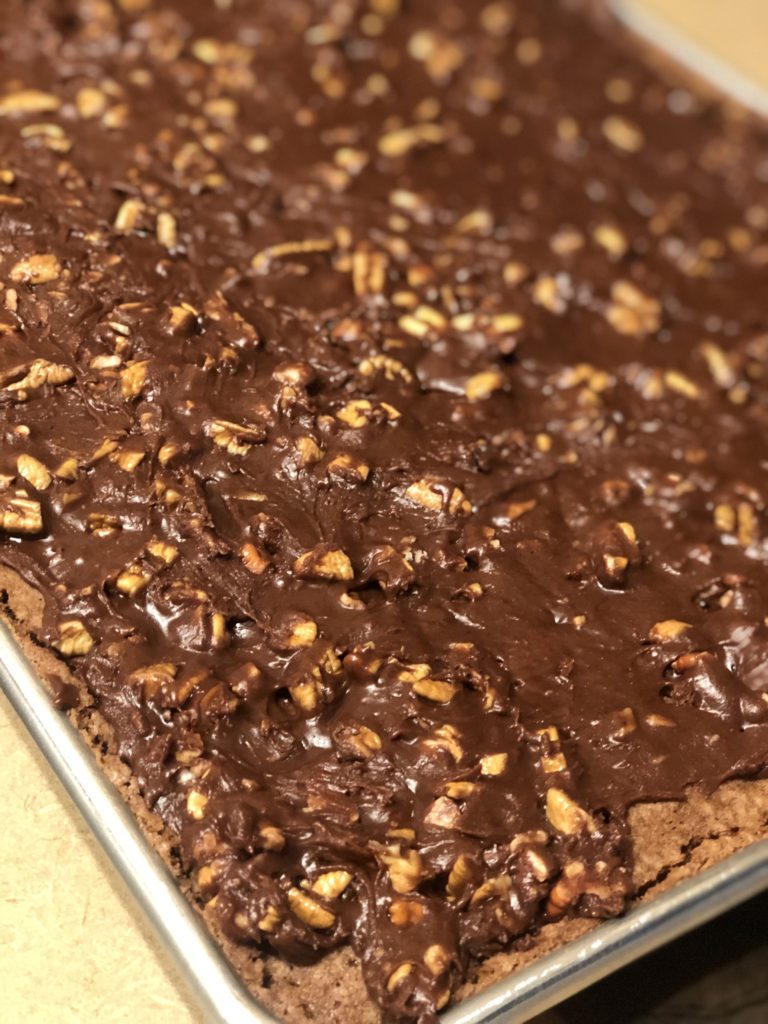
Fudgy icing on chocolate cake – just yum

Texas Sheet Cakesee video below to see how to make it, even you mess up a few times!

2 cups sugar
4 Tbs cocoa powder
2 sticks butter, softened
2 eggs
1 tsp vanilla
2 cups AP flour
1 tsp baking soda
1/2 tsp salt
1/2 cup buttermilk (make it with a 1/2 Tbs lemon juice and fill to 1/2 cup mark with regular milk)
1 cups water
Jelly roll pan, or pizza pan or cookie sheet or regular cake pan, or cupcake pan – if ya wanna get fancy

Preheat oven to 350 degrees.
Mix sugar and cocoa powder together. This will keep the cocoa powder from flying all over your kitchen.
Add your butter and cream those ingredients together.
Add your eggs and vanilla and mix.
Add in flour, baking soda and salt and mix well.
Add buttermilk and water and mix until it looks like chocolate ice cream.
(NOTE: You can add the ingredients in any order, as we did in our video. And you will make a mess, as we did in our video.)

Spray pan with cooking spray and spread cake into pan.
Bake for 30 minutes at 350 degrees. (If using a 9×13 pan, adjust the time to 40 minutes. If using cupcakes, adjust to 20 minutes)

Icing:
1 1/2 sticks butter (3/4 cup)
6 Tbs. milk (whole preferred)
1 tsp vanilla
4 Tbs cocoa powder
4 1/2 cups powdered sugar
1 cup pecans, chopped (toast them for extra flavor, if you like)

Over medium-high heat in heavy bottom sauce pan, melt your butter.
Add in milk, vanilla, and cocoa and whisk smooth.
Bring to boil and cook for 1 minute after it begins to boil.
Remove from heat.
Add in powdered sugar and stir well to incorporate.
Add in pecans.

Spread on cake that you’ve removed from the oven and let cool for 5-10 minutes.

The story

My dad appreciates simple things, souped up ‘57 Chevys; and his 56” TV with Dish, Hulu, Amazon Prime, and Netflix. But mostly … simple things.
His parents, MC and Lorene, taught him to work for the things he had and would have. Pa Maxwell, as we called him, worked in the log woods. And my dad, Charles, did too. From the time he was 10, he was expected to help with pretty heavy manual labor. His main job was to use a draw knife to peel poles. This was a pretty dangerous undertaking for anybody as the method was to grab the “knife” which was a very sharp blade in between two handles, stand on one side of the pole or at the end of one and forcefully pull the potentially lethal instrument toward your body skinning the bark off in ribbons. It was sharp enough to cut into wood. Let that sink in. So If your blade slipped, you could create a gaping hole where there should not be one in your chest, arm, stomach, or hips.
This is something I can’t imagine my 10-year-old son doing. We’ve been to the ER 3 times and a burn unit once and he was standing still with no hazardous implements in use.
Anyway, dad’s grandparents (MC’s mom and dad) did have a farm; and he loved going to visit them just about every week. They lived in Jones Creek, what would be called a suburb in today’s fancy lingo. The better term would be the outskirts of Waldron, where he lived with his parents and younger brother Jack. The trip to go see his grandparents, Eb and Florence was special, not because he was given gifts each time he went. And not because he was given constant attention or constant stimuli in the form of games or toys, but because he was raised to appreciate his grandparents and the time he got to spend with them. It was an event to go visit anyone and not be working in the woods, in the cotton fields, or at home. That visit was special because he viewed them as special and they him. Florence was a good cook. This was unlike his mom’s mom who was best known for cornbread so flat and tasteless, it could be used as a Frisbee; and not lost as even the animals didn’t try to run off with it. A story for another time.
Florence would make my dad a chocolate cake because she knew it was his favorite. She would make it without icing most of the time, partly because icing ingredients could get expensive and such frivolity was unneeded; and partly because my dad liked it that way. He’d get a huge piece of that chocolate goodness with a big glass of milk fresh from the dairy cow that resided on their farm. And if she made ice cream, he would take that cake and ice cream and mash it all up together – sort of like a super thick milkshake with cake bits in it. It was delicious that way. It is delicious that way as this is how he still prefers it. In an age full of crazy thick heaping mounds of icing, candy toppings, and herb or flower infused flavors, he prefers a simple piece of chocolate cake. No glaze, no icing, no crystallized sugar standing in spires on top – because it’s delicious without all that mess. It is simplicity and happiness and good memories. And there’s something to be said for that. Appreciate the delicious simple things. Appreciate the people we love and who love us. Be happy with less. We’d all be better off with just the cake and making a memory with, and for, those we love. Appreciate that and realize anything else we’re given is just icing on the cake.

When I figure out her simple recipe, I will post it. In the meantime, I gave you my mother-in-law’s Texas sheet cake recipe, complete with fudgy icing. This is because sometimes a cake IS just a vessel for the icing. 🙂

Chicken with Mushroom Gravy

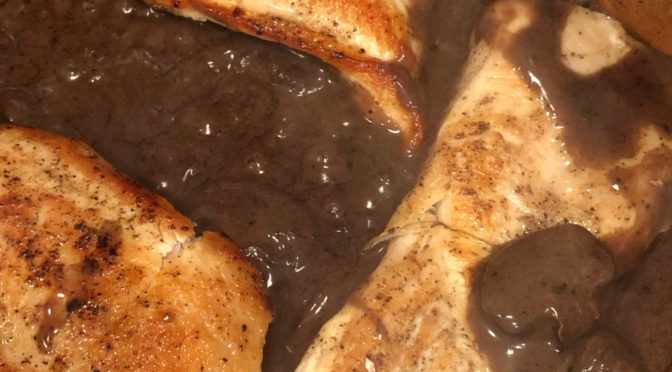
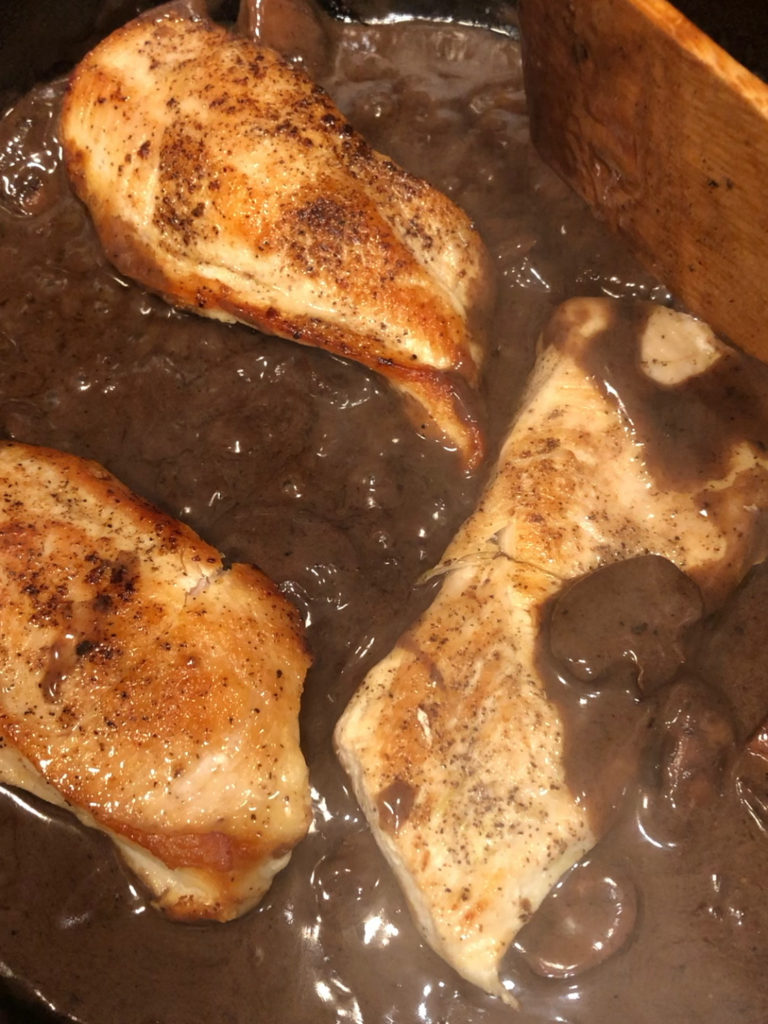
Preparing chicken for a meal isn’t easy when it stares back at you.

Recipe:

2 tsp cornstarch

1/2 cup milk

4 boneless skinless chicken breast halves

1 tbs olive oil

1 tbs butter

1/2 lb sliced fresh mushrooms

1/2 medium onion, thinly sliced

1/4 cup red wine or chicken broth

1/2 tsp salt

1/8 tsp pepper

Mix cornstarch and milk until smooth. 

Pound chicken flat or slice in half lengthwise.

In large skillet, heat oil over medium heat.

Cook chicken until no longer pink, 5-6 min per side.

Remove from pan.

In same pan, heat buttter over medium-high heat. 

Sauté mushrooms and onion until tender.

Stir in wine, salt and pepper.

Bring to boil.

Stir cornstarch mixture and add to pan.

Return to boil.

Cook and stir until thickened, 1-2 min.

Return chicken to pan and heat through.

Serve over mashed potatoes, rice, cheese grits, whatever you want!

The story

My mom was raised on a farm. Her family grew most of the food they ate – including the meat. They ate true grass fed, non-GMO, humanely raised, cage-free, free range, heritage breed, and any other now-fancy adjective, meat. Bacon, ham, sausage, and on occasion, chicken graced their table alongside a selection of scratch made sides including cathead biscuits and gravy, cornbread on top of the stove cooked in bacon grease, fried potatoes, mashed potatoes, purple hull peas, boiled cabbage, or fried cut-off corn with freshly sliced garden tomatoes, just to name a few.

Now chicken was reserved for special occasions because chickens also provided eggs and so more chickens meant more fried eggs cooked in bacon grease for breakfast or ingredients for pies, cakes, or cookies. It was also even more labor intensive to make that meal. There was no running to the store to grab pre-packaged chicken breast, thighs, or drumsticks. There was, however, running into the yard and chasing down a living, breathing package of those items.

My grandmother, Josie, would kill, pluck, clean (I won’t explain this here – but if you want to know the graphic details, google it), and chop the chicken into pieces and proceed to fry it up. This skill most people used to have, was learned by watching others handle the task with few instructions verbalized.

My grandma apparently thought my mom should be well educated in this by the time she was 12. So she told my mom, Juanita, to go into the yard and wring the chicken’s neck. Being obedient, having watched the process numerous times, and receiving her mom’s vote of confidence, she proceeded to the yard where chickens roamed free.

She successfully caught a hen, which boosted her confidence, and placed one hand firmly around the chicken’s neck. Being squeamish about this task, she determined to make it quick, so she gave a few mighty circles of her arm, as she’d seen her mama do; and saw the dazed chicken staring back at her with a very unbroken, though slightly wobbly neck. She panicked, then gave a few more mighty circles and snaps of her arm. Flapping wings, kicking legs, and a writhing body ensured her she had again been unsuccessful. This did not happen to her mother who got the neck wrung with as few as 3 circles of the arm. She was approaching hysteria and so was the chicken, she assumed, as neither of them had ever seen this fiasco occur. So she quickly slung the bird in an arc again and when the chicken, still alive, stared back at her with its body now uncontrollably swinging from its pendulum-like neck, she had all she could take. She dropped that chicken and took off running to the house. The chicken wobbled off in the other direction, stumbling sideways like a drunk man due to its elongated sidewinding neck. 

My grandma heard her hit the door squealing and upon seeing no chicken in her hands, took off outside to find the poor bird. It was relatively easy to find – and catch – for obvious reasons. She grabbed it and ended the bird’s life with a couple quick snapping whips of the hand. 

I asked my mom if Granny scolded her or was mad. She said no. She just handled that issue as she did everything else that happened in her life – with understanding, patience and grace. And know-how born of need-to.

My mom has those same qualities. She handles everything that has been thrown at her. Except chicken killing. That is one thing she cannot, and will not do. Nor was she ever asked to again.

Cheesecake – A Treat Like No Other

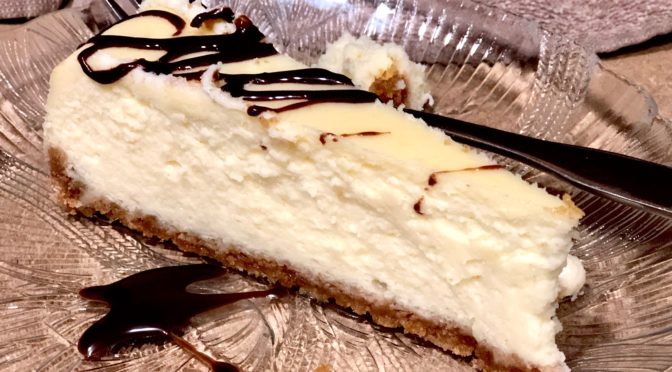
Easy Delicious Cheesecake

Preheat oven to 325 degrees.

Spray 8 or 9 inch springform pan with cooking spray
Crust: 1 1/4 cups graham cracker crumbs (9 whole crackers/1 sleeve)

1/4 cup granulated sugar

8 Tbs (1 stick unsalted butter)

Pinch salt

Mix together and spread in bottom and slightly up sides of springform pan.

Bake 10 minutes at 325 degrees.

Let cool 5-10 minutes before adding filling.

Cheesecake Filling:

4 (8 oz.) pkg. cream cheese, softened

1 cup granulated sugar

3 eggs1/4 cup sour cream

2 Tbs cornstarch

1 tsp vanilla

2 tsp lemon juice

Whip softened cream cheese and sugar together, scraping sides of bowl to incorporate all the cream cheese.

Add in eggs one at a time and mix well.

Add sour cream, cornstarch, vanilla and lemon juice and mix well, scraping sides as needed.

Pour into crust and bake 1 1/2 hours at 325 degrees.

Cool for 30 minutes on baker’s rack before transferring to refrigerator to chill (Most recipes say 2-4 hours. I say chill it as long as you have time to before you need to dig in.)

If using the water bath method: (The reason for this method is to keep the top from cracking and so less browning will occur as the water helps the cheesecake to bake evenly and deeply without the top getting overly done before the center sets.)

Pour filling into crust.

Wrap bottom of ban with aluminum foil tightly to the top of the pan.

Set springform pan in larger pan with deep sides.

Fill larger pan with boiling water until it is halfway up sides of springform pan.

Place in oven and bake 1 1/2 hours at 325 degrees.

Cool as above.

Eat it!

Or top it with freezer jam you’ve warmed up a bit, or fruit you’ve cut up, or chocolate ganache you’ve made or salted caramel syrup you’ve bought. Or don’t top it. Enjoy by itself.

Just enjoy.

The story behind the recipe

I imagine a decadent treat like cheesecake was pretty much unheard of by my parents. It’s not that they were unlearned. They and their parents were smart people. They read newspapers and listened to the radio when they could get it to tune in. But they lived in a small town in Arkansas circa 1940s and 50s, and days were spent by both families just trying to make a living. So new desserts that took and hour or more to make just weren’t on the radar.

They enjoyed sweet things and both my grandmothers could whip up a mean pie. But things like soufflé and cherries jubilee and such that were on the realm in other worlds like New York and Chicago and LIttle Rock had not made the journey to dessert plates in small town Arkansas. 

When my dad was in the Army, he had culinary adventures with foods he’d never seen – and most of which he did not like – such as spaghetti and meatballs. And when my mom had moved to California, she saw all kinds of foods she’d never seen before, like pecans and walnuts that were shelled and ready to purchase for pies or what have you.  This made her a bit adventurous and so when my sisters and I were little, she shared this flare for extravagance and bestowed upon us a cheesecake. Now mind you, it was the boxed Jell-O no bake variety. But delicious it was, nonetheless. And it was a special treat to see that boxed mix come home in a brown paper Piggly Wiggly bag. It meant a break from the old ordinary things she made like chocolate meringue pie, or fresh apple cake with sugar sauce, or homemade shortcake with strawberries my dad had picked or peaches he’d gotten from the local produce man. Plain old ordinary things, that I had no idea at the time were anything but. Things that I and anyone with any sense would love to sink their teeth into now.

That Jell-O no bake cheesecake was quick and simple and delicious and we loved it. So when I got old enough, I decided I wanted to make a real cheesecake. And she bought me the ingredients to do so. She had to do this quite a few times as the first few were not good – not good at all.

But now I have this trusty cheesecake recipe. It is decadent and delicious. And it is a good stand-in for when your local grocery may be out of the Jell-O no bake variety.