Cut-Off Corn

(or Skillet Corn or Cream Style Corn)
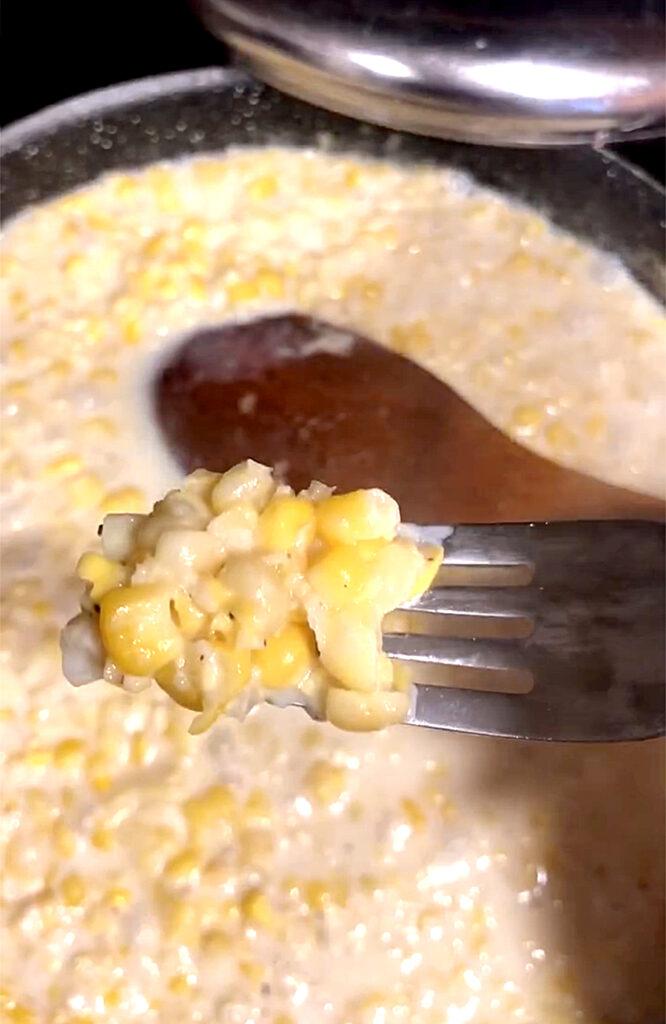
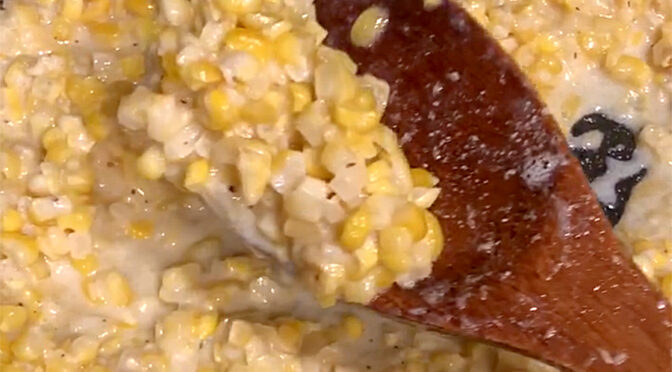
Sweet cut-off corn

Here’s an easy recipe for cut-off corn deliciousness:
1 qt. bag cut-off corn
1 heaping Tbs bacon grease
4 Tbs butter
1/4-1/2 cup cream or whole milk
Place nonstick skillet on medium-high heat and add bacon grease and butter.
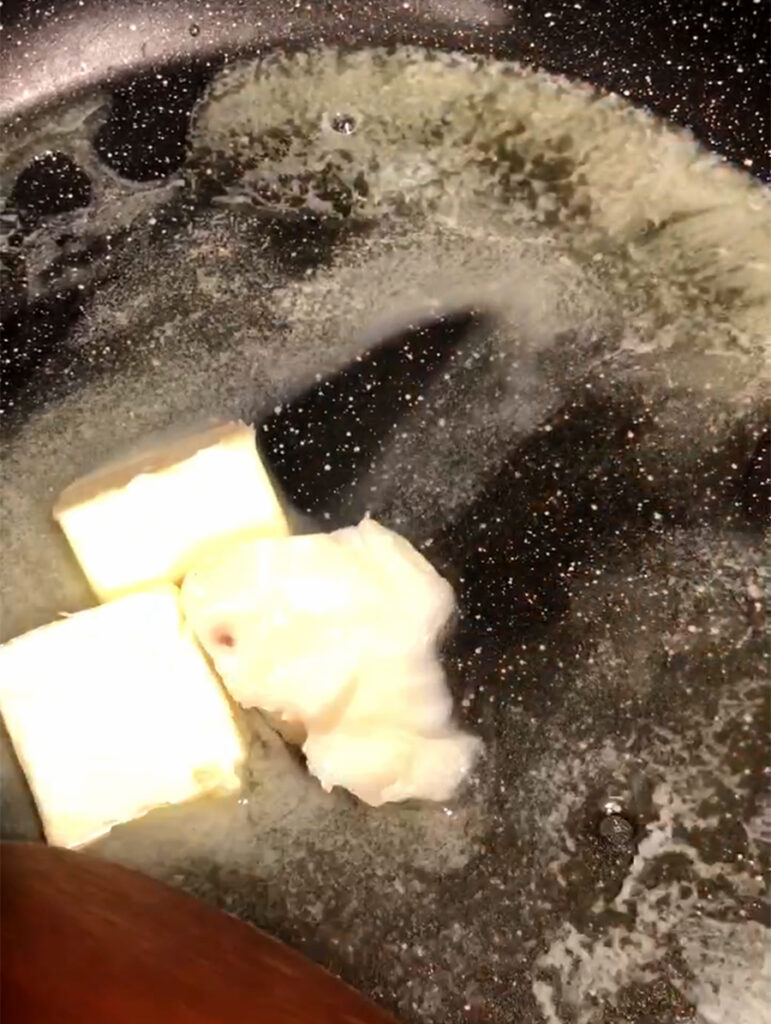

Allow that to melt together and then add your thawed corn.
(Or forget to thaw it, get it in the skillet as best you can, and cover with a lid to allow to steam and melt, stirring occasionally.)
Season with salt and pepper to taste (optional: a pinch of sugar if your corn isn’t as sweet)
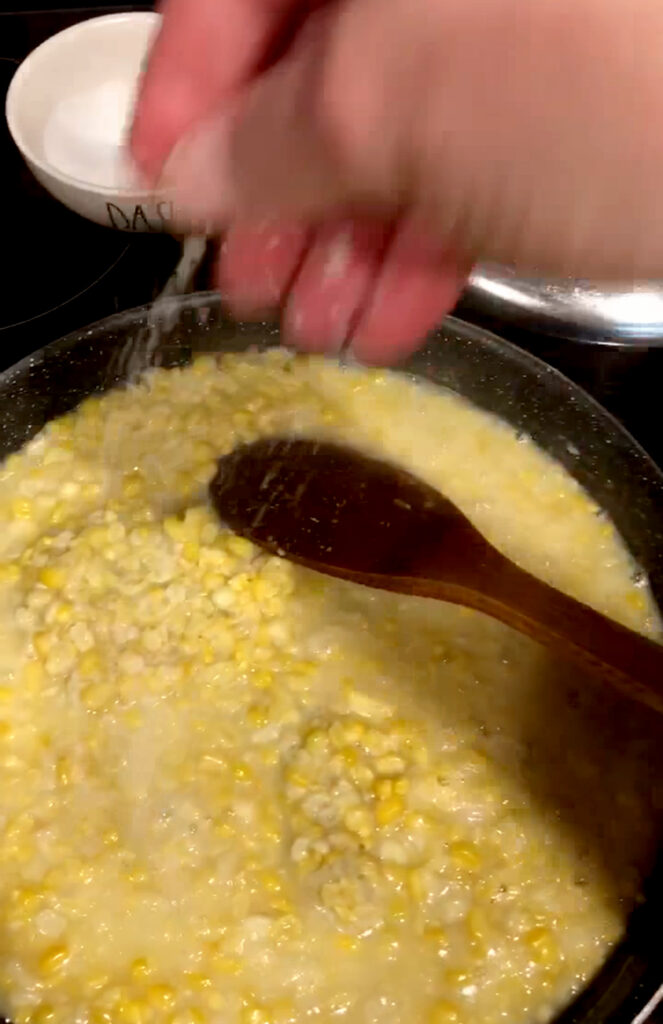

Stir it all together and allow to cook for 5 minute.

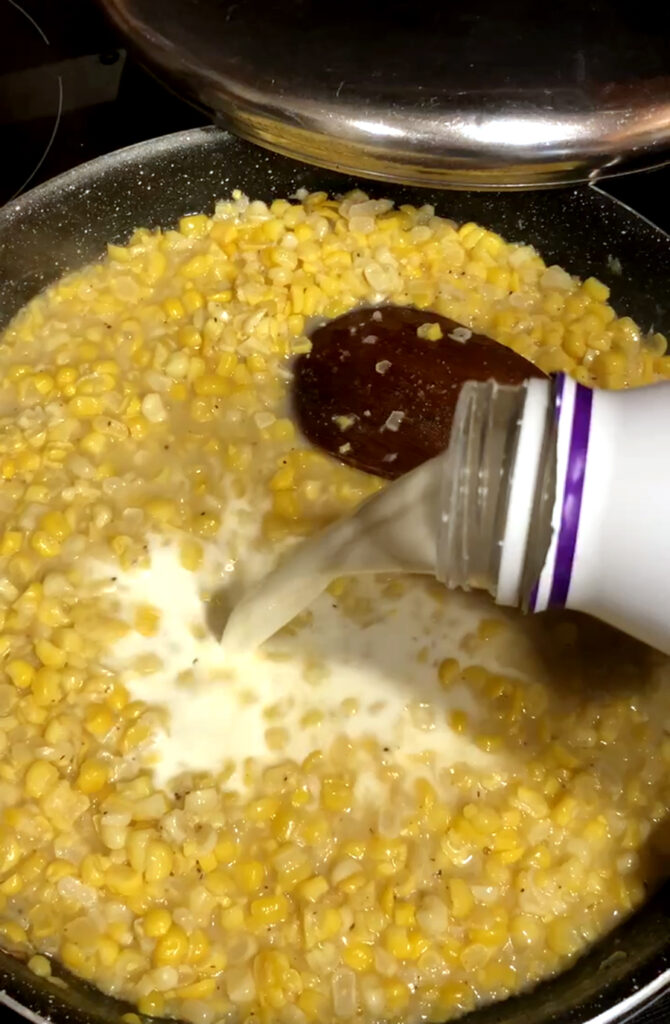
Adding a little cream or milk to get it to the consistency you like.
The story:

My mom Juanita learned how to make cut-off corn, as we call it, from my grandmother Josie Ward, who learned to make it from her mama. Josie only added butter, bacon grease, cream, and salt and pepper. Simple ingredients because it is what she had on hand. But those ingredients made a treat out of the ordinary.


They used field corn that had been planted for themselves and their livestock and began the harvest in late summer when the tassels on the corn dried out and started turning brown. They’d pull back the shuck from the top of the ear and see if the kernels were formed and plump. The best ears were considered those that had the least amount of worms or worm tracks and the juiciest, plumpest kernels; and that was saved for the family. These were shucked, silked, and had all the bad spots cut off. Josie would take fresh corn and cut off the kernels (thus the name) and scrape the milky sweetness from the cob. This would be a treat for supper the night of “a pickin”. Those meals with fresh-from-the-field, cut-off corn were the best. Almost equally as good, was the corn she preserved in jars with this same method, adding the extra few steps (about a day’s time) to jar and process it in a pressure canner. There were no freezers back then so corn was jarred and canned for winter. Lorene, my dad’s mom, did not have her own pressure canner so she used the local cannery. This was a building down on West 5th St. in Waldron, Arkansas. It was set up specifically for those who needed to get their food preserved by the pressure canning method. She would gather up her vegetables, fruits, jars, rings, flats, whatever other canning ingredients she needed, and her two little boys and go wait her turn to use the canners.


Some of the harvest would be cut off and taken to the local grist mill, down in the area of East 5th and Featherston Streets, which was run by Old Man Smith, as he was called. This made a superior cornmeal that turned out a deep yellow color with a strong, sweet earthy scent. You could stand and watch your corn ground and be handed back to you for the year’s cornbread supply.

Some of the corn would be used for hominy and grits, but that’s a whole other story.


The largest portion of the corn was taken inside the cellar or smokehouse and hung up with shucks intact to preserve it longer. The rest was kept in the corn crib in the barn. Sometimes, before it completely dried out, they’d grab a few of the plumpest ears left in the crib and take it inside to soak. This plumped up the kernels enough to make it fit to eat for corn on the cob.


What wasn’t gleaned for the family was fed to a variety of farm animals. It’d be shucked in the field with shucks left to compost on the ground. Two ears were rubbed together so that the kernels fell off and that was thrown to the chickens. Others were shucked and the whole ears thrown to cows and hogs. The cobs were left in the field to be trampled, peed on, and rolled in cow patties by the animals living there. These were then perfect for corn cob fights. Yes, it was a thing. Kids then did not have their thumbs on a phone screen and toys galore so they amused themselves by walloping each other with corn cobs. It was kind of like a snowball fight behind snow forts except you were behind whatever was available and throwing hard cobs. And my dad says, yes, they hurt. They’d dig for the nastiest corn cobs that had been soaked with animal urine, or better yet, one that had found its way into a cow patty. Not only did those hurt the worst and raise a big whelp, but they were the grossest thing to be hit with. And they aimed for the head. You wanted to see a big, cow patty-smeared whelp on your opponent’s head. And nobody ran crying to tell on anybody. They just went and found a worse corn cob and chased their attacker down. According to dad, this served a two-fold purpose. One, you learned to aim well and dodge better. And two, you got tough pretty quick. His quote, “Sissies were few and far between.”
So, yes, bruises were plenty. Pain was real. Toughness was learned. And fun was where you found it. Sometimes, it was found in a corn cob.

Preserving Sweet Corn

Shuck and save for later

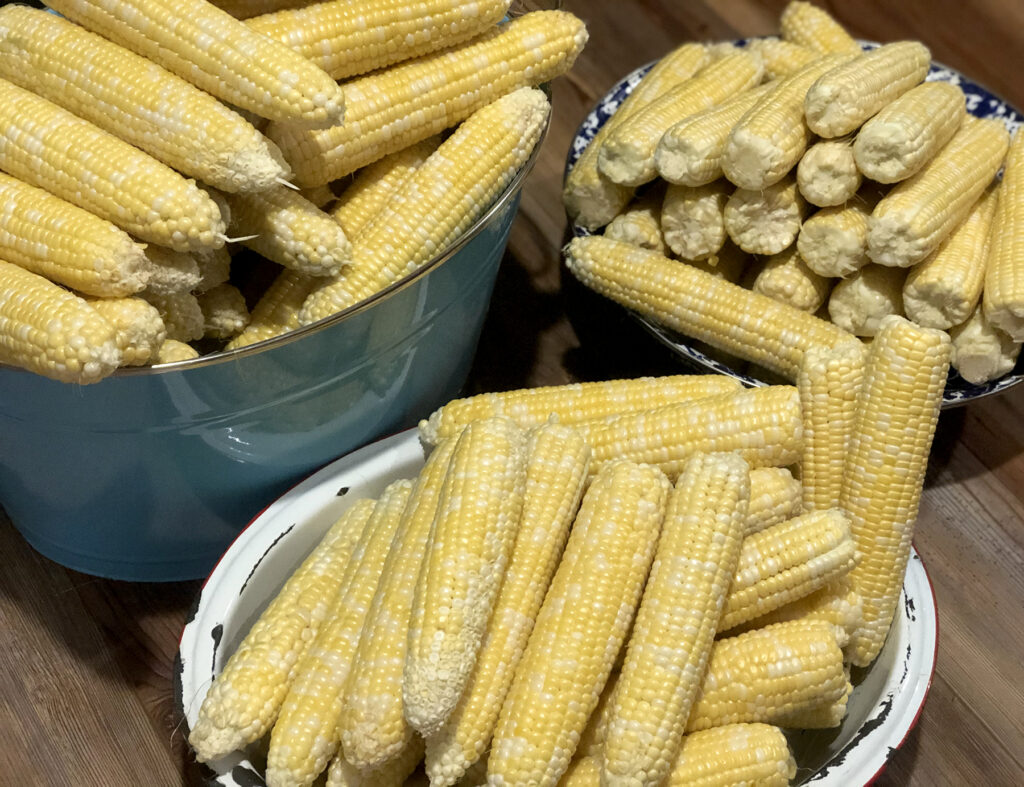
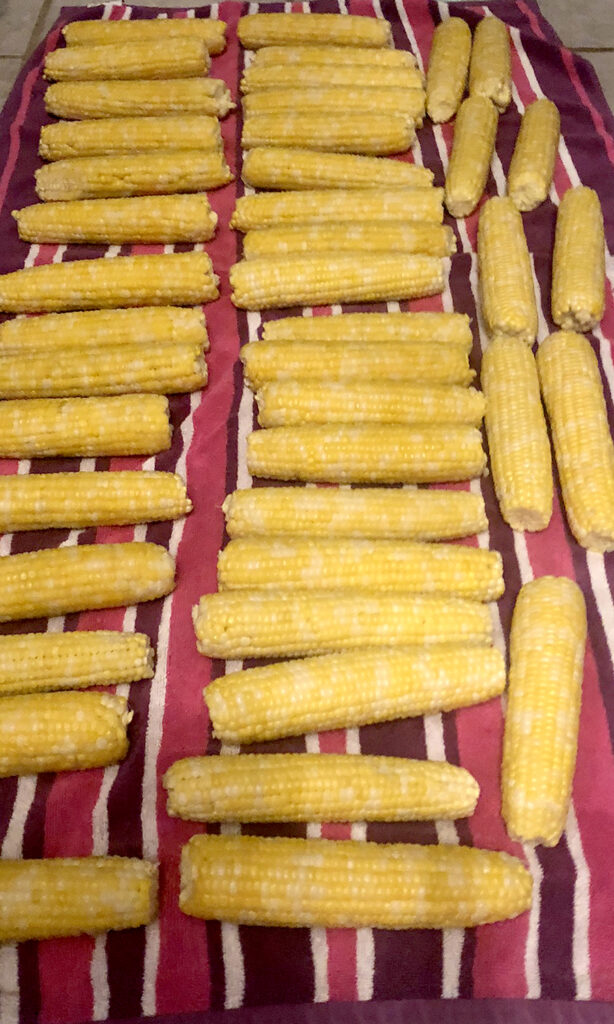
Fresh sweet corn on the cob ready for the freezer

The smell of cut-off corn cooking is a memory trigger. All good memories, except for the time it took to pick, shuck, trim, cut it off, and package for the freezer. But it tastes so good fresh from the freezer in the wintertime that all that work is forgotten, mostly. If you’ve ever smelled fresh corn straight from a farmer’s field cooking and tasted it, you know what I mean. If you haven’t, bless your heart.


That particularly sweet aroma flips a switch and turns on a memory of shucking corn with my parents on their deck back when I was a kid. Calloused hands moving at twice the speed of mine pulling silks and shucks off almost in one fell swoop and then rapidly trimming ends and spots with a paring knife. Then, I hated sitting in that heat swatting the flies that swarmed around the shucks and silks. I remember thinking “My friends don’t have to do this. All they do is lay around the house all summer. Why do I have to learn any of this?” But now I’m so glad I did. It took patience on their part with an extra helping from my mom who then taught my sisters and I how to par-cook it, cool it, and package it so we’d have the most delicious fresh corn all winter. I had no idea at the time how fortunate I was to be taught those things. If you were never taught, truly, bless your heart. It’s not too late and I hope this little tutorial and video help.


To have fresh corn takes a little effort. You can just go to Kroger or Walmart or wherever you shop and get it there, unshucked if you want the “real” corn cooking experience, or shucked and packaged on one of those neat little Styrofoam trays, which is still good and still requires you to cook it. So yes, you are cooking fresh corn that way as well. It is an okay stand-in for bona fide straight from the farmer corn. But if you have the opportunity to buy fresh from a farmer or “produce guy” on the side of the road, you really should. If you don’t know where to find one of those, bless your heart.


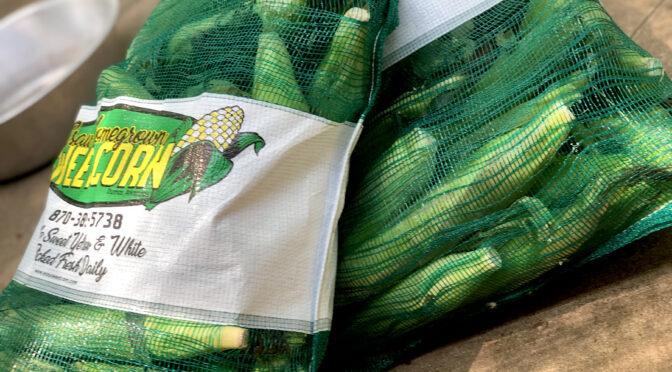
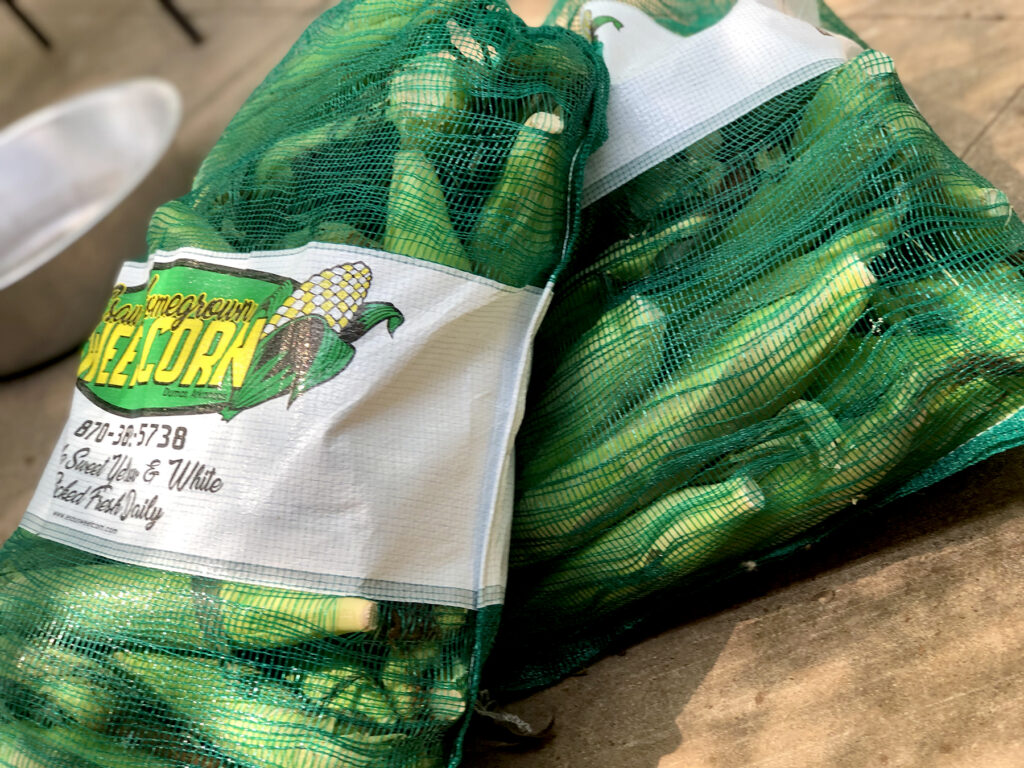
Every year, I buy at least 2-3 (50 lb.) sacks of Esau’s Corn from my produce guy. He gets it to me freshly picked and I process it as quickly as I can. Here’s why: It’s generally picked in hot weather and when it sets off the plant in the heat for too long, it begins to sweat and will lend a “soured” taste to the corn. It also will begin to get waxy and a bit rubbery. If it is kept in a cool environment (in your house or a refrigerated area), it will keep fresher longer. However, once picked, it can only retain all the juicy sweet goodness locked in the kernels and cob for so long. This usually takes a day and a half to process fully. Bless my heart.

Par-cook and freeze your corn in whole cobs or make cut-off corn (aka skillet corn or creamed corn). There are lots of ways to do this. This is not the only way. However, it is how I was taught so that’s what I’m going with.

Shuck your corn and silk it (remove the silks as much as you can)
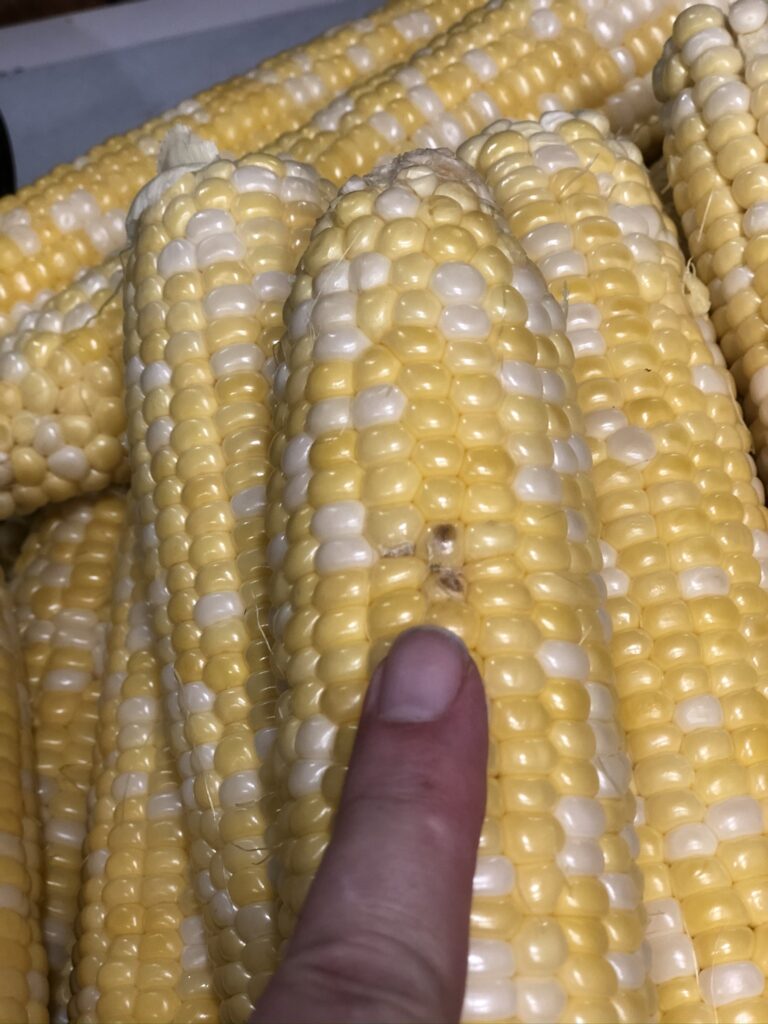
Cut off any bad spots on the cob as they can ruin that cob or others


For whole corn on the cob:
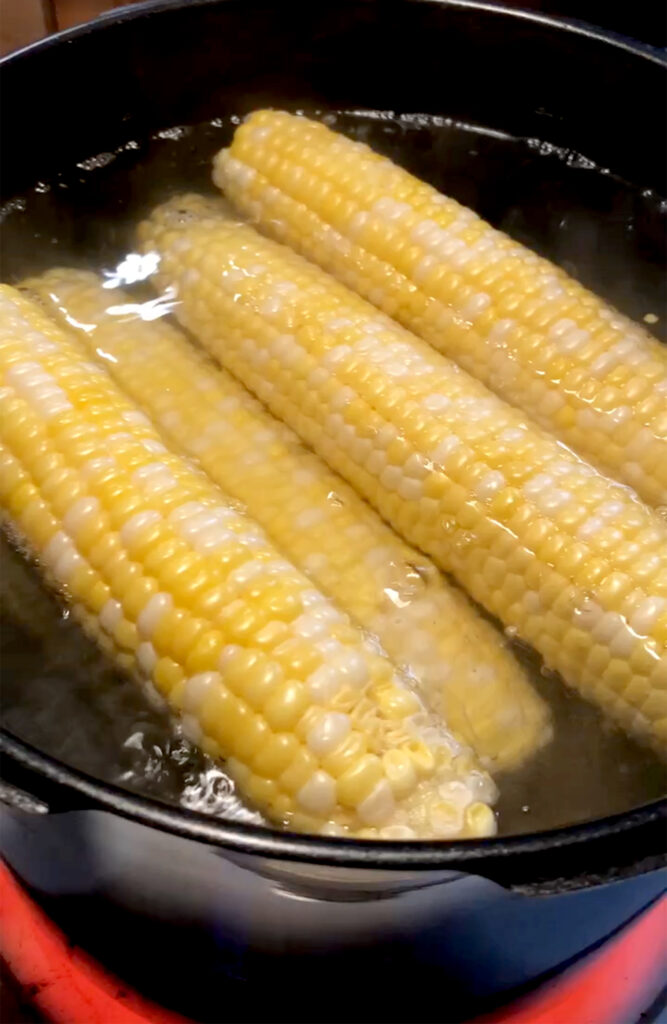
Place cobs in large pot of water and bring to gentle boil.
Make sure all the cobs are submerged, rotating them as needed.


Allow to bubble for 3-4 minutes and remove.
Lay in single layer on towel in a cool location. (Do not lay on a stained or painted table as the sugars and steam can ruin a finish. My mom learned this the hard way.)


When completely cool, package in bags and remove as much air as possible to freeze.


For cut-off corn:
Cut your kernels off the cob using one the fancy new corn cutter gadgets or just use a knife.
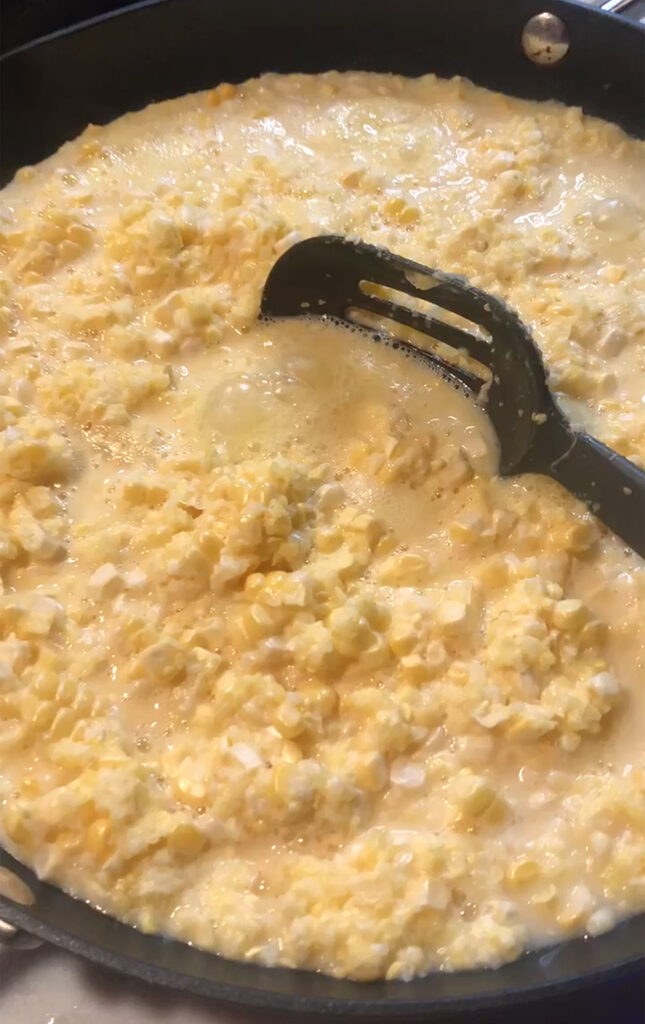
When you’ve got it removed, place a large nonstick skillet on medium-high heat.
Put just a little water in the pan (about 1 Tbs. per 2 cups of corn)


Cook, stirring to keep from sticking (the sugars in the corn will make it stick)
(Do not season if doing this to freeze.)
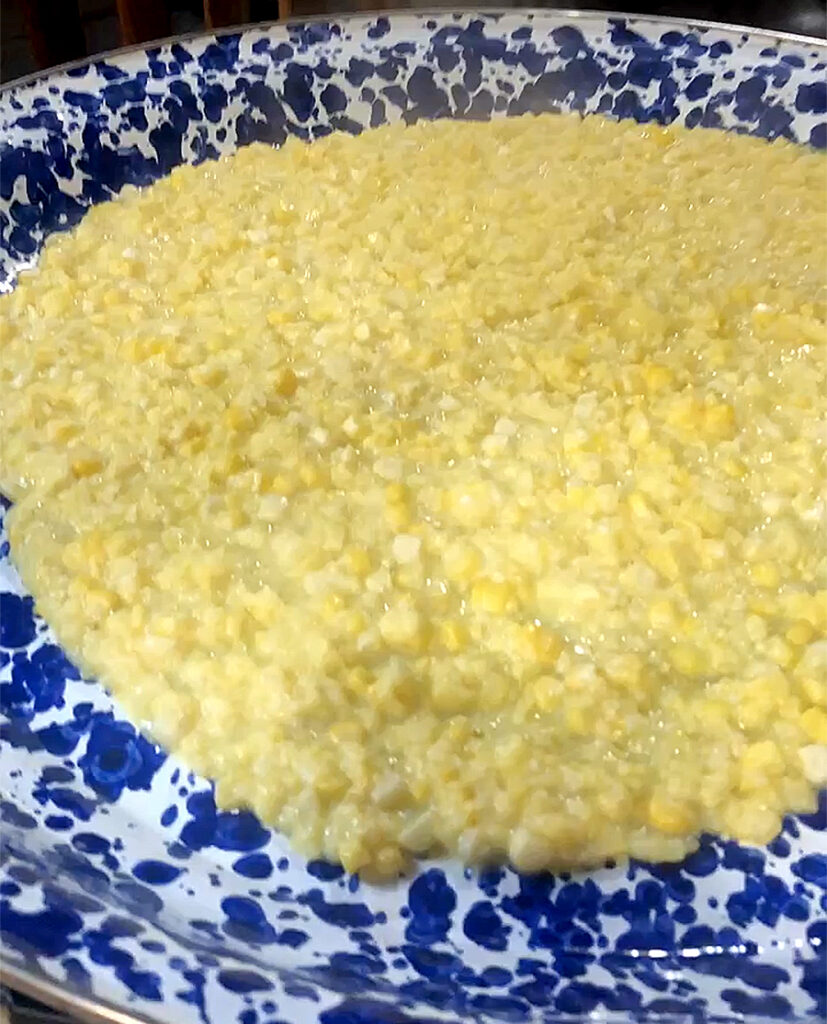
Cook for 5-6 minutes and remove to large tray so you can spread it out evenly.


Stir it around occasionally to let all the corn cool at the same rate.
When completely cool, package in bags (removing as much air as possible) for freezing.

To cook your corn after thawing or before freezing, you have to use bacon grease and butter and a little cream if you have it. Well, you don’t HAVE to. If you want sub par-tasting corn, go ahead and leave all that out. But you’ll regret it.


Here’s an easy recipe for cut-off corn deliciousness: (https://www.scrappylittlecook.com/cut-off-corn/)
1 qt. bag cut-off corn
1 heaping Tbs bacon grease
4 Tbs butter
1/4-1/2 cup cream or whole milk
Place nonstick skillet on medium-high heat and add bacon grease and butter.
Allow that to melt together and then add your thawed corn.
(Or forget to thaw it and put it in the skillet, covering with a lid and stirring occasionally to allow to steam and melt.)
Season with salt and pepper to taste (optional: a pinch of sugar if your corn isn’t as sweet)
Stir it all together and allow to cook for 6-10 minutes, adding a little cream or milk to get it to the consistency you like.

For corn on the cob:
1 qt. bag frozen corn on the cob
Salt
Place large stew pot of water on medium high heat.
Add salt to taste (I add 1-2 tsp.)
Place cobs in water and make sure they are submerged.
Allow to come to boil.
Boil gently for 5-6 minutes.
Remove from water into bowl and place butter on top to melt for extra flavor and calories.