Brown Sugar Sweet Potato Scones

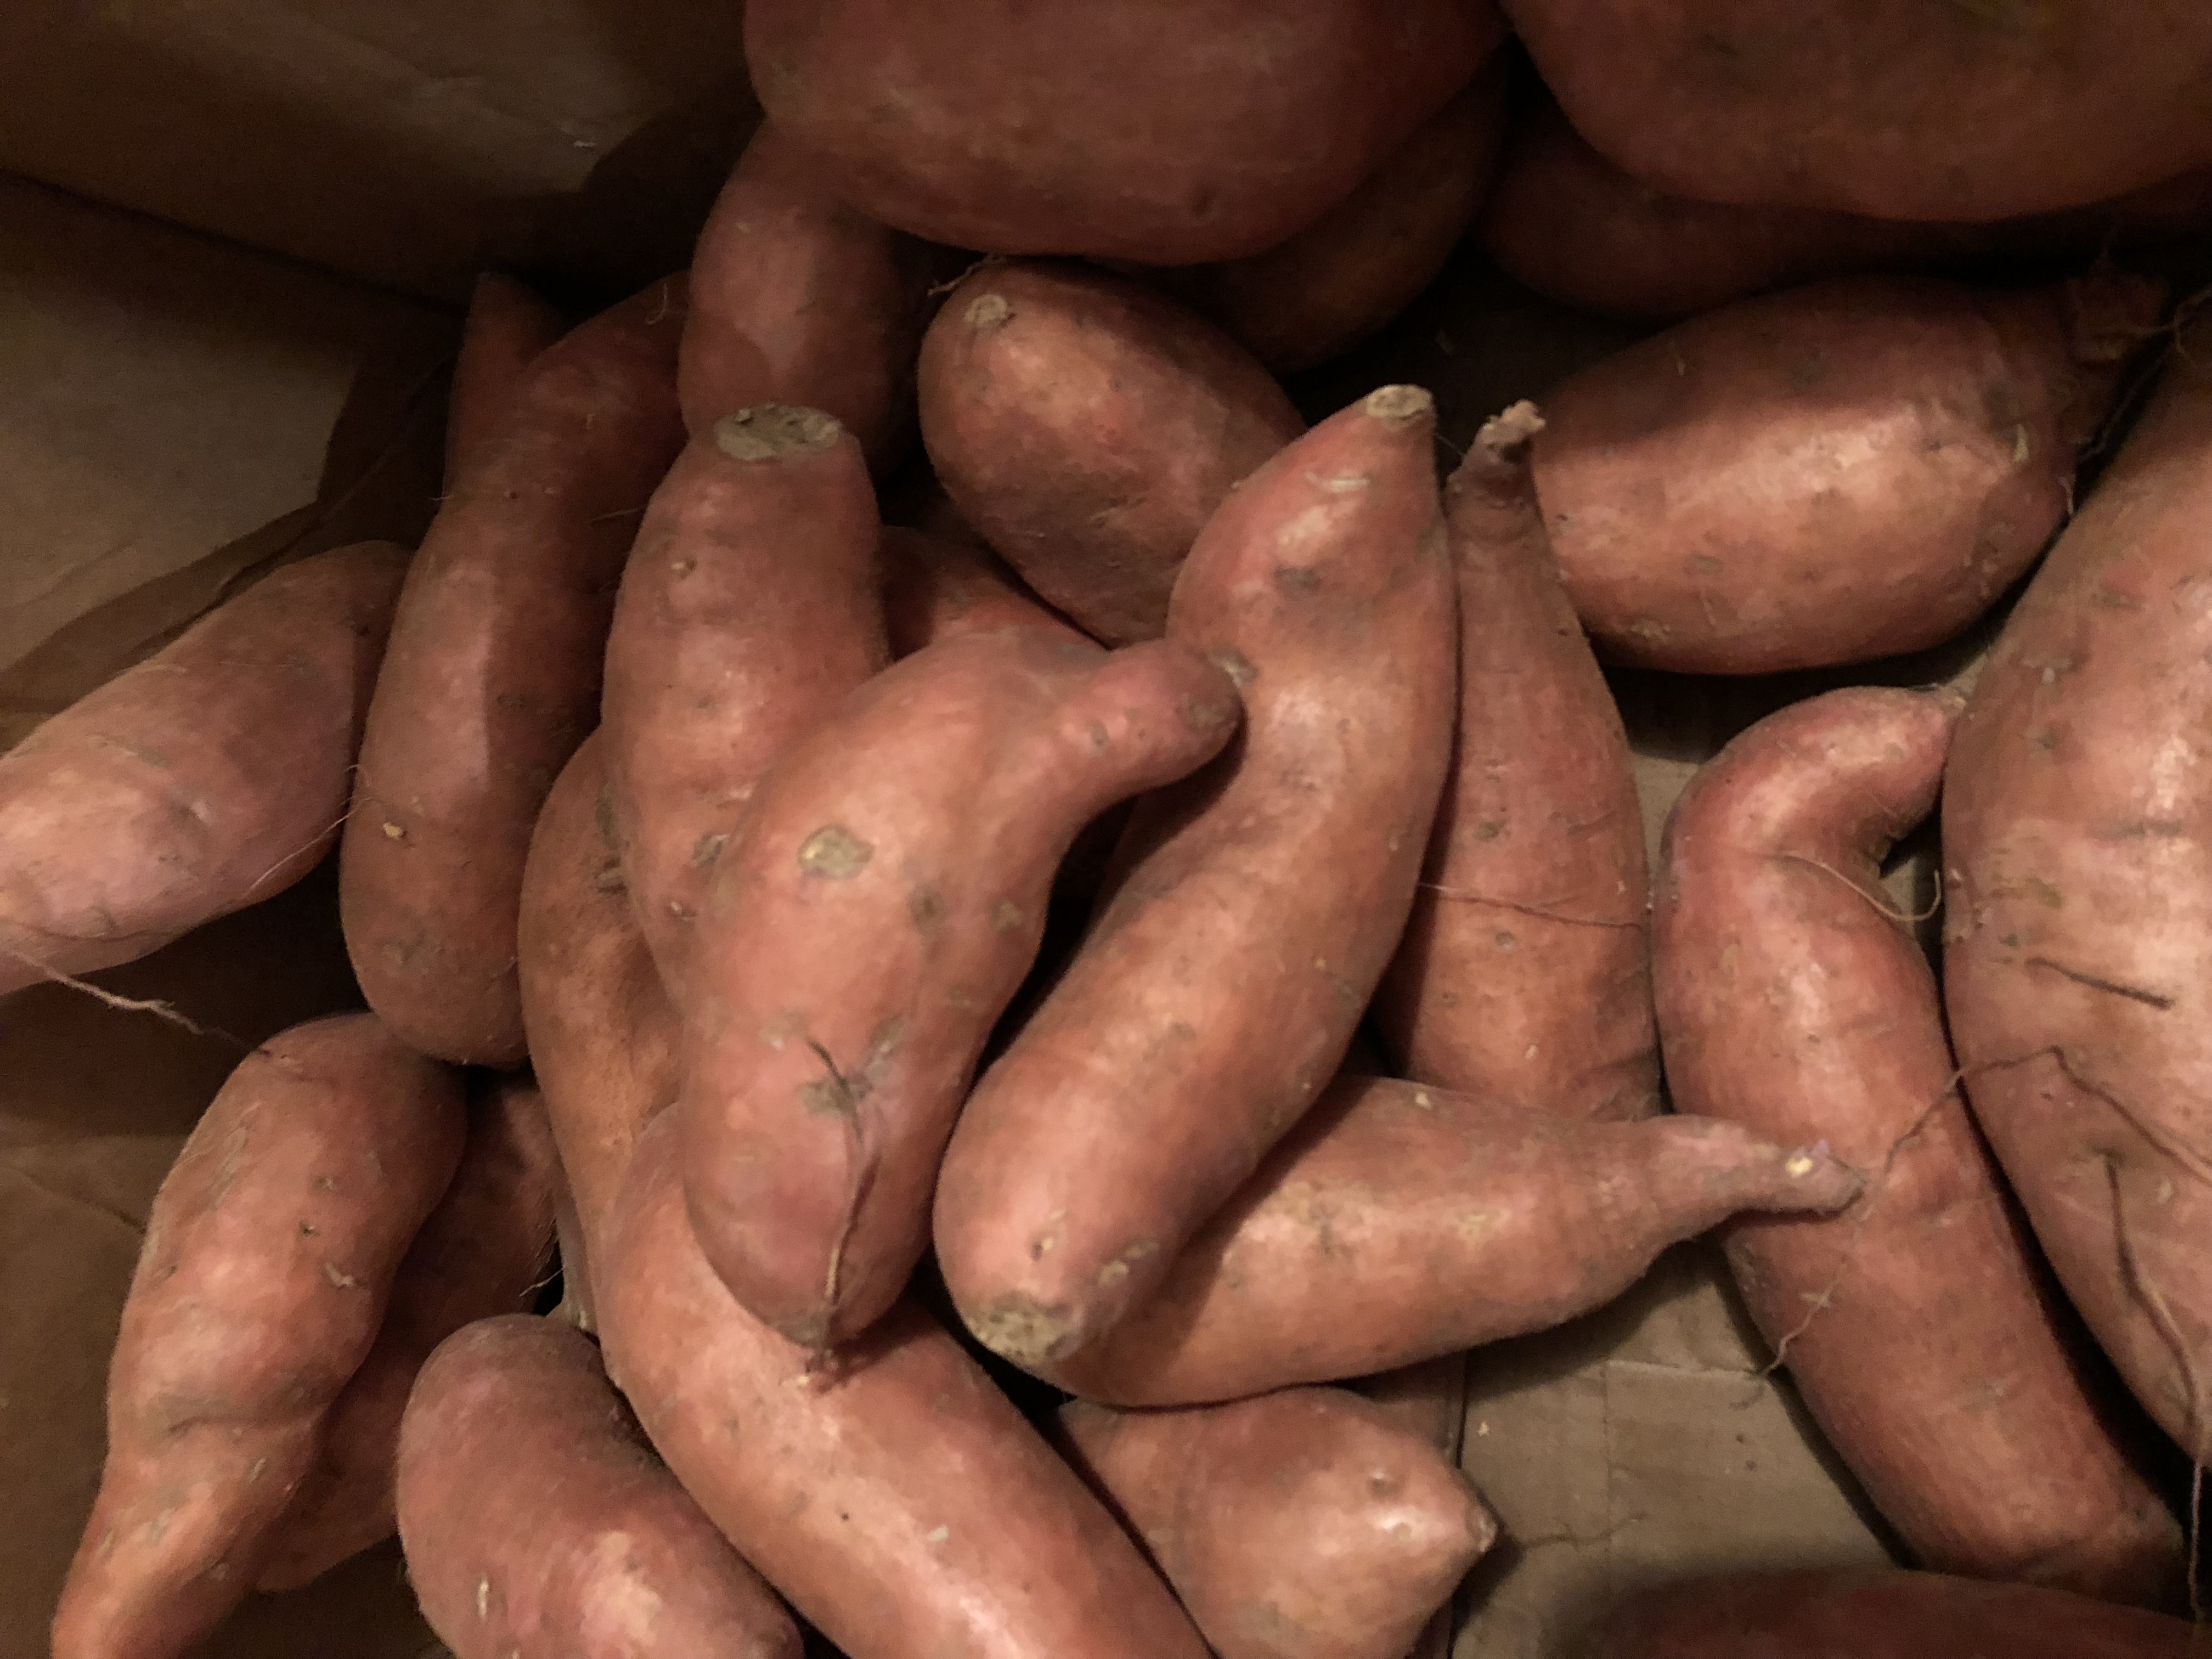
Sometimes there’s a sale on sweet potatoes.
And sometimes your father-in-law buys a case of them at a produce stand and takes two out and brings you the rest.
I’ve had both these things happen. And so I learned to do more than the usual sweet potato casserole or baked sweet potato or sweet potato fries or sweet potato pie. I’m sounding a bit like Bubba from Forrest Gump … but with sweet potatoes.
Our customers enjoyed new dishes. And they especially enjoyed seasonal new dishes. So in the fall/winter, we had an increase in requests for sweet potato pie and sweet potato casserole with the little marshmallows toasted on top. And we happily obliged those cravings.
But I like to try new things, so the brown sugar sweet potato scone became a winner. I loved them, customers loved them. And they’re pretty easy to make using pantry staples, so win-win. A scone is pretty much a ramped up biscuit. This means you can eat them anytime and all the time. Our customers loved to buy them for quick breakfasts or we served them for breakfast catering orders. They travel well and don’t have to be served hot.
Sweet potato scones
Here’s what you’ll need for brown sugar sweet potato scones with brown sugar icing.
(Makes 16 scones)
1 cup mashed sweet potatoes (2 medium sweet potatoes, cooked)
1 cup buttermilk (to make your own: put 1 Tbs lemon juice in a measuring cup and fill it to the cup line with milk)
2 Tbs heavy cream
3 tsp vanilla flavoring (here’s how to make homemade)
Healthy dollop of sour cream (about 2 Tbs)
Sweet potato scones
5 cups all purpose flour
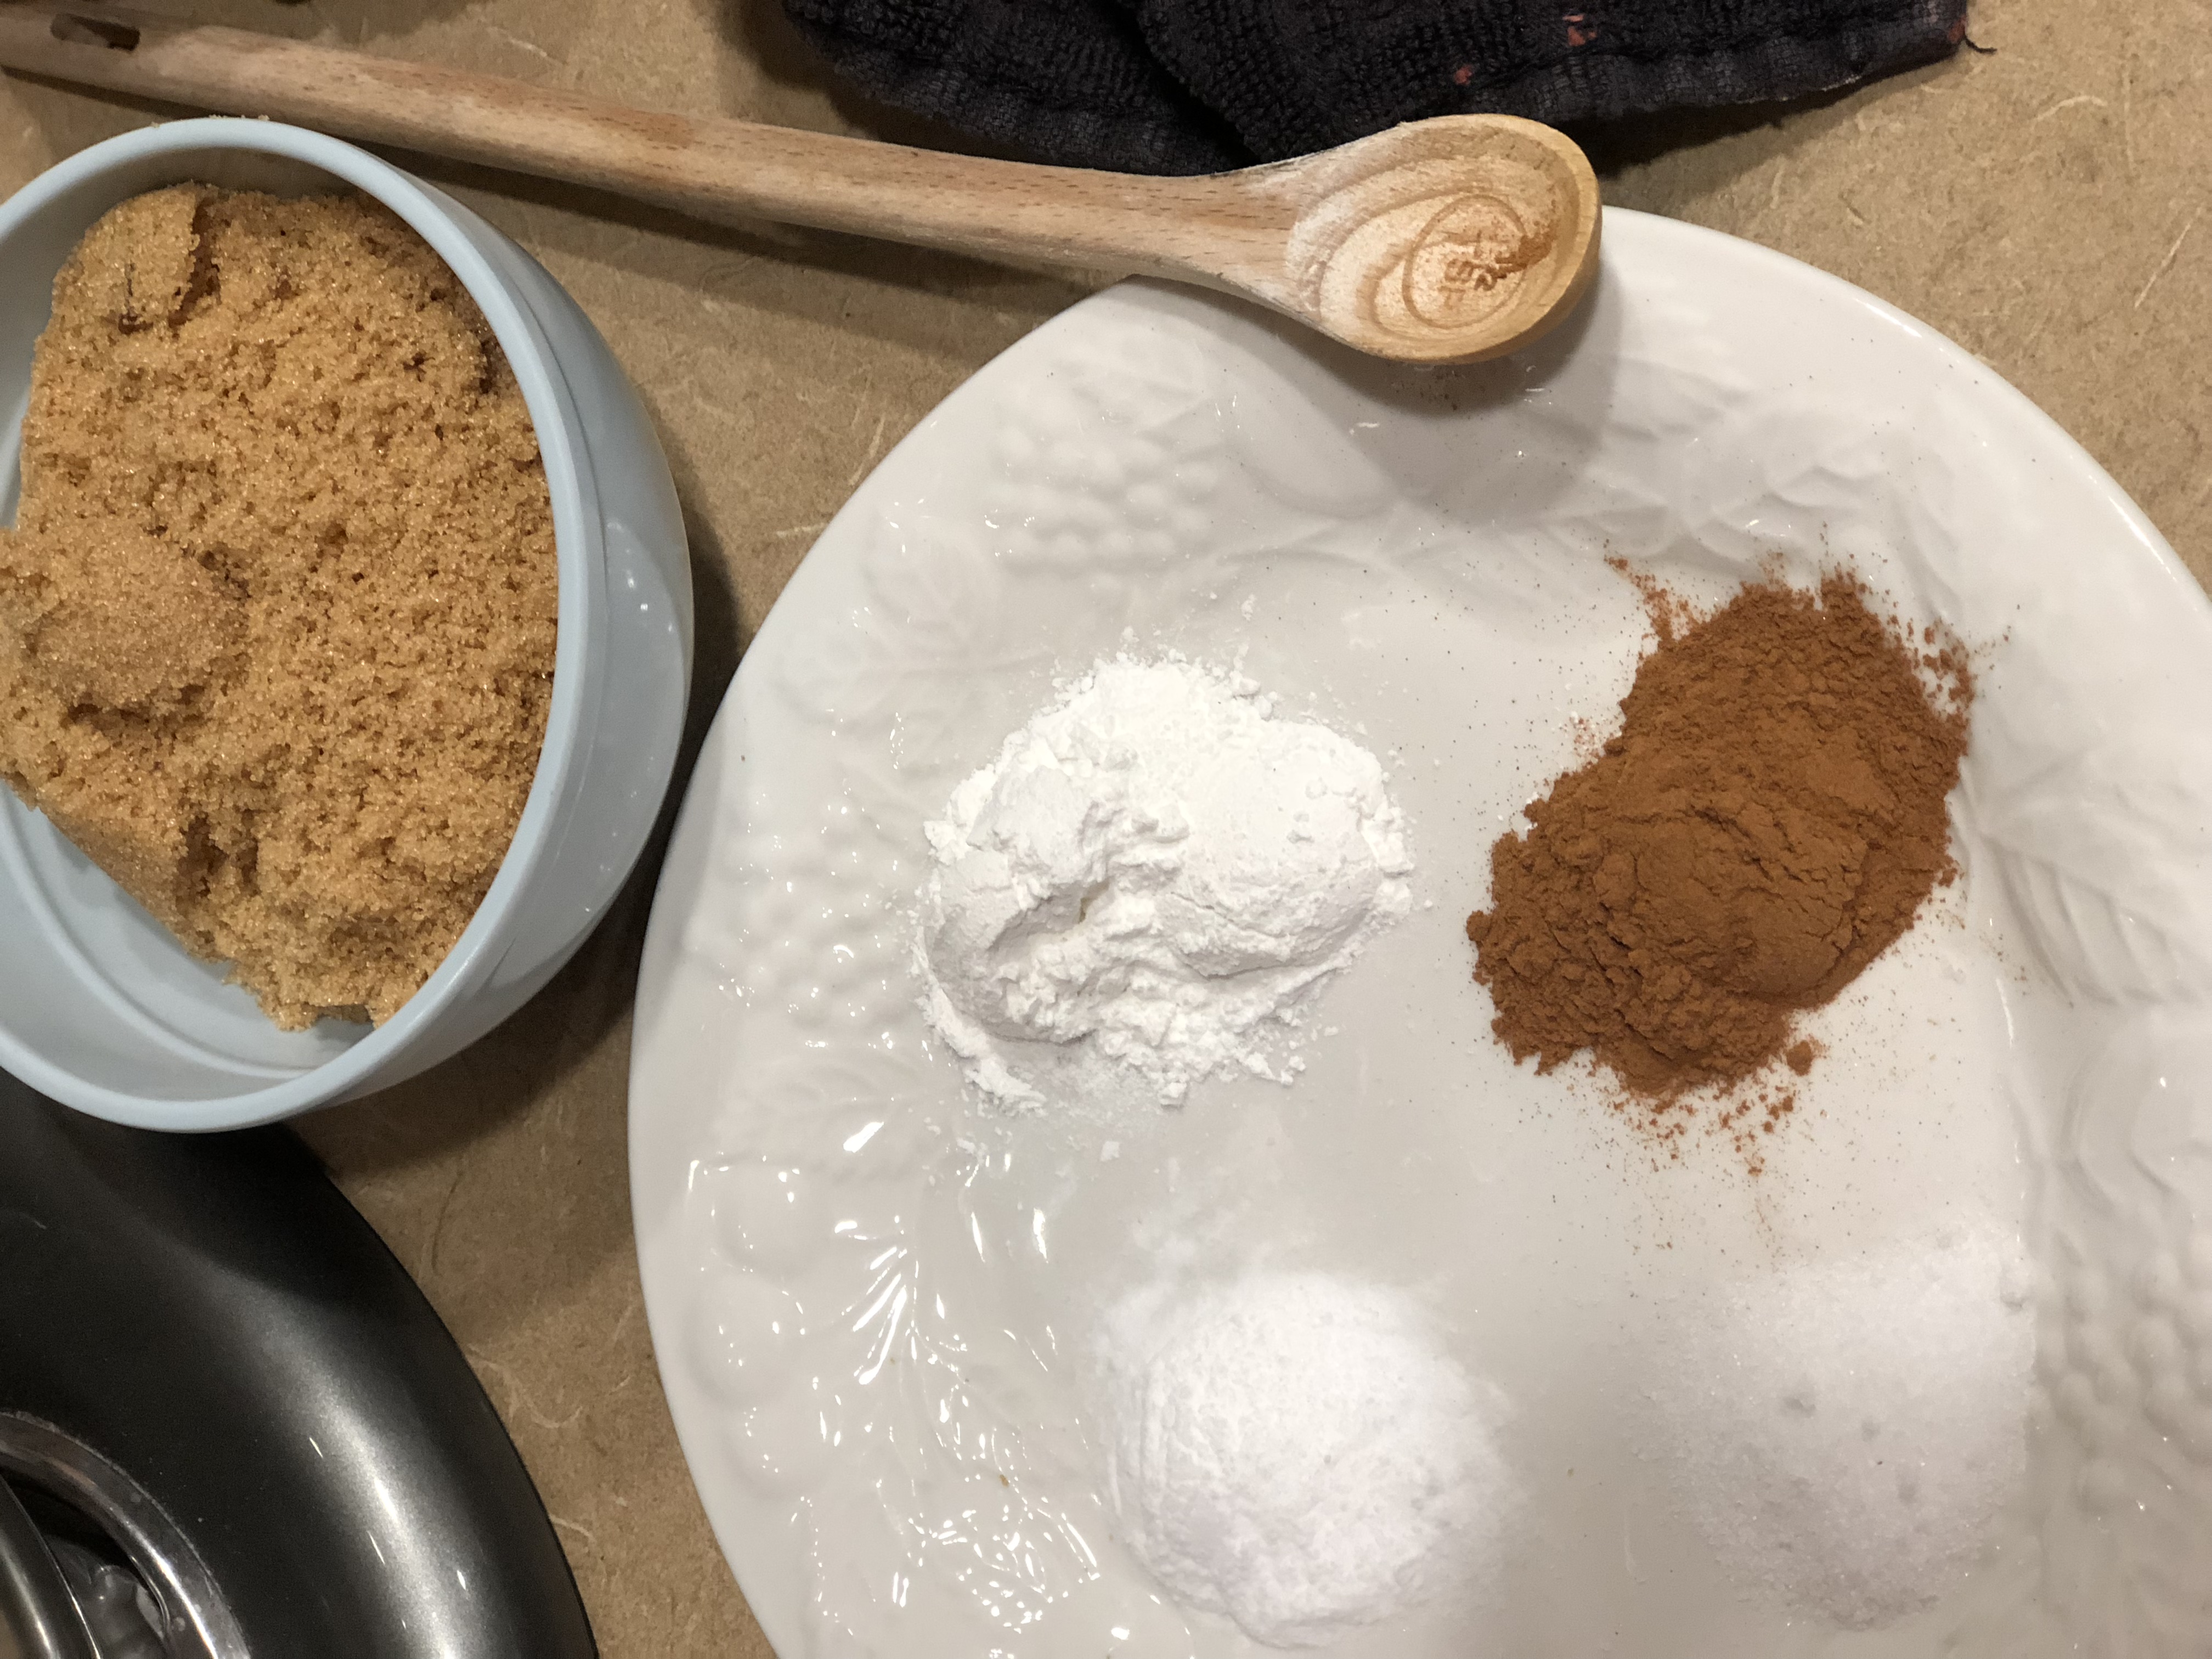
2/3 cup packed brown sugar
1 tsp ground cinnamon
2 tsp baking powder
1 tsp baking soda
1/2 tsp salt
1 cup cold unsalted butter, cubed

Brown Sugar Icing:
1/2 cup brown sugar
1/2 cup powdered sugar
2 Tbs unsalted butter, melted
6 Tbs heavy cream

Preheat oven to 400 degrees.
Sweet potato scones, whipping sweet potatoes
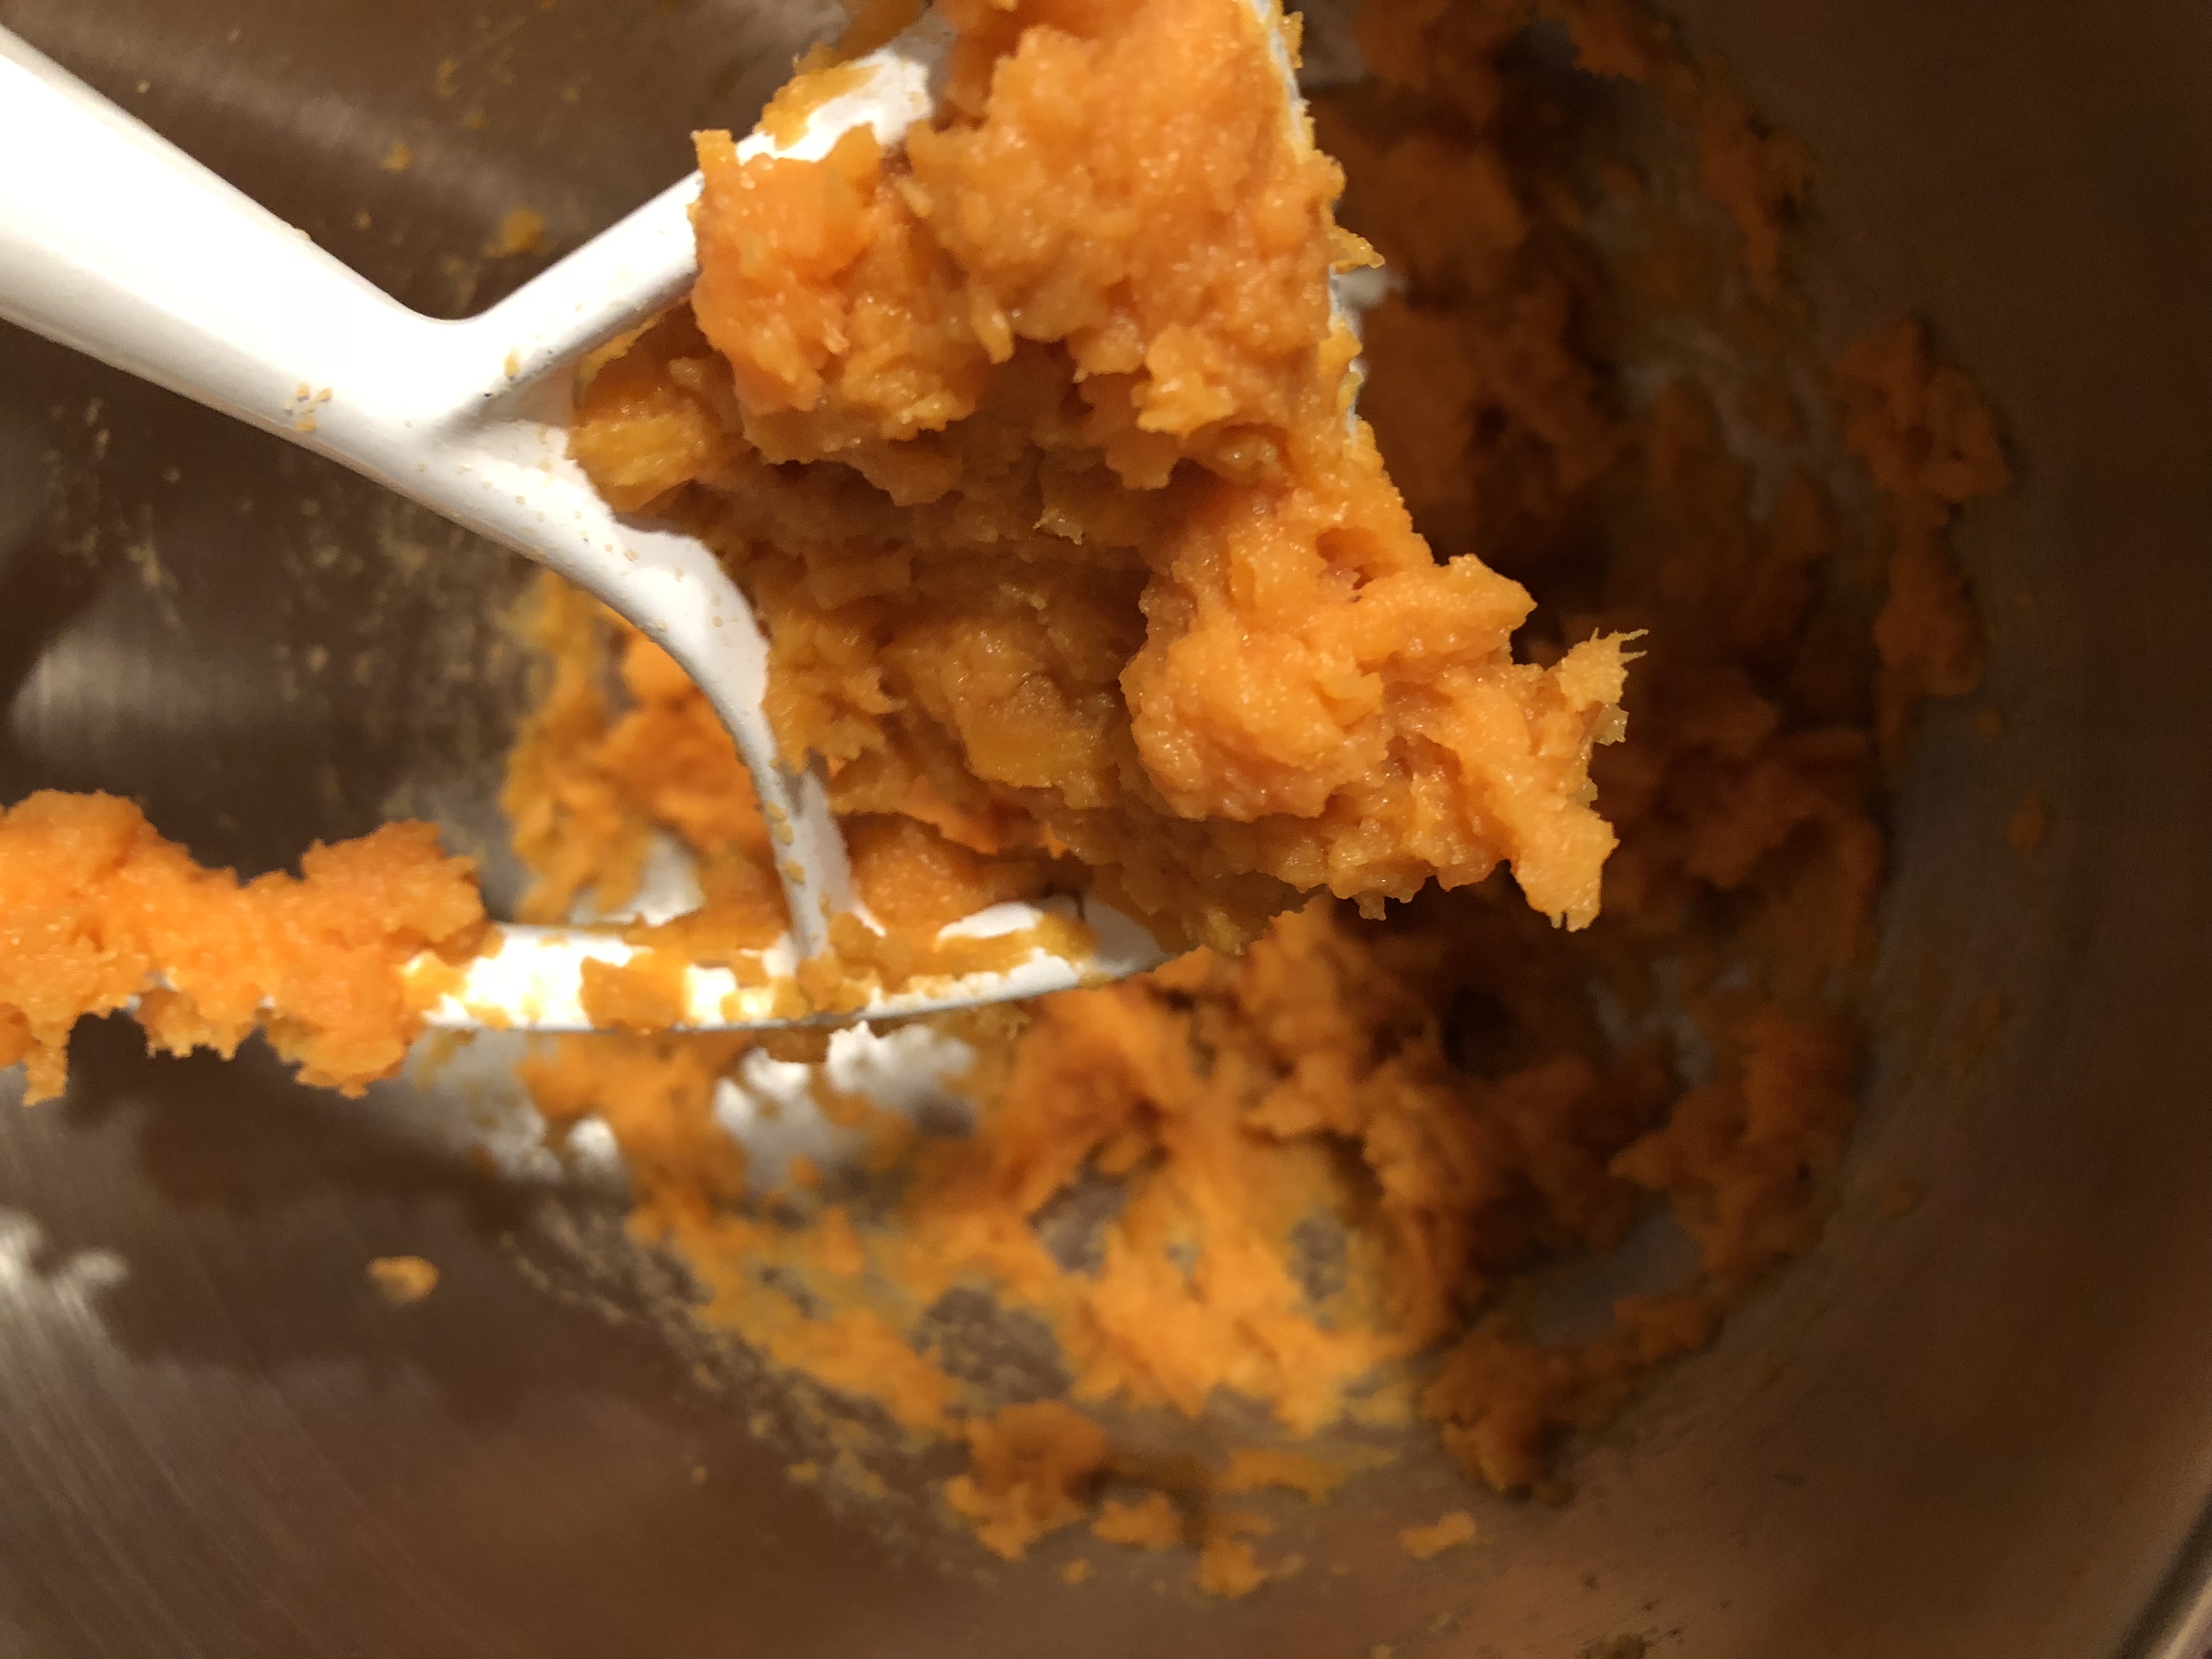
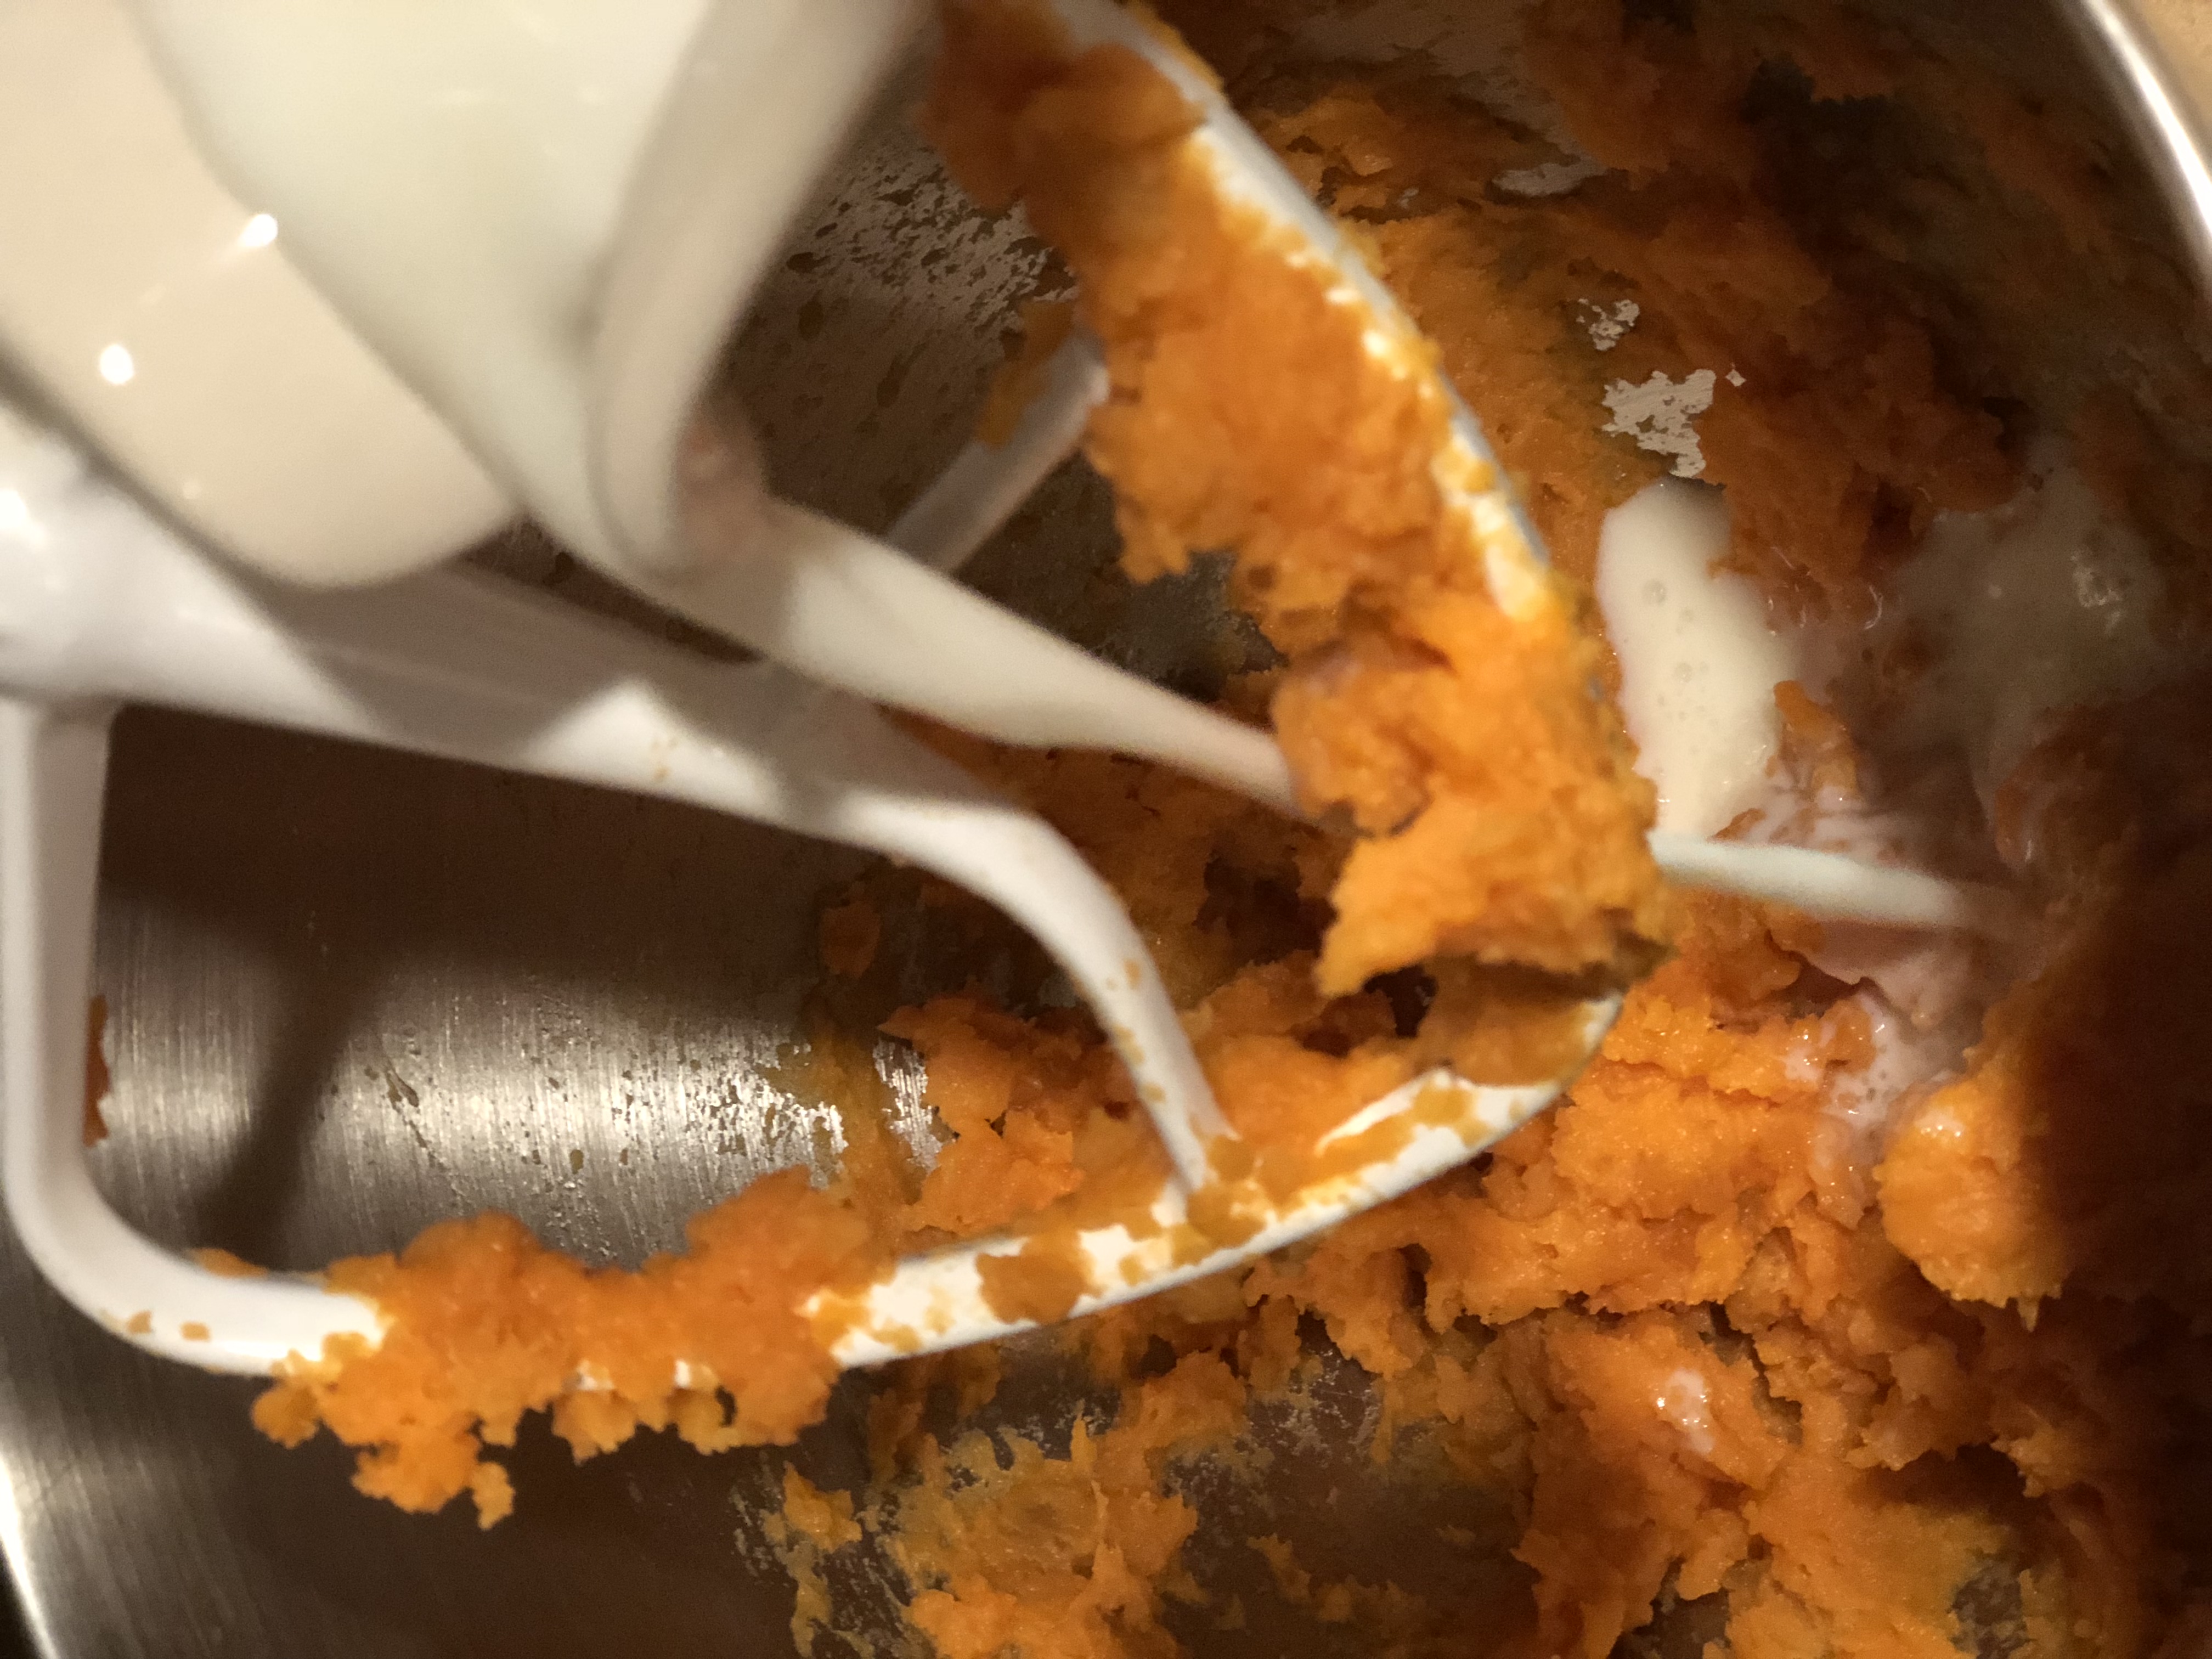
Smash those sweet potatoes up in a bowl with a large spoon or in your mixer bowl.
Sweet potato scones
Add milk.
Sweet potato scones
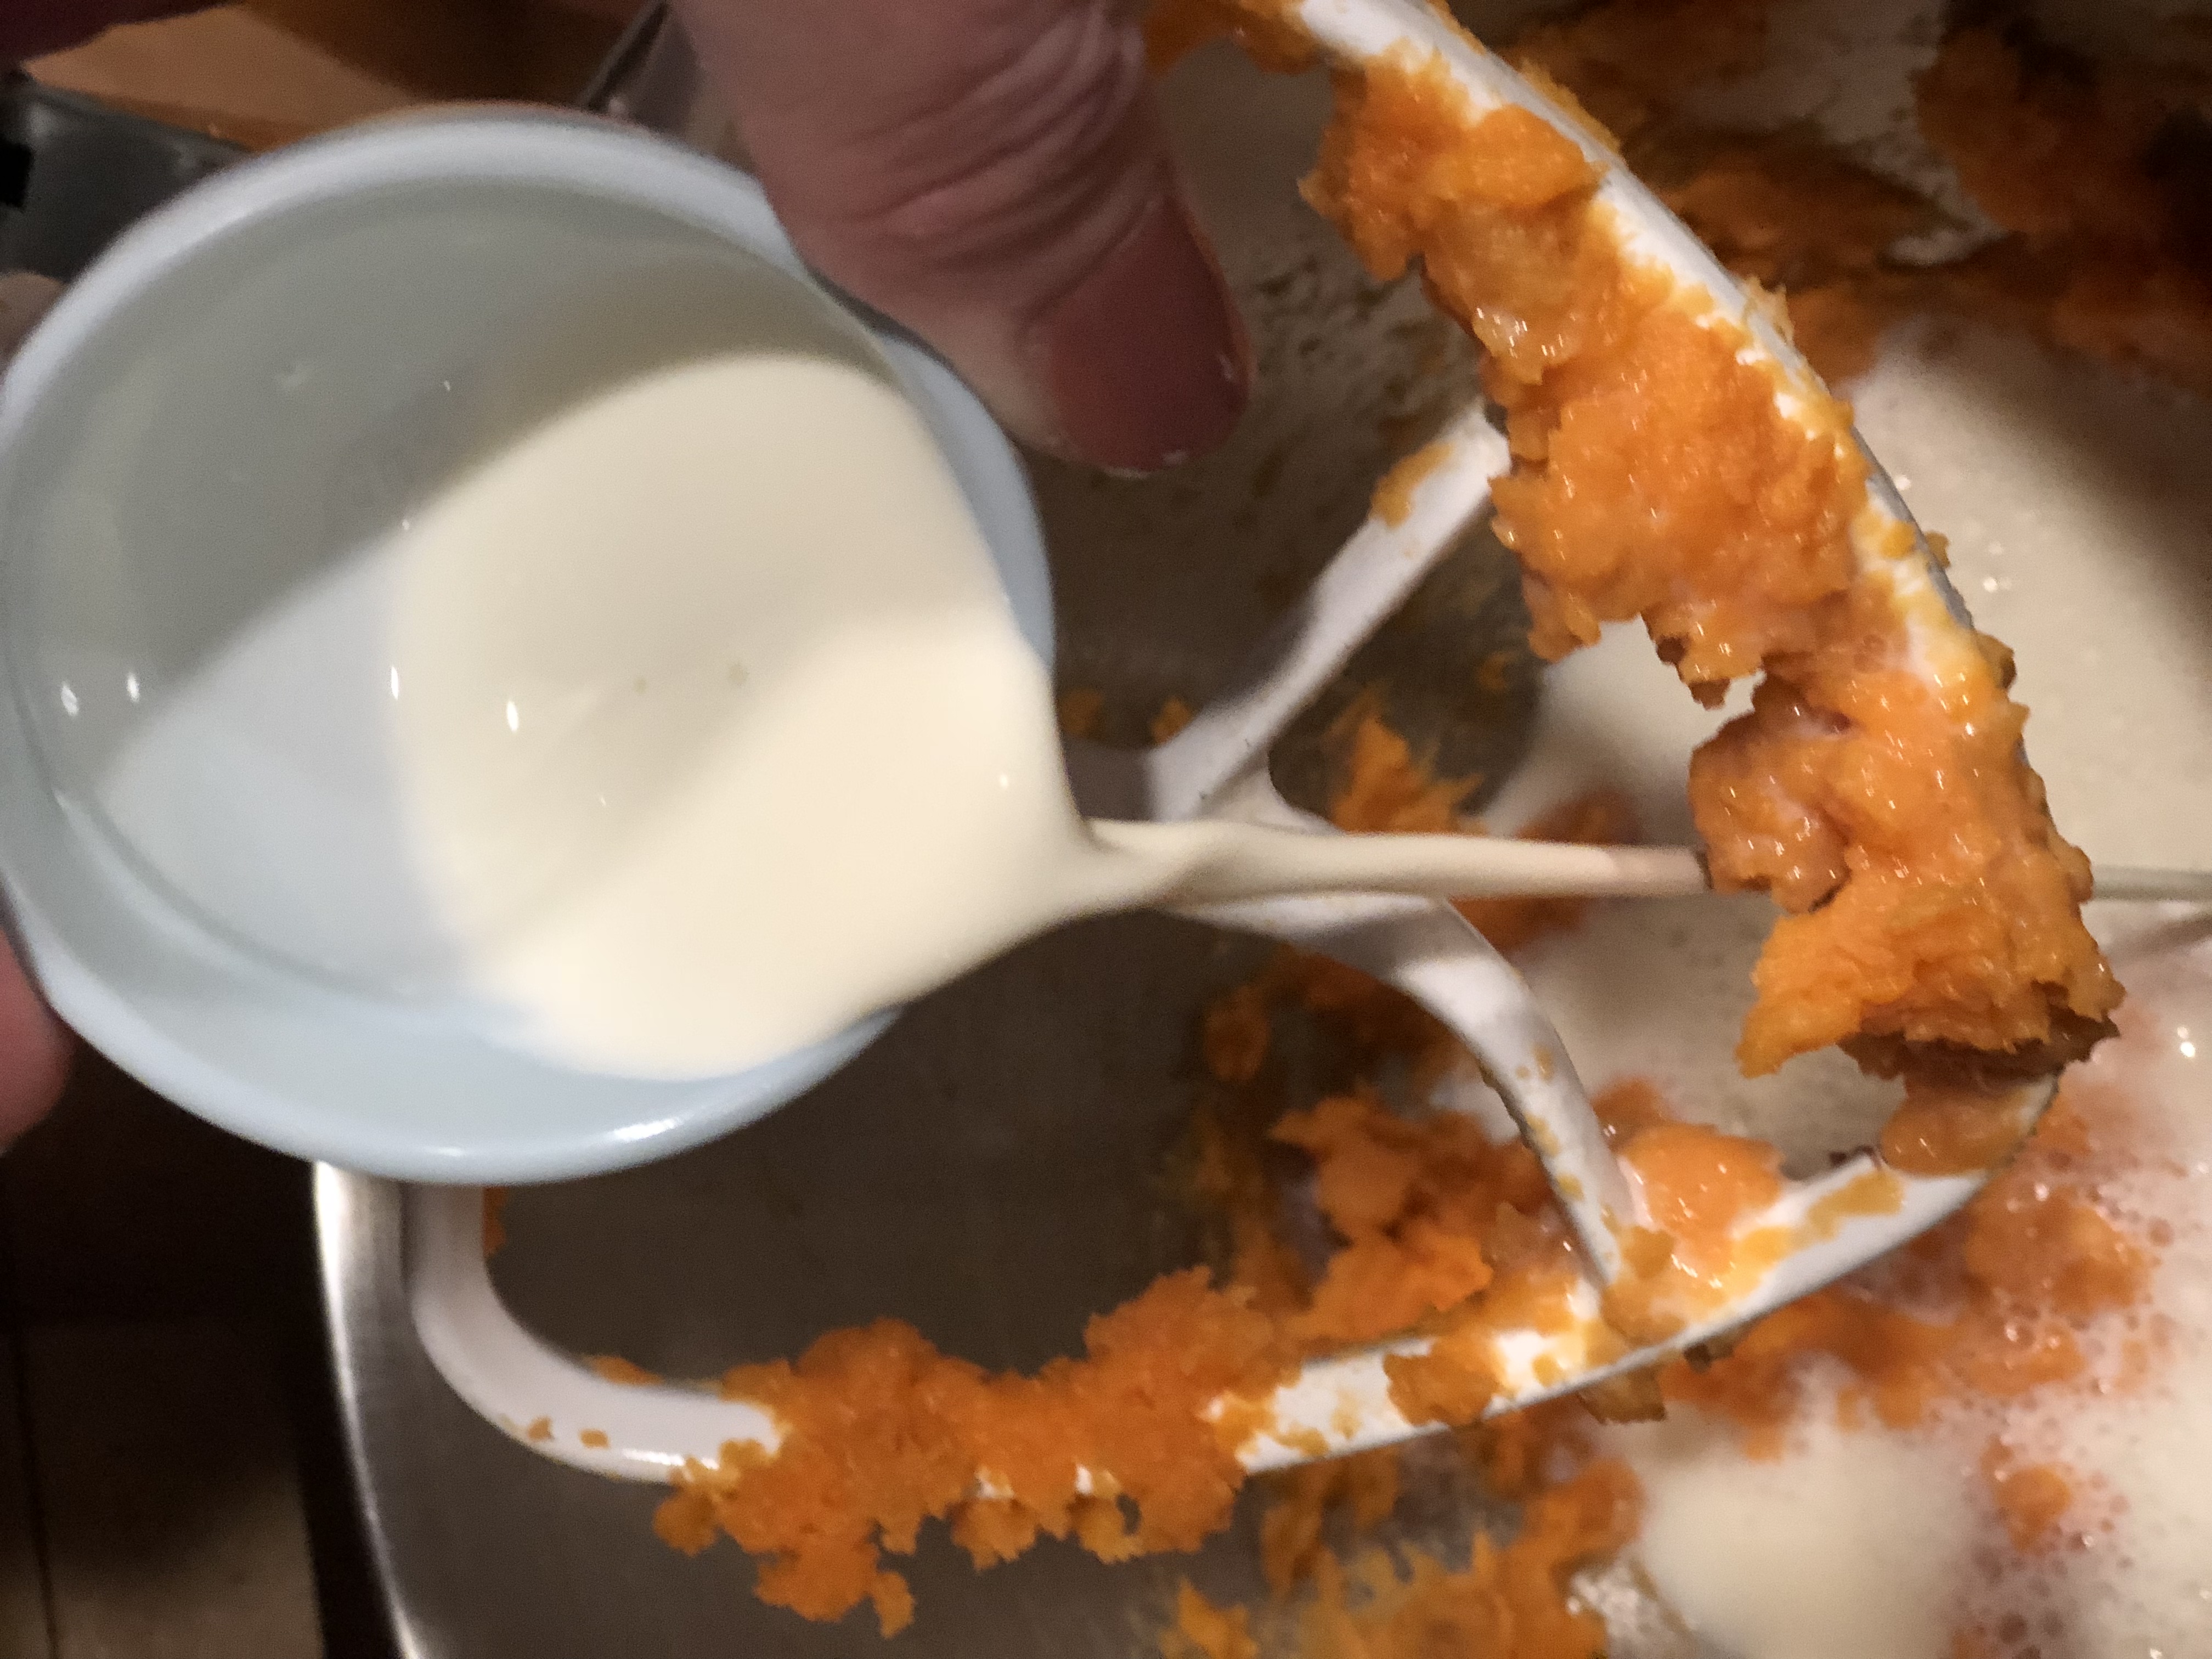
Add cream.
Sweet potato scones
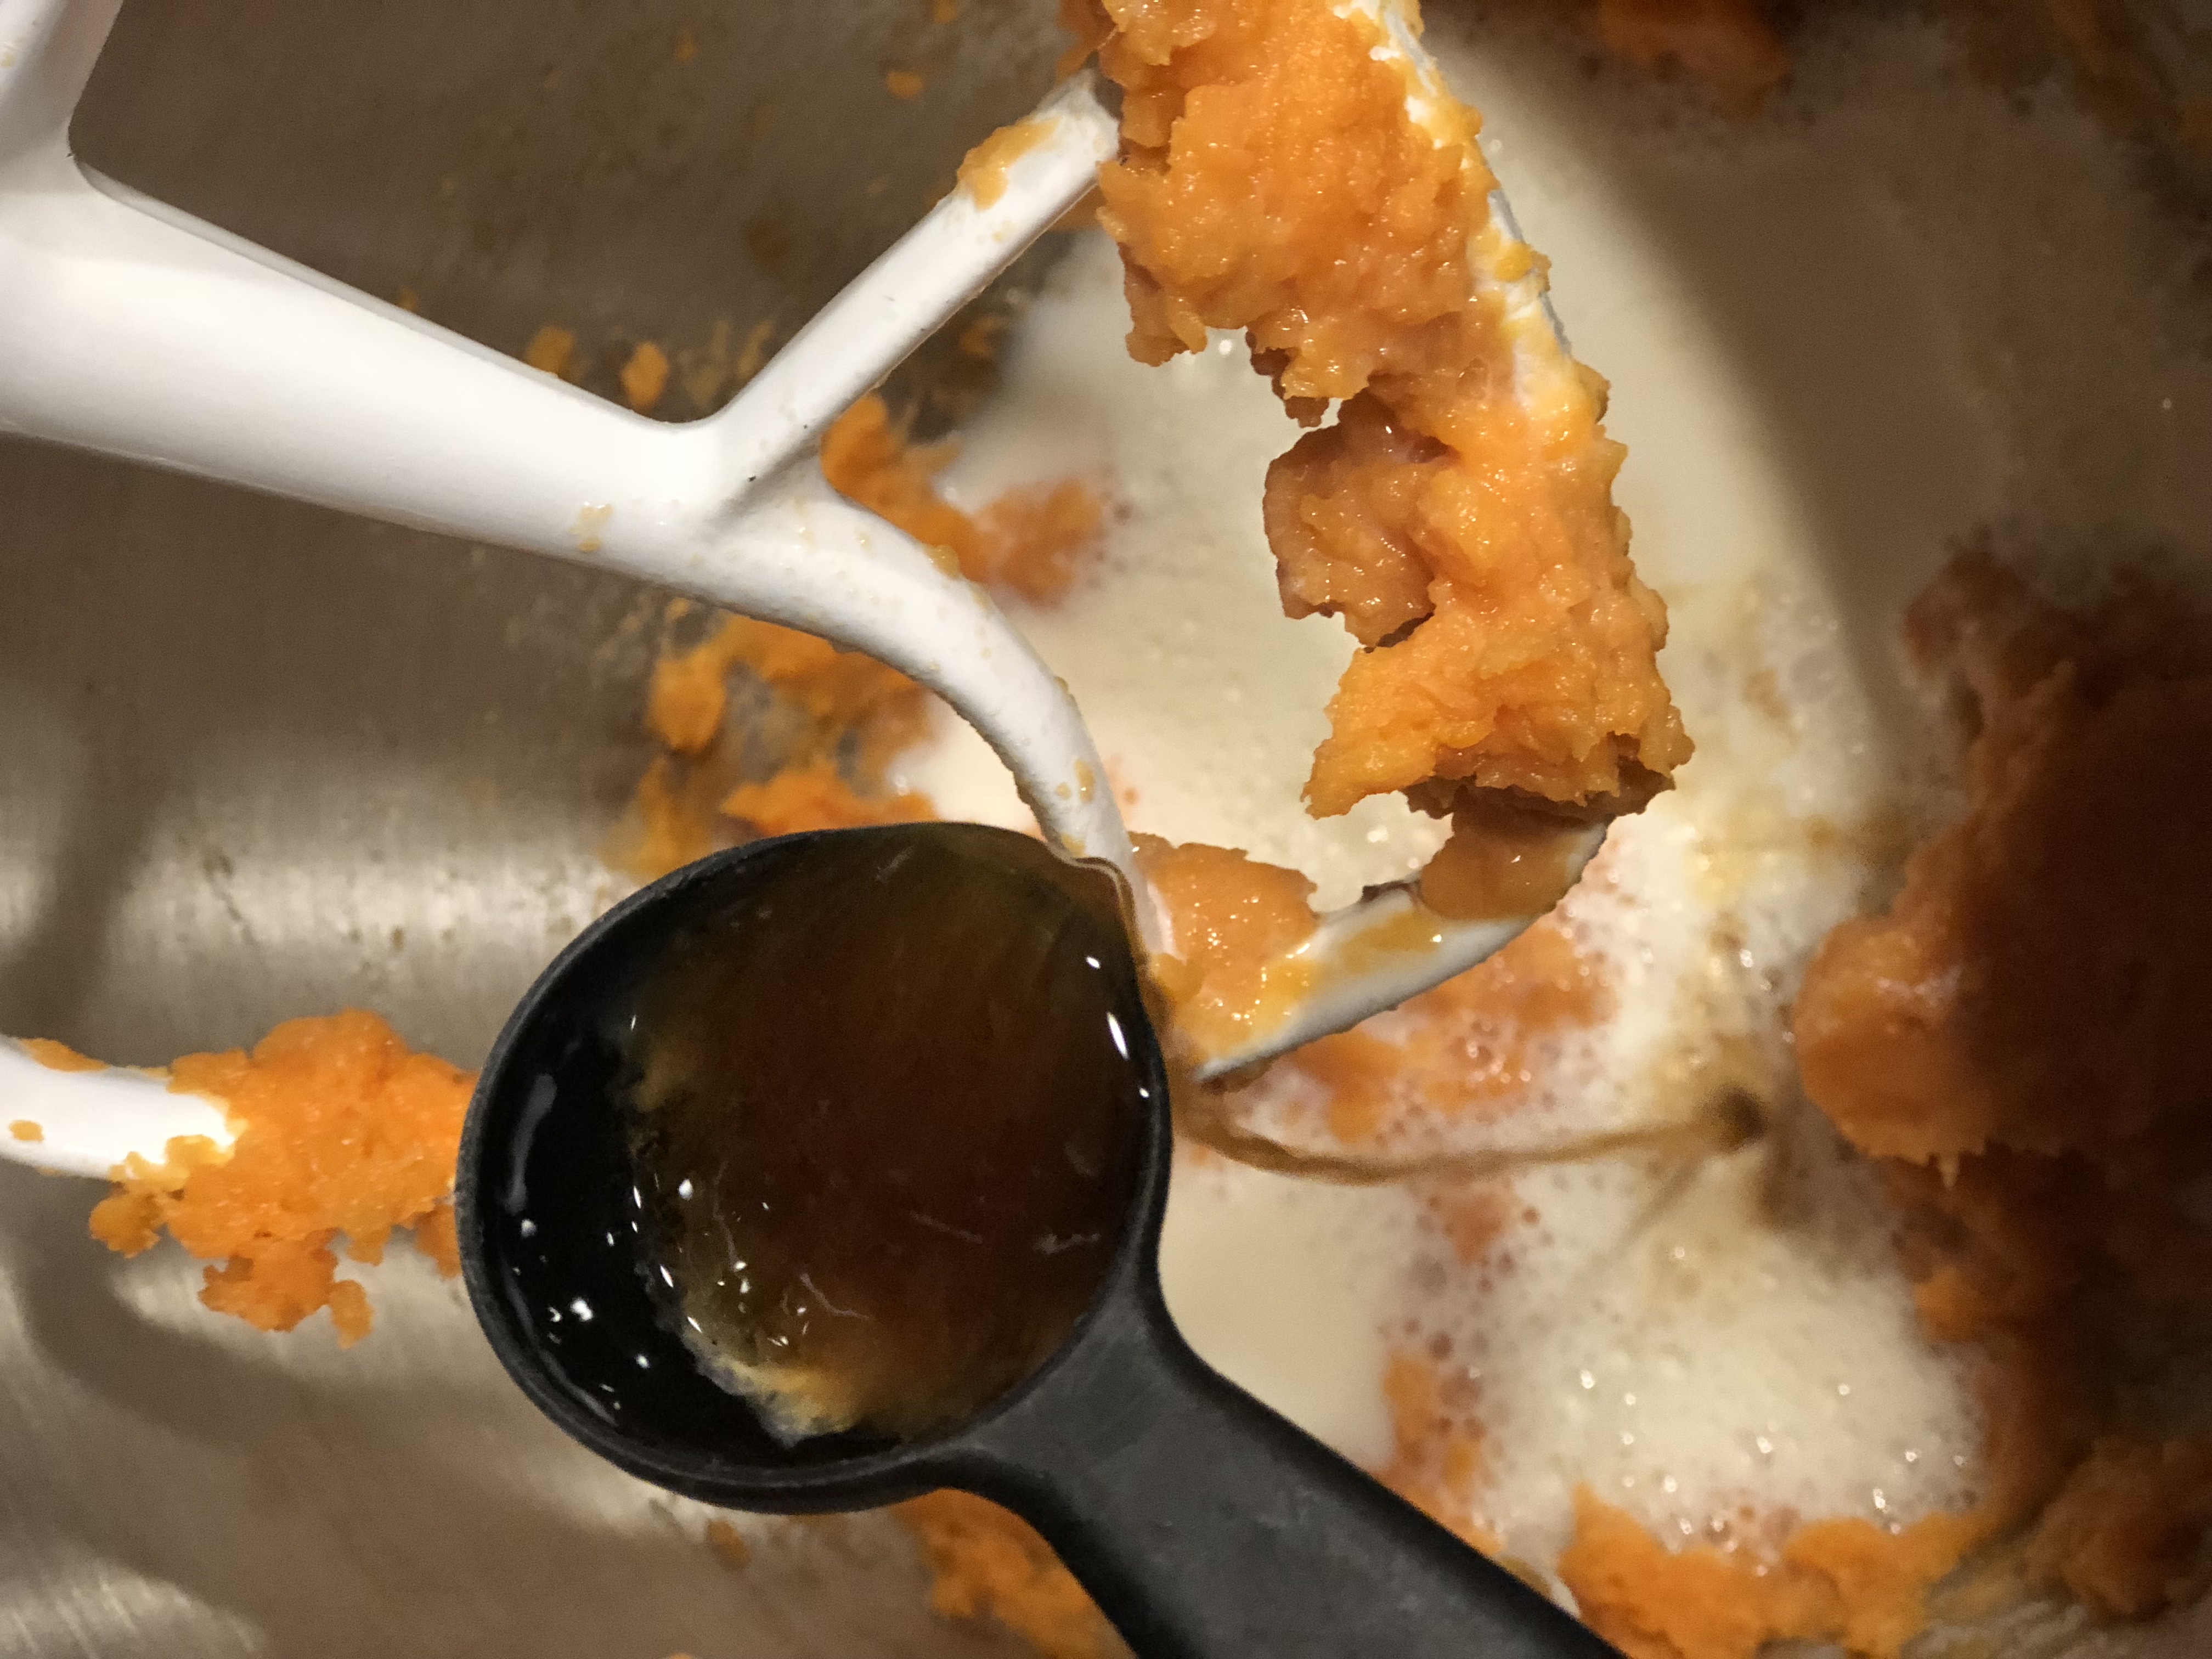
Add vanilla flavoring.
Sweet potato scones
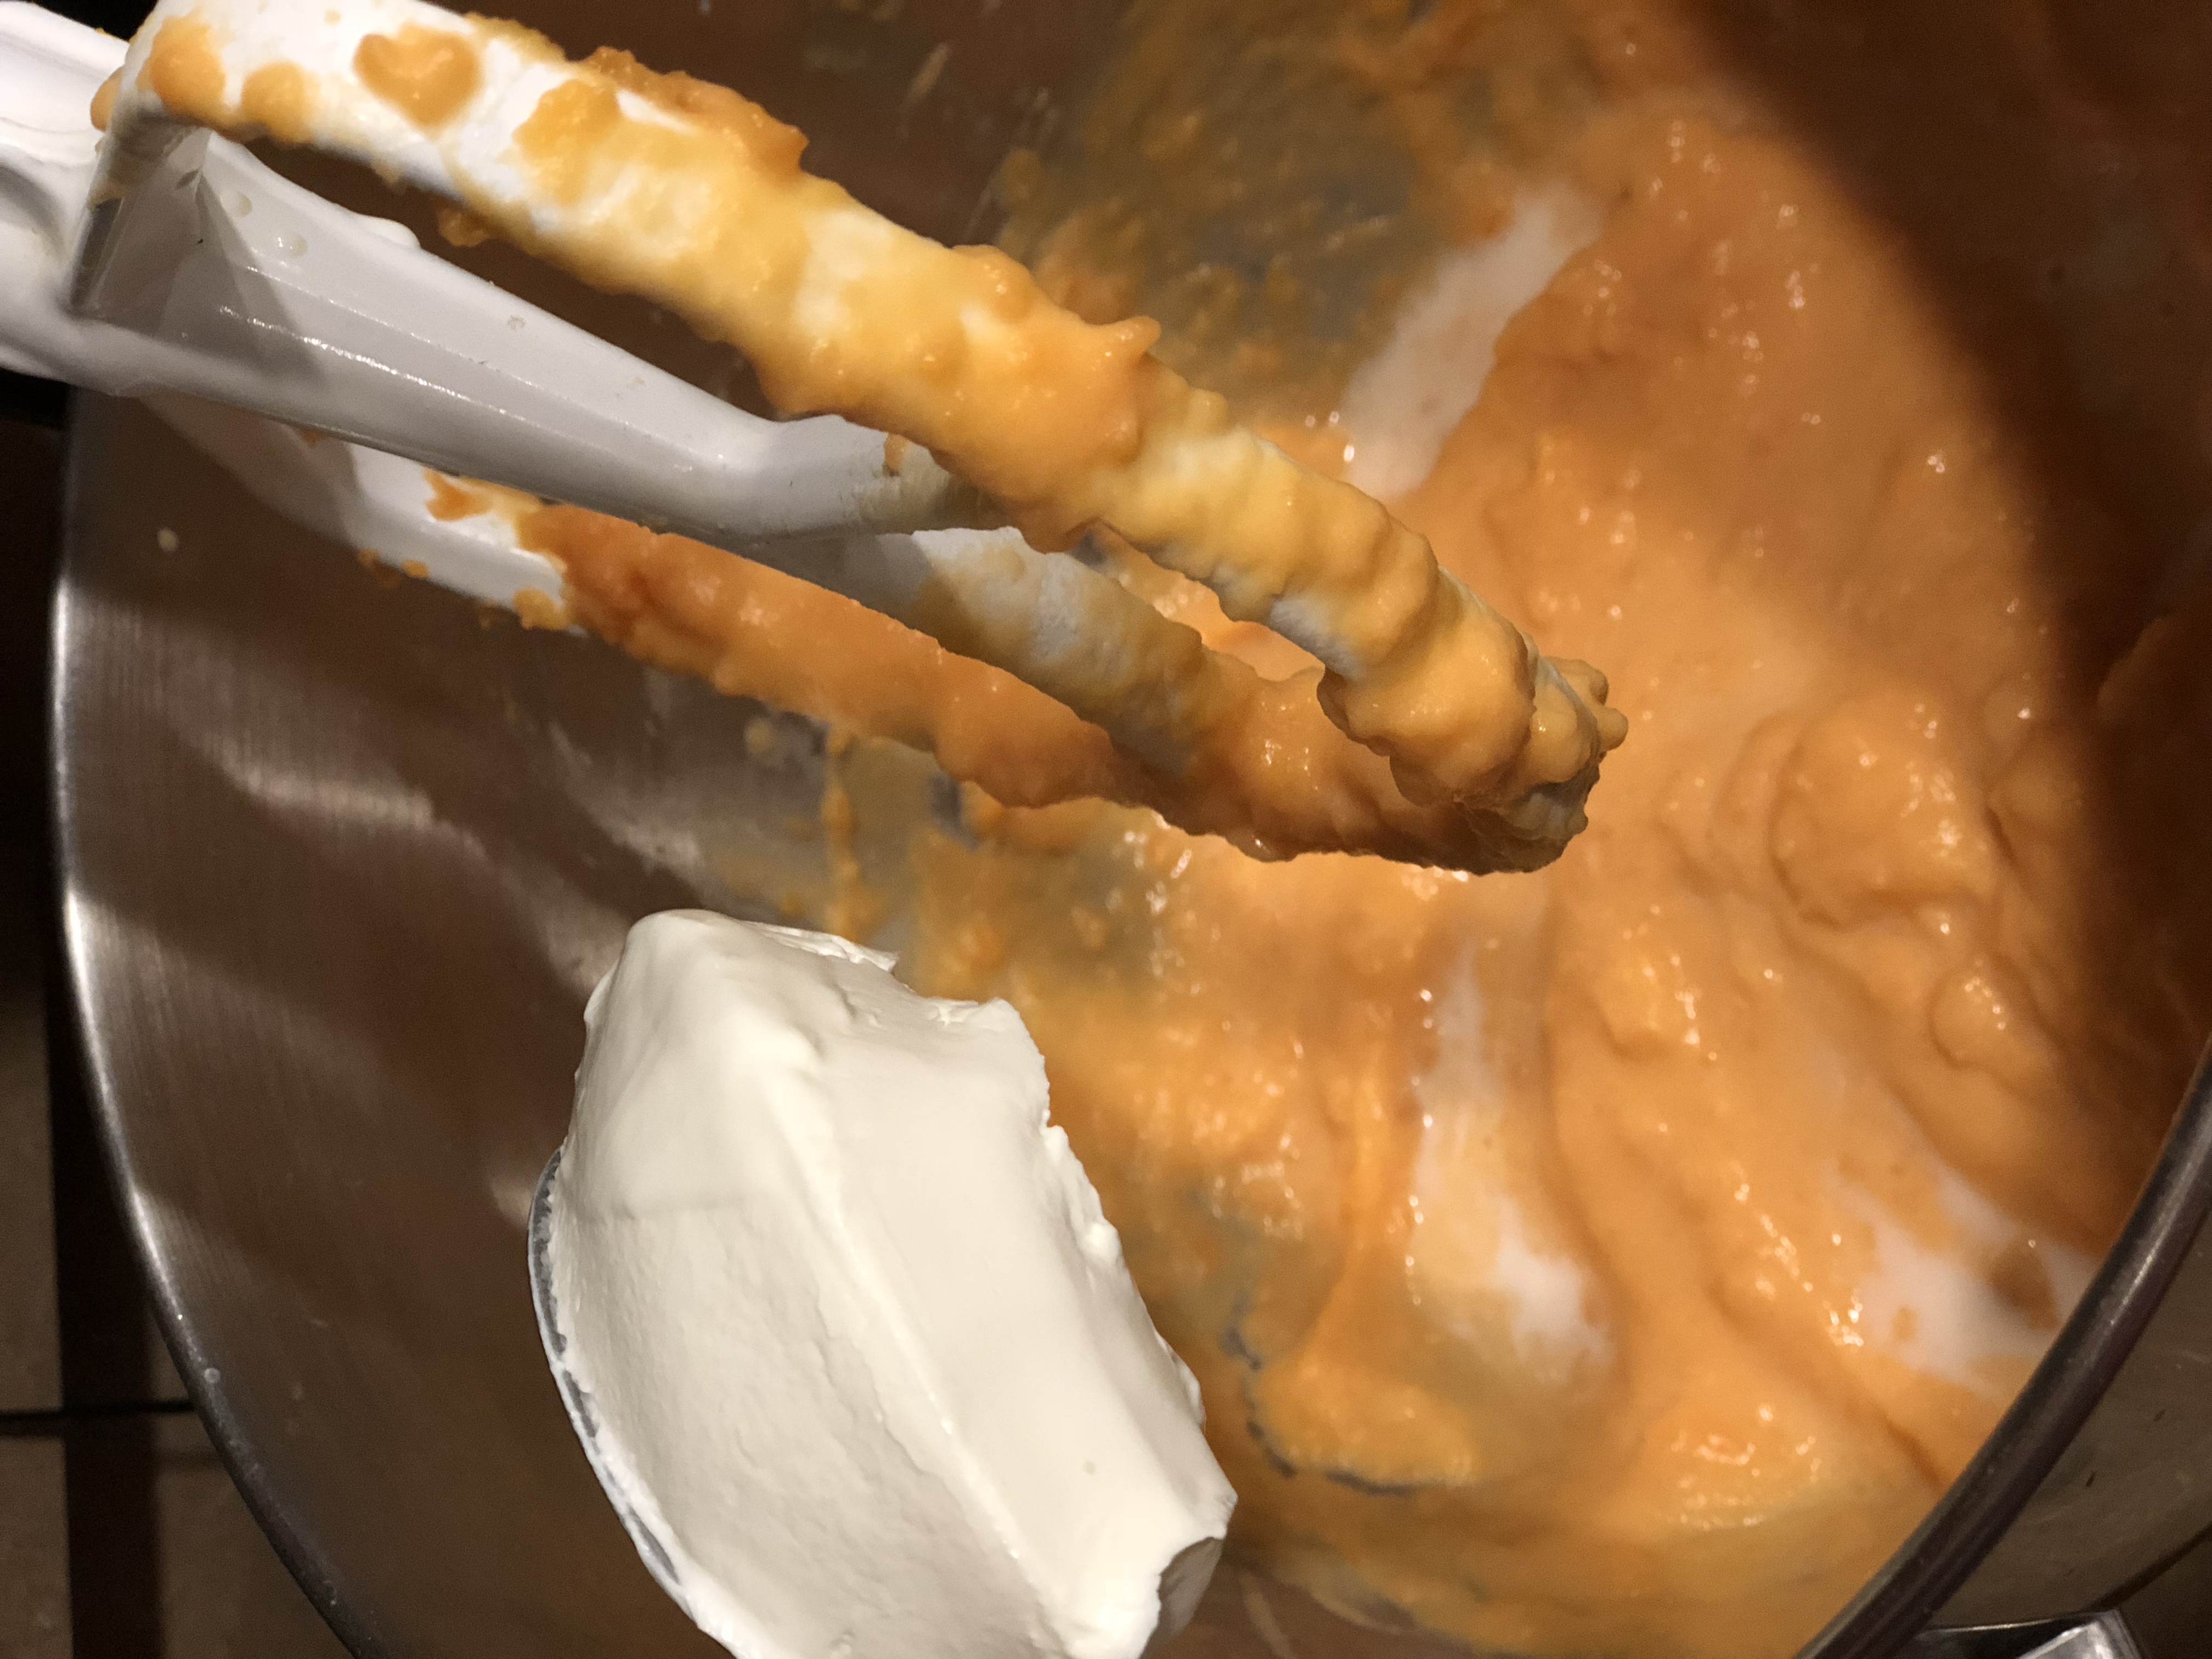
Add sour cream.
Sweet potato scones
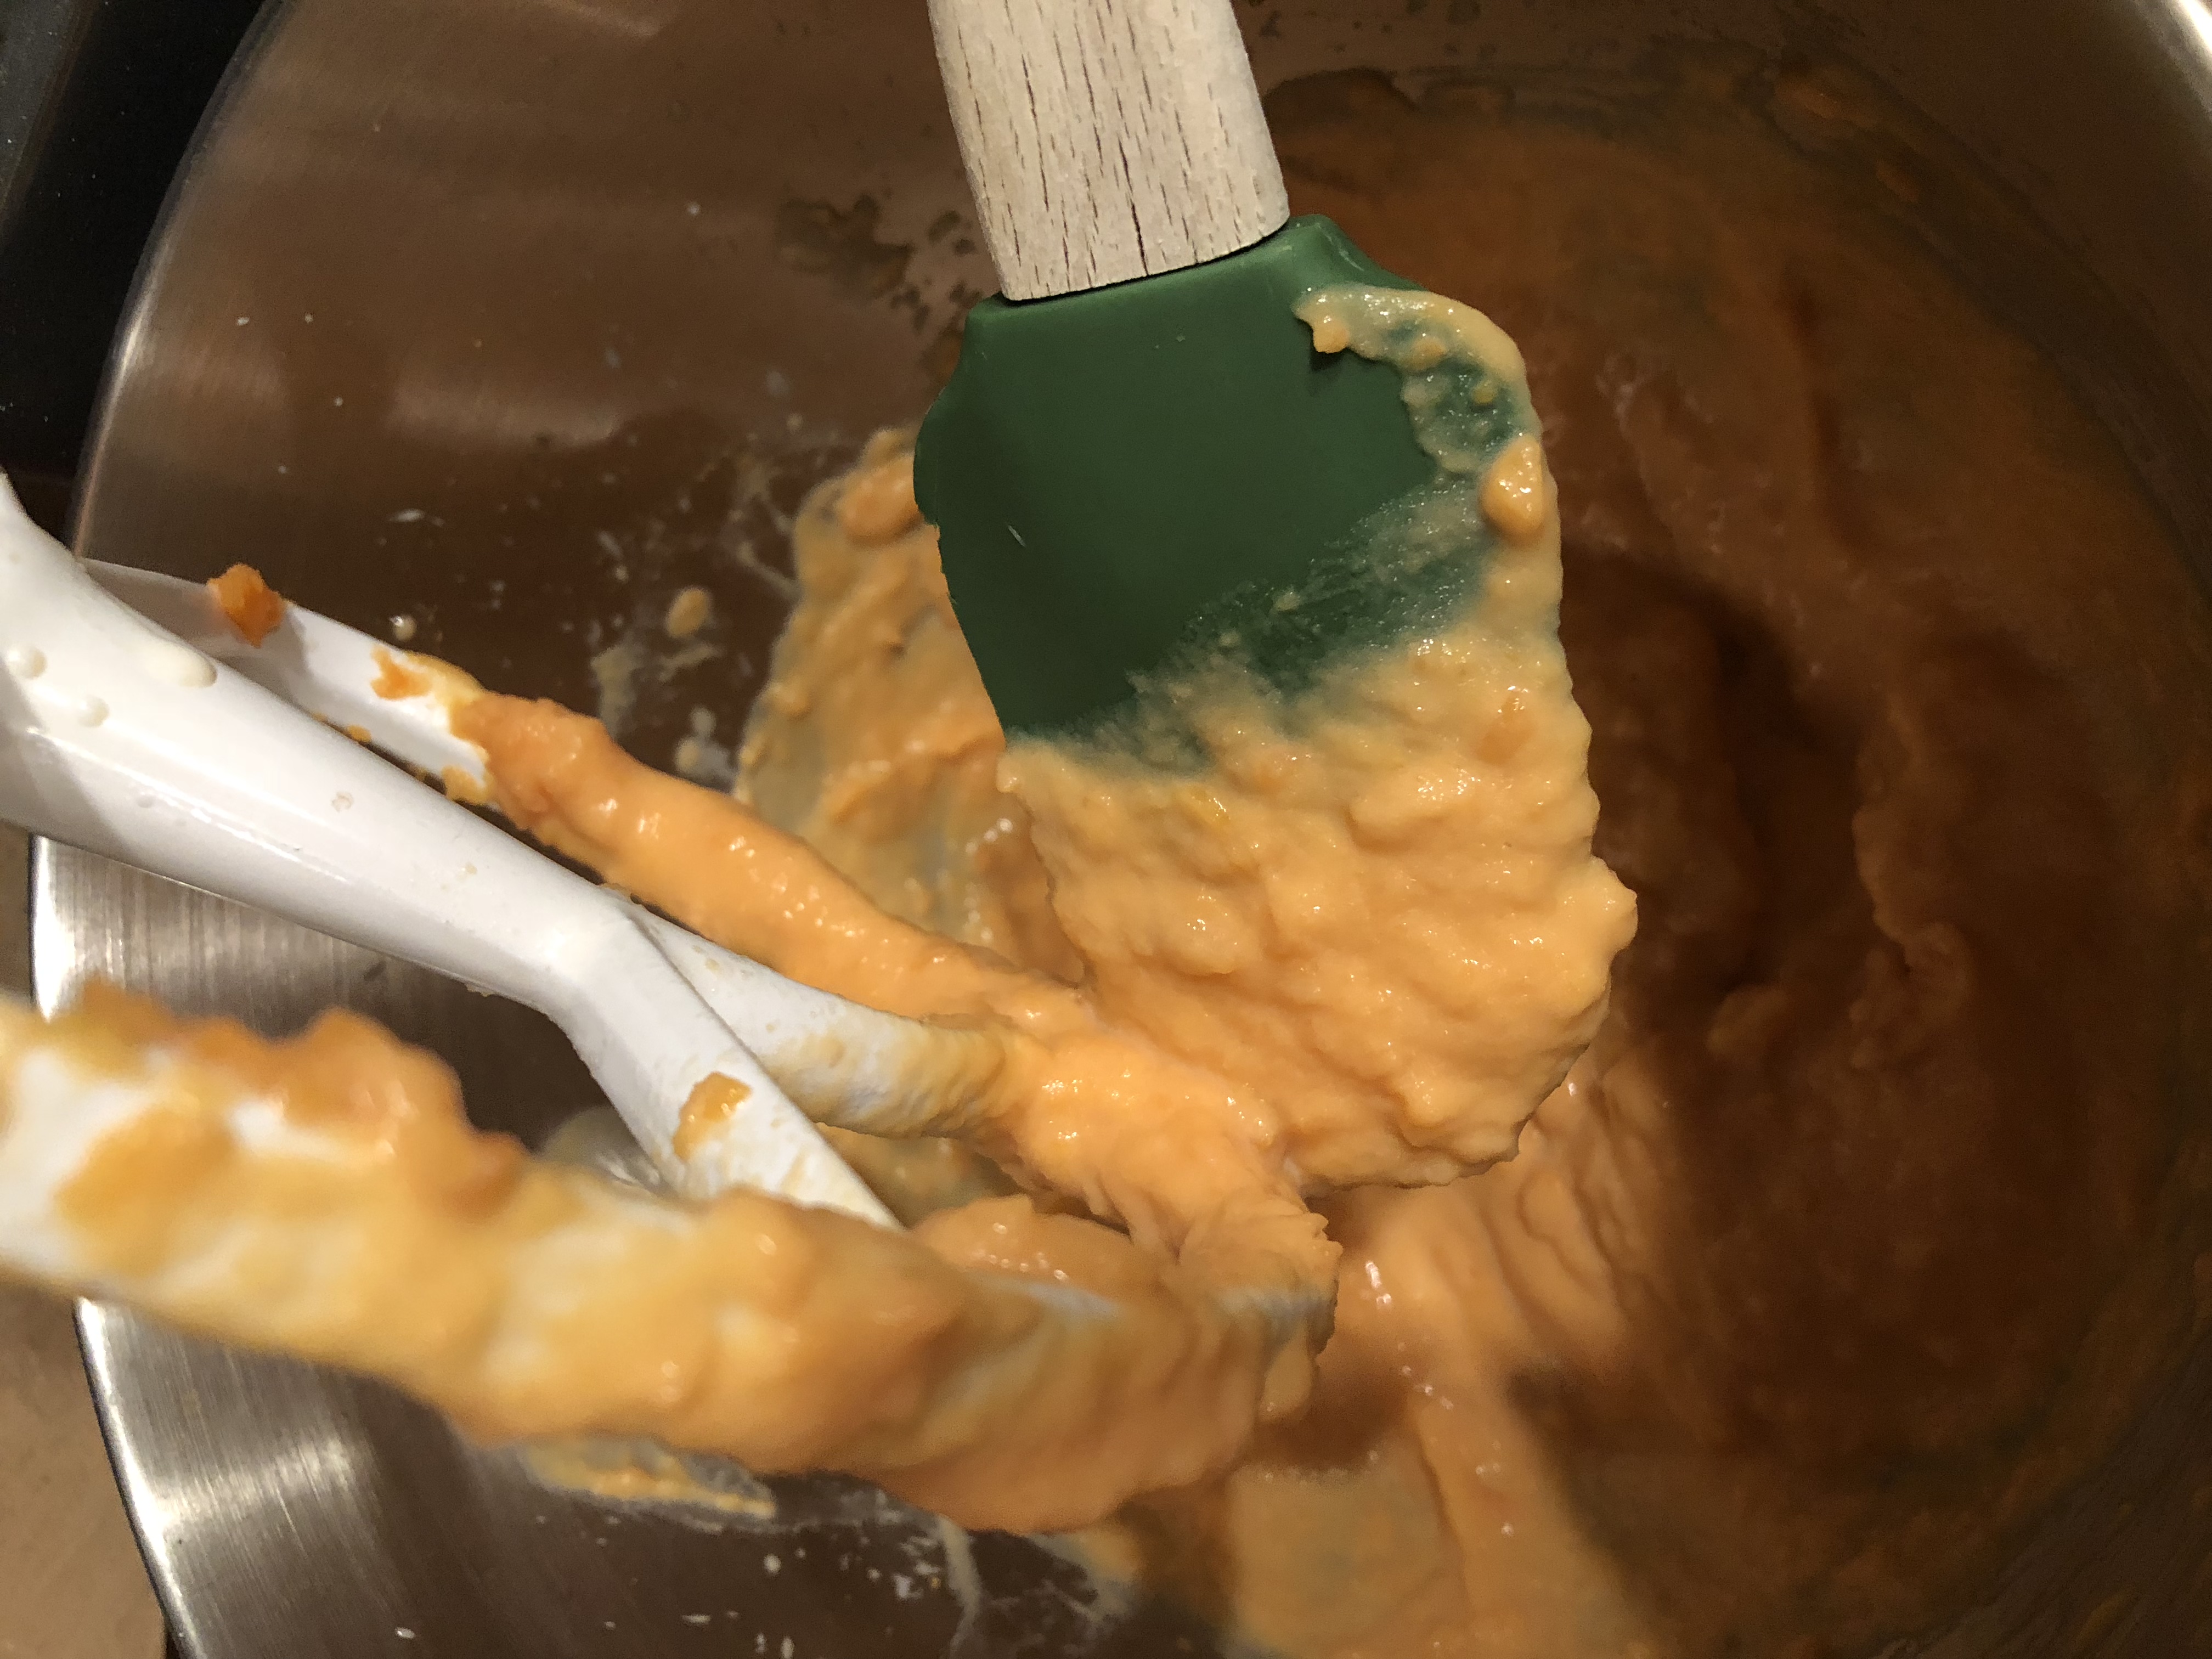
Whip it. Whip it real good. … Until well mixed.
Sweet potato scones
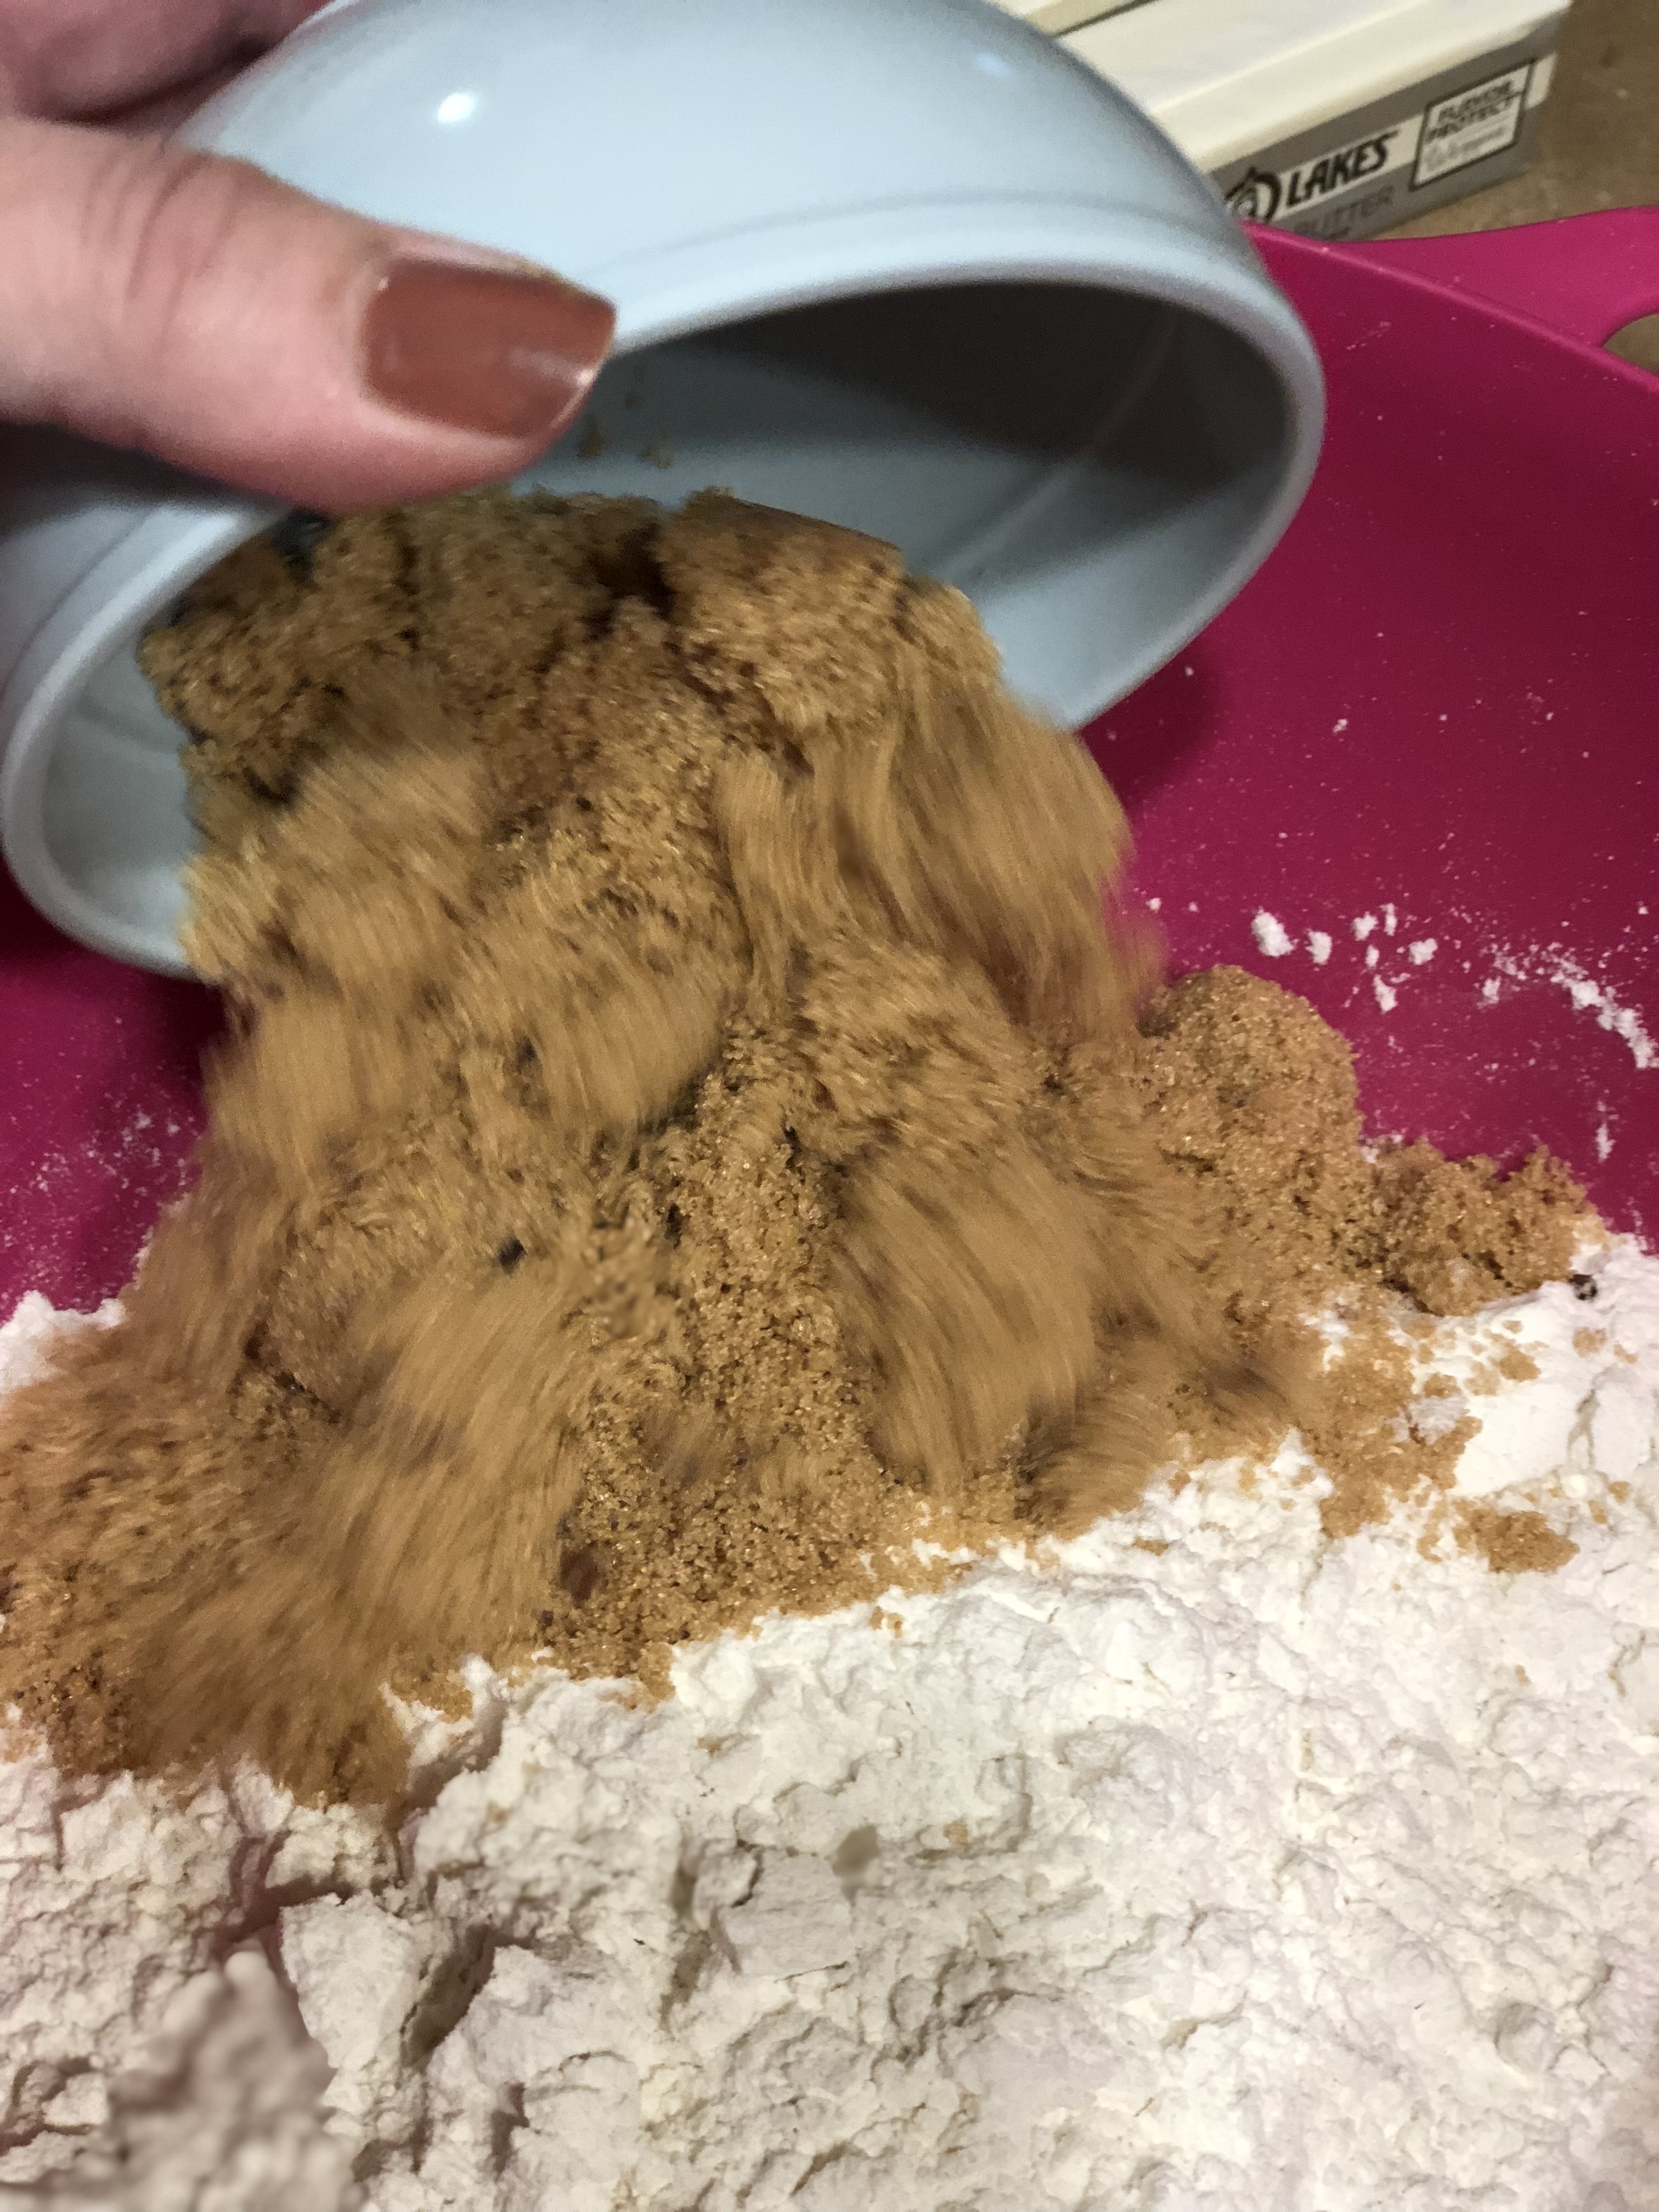
In separate, large bowl, add brown sugar to flour.
Sweet potato scone spices
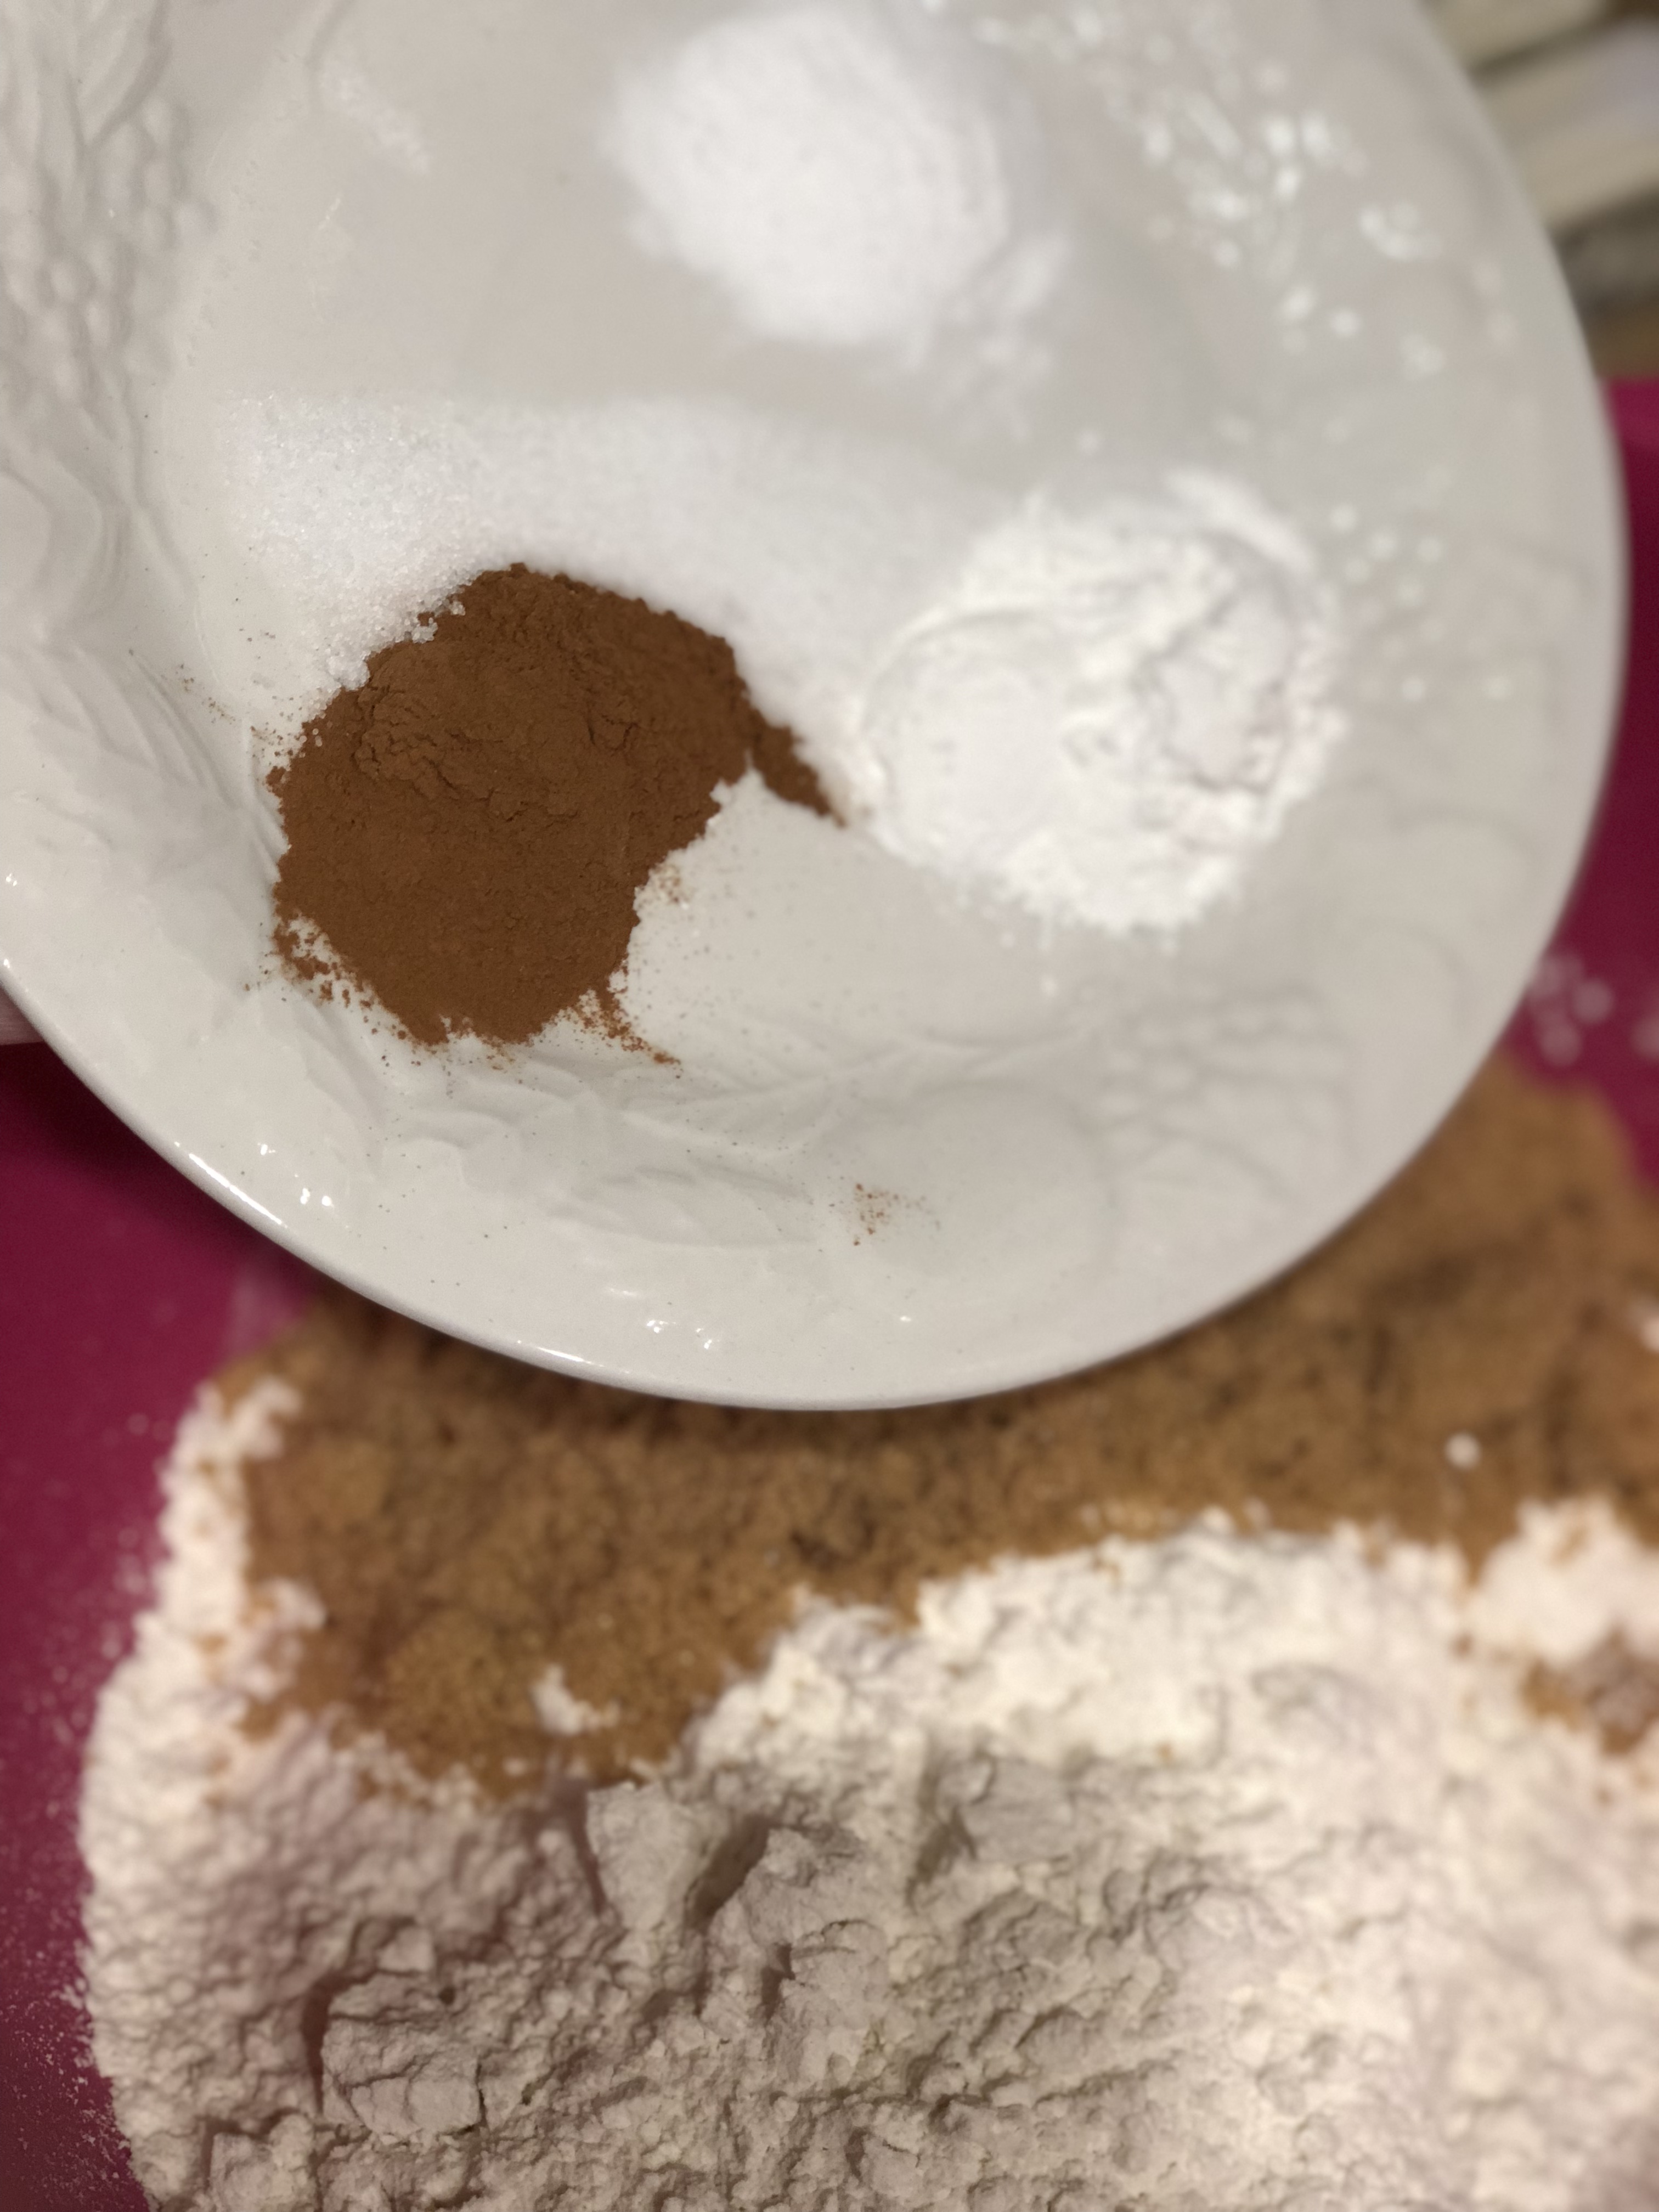
Add cinnamon, baking soda, baking powder and salt.
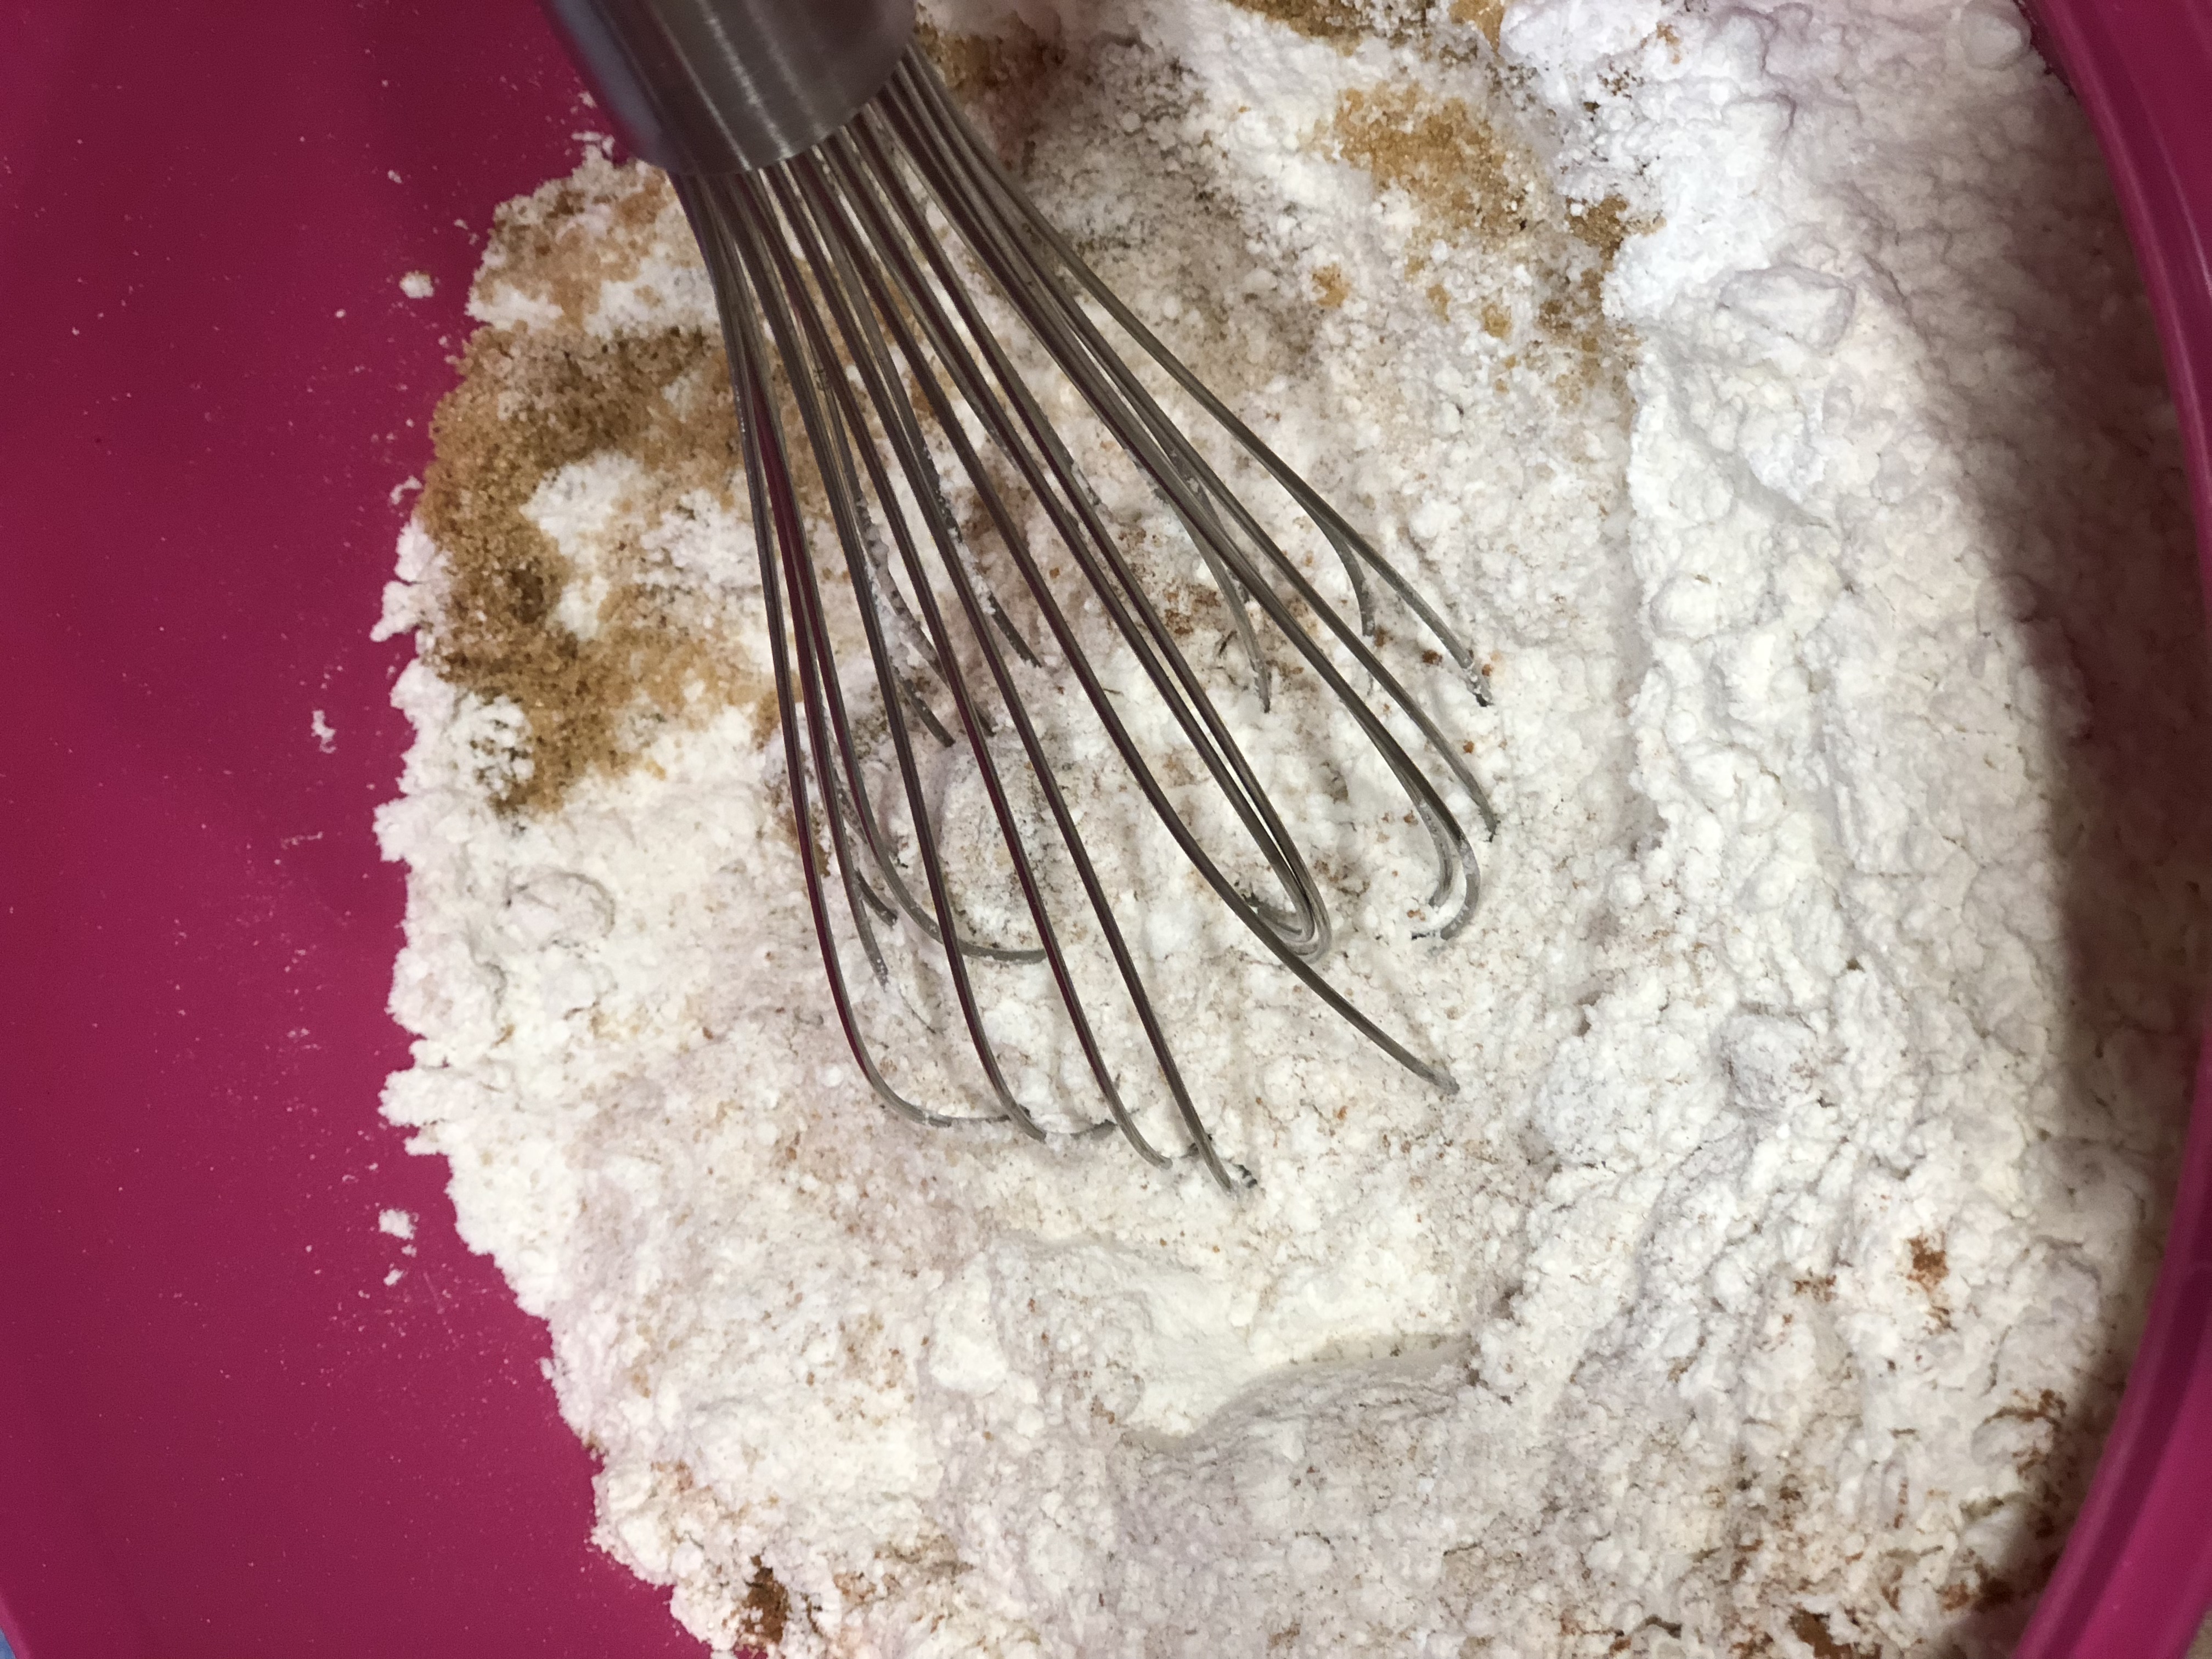
Whisking dry ingredients, sweet potato scones
Use a whisk to incorporate all ingredients well.
Sweet potato scones
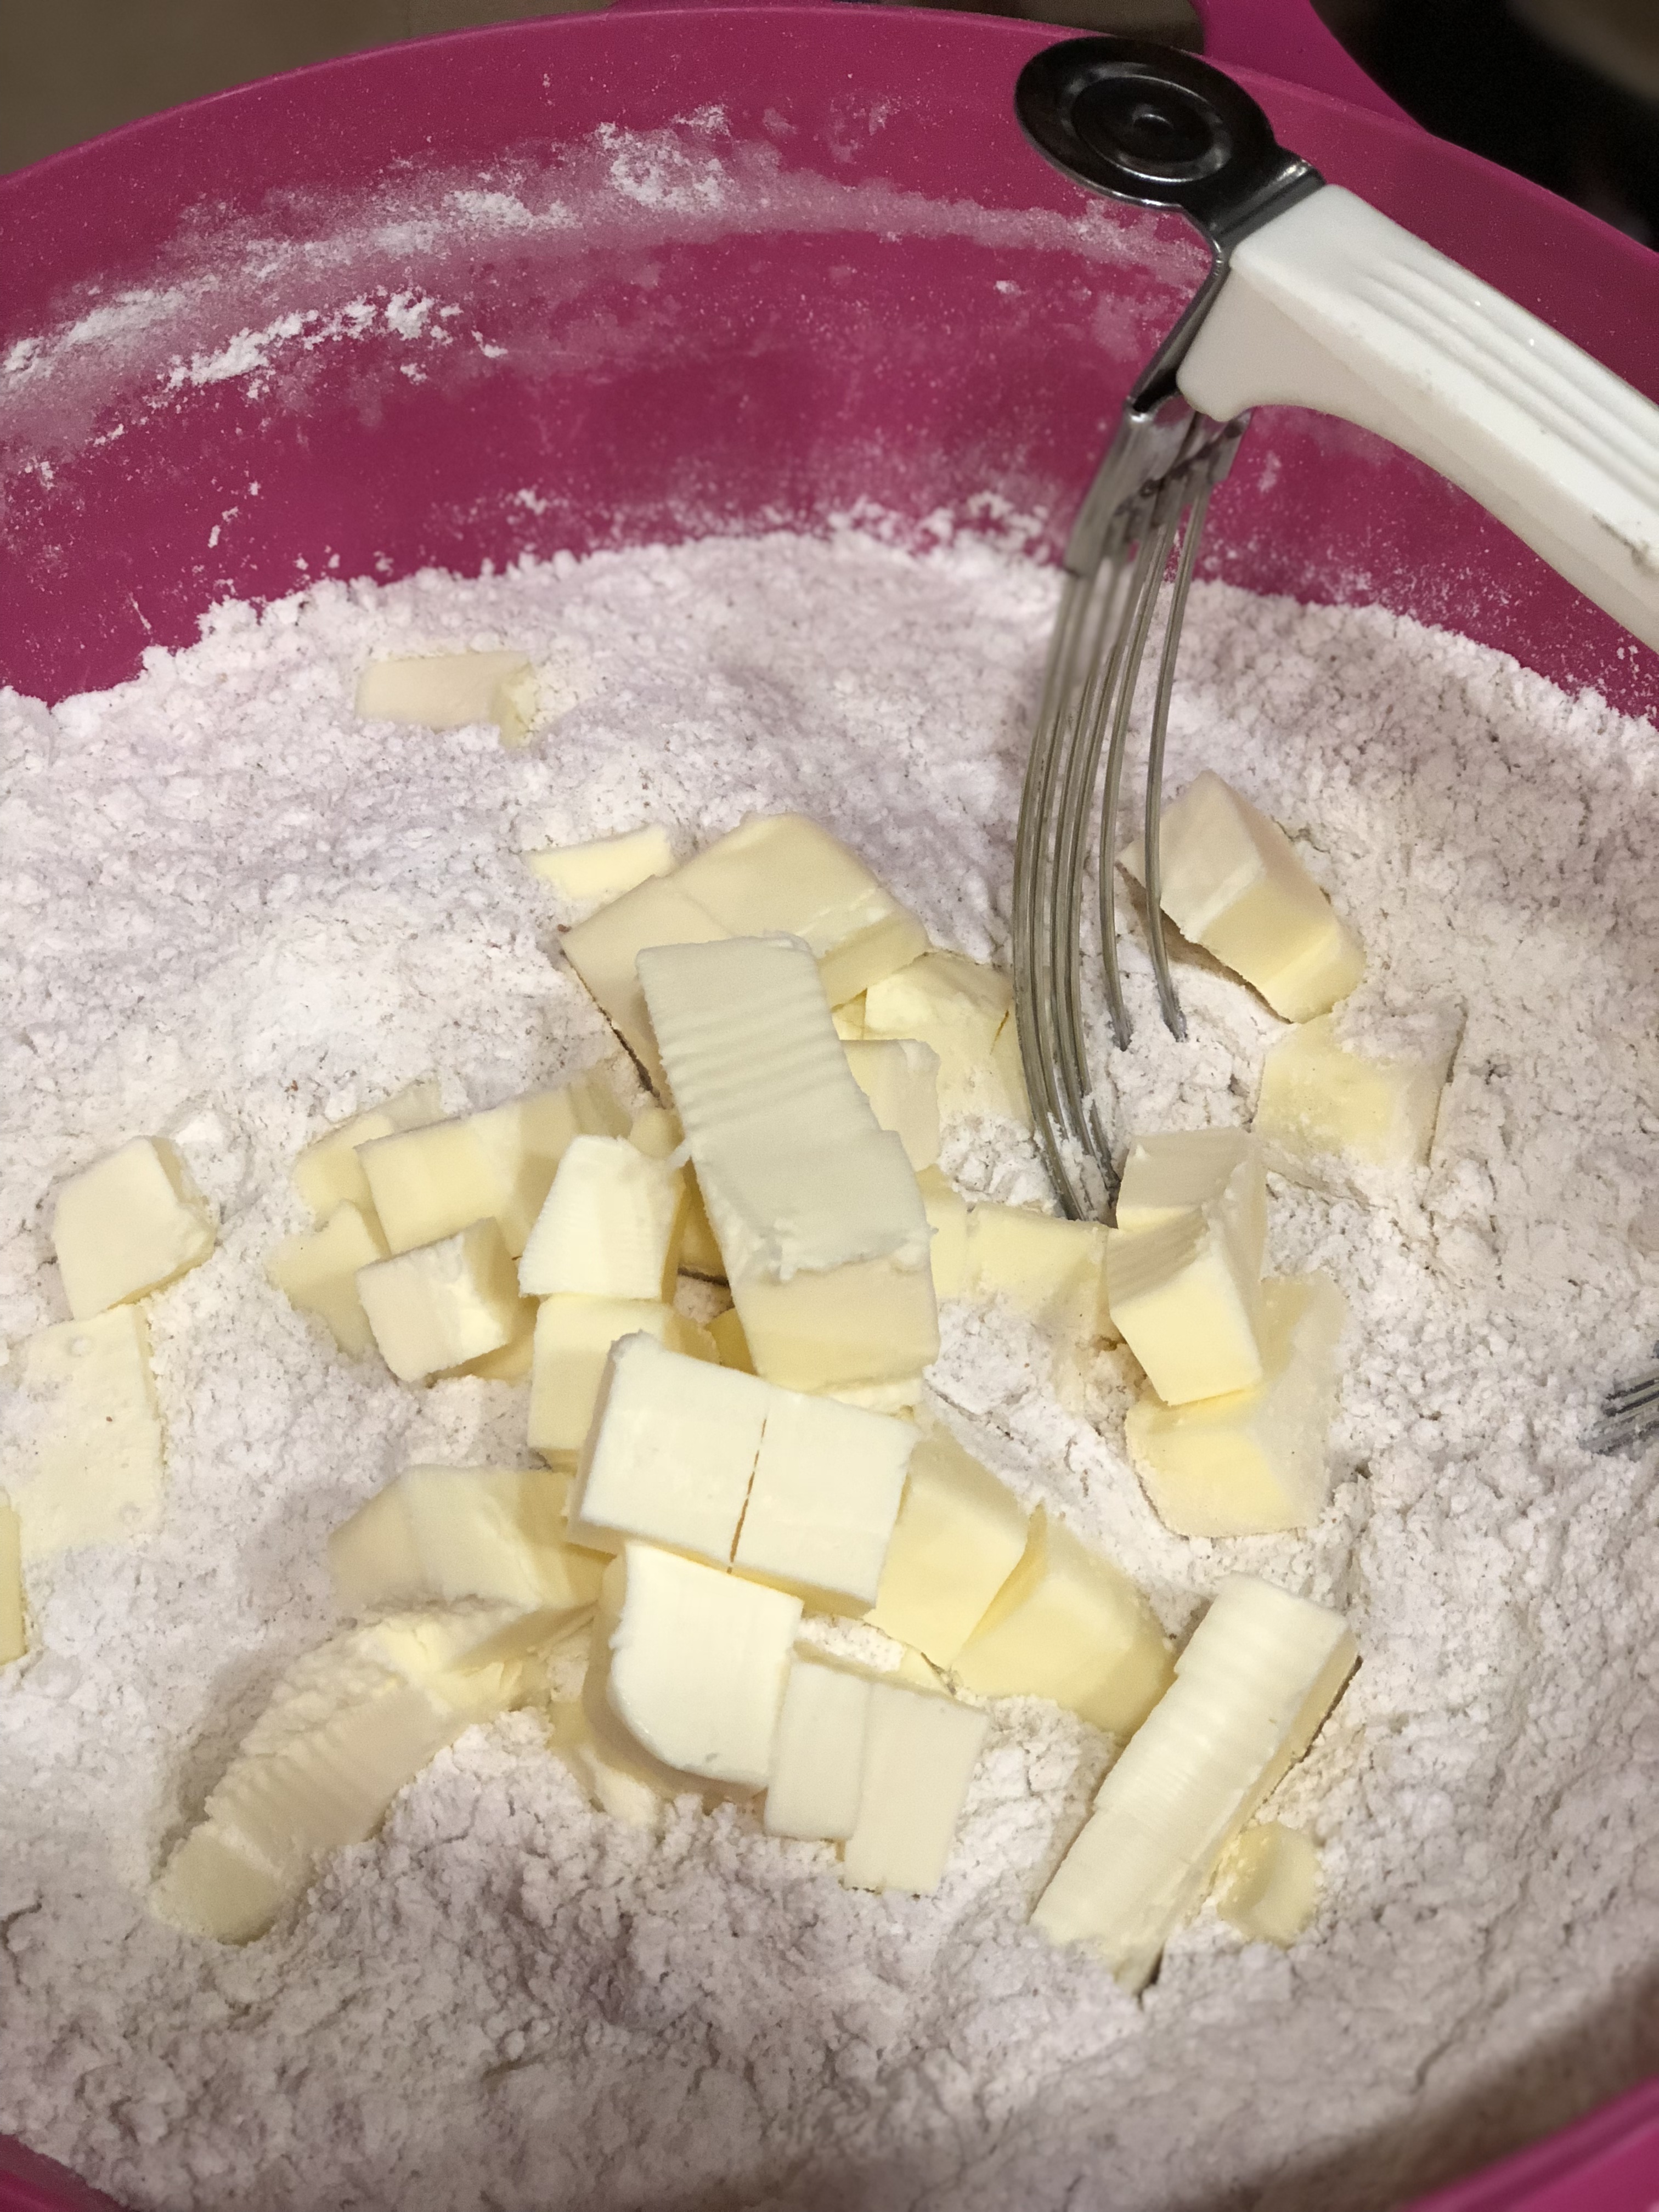
Add cold buttter and mix with pastry blender or in food processor bowl.
Sweet potato scones
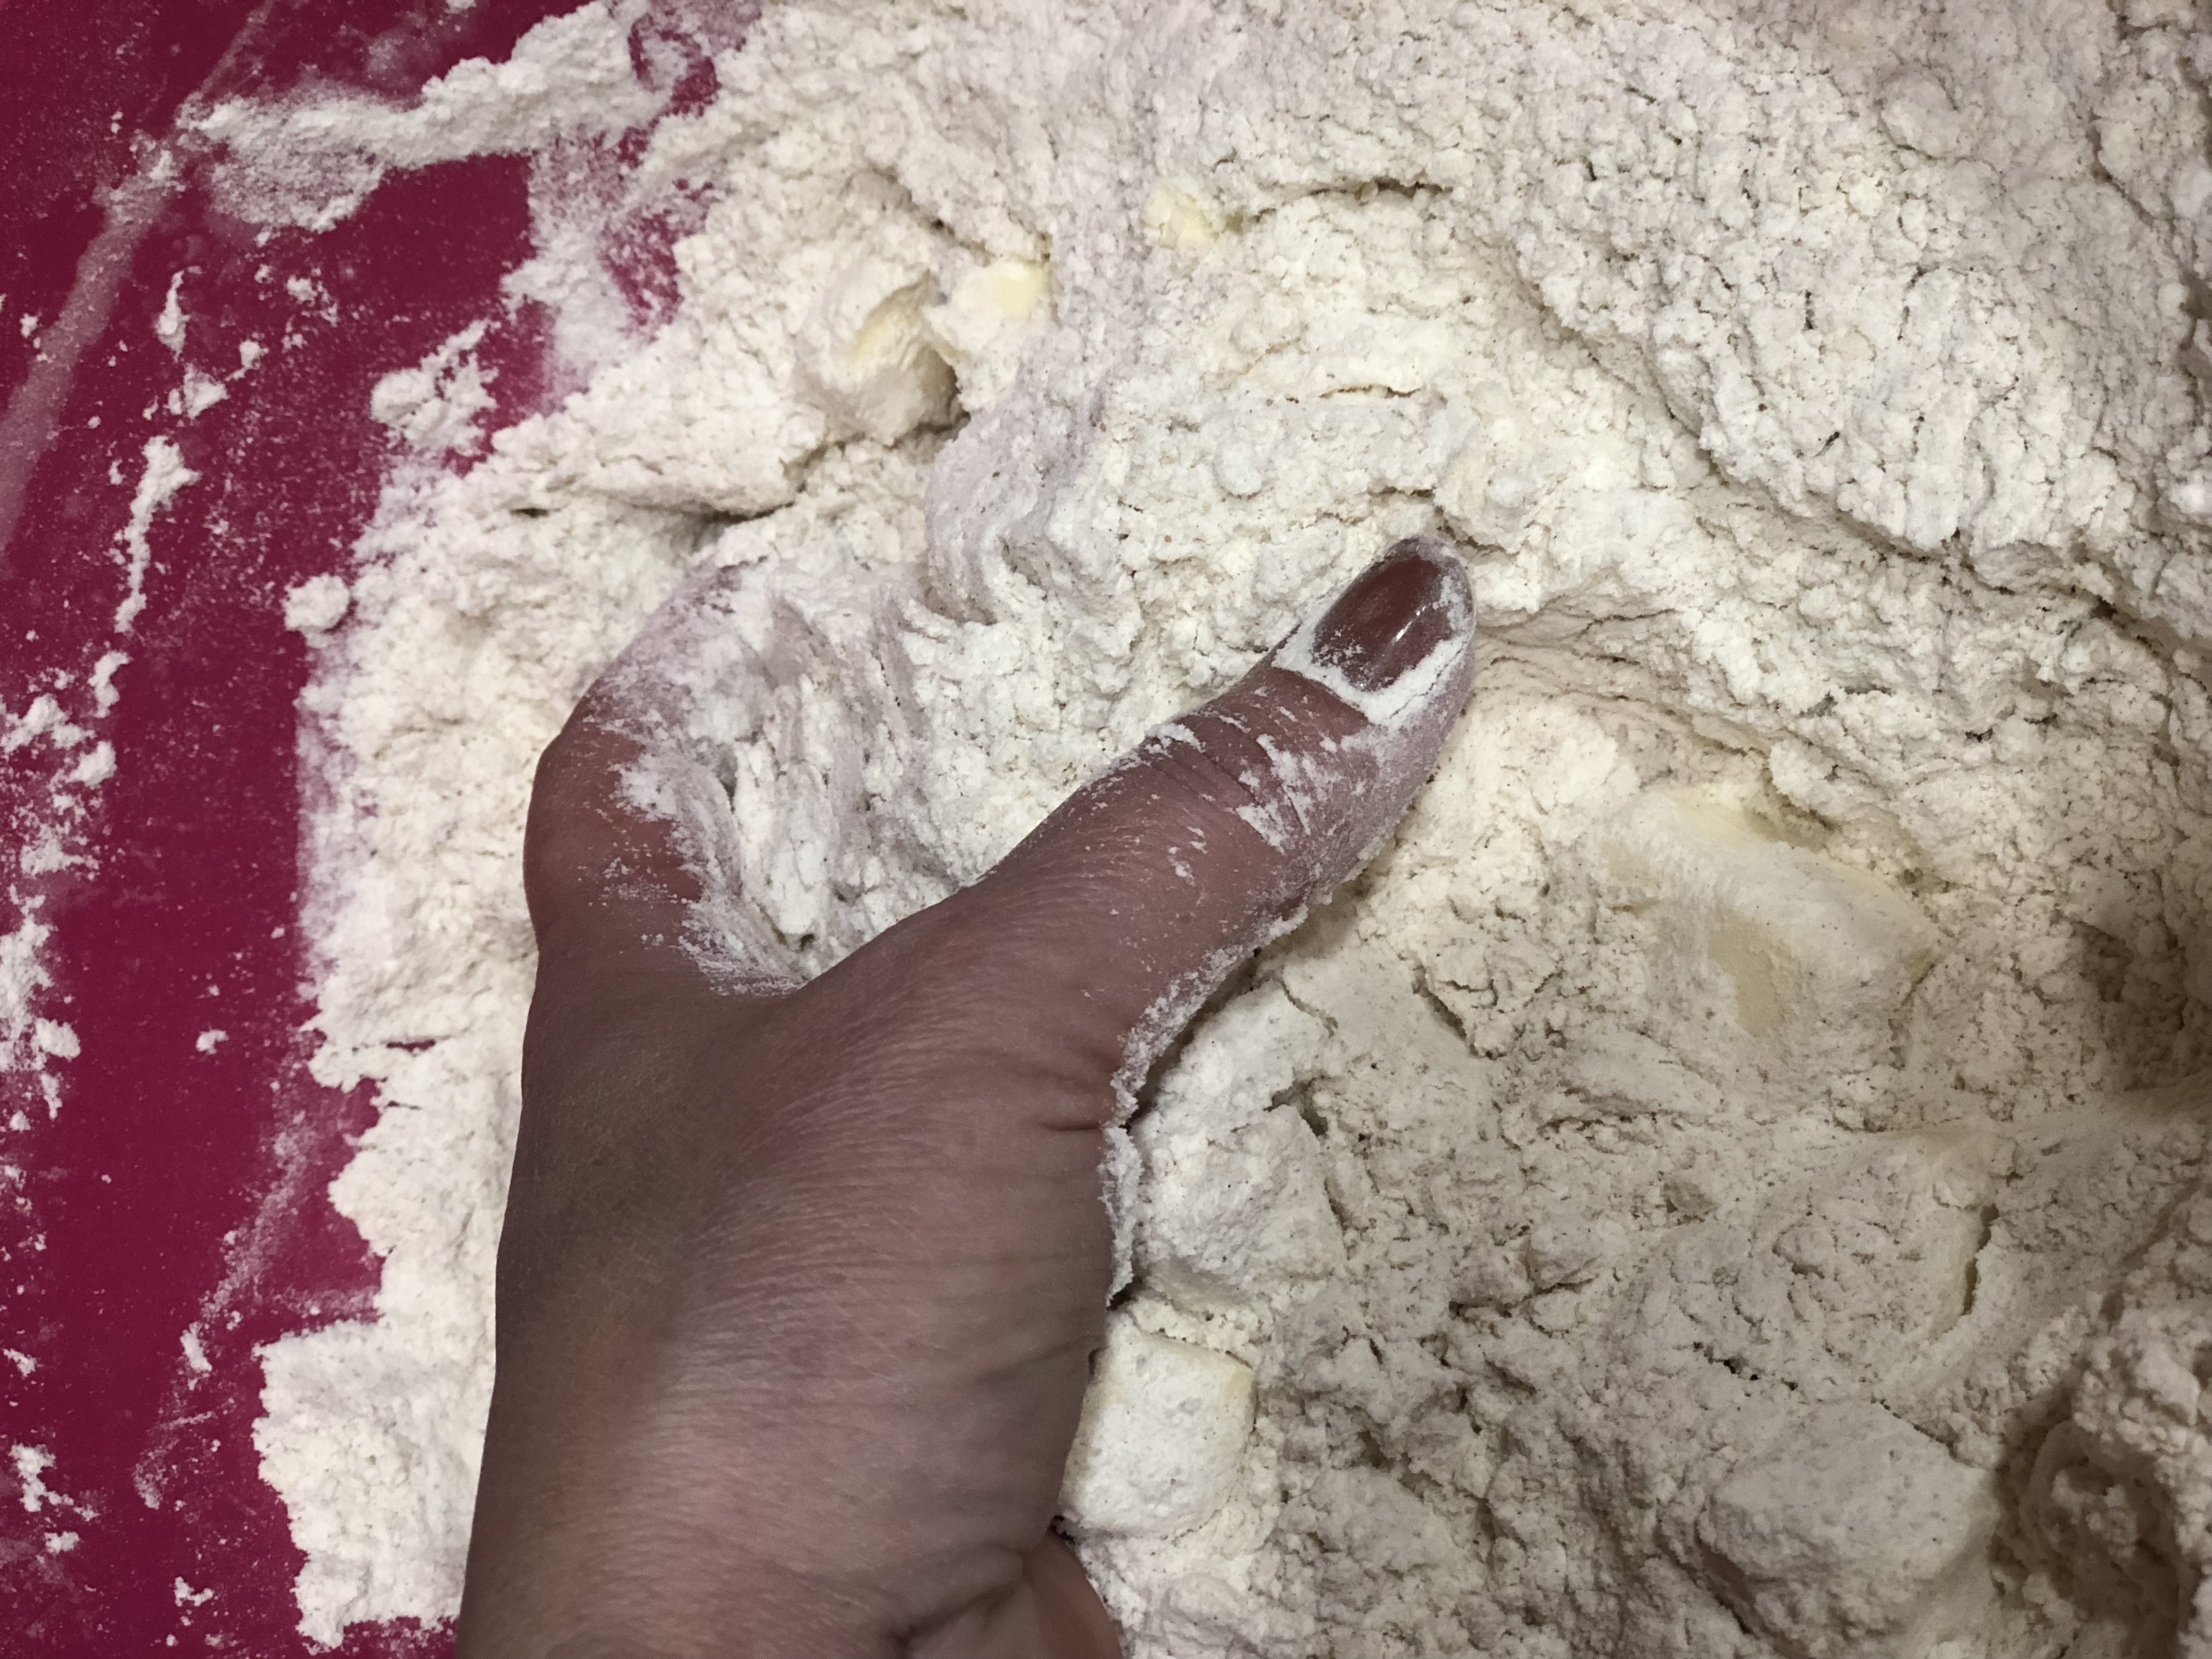
You might have to get in there with your hands. Mix until mixture resembles small pea-size pebbles of buttery goodness.
Sweet potato scones
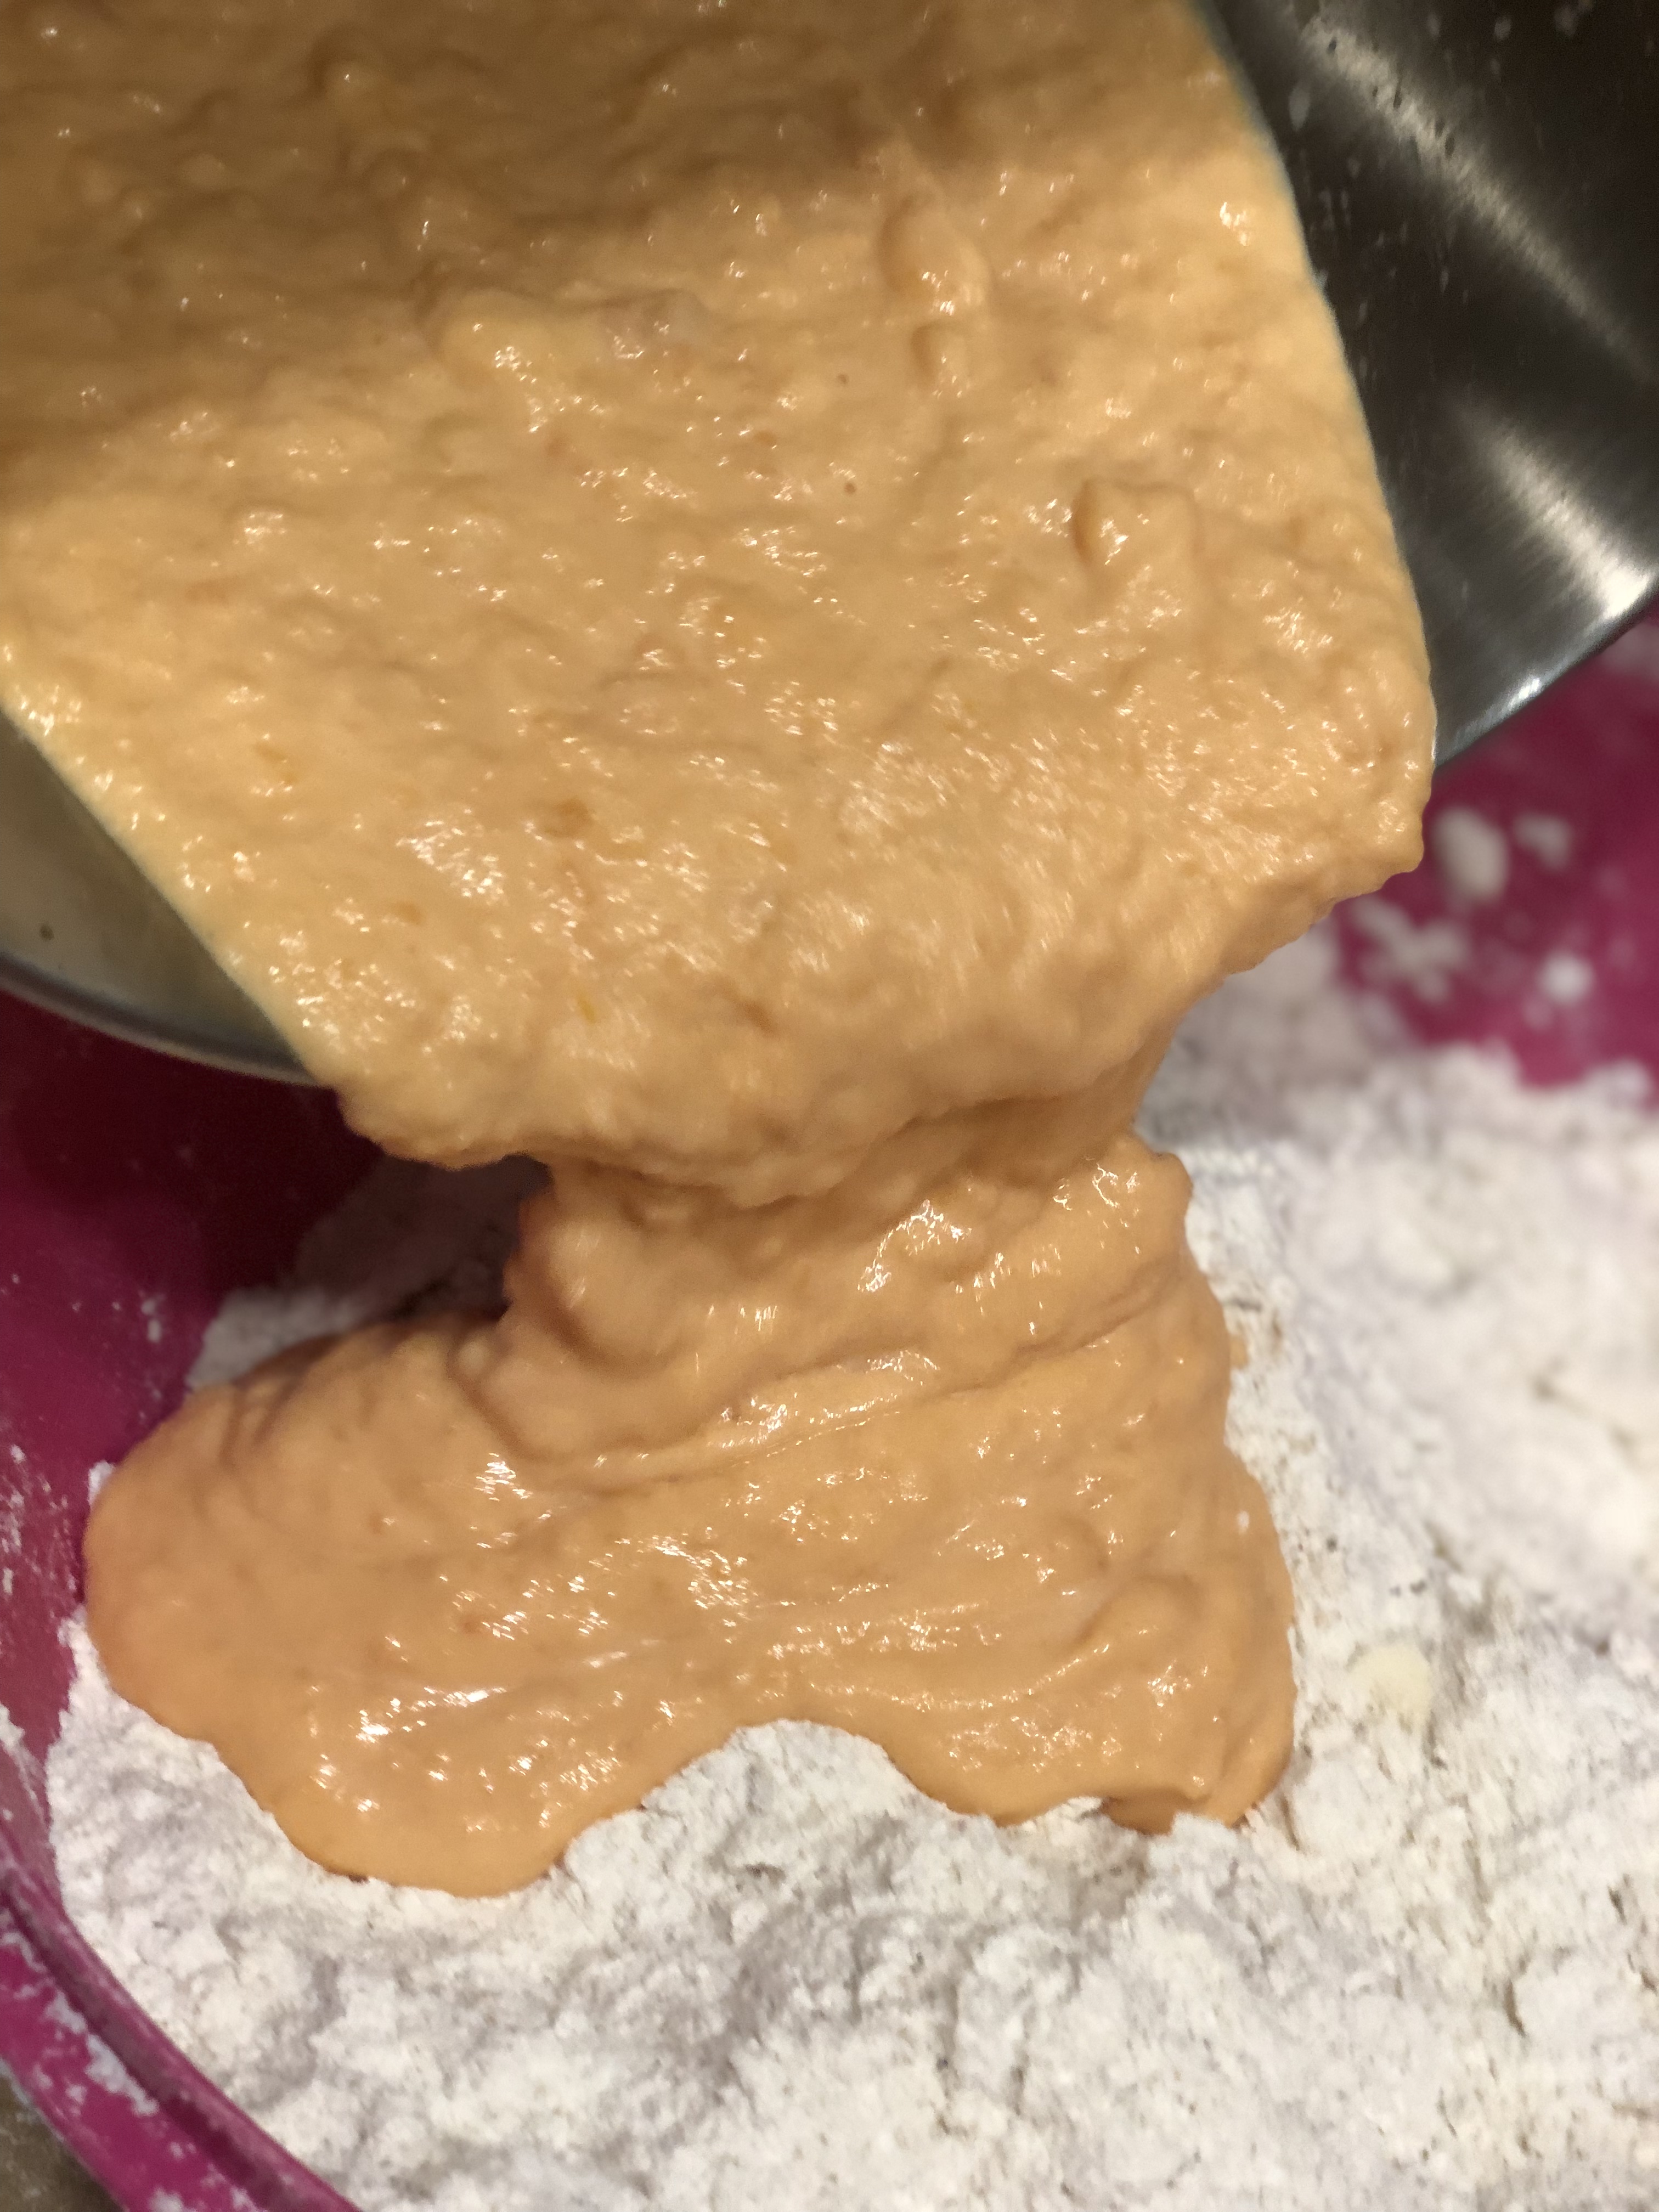
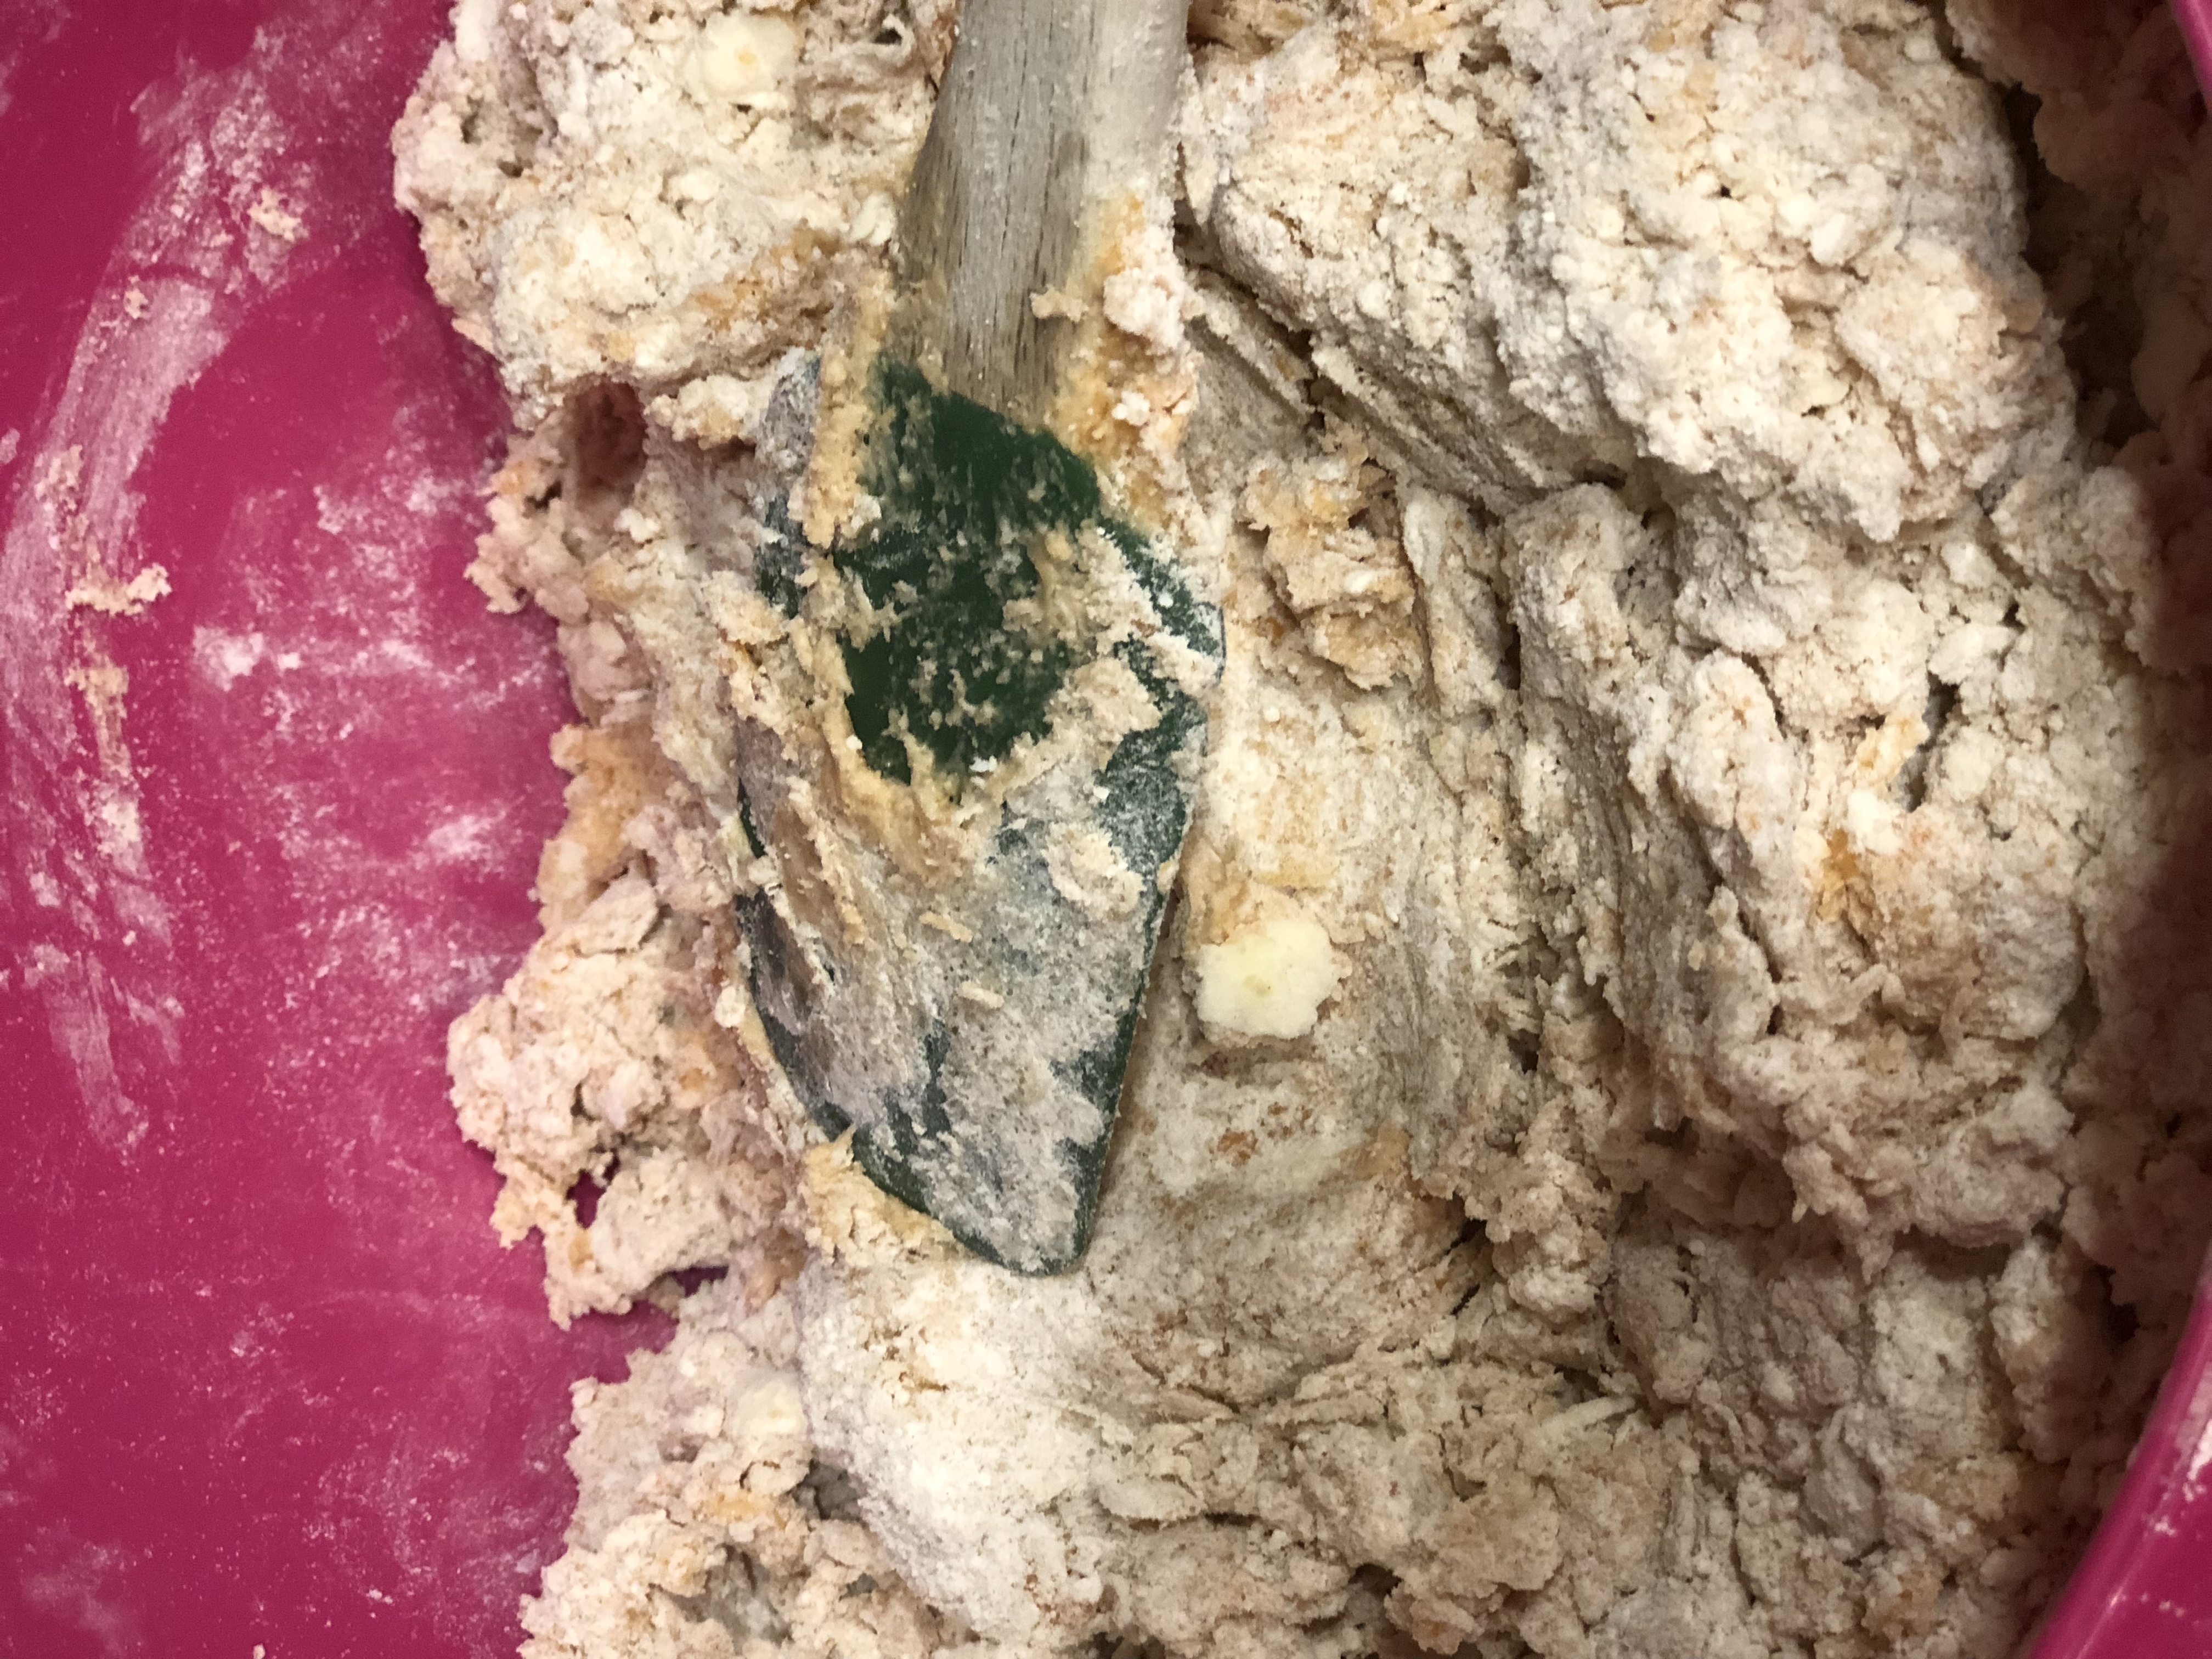
Add the sweet potato mixture to the dry ingredients and mix just until combined.
Sweet potato scones
(You can do this in that same food processor bowl and stop the mixing as soon as the ingredients come together – it’s much easier this way.)
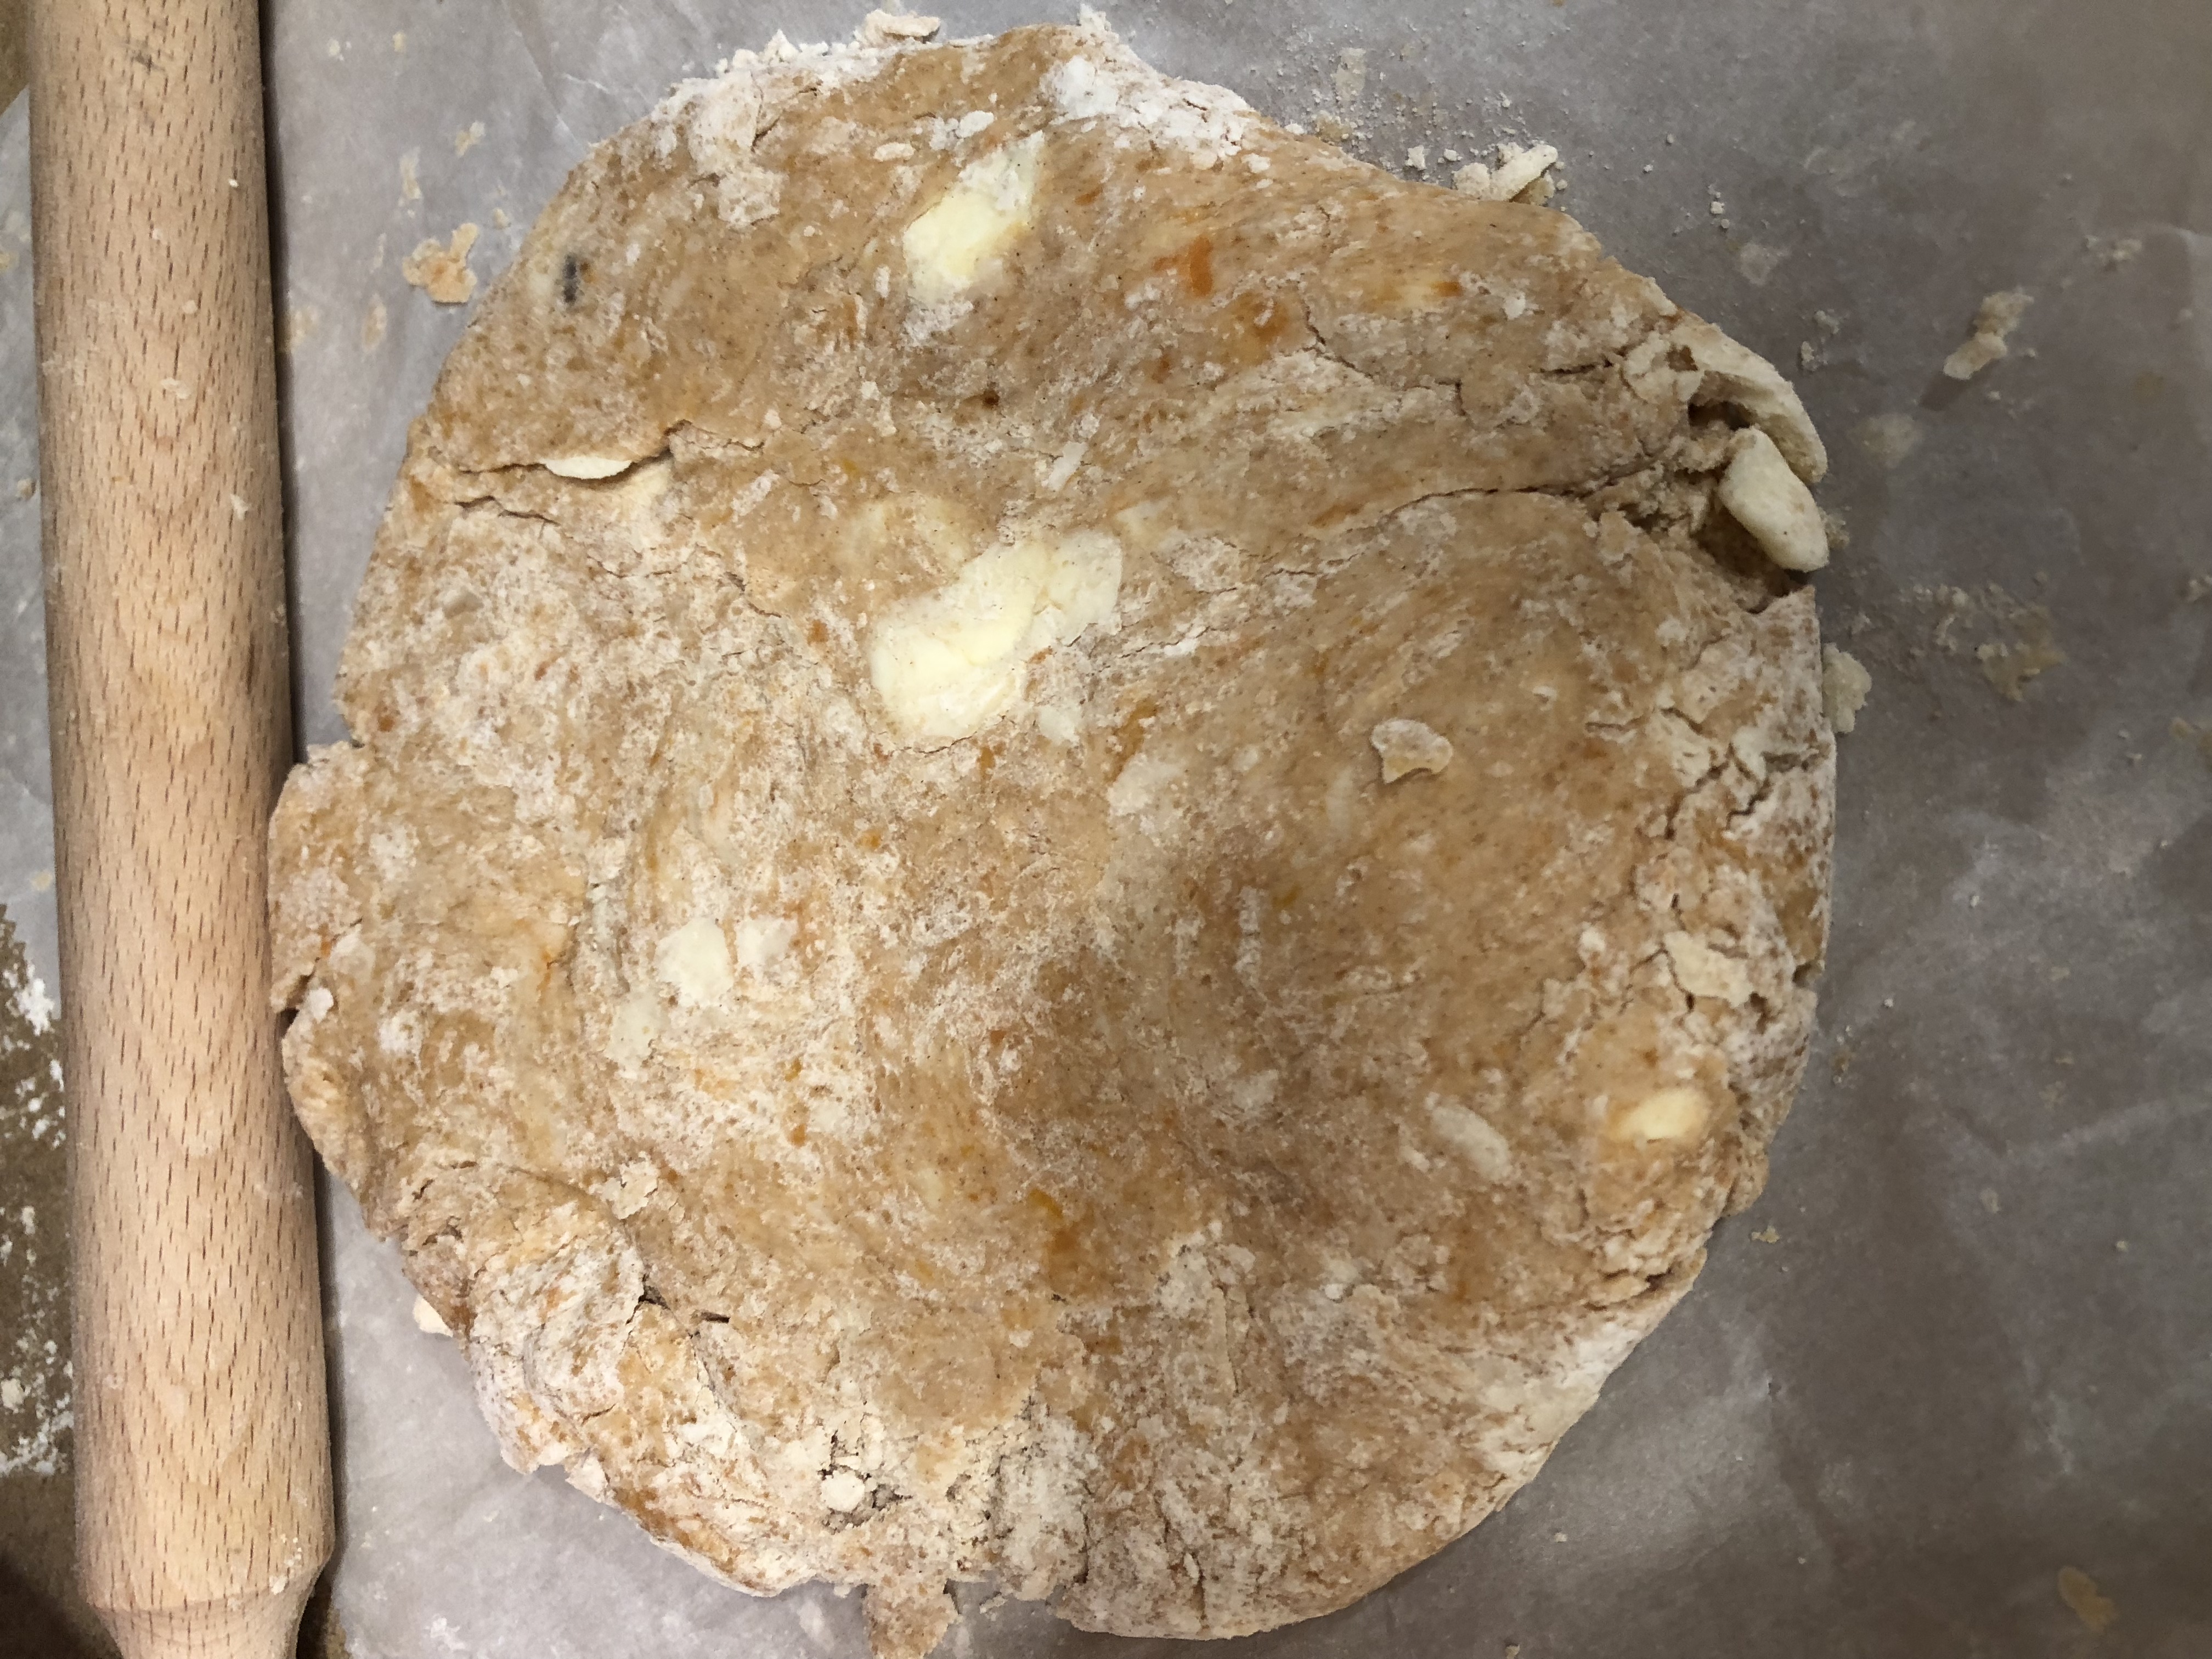
Sweet potato scones
On lightly floured surface, roll the dough into two 7-inch circles (so that you have nice size scones. You can roll it out into a 14-inch circle but you’ll have some monster size scones that take a little longer to bake through. But be a rebel and do what you want.)
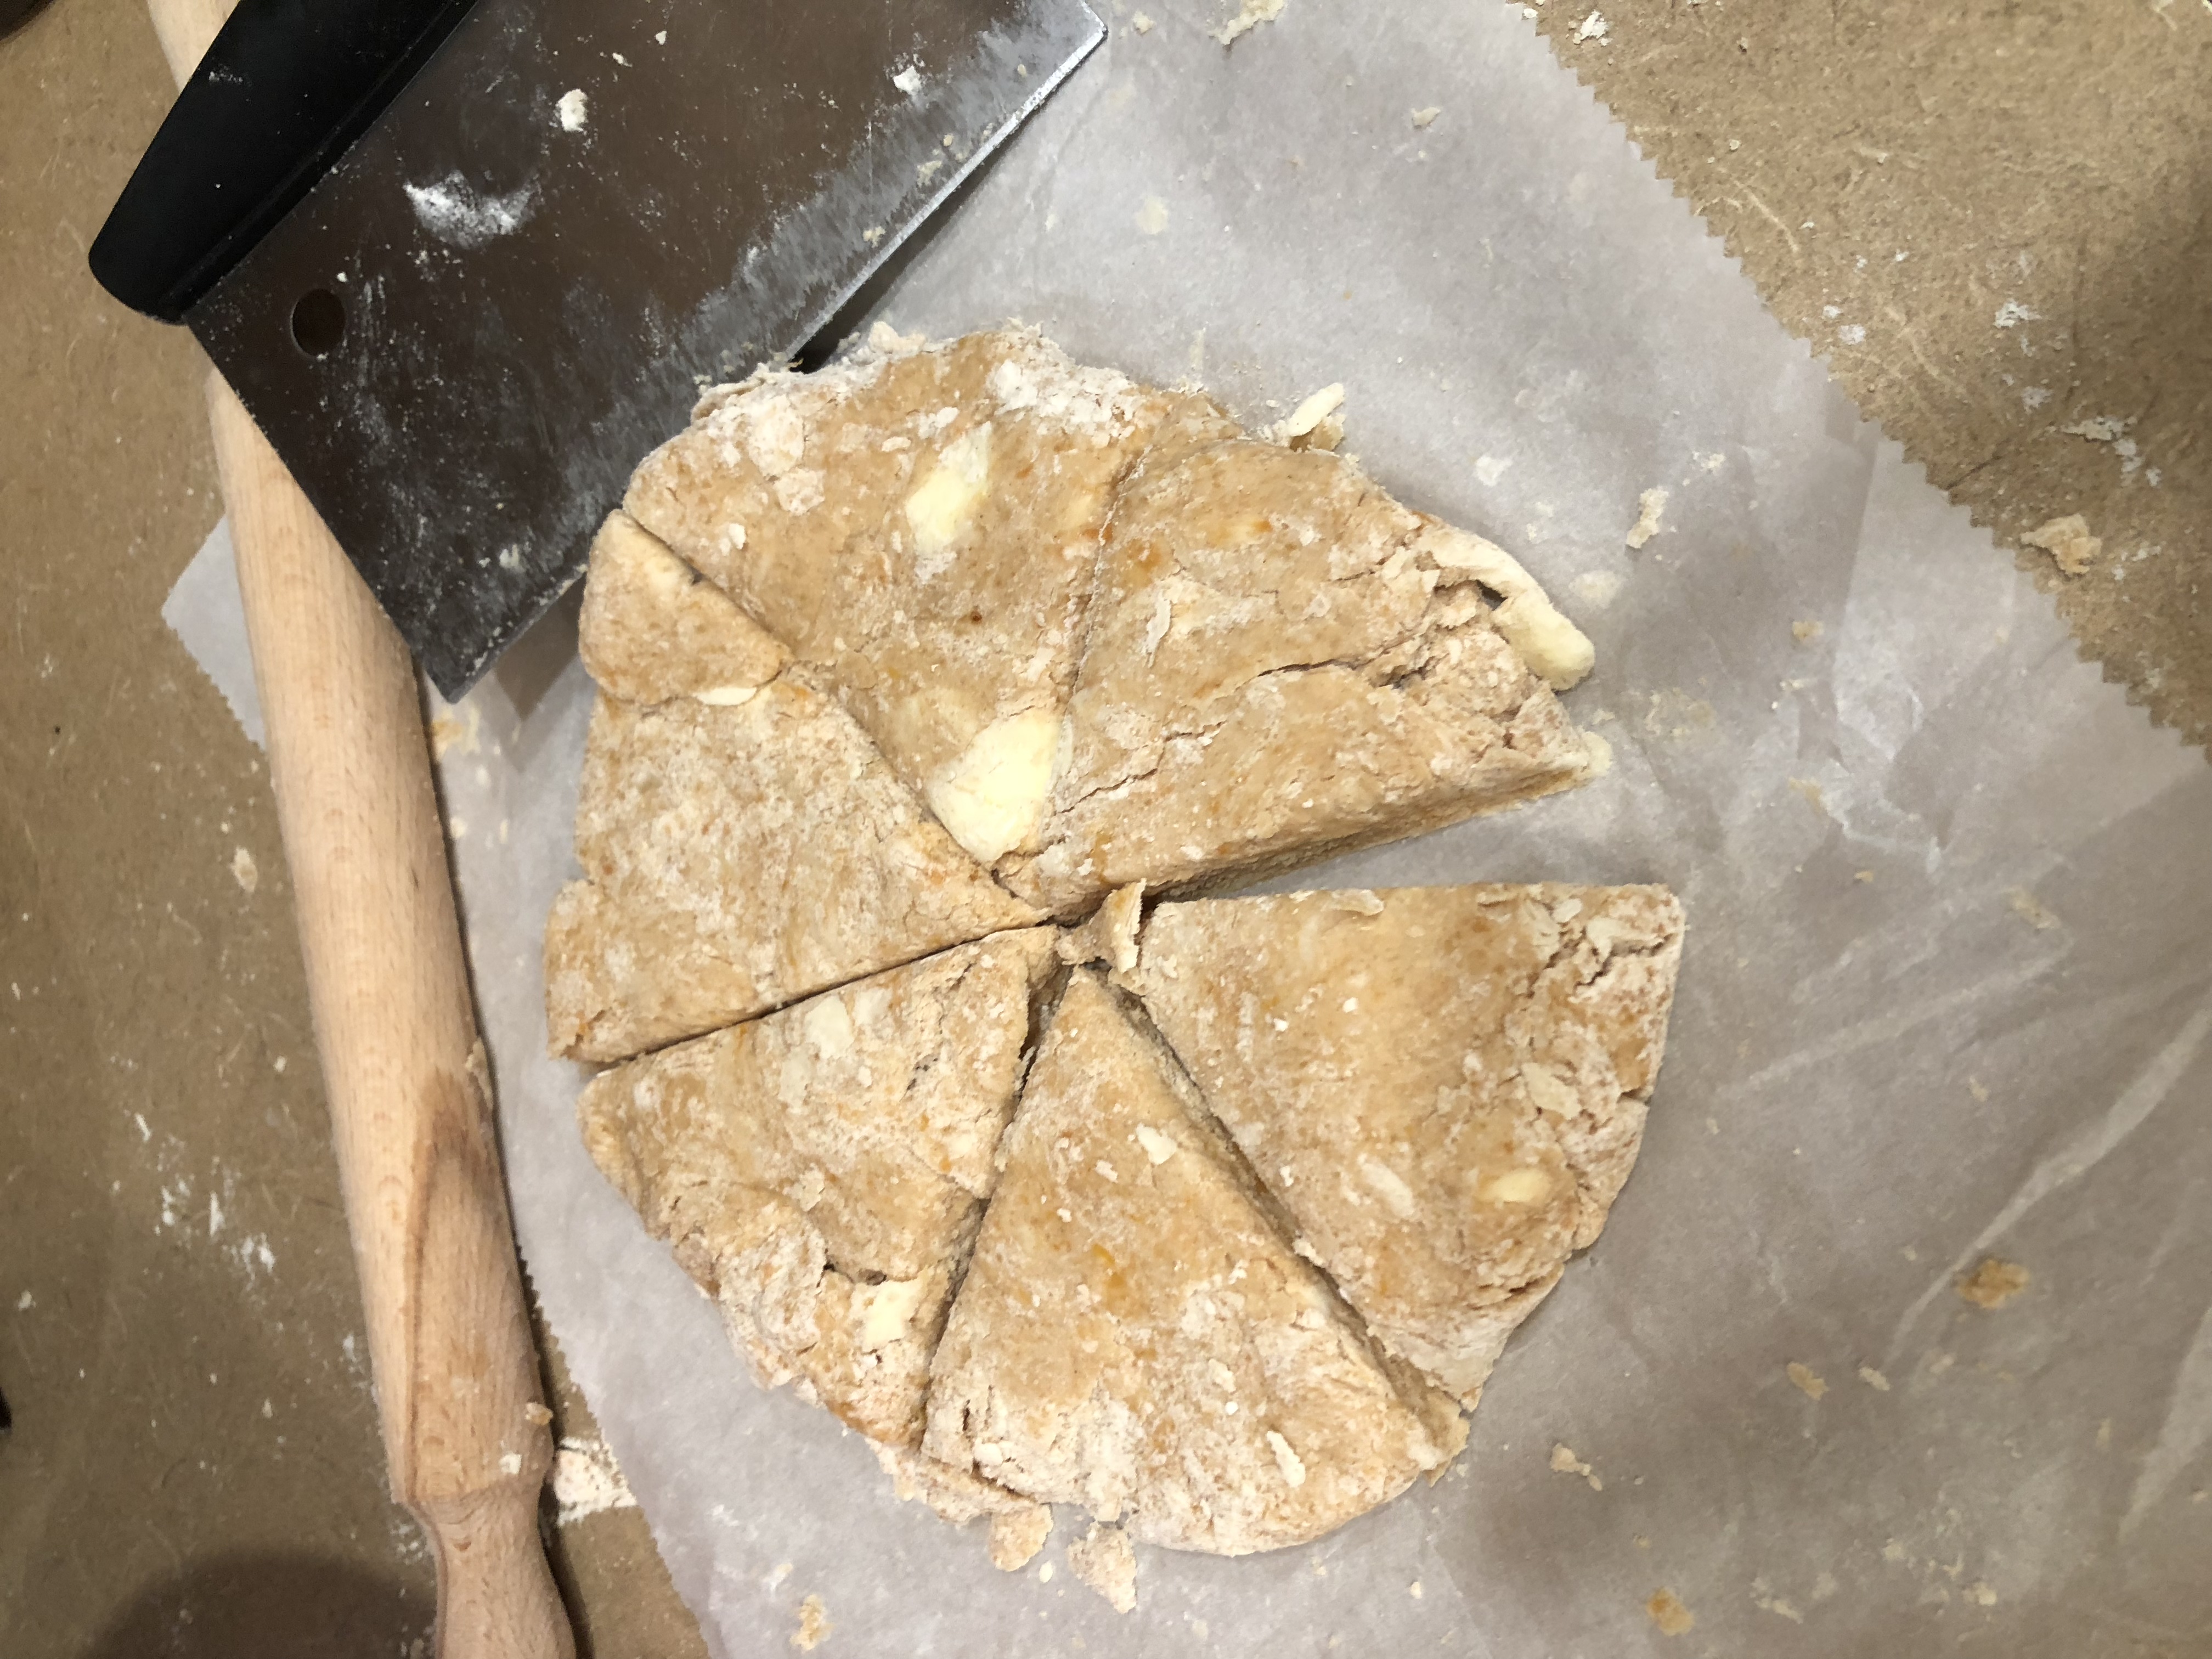
Sweet potato scones
Cut the scones into 8 pieces, like you’re slicing up a pizza. Ummmm-a pizza scone. That’ll be a recipe for another day.
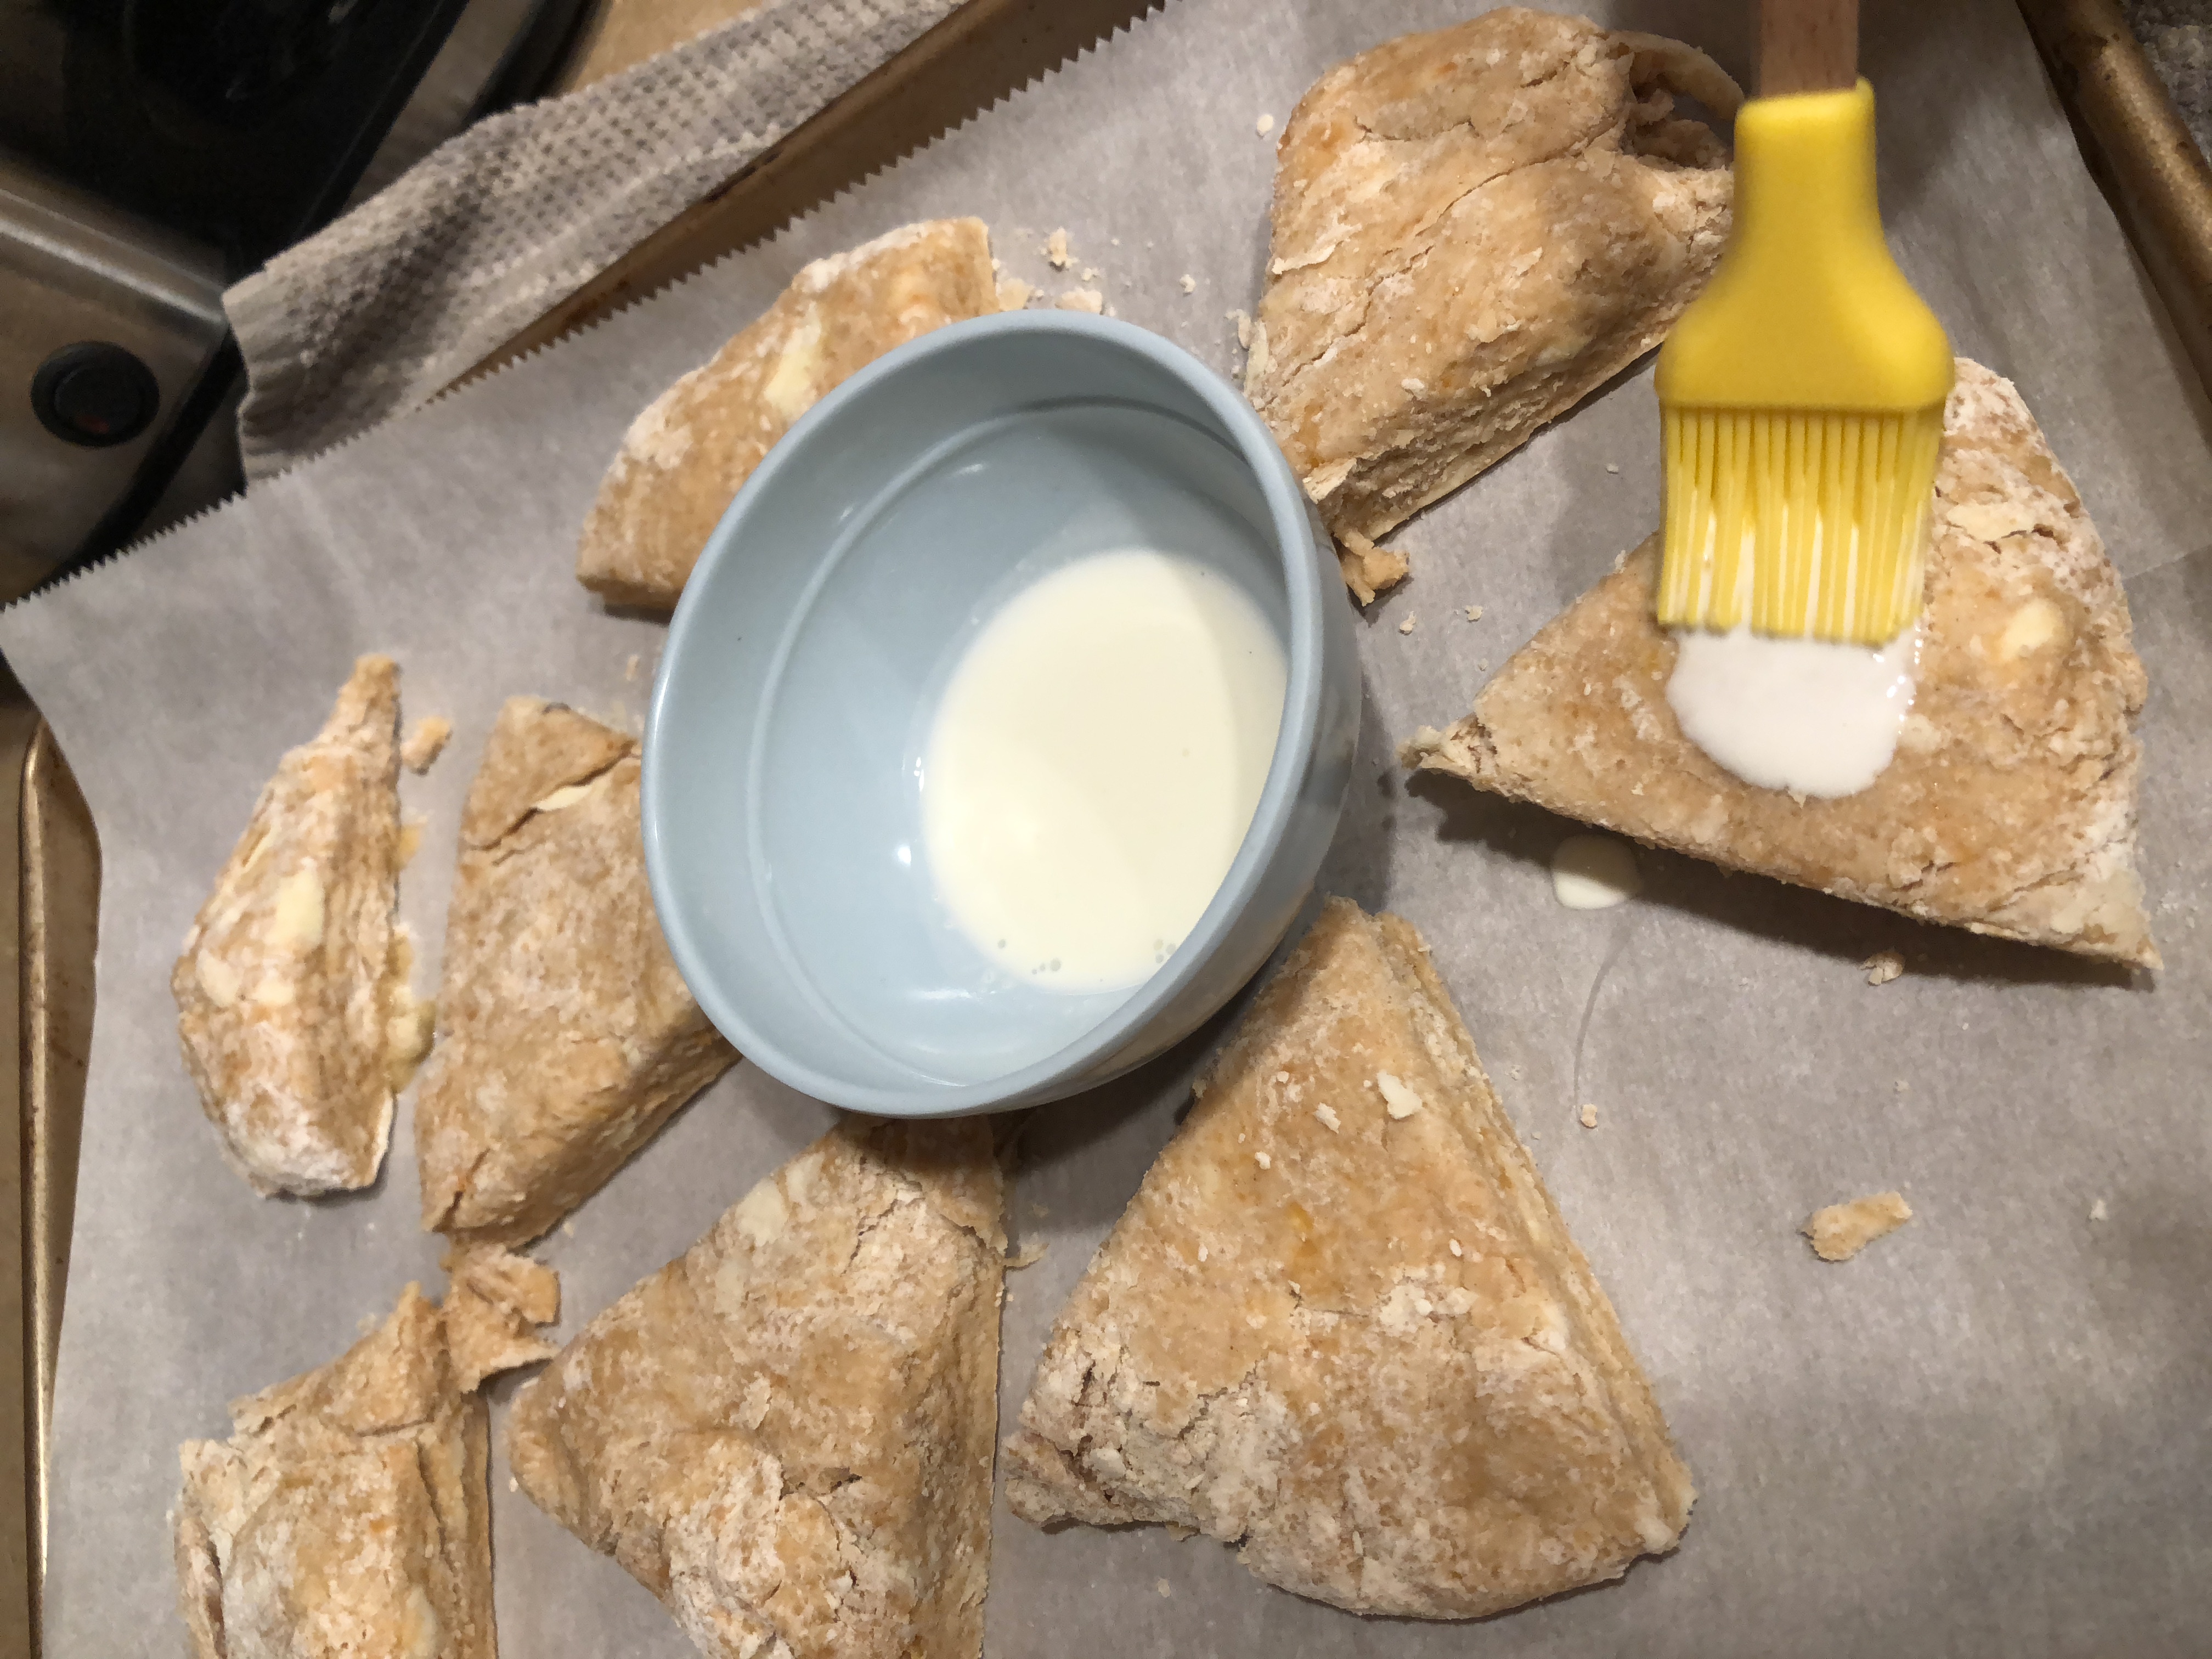
Sweet potato scones
Place scones on parchment-lined pan. Brush tops with a little cream and place in preheated oven.
Bake 20-30 minutes, just until tops are almost browning.
Remove from oven and place on wire racks to cool. This keeps them from getting sweaty and gooey bottomed. (Yes, that is a technical term.)
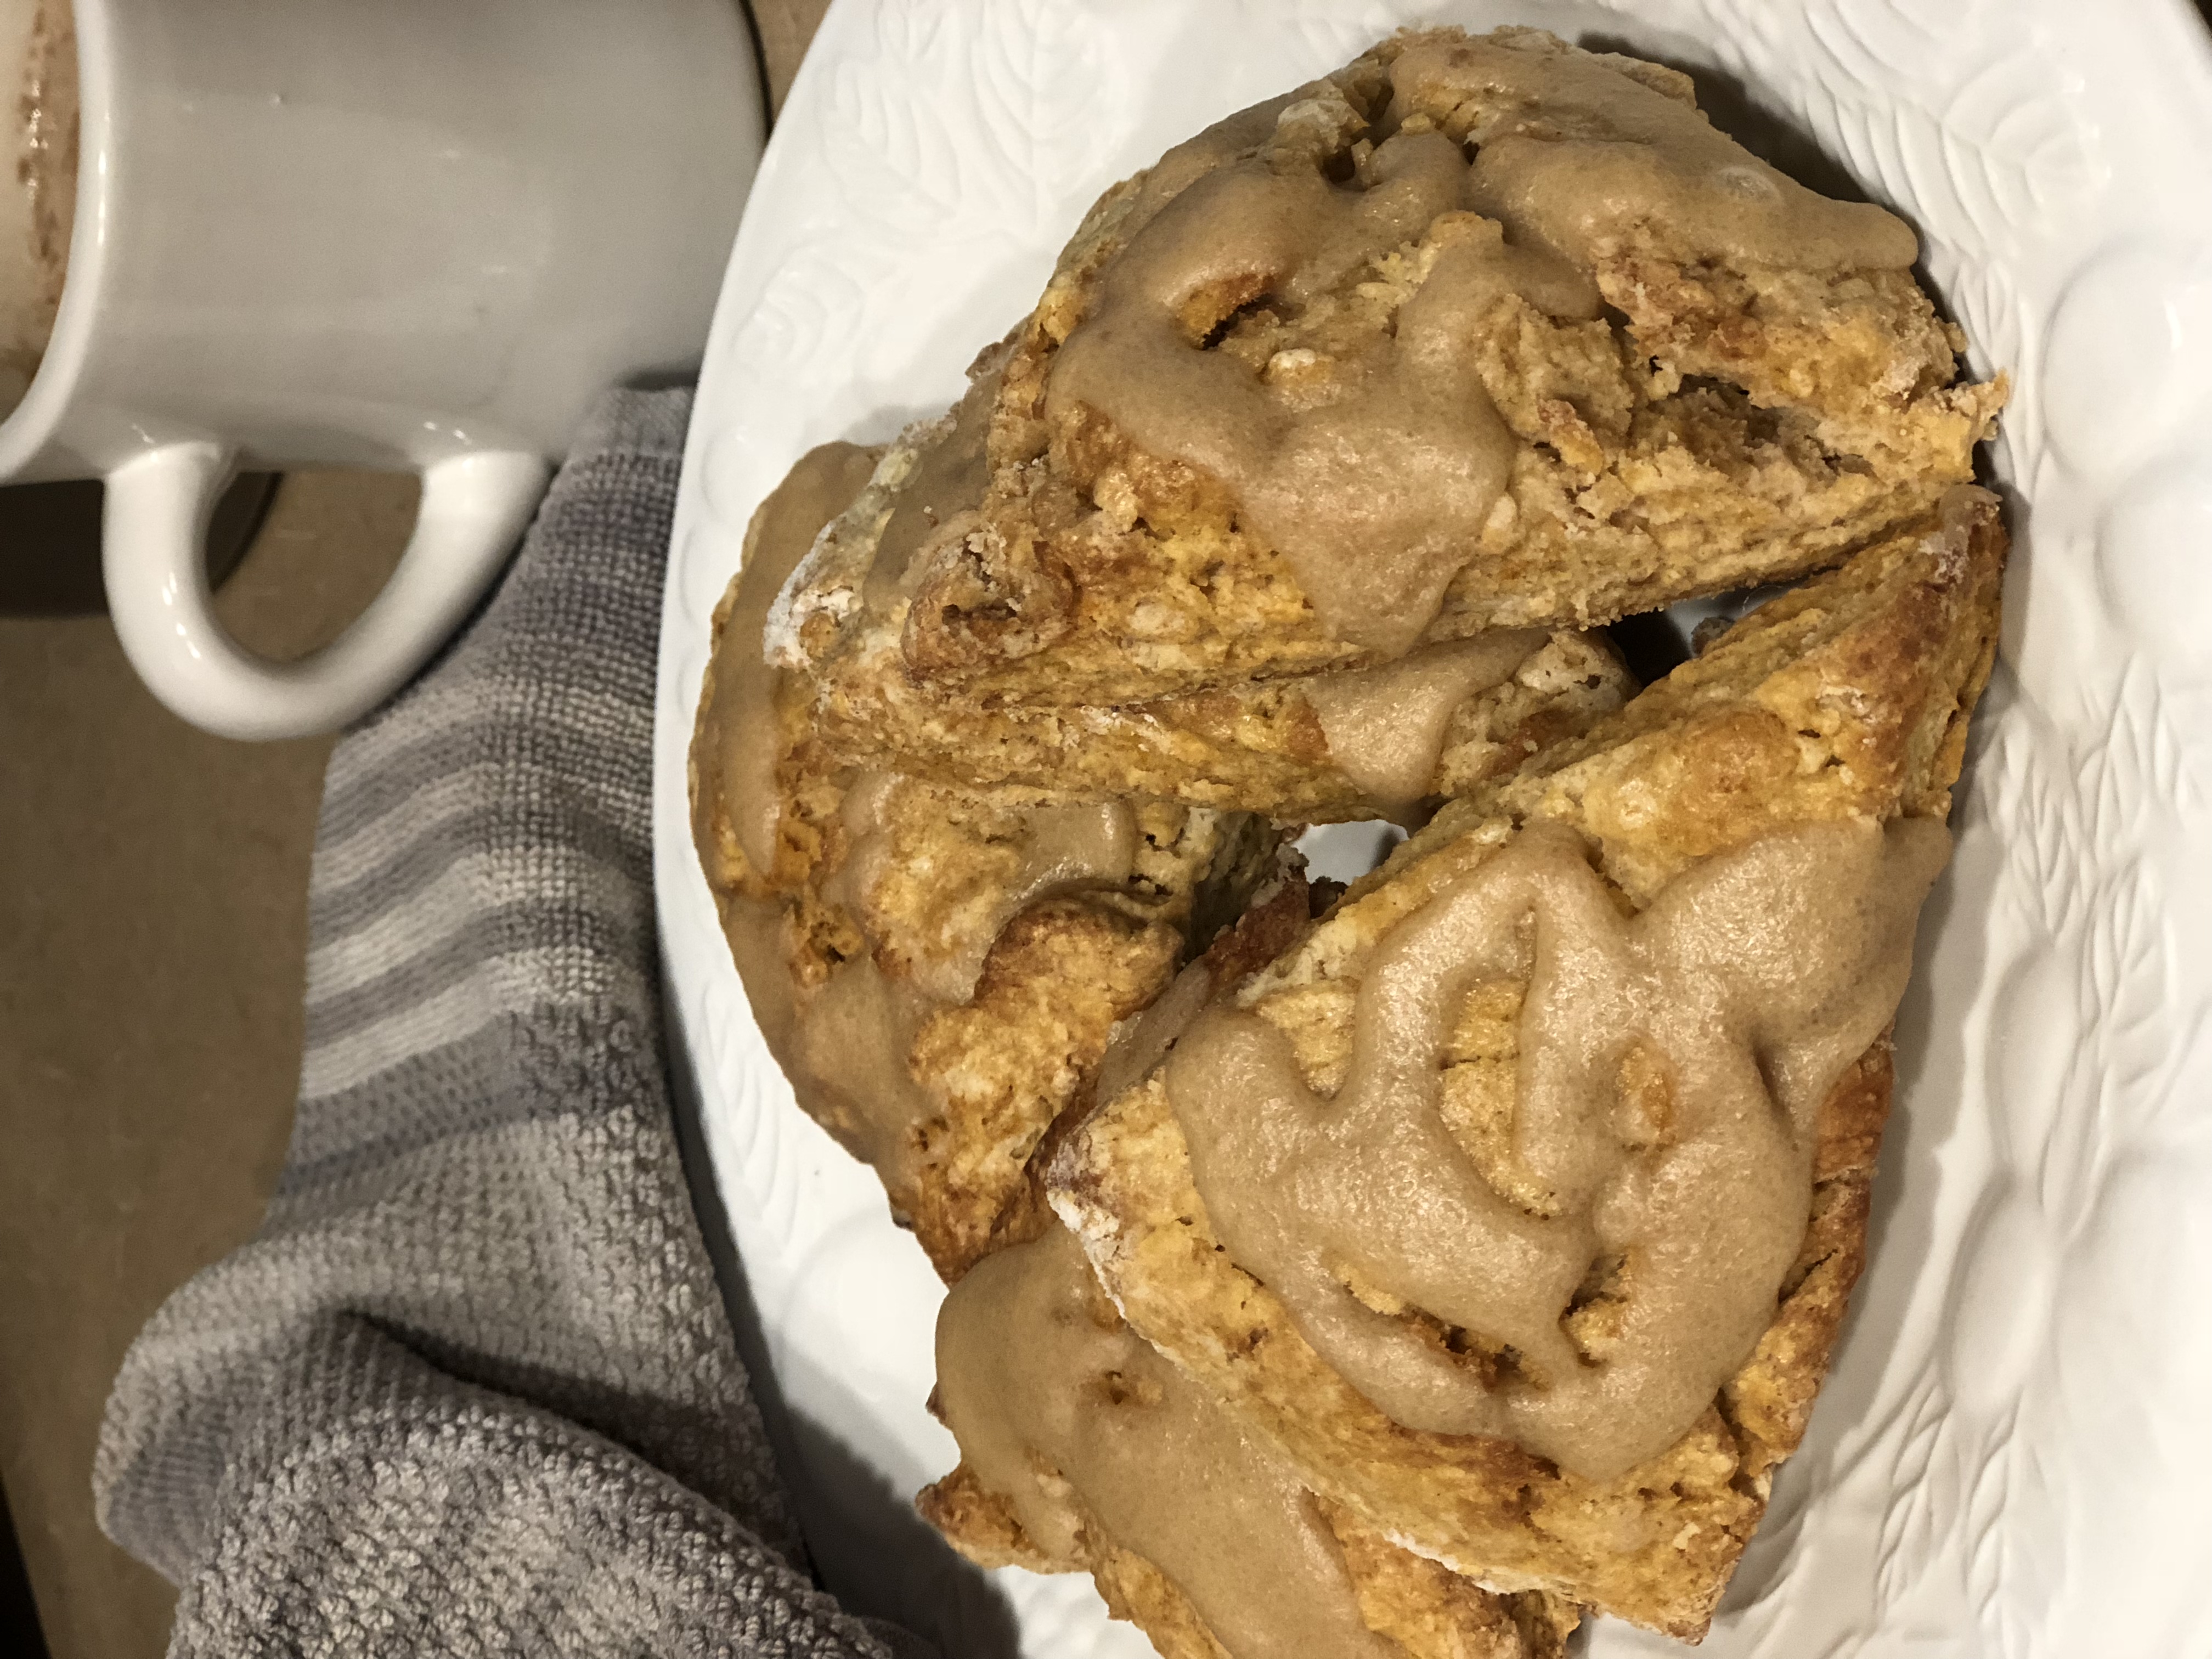
Sweet Potato Scone, Breakfast Scones, Best Scones
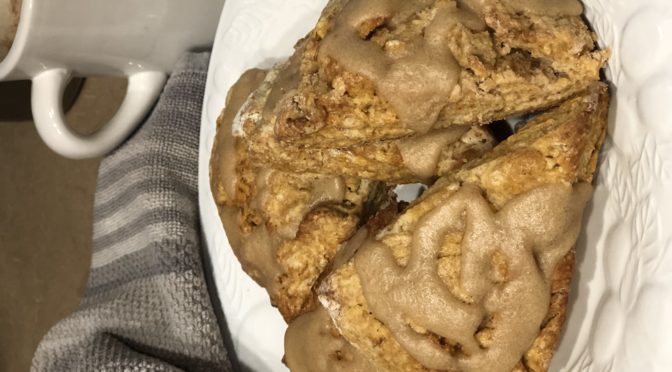
Brown Sugar Sweet Potato Scones with Brown Sugar Icing

Mix up your icing and drizzle on top. You can mix this icing over low heat and have a less grainy icing texture as well. But I like sugar, so the grains don’t bother me!
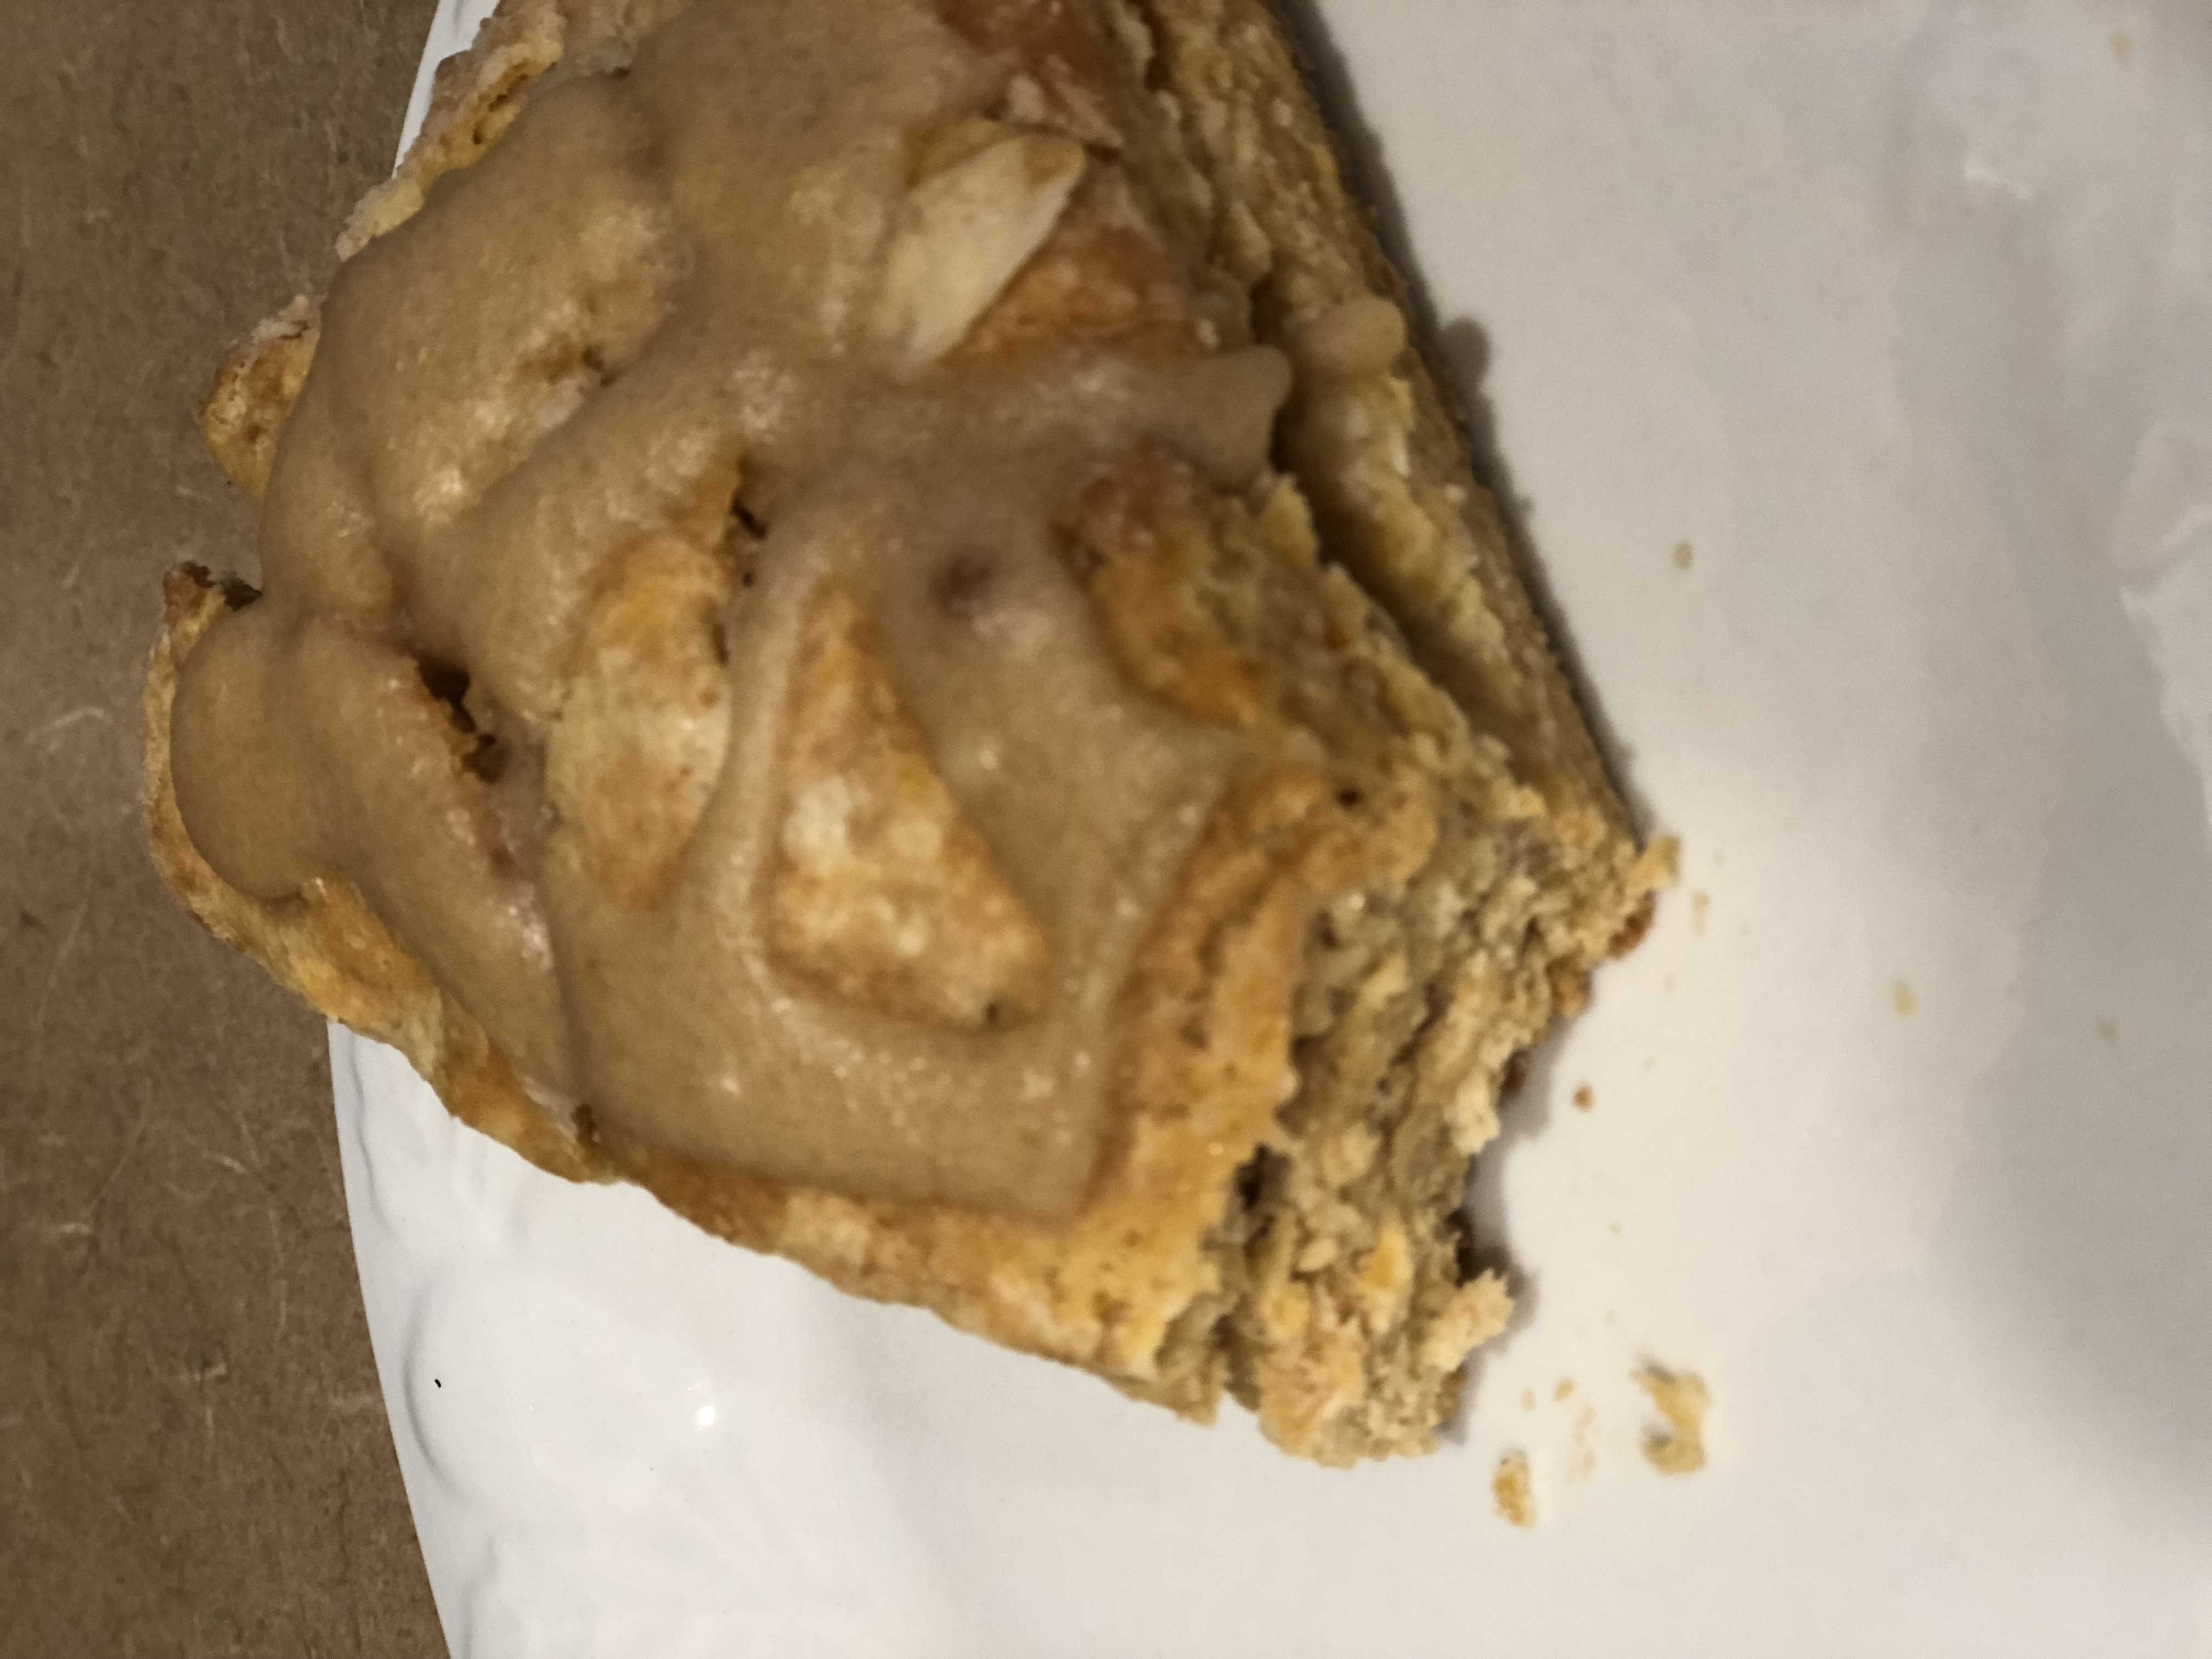
Sweet potato scones
Eat.
Sweet potato scones delicious

For catering: Depending on how many you are feeding, double or triple this recipe. You can also roll the dough into smaller 4-inch circles and make mini scones in different flavors. Or roll them into a large rectangle and cut corner pieces in various sizes. This smaller size requires a baking time of 15-20 minutes.

Plain Ole Vanilla – Flavoring That Is

Vanilla beans, 3-5 or more for a larger jar (I use Madagascar vanilla beans)
8 oz. Alcohol of choice (vodka has the most neutral flavor and an expensive vodka is not needed. Just a mid-grade one will do. Or get adventurous and use bourbon, brandy, or rum. These yield a stronger flavor.)
Clean jar or bottle
Sharp knife and cutting board

Split the vanilla beans, leaving the ends intact to expose the inside or chop into pieces if you like.
Place in clean jar or bottle.
Pour alcohol over beans making sure they are completely submerged.
Place airtight lid on container and give a little shake.
Let sit for a month in cool, dark place. You can shake it from time to time. You can use more beans to speed the process. Or allow it to sit for 2 months for stronger flavor.
You can use a coffee filter to strain your finished extract if you want a clear vanilla. I, however, like the little vanilla bits in there.
Top off the bottle as you use the extract to get all that flavor out.
I discard my beans after 3 or 4 refills (adding a new bean here and there) because those beans will eventually lose their flavor infusing ability.

Lasting Flavor – How to Add it to Life or a Bowl of Beans

There are a lot of things my mama and daddy taught me.
Mom taught me from a young age how to cook and can even though she could’ve gotten it done way quicker if she’d done it herself. And that in itself was a lesson in patience and love.
She and my dad made us help in the garden and taught us how to work. And I am grateful they did. At the time I would’ve rather been sitting on the couch watching one of the three TV channels we were able to receive. (Yes, only 3, and that’s with someone turning the antenna so you could catch the signal – can you imagine?)
But now, thanks to them, I know how to garden and how to preserve that food for winter. Knowing these “old ways” is a privilege to me. Knowing how to “make do”, how to not waste, how to be mindful of being prepared are all gifts they gave. They took the time to teach – by example and by patiently showing my sisters and I how to do things.
Both were raised “poor” as some would call it – not much money in either household in the midst of a rural community still recovering from a depression ten plus years later. But what got them through was their work ethic and their parents love and their knowledge of how to make use of anything and everything to not only survive, but make things taste good.
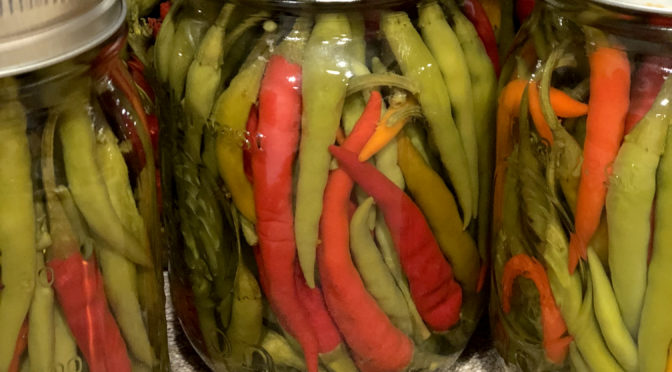
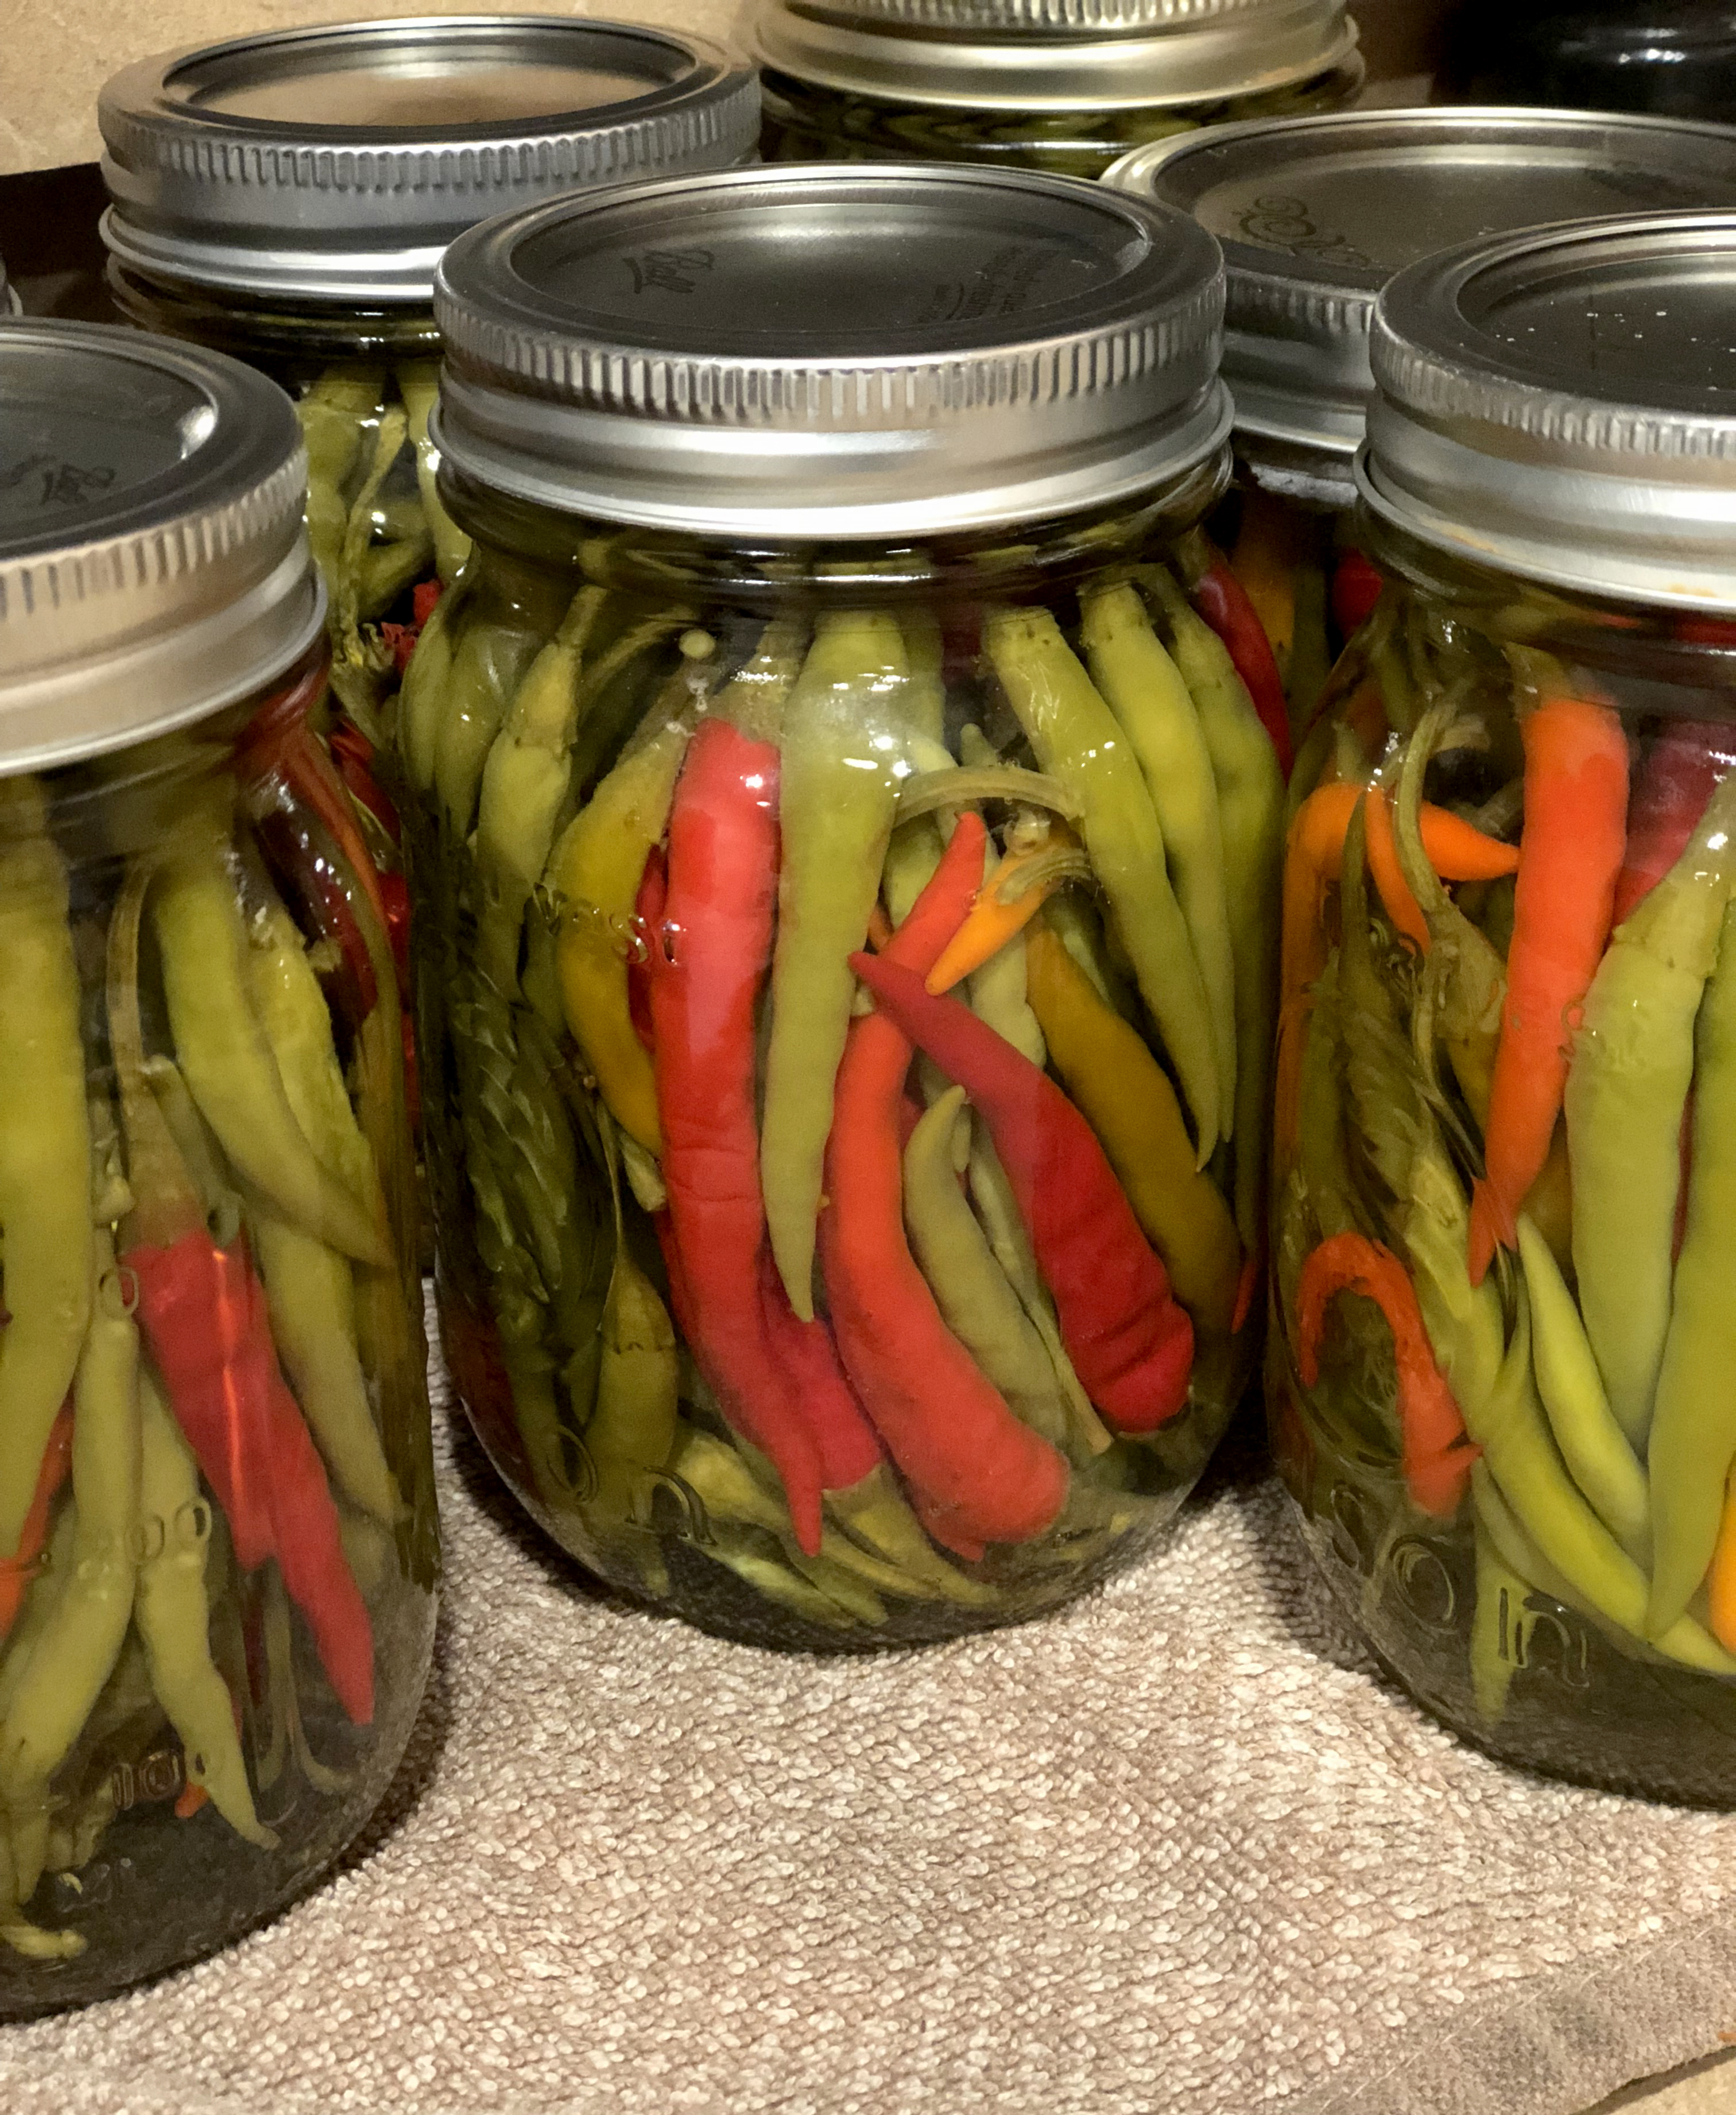
This recipe is for pepper sauce. As soon as peppers (mostly cayenne) begin to grow in early summer, they can be jarred as pepper sauce. But it is a great way to use up excess peppers at the end of the growing season so that all those peppers aren’t lost to the first frost.
It adds a little something extra to an ordinary bowl of black eyed peas, pinto beans, or any bean really. I also use a couple tablespoons in my meat marinades for a spicy flavor without tongue-burning heat.

Pepper Sauce
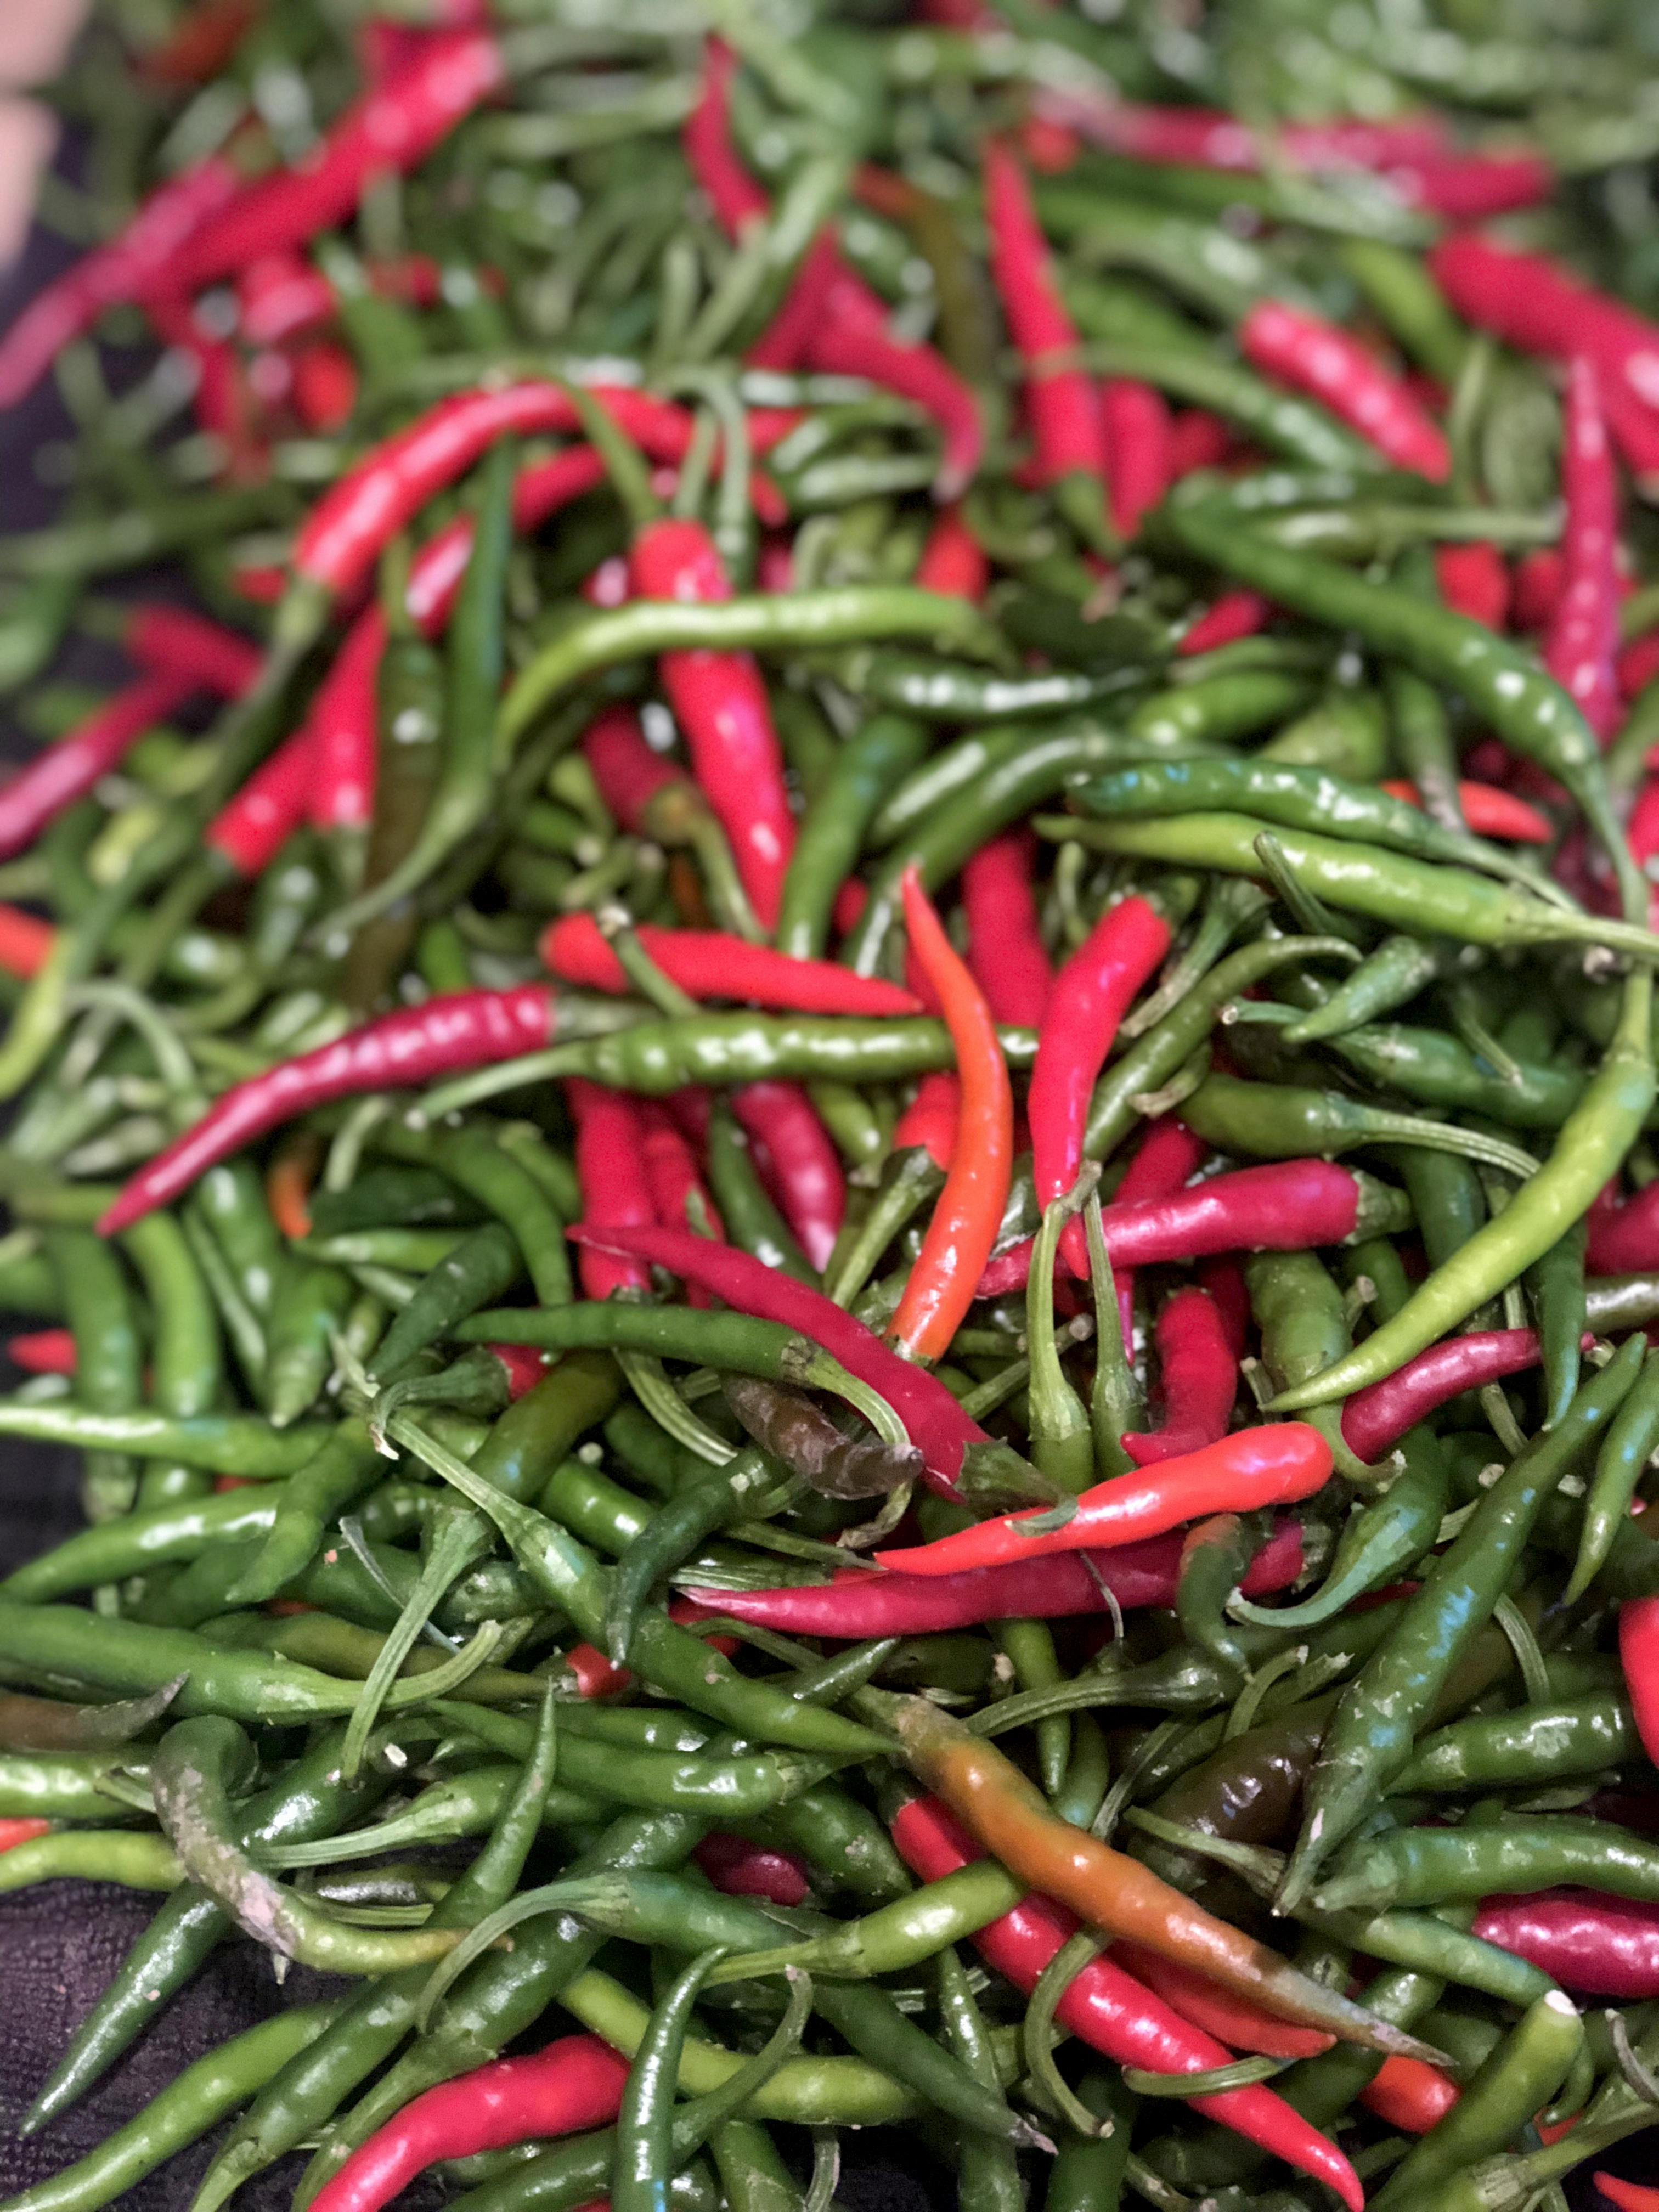
Use any kind you grew and make however many jars you want. For this recipe, I used 6-7 cups of cayenne to make 7 pints of pepper sauce.

6-7 cups cayenne peppers, washed and left whole
7 pint jars with lids
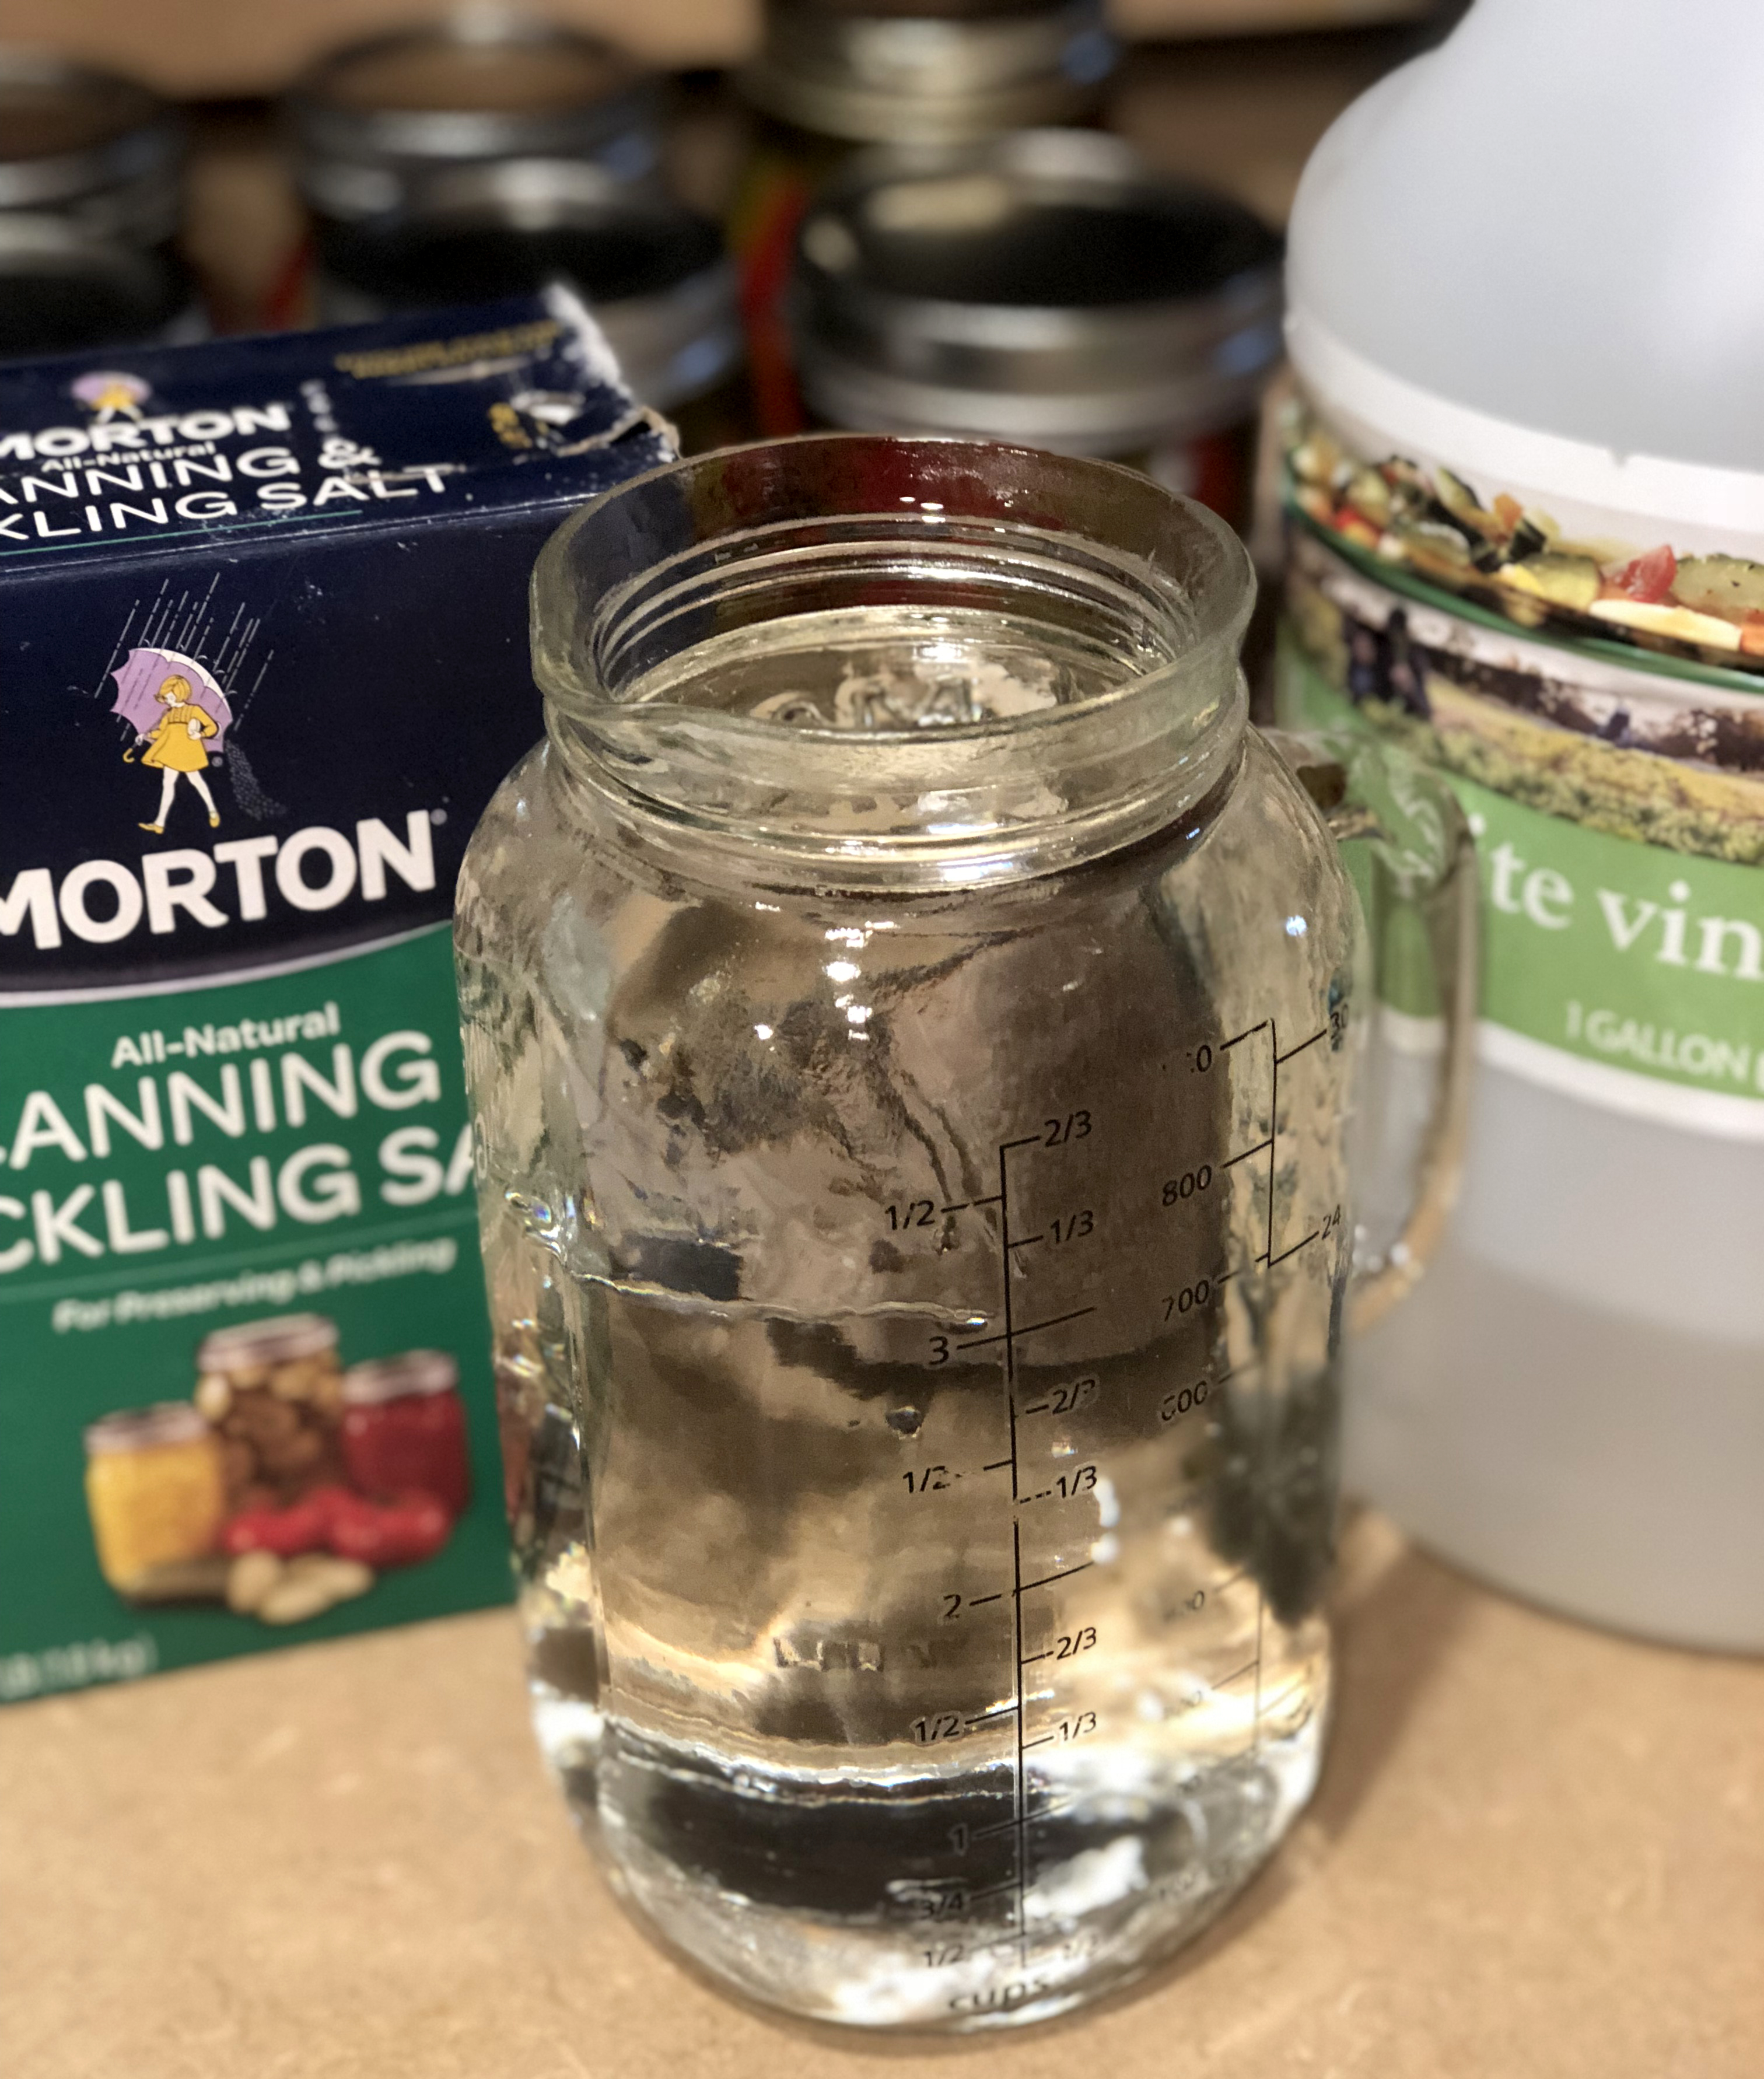
2 quarts water
1 quart white vinegar, 5% acidity
1 cup canning salt (NOT iodized or sea or kosher)
Large pot for boiling liquid and small one for boiling lids.

Pick your peppers and wash them.
Place jar rings and flats into small pan of water and heat at medium high heat to boiling.

Pour water, vinegar, and salt into large pot and heat at high heat to boiling.
While this is coming to a boil, pack your peppers into jars. You can pack them tightly or loosely – the more peppers, the hotter the sauce will be.

When the liquid has boiled, pour over the peppers and immediately place jar flat and ring onto jar.
Repeat until all jars have liquid and lids.

Hot water bath the jars. This is how:
Fill a large pot about halfway with water and place jars into pot.
Heat on medium heat until the water starts to boil.
Let the jars sit in the bubbling water for about 6 minutes.
Remove from heat and sit on a clean towel.
Cover the tops with a second clean towel and allow to sit 24-48 hours undisturbed while the jars seal. You’ll hear them sealing and popping. If one doesn’t seal (the little circle in the middle stays up), simply use that jar first (within 3 months) or refrigerate.

You can also slice jalapenos and jar them for a hotter sauce.